My favorite fruit has its own holiday!

Monica (mom) says:

I can hardly contain myself!

It’s National Blueberry Muffin Day!

Oh blueberries….my favorite little fruit.

DSC04262

I eat some every morning on my cereal or just a bowl full. Any way I can get them, I do. Full of antioxidants and just pure joy!

Do you think I love blueberries?

Researchers say that fresh blueberries are an excellent source of fiber, provide vitamin C and iron, as well as have antioxidant power. Findings show that these little powerhouses can protect against certain types of cancer and help with memory. Blueberries may also protect against urinary tract infections and intestinal upsets….just like their cousin the cranberry!

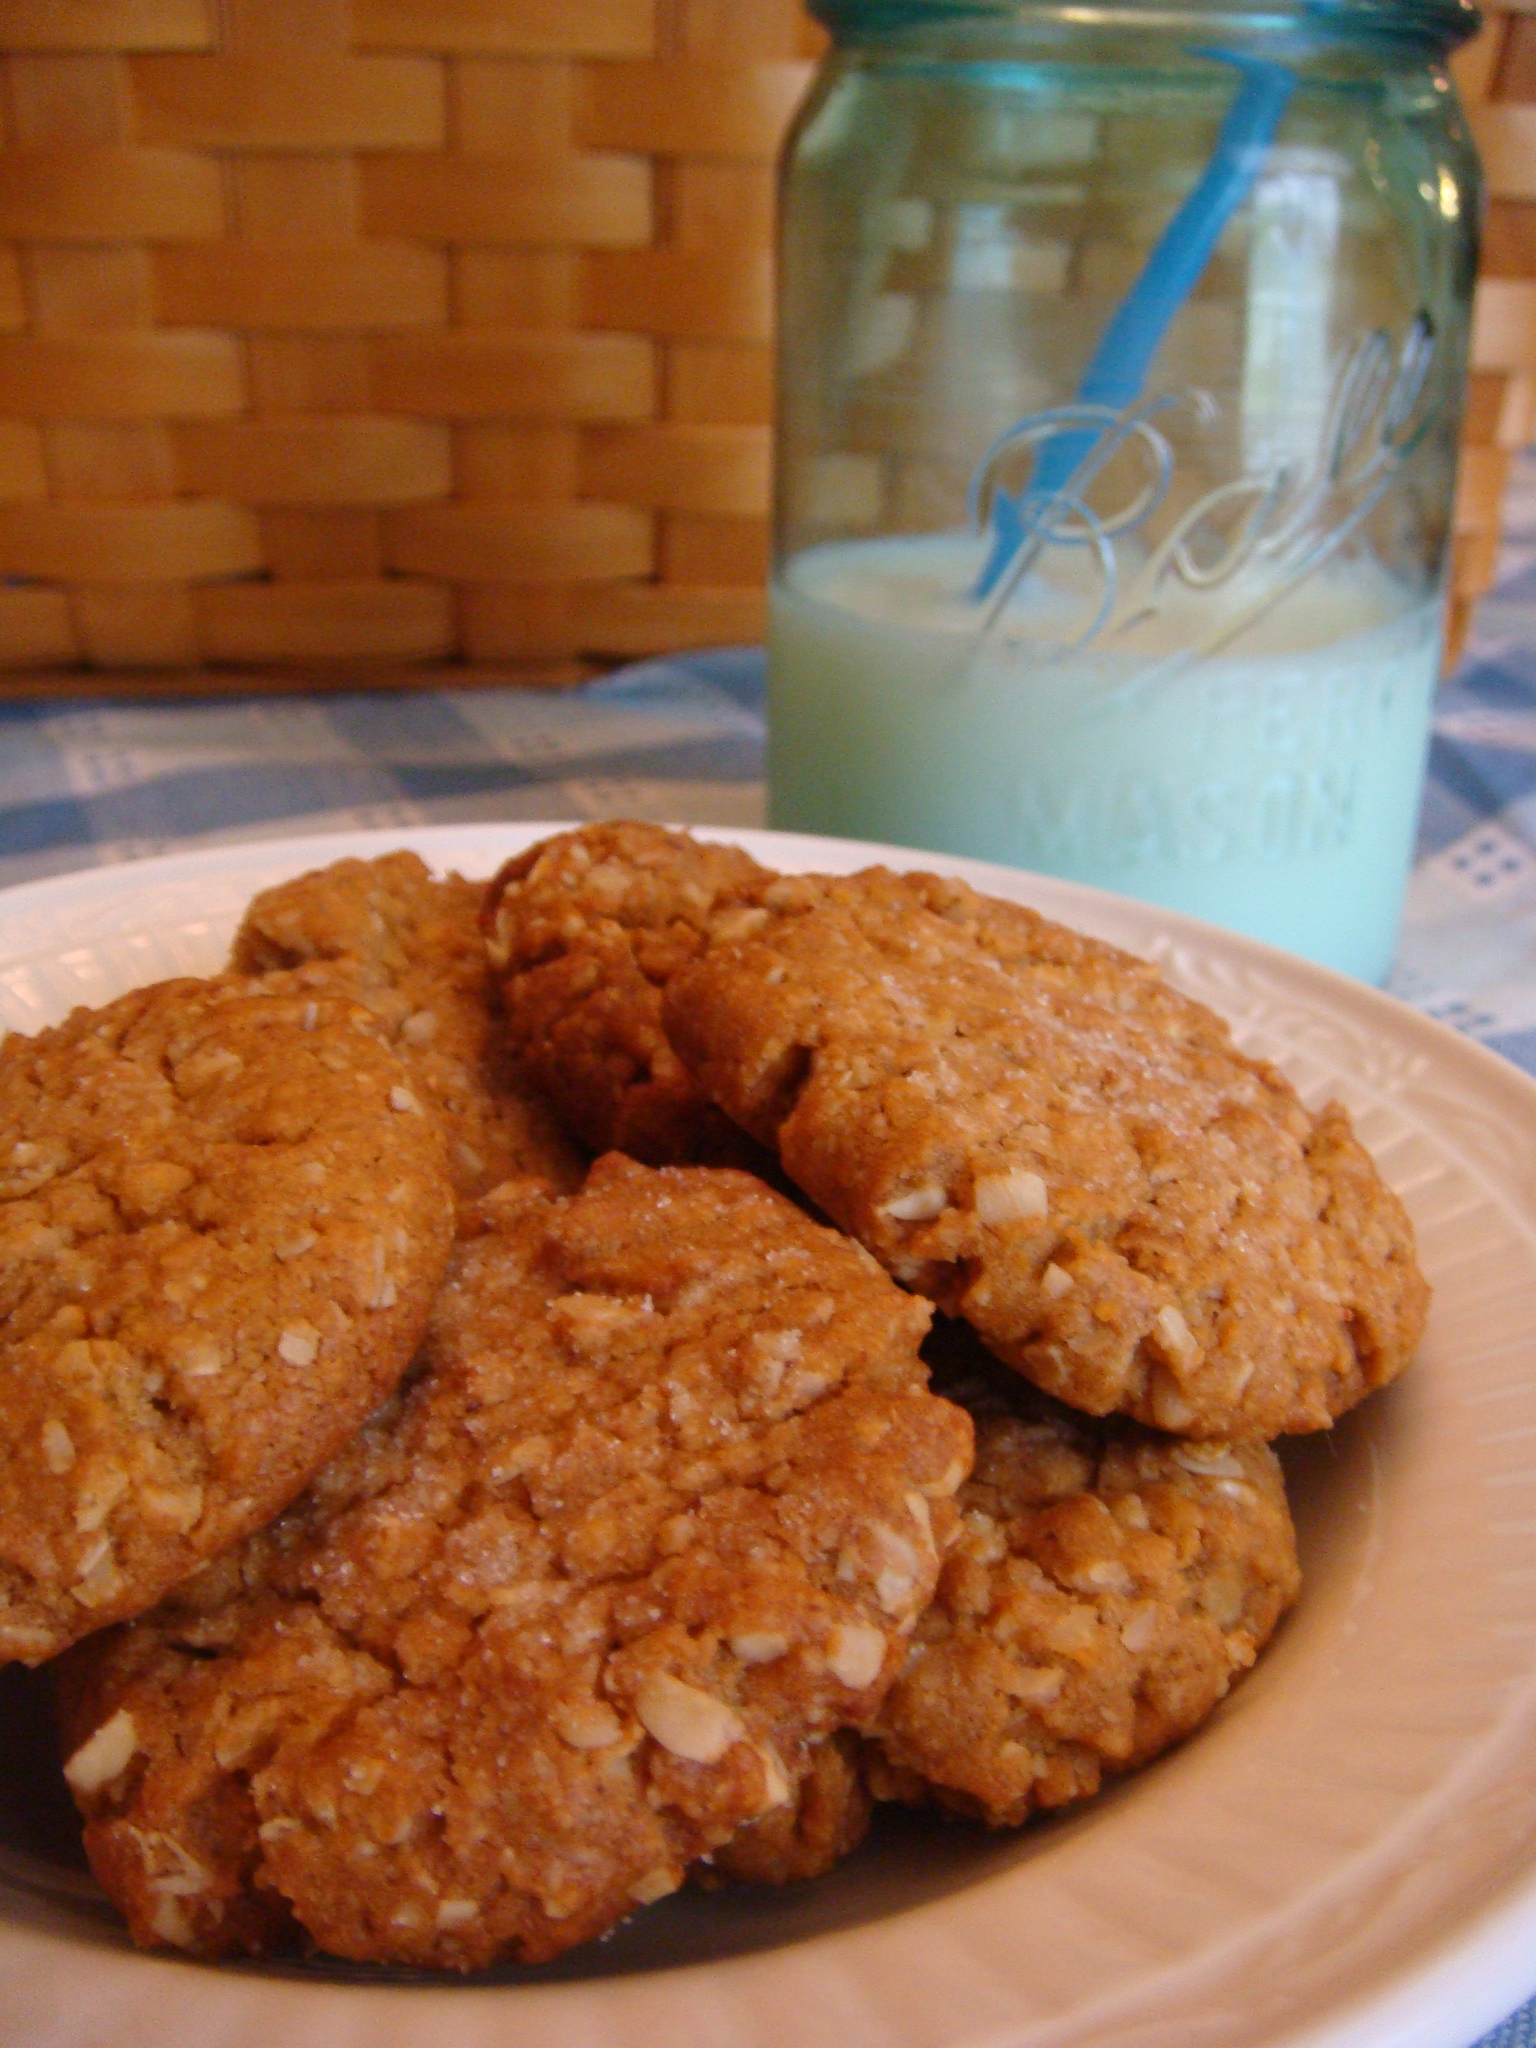
My favorite way to eat them is, of course, raw, but who can pass up a great blueberry muffin?

DSC04271

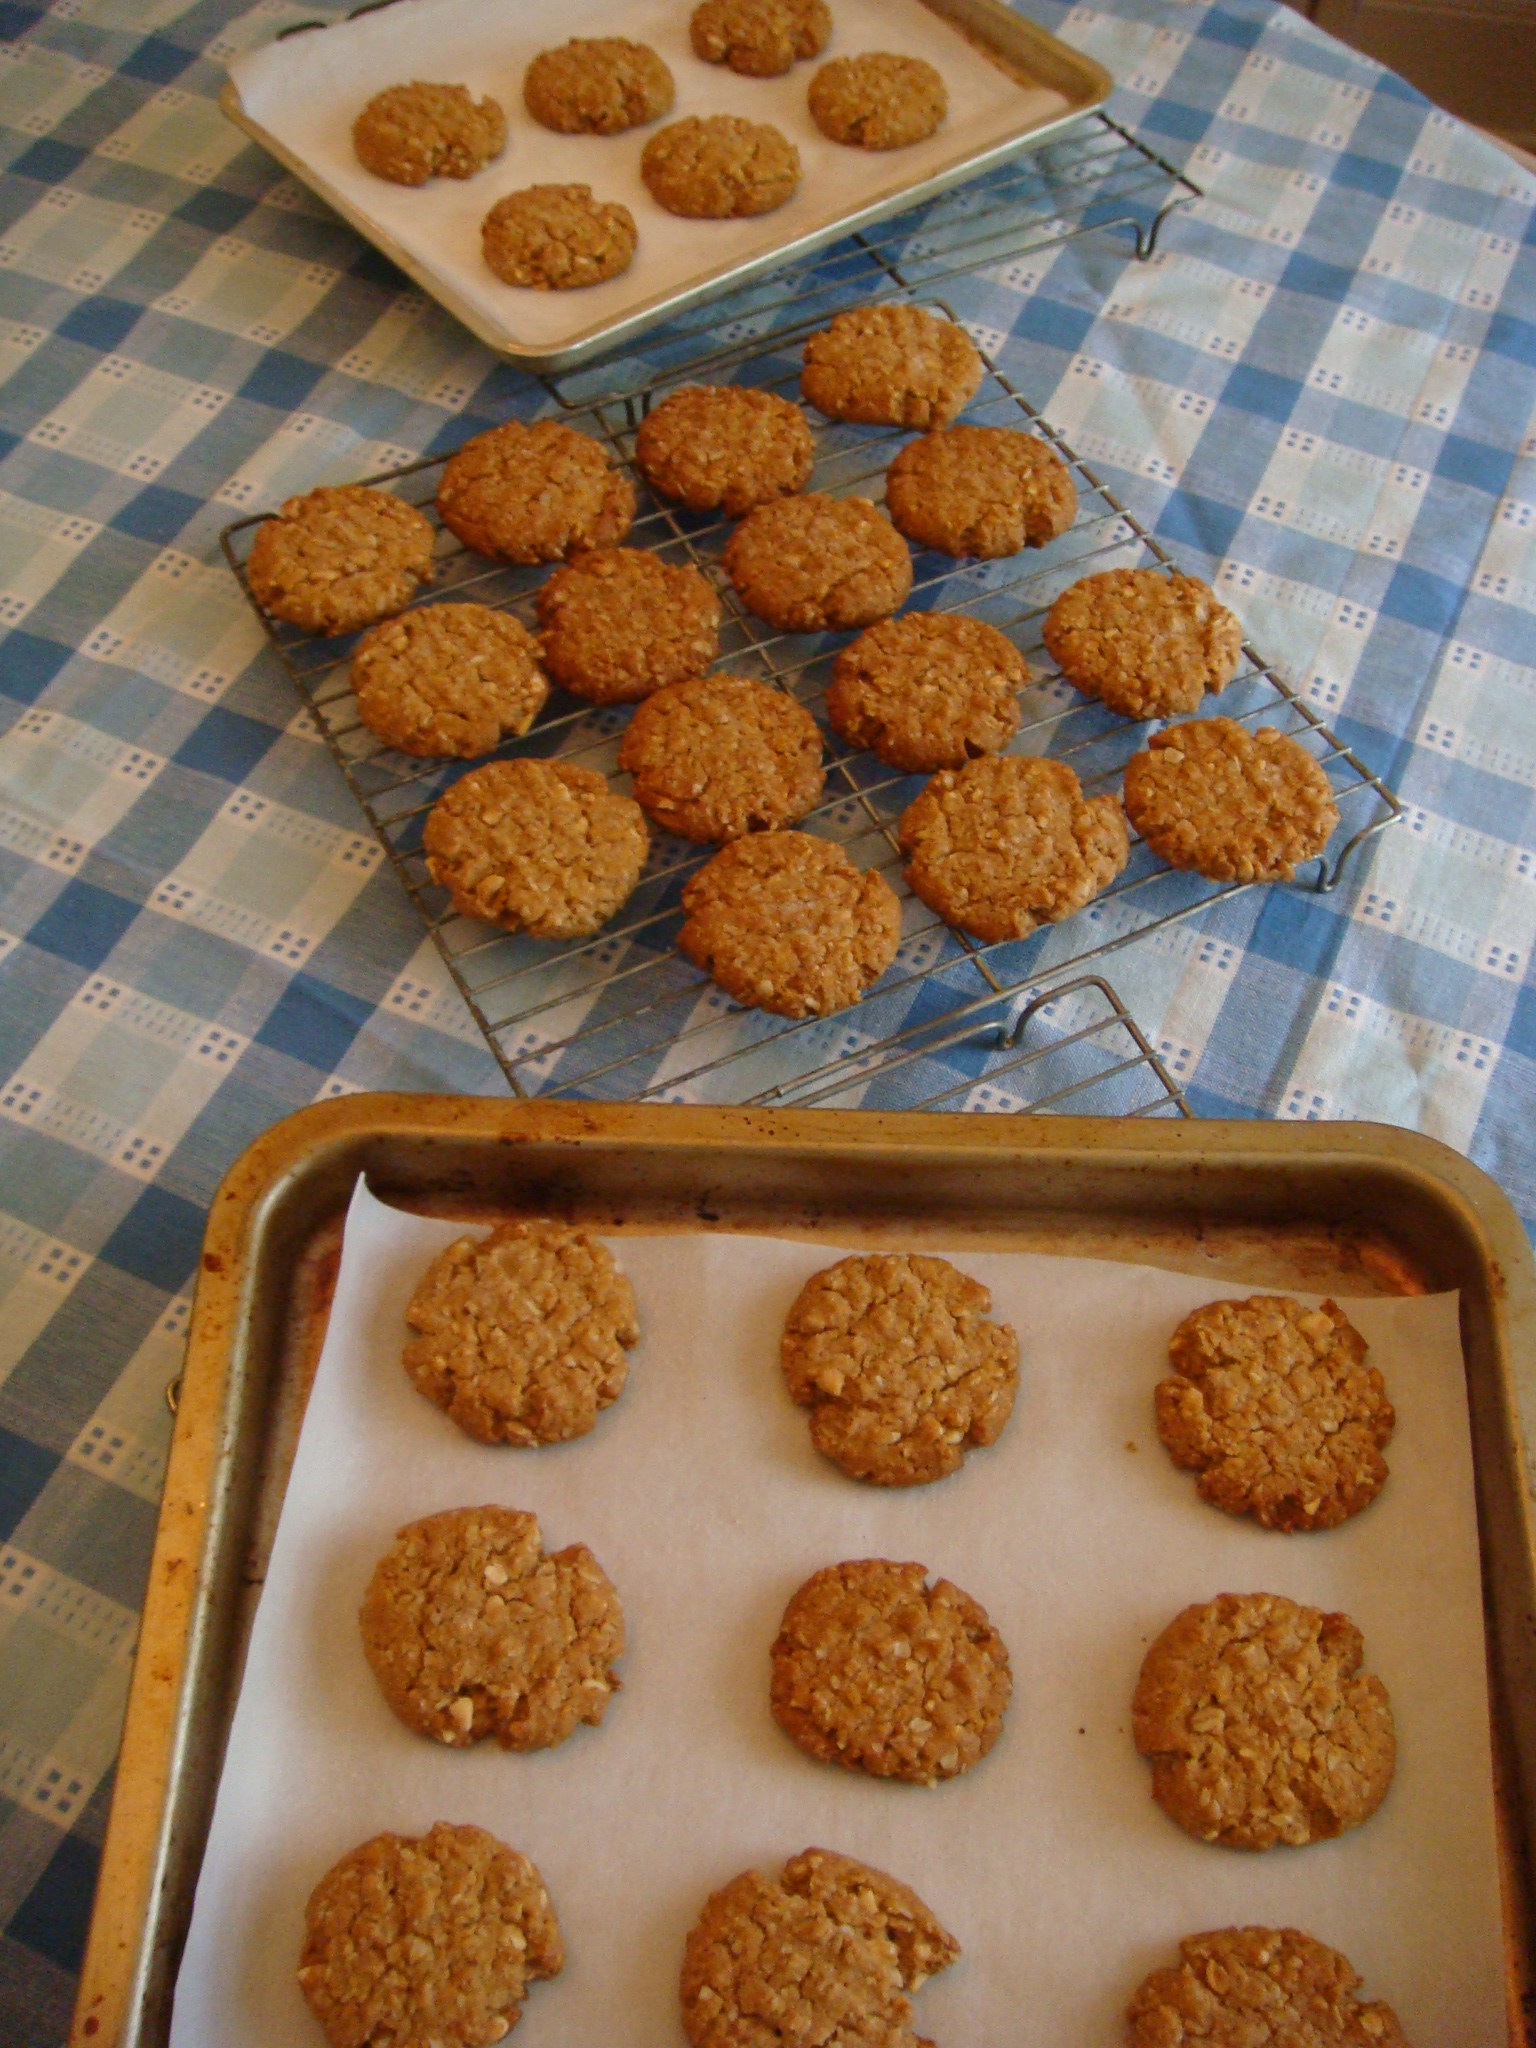
After trying many, many recipes for blueberry muffins, we tweaked combinations of ingredients and this is what we came up with!

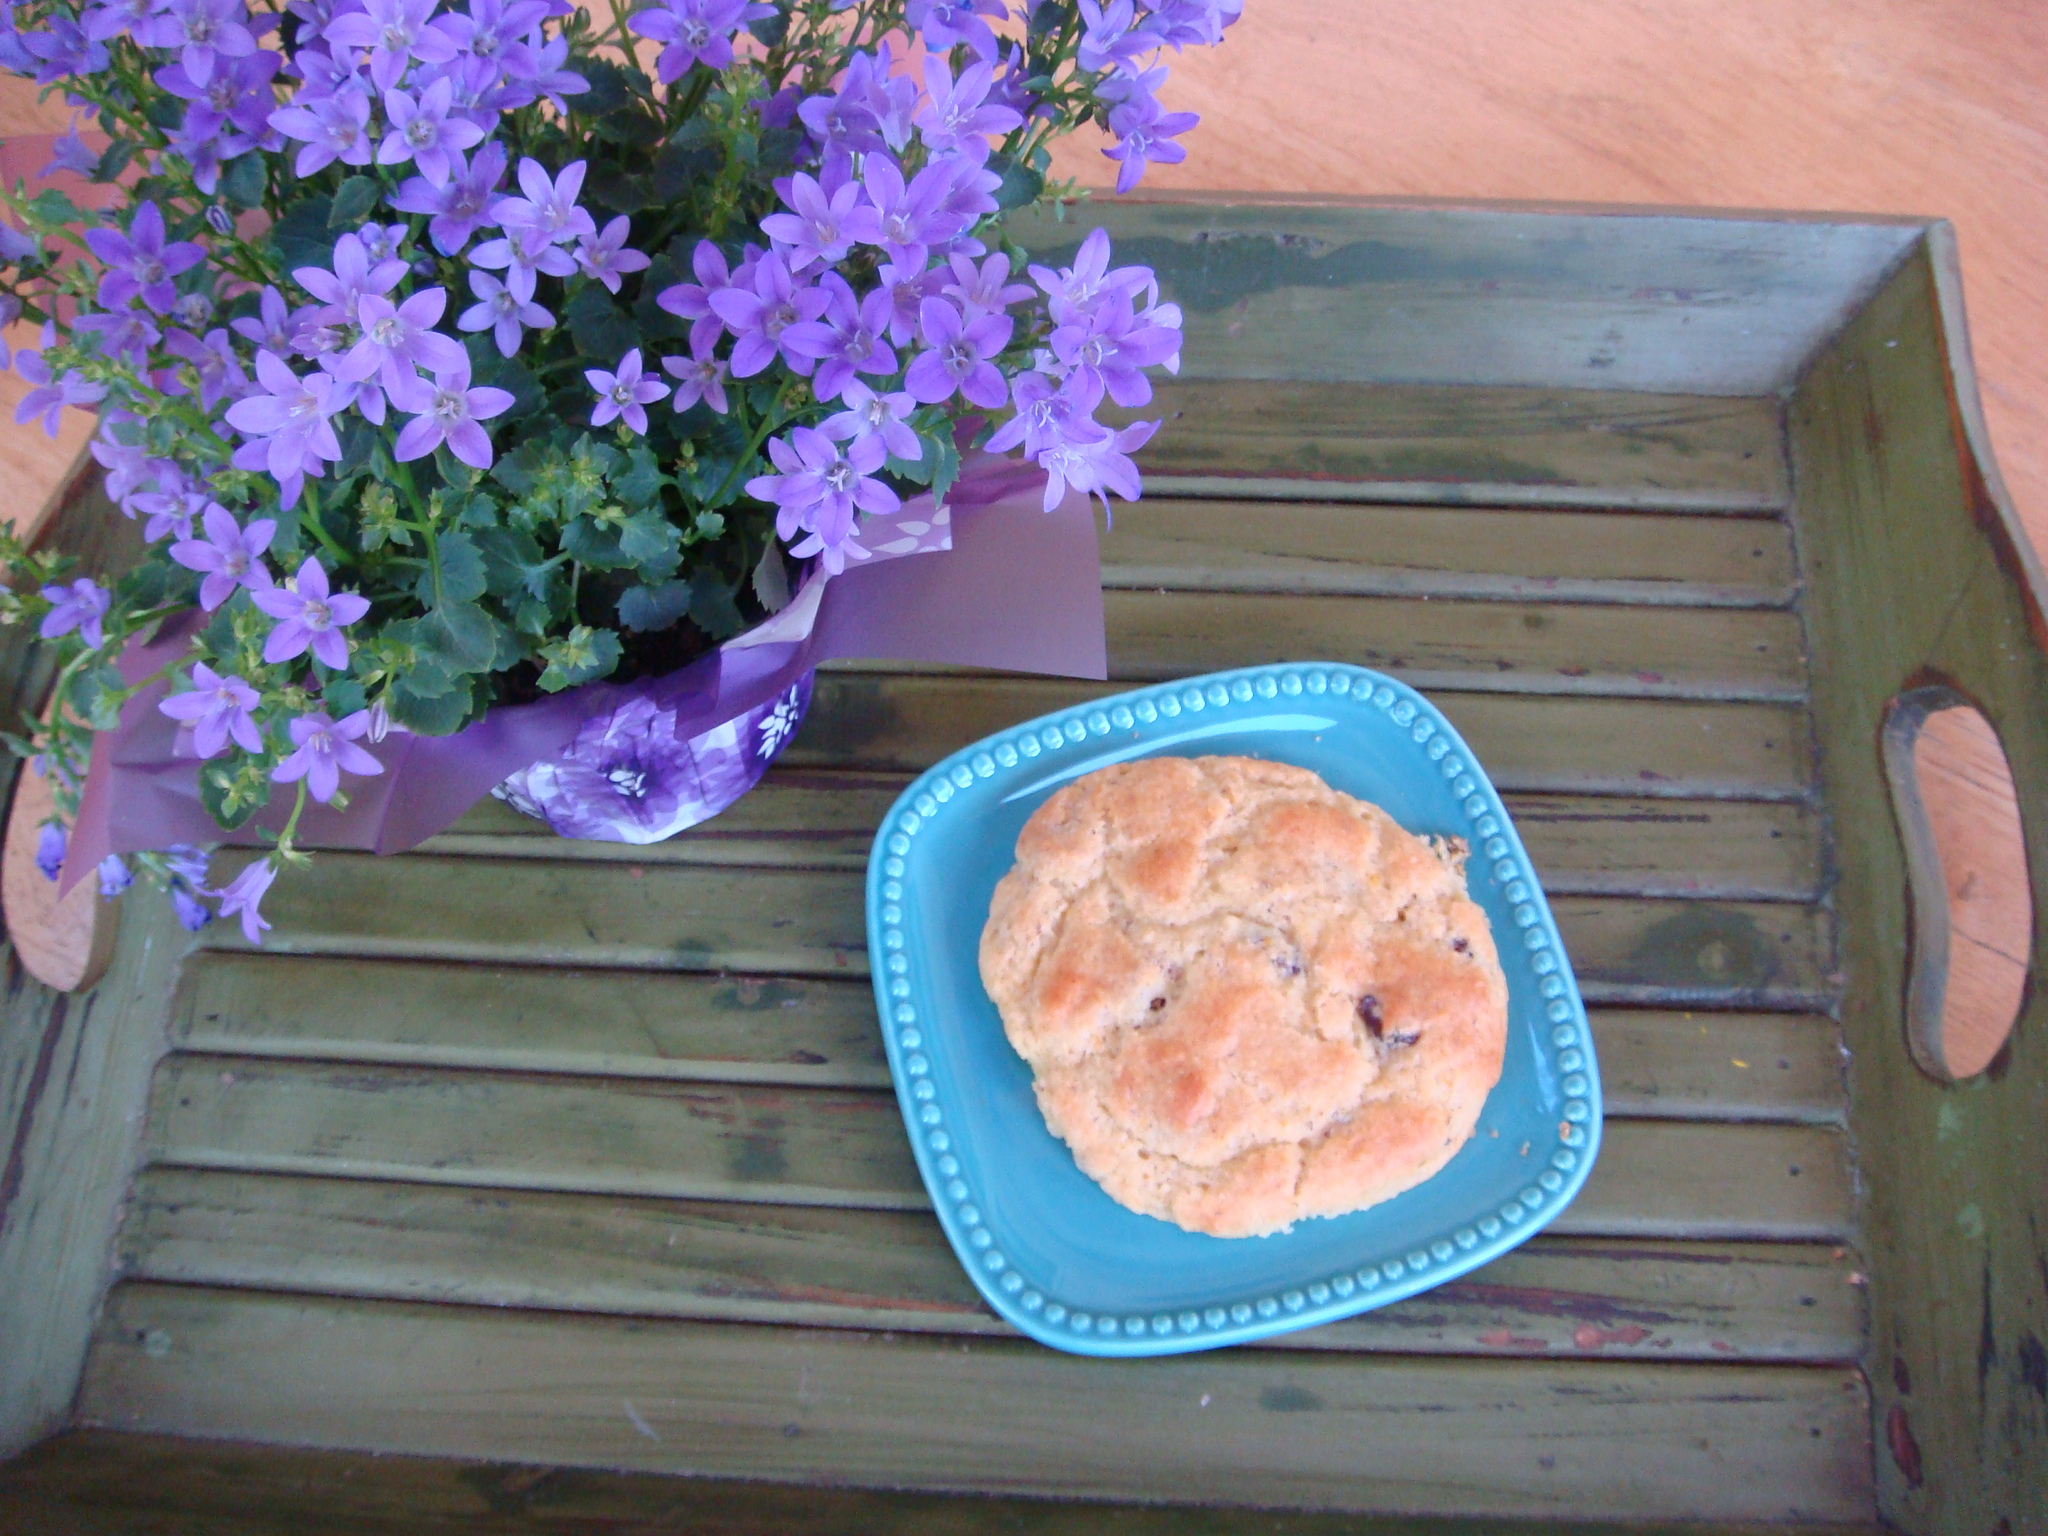
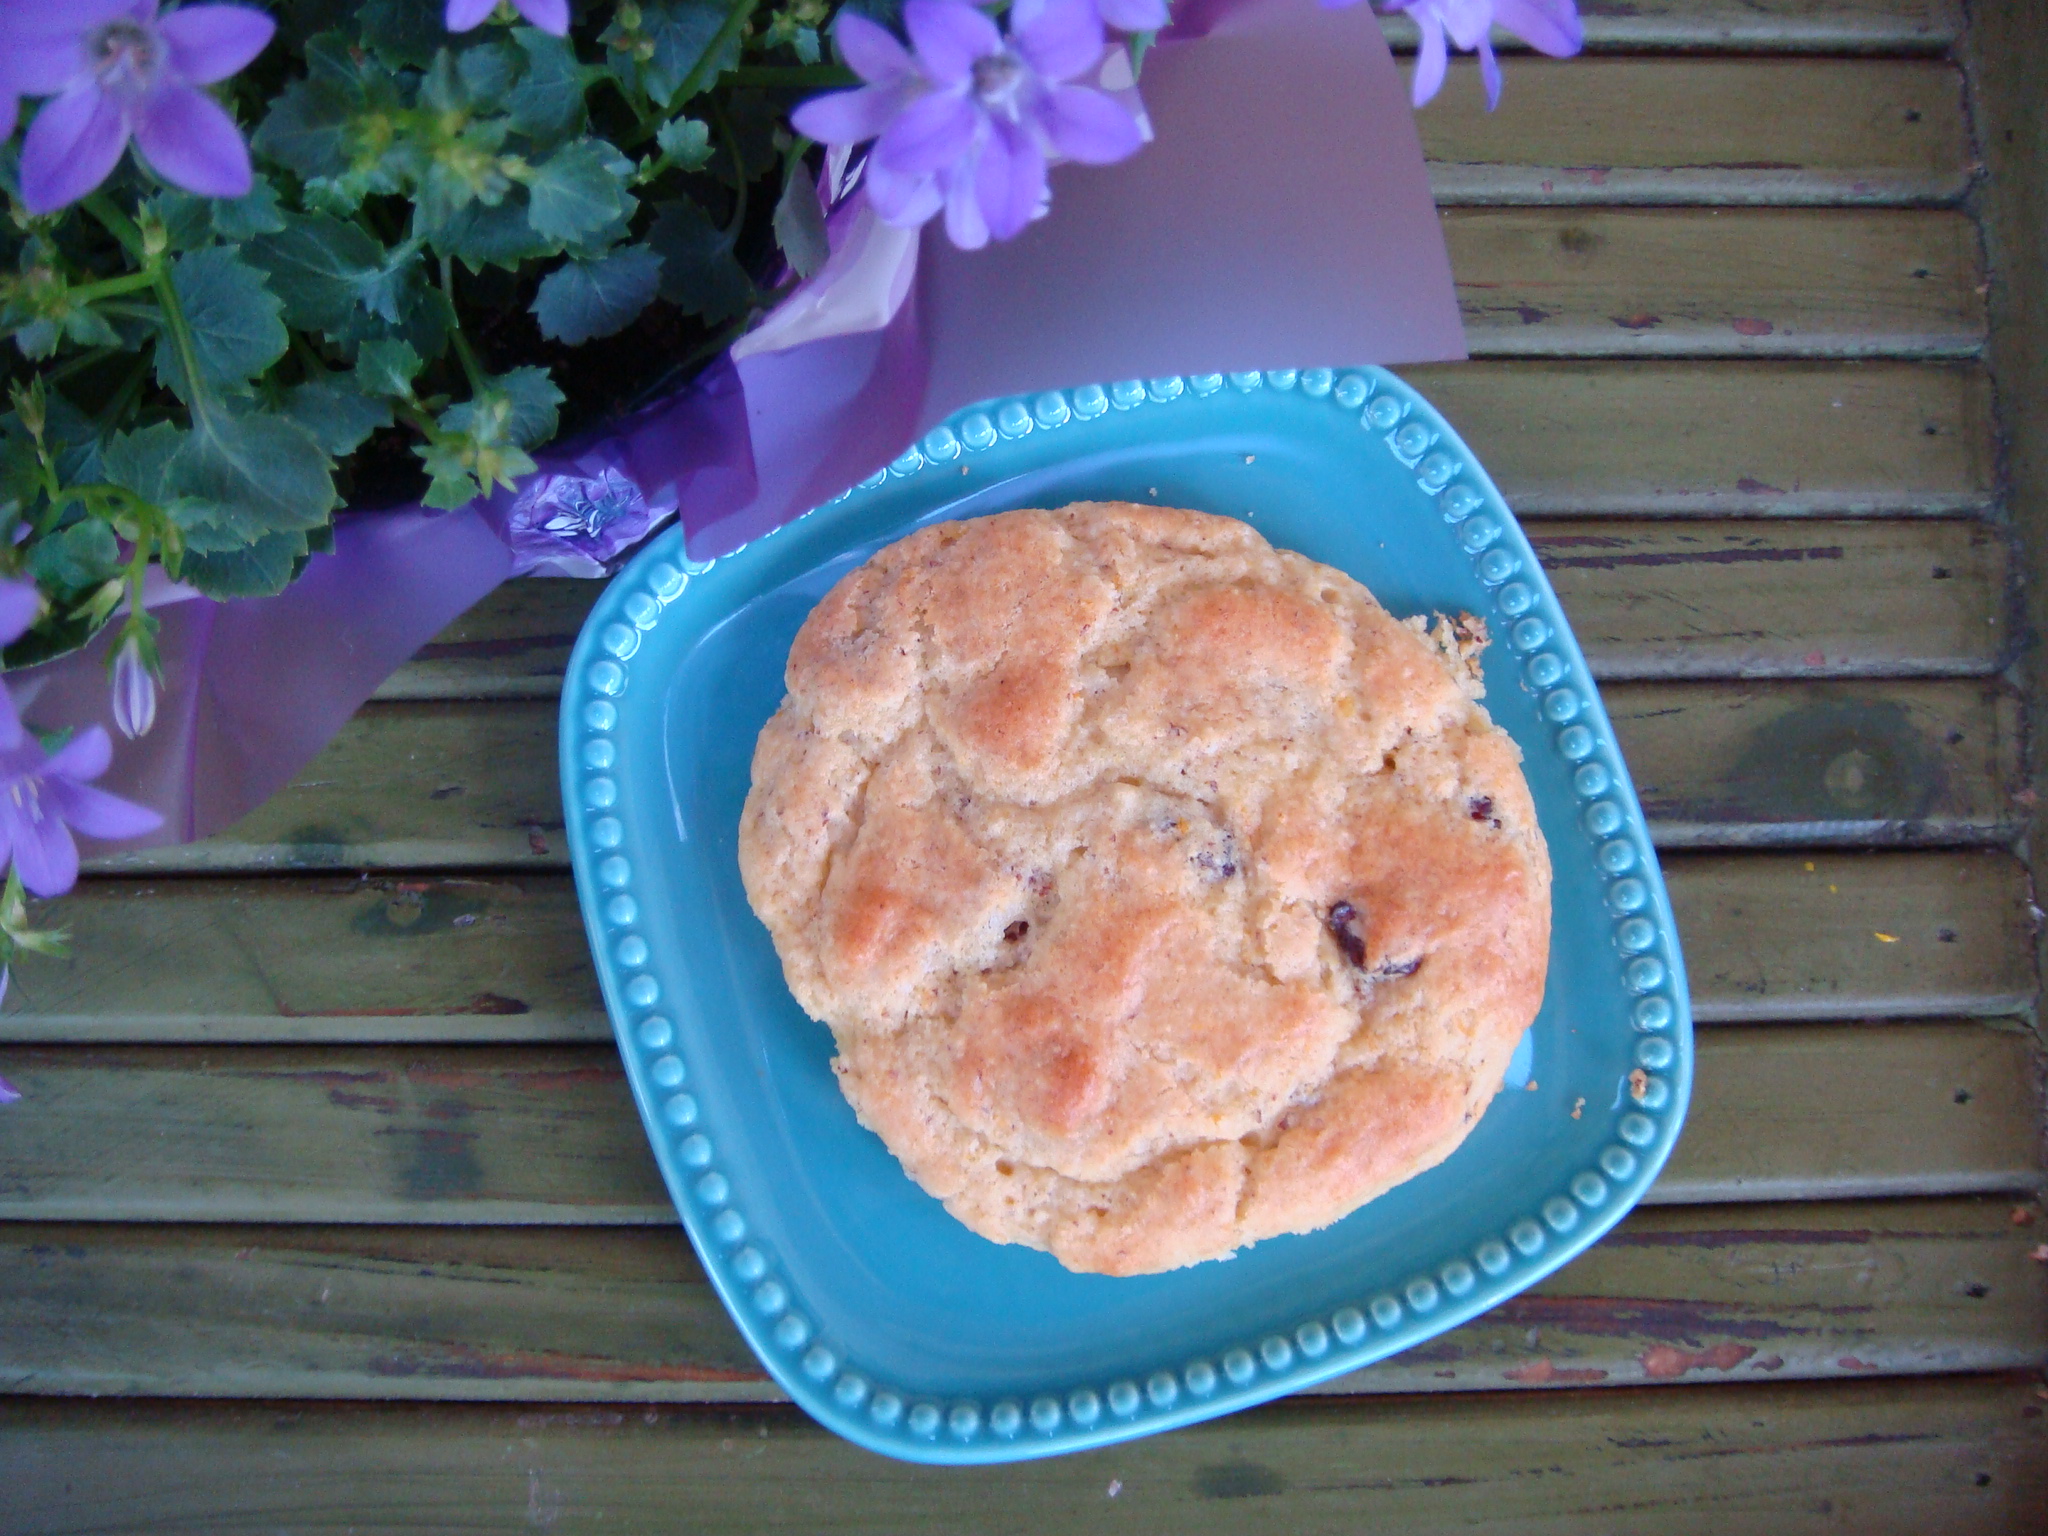
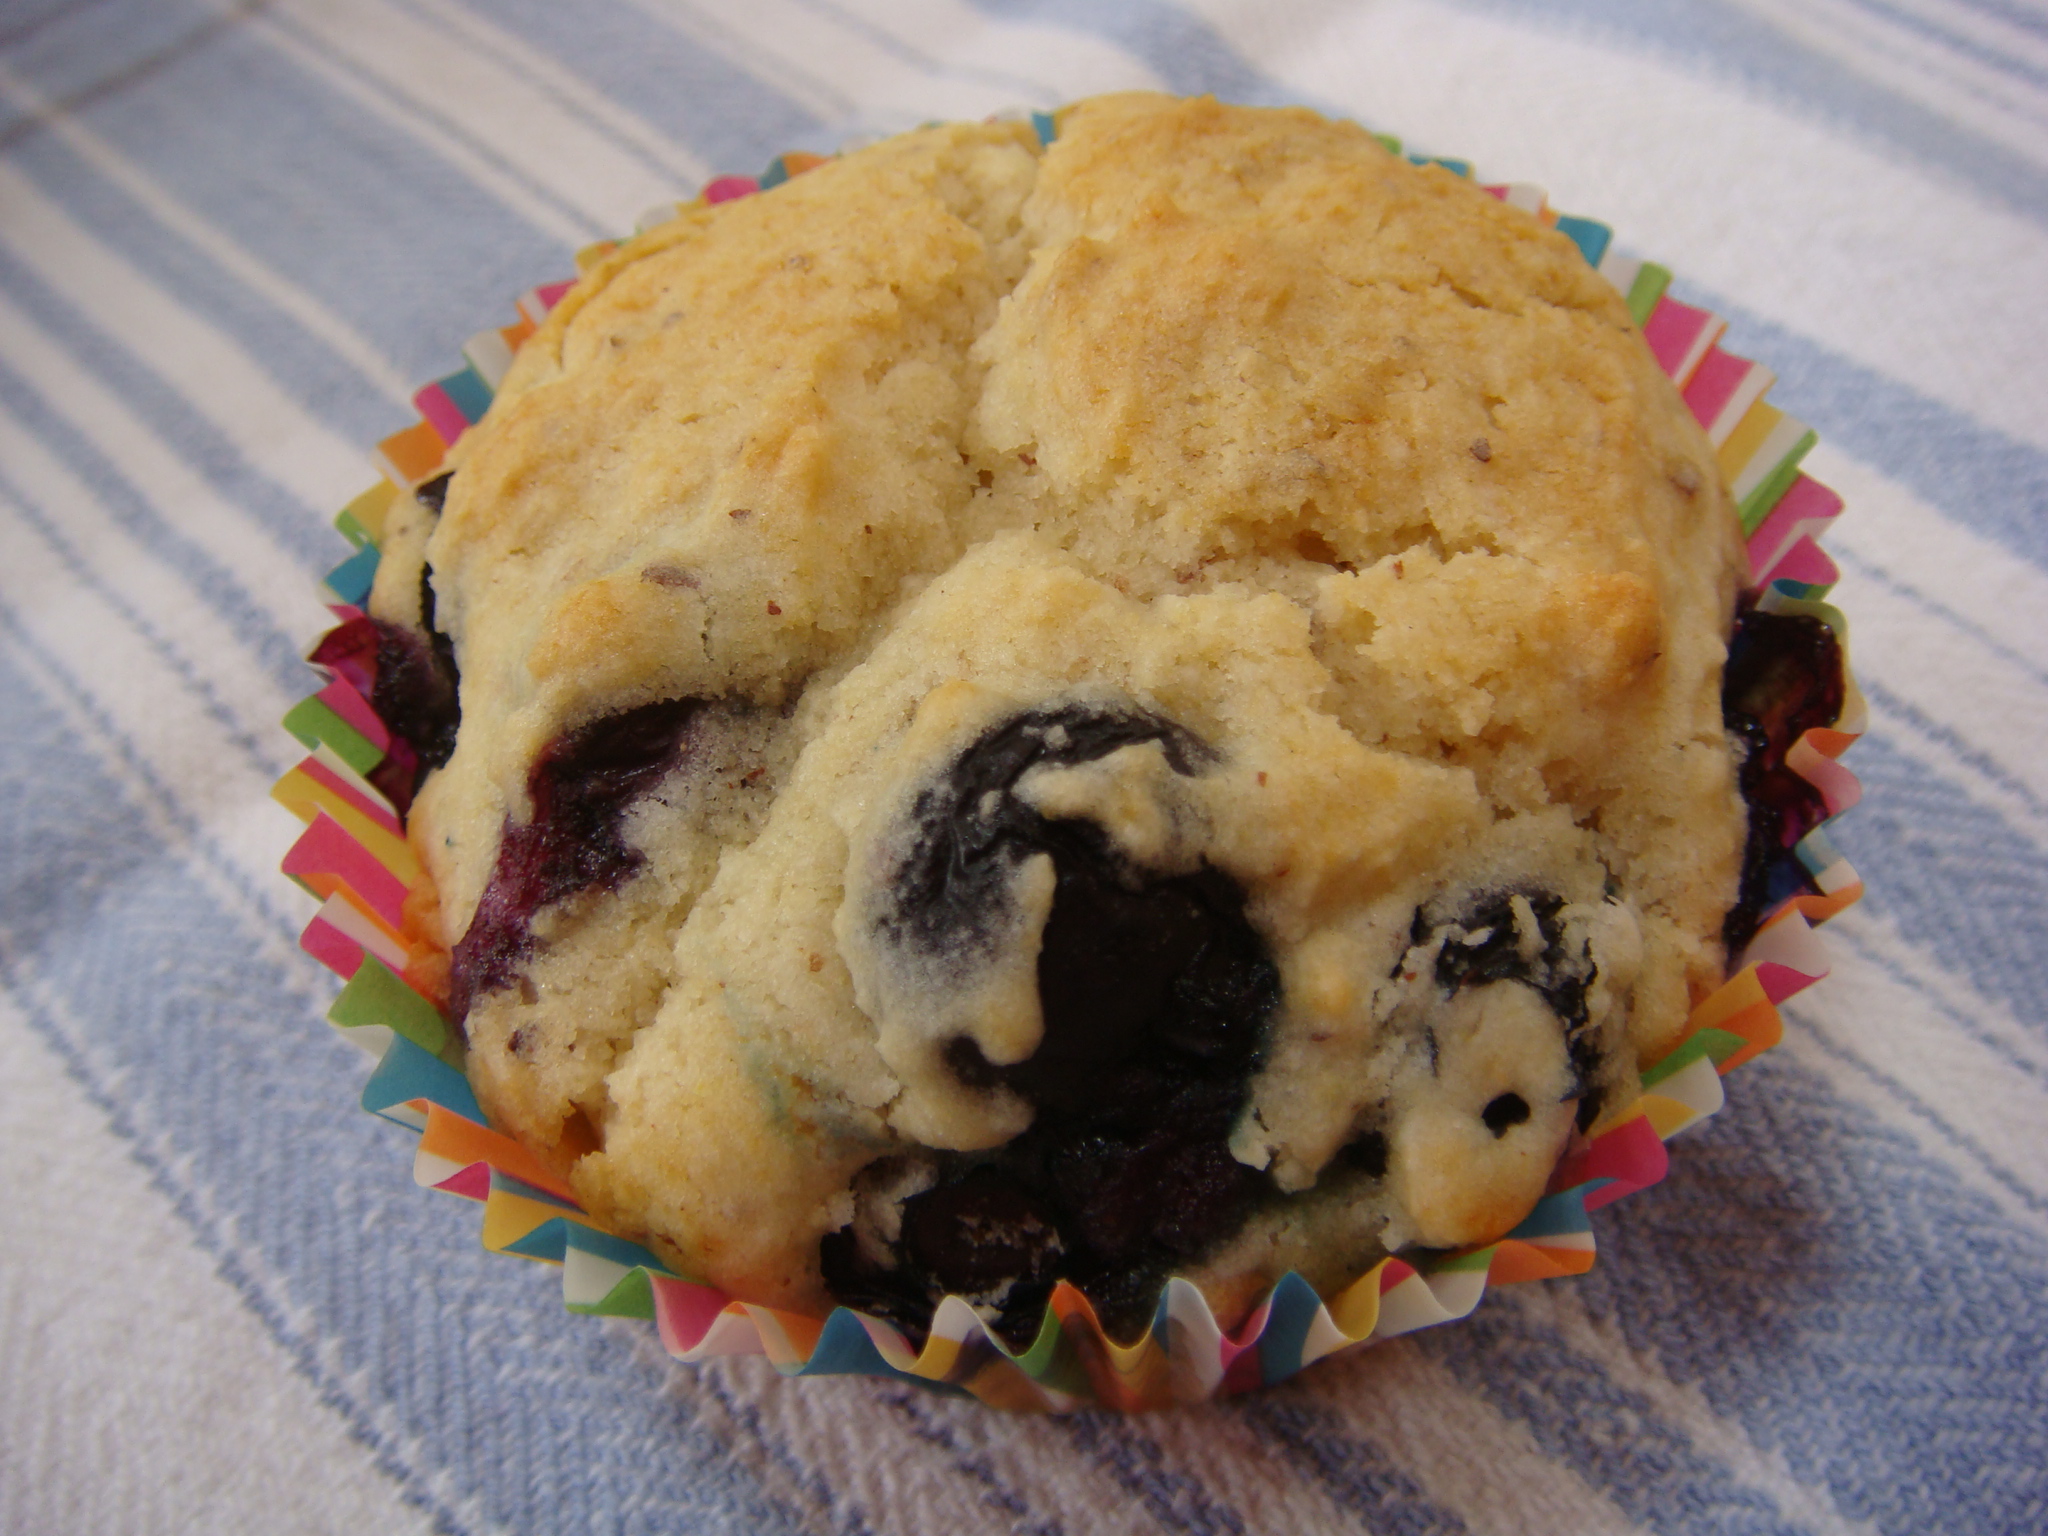
A lovely little muffin that gets its sweetness from the fresh blueberries! Yum!


DSC04274


Blueberry Muffins

Dry Ingredients

1 cup brown rice flour

½ cup sweet rice flour

¼ almond meal

1 T baking powder

½ tsp salt


Wet Ingredients

1/4 cup butter (½ stick), softened

½ cup granulated sugar

1 large egg

¾ cup milk (we use Lactaid milk)


1 ¾ cups of fresh blueberries

1 T brown rice flour


Muffin Making Directions:

Preheat oven to 350˚. Place muffin (cupcake) papers into 12-cup muffin tin.

Whisk together the dry ingredients and set aside.

Cream the butter and sugar in a large bowl.  If using an electric mixer, this should take about 1 minute.

Add your egg and combine until smooth and thoroughly incorporated. About 1 minute, too!

Next add ½ of your dry ingredients and blend.

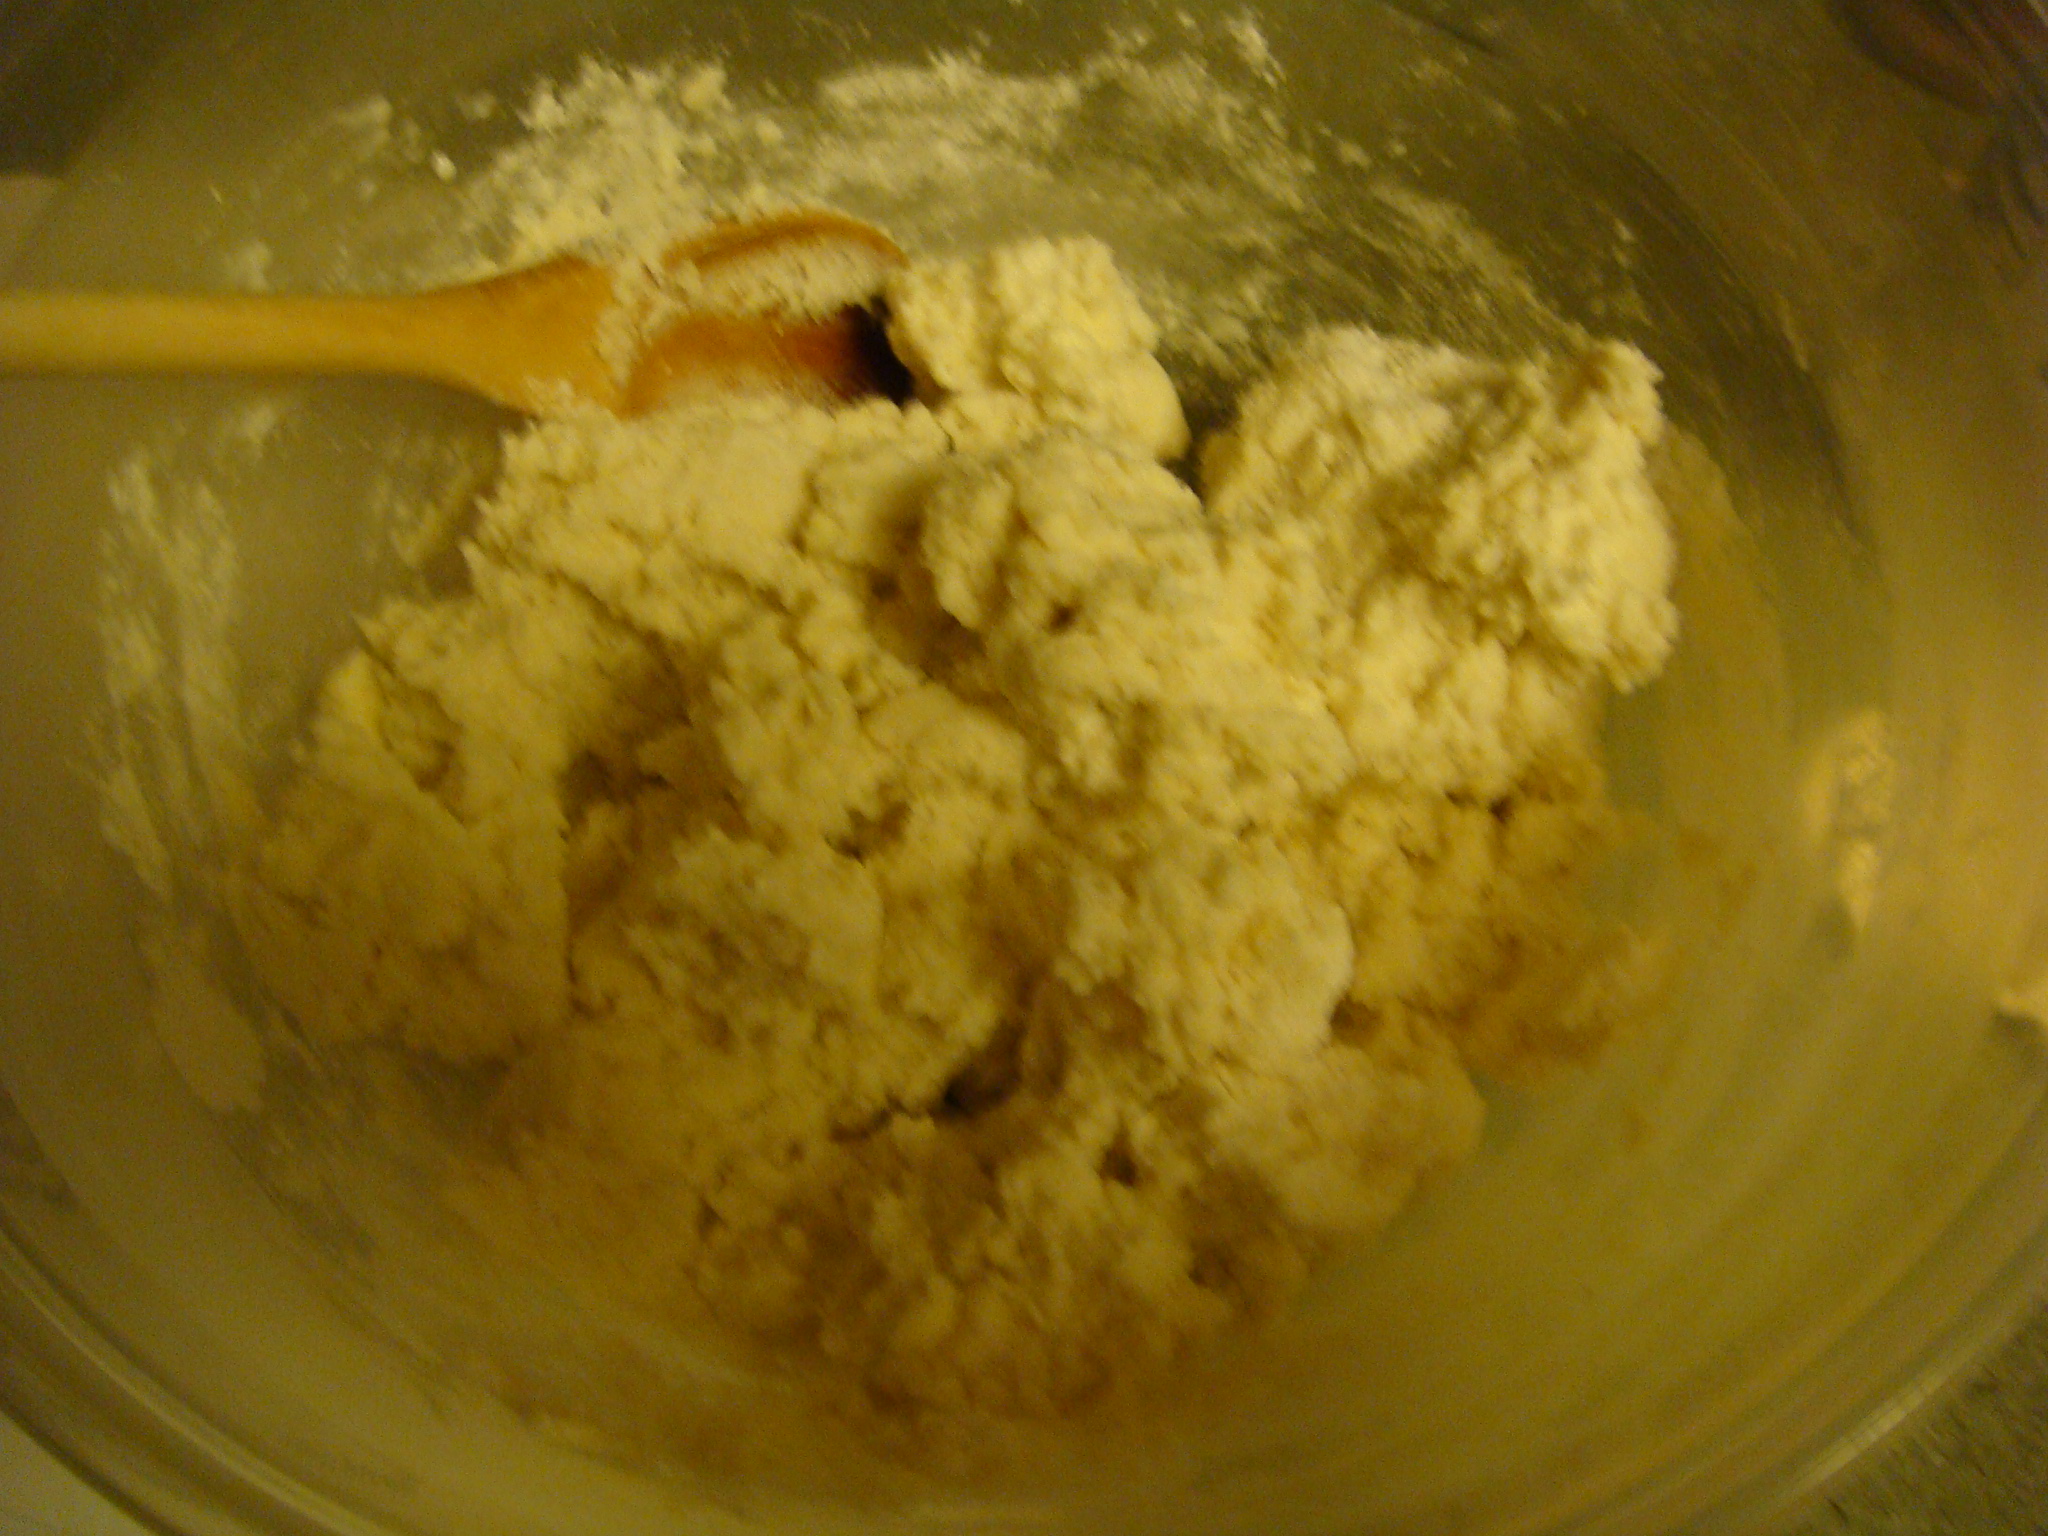
Add your milk and incorporate. Finally, add the last of the dry ingredients and blend again. You should have a yummy fluffy dough.

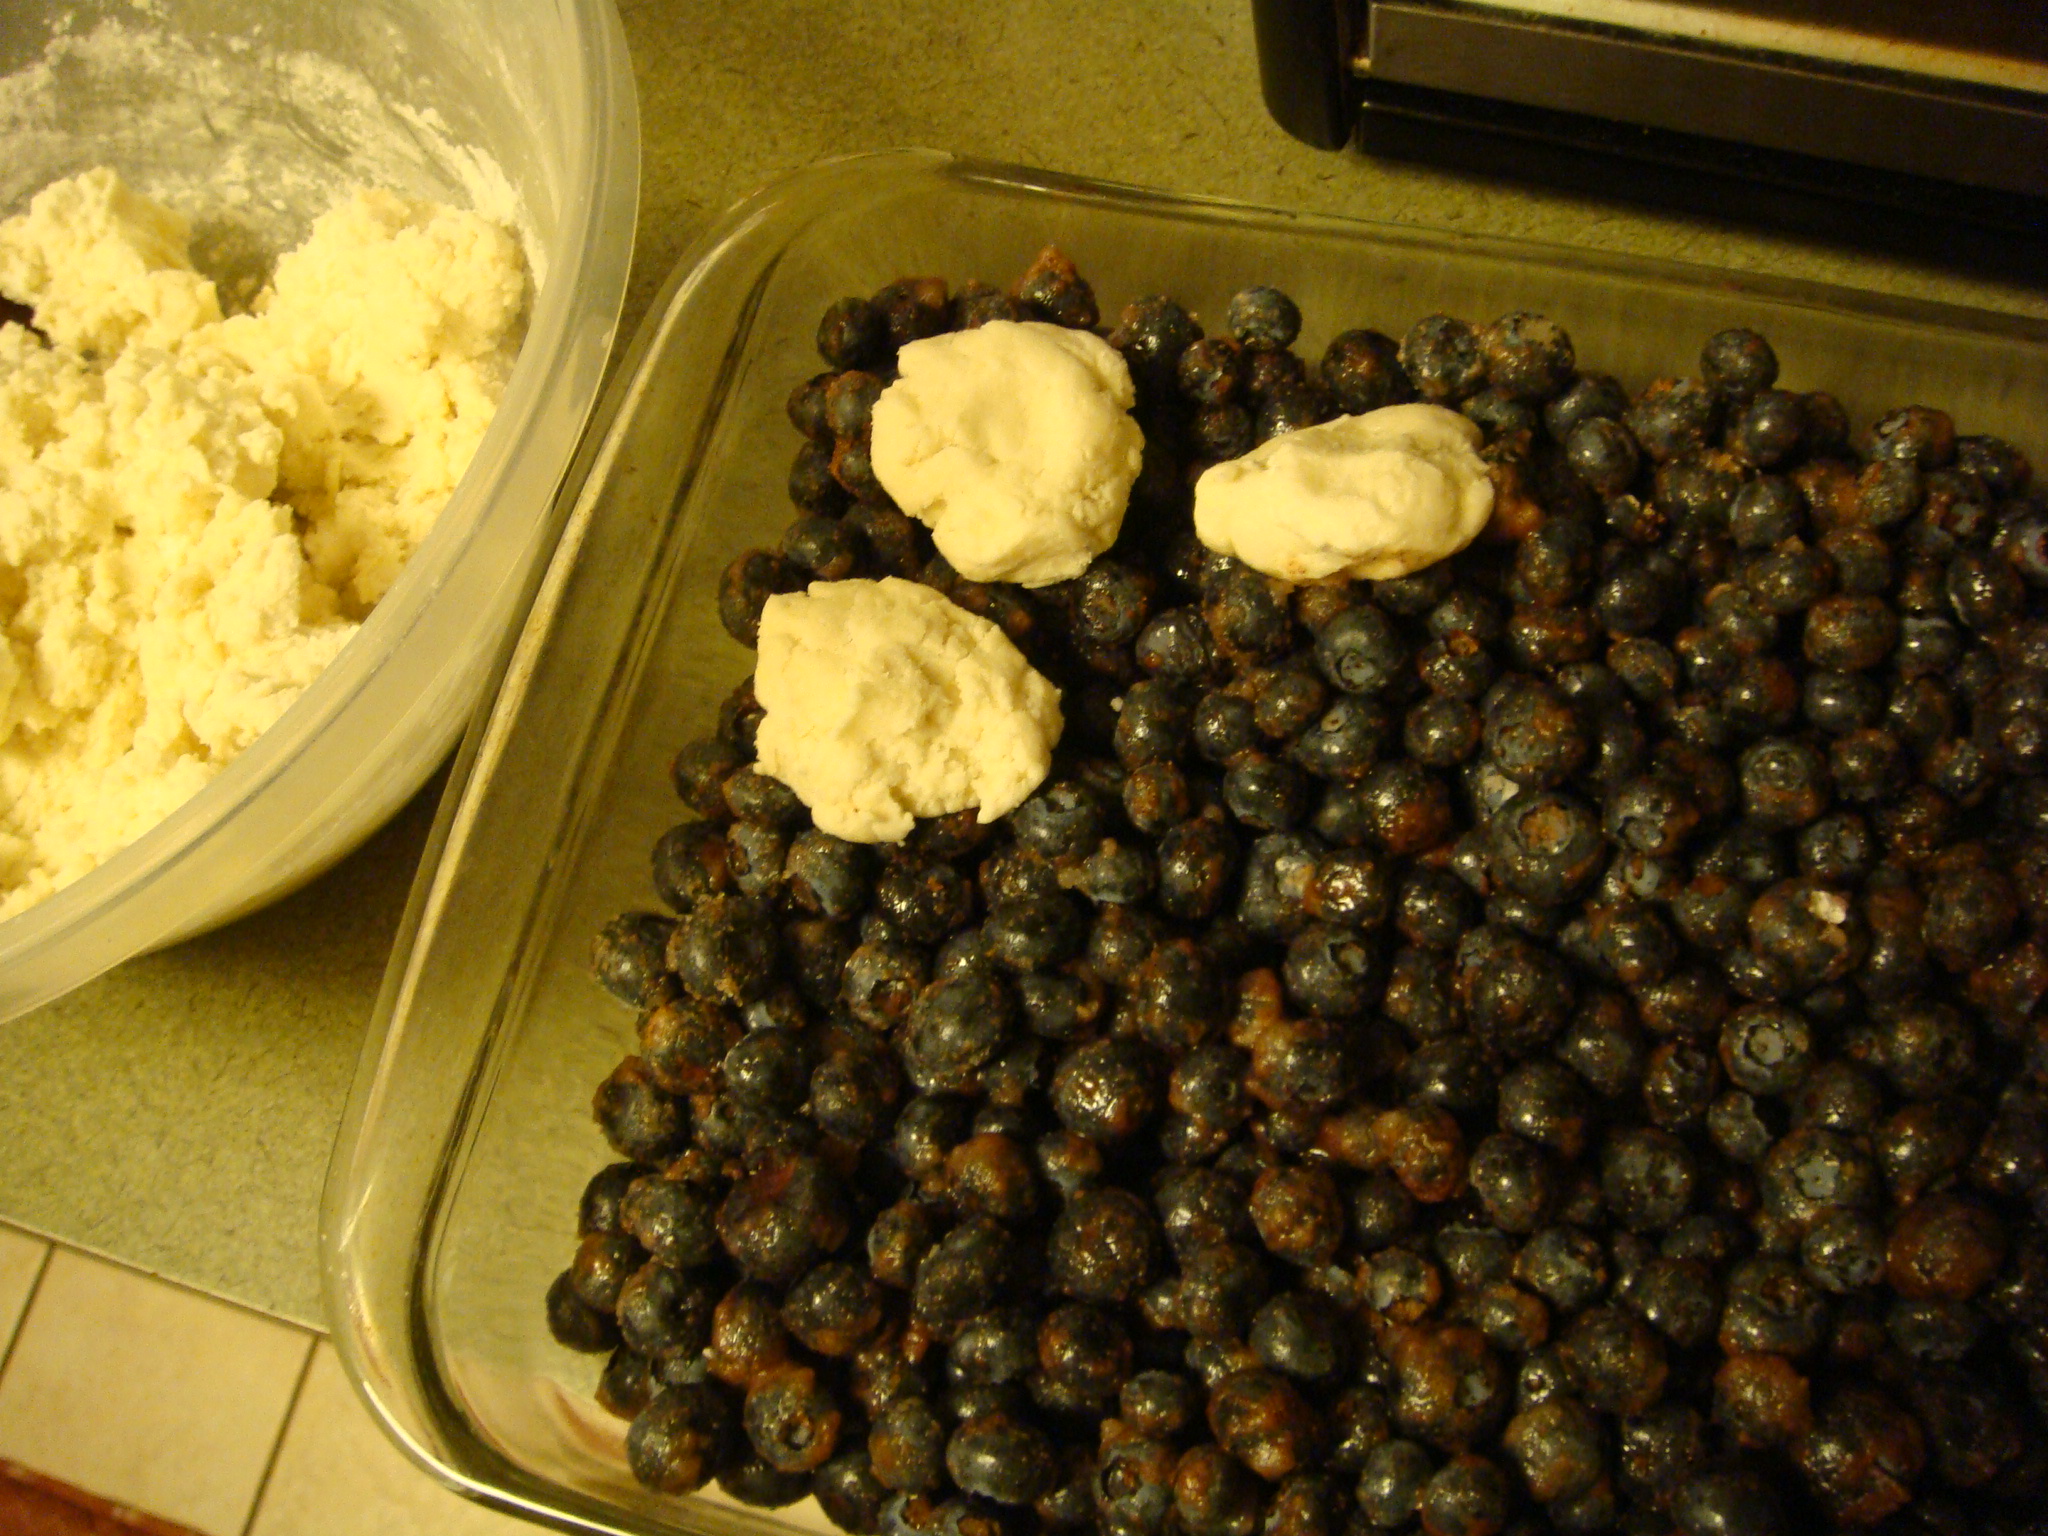
Take your fresh blueberries and coat them with the 1 T of brown rice flour in a small bowl.

Now add the berries to the dough mixture and fold them in. Be careful not to break too many of them!

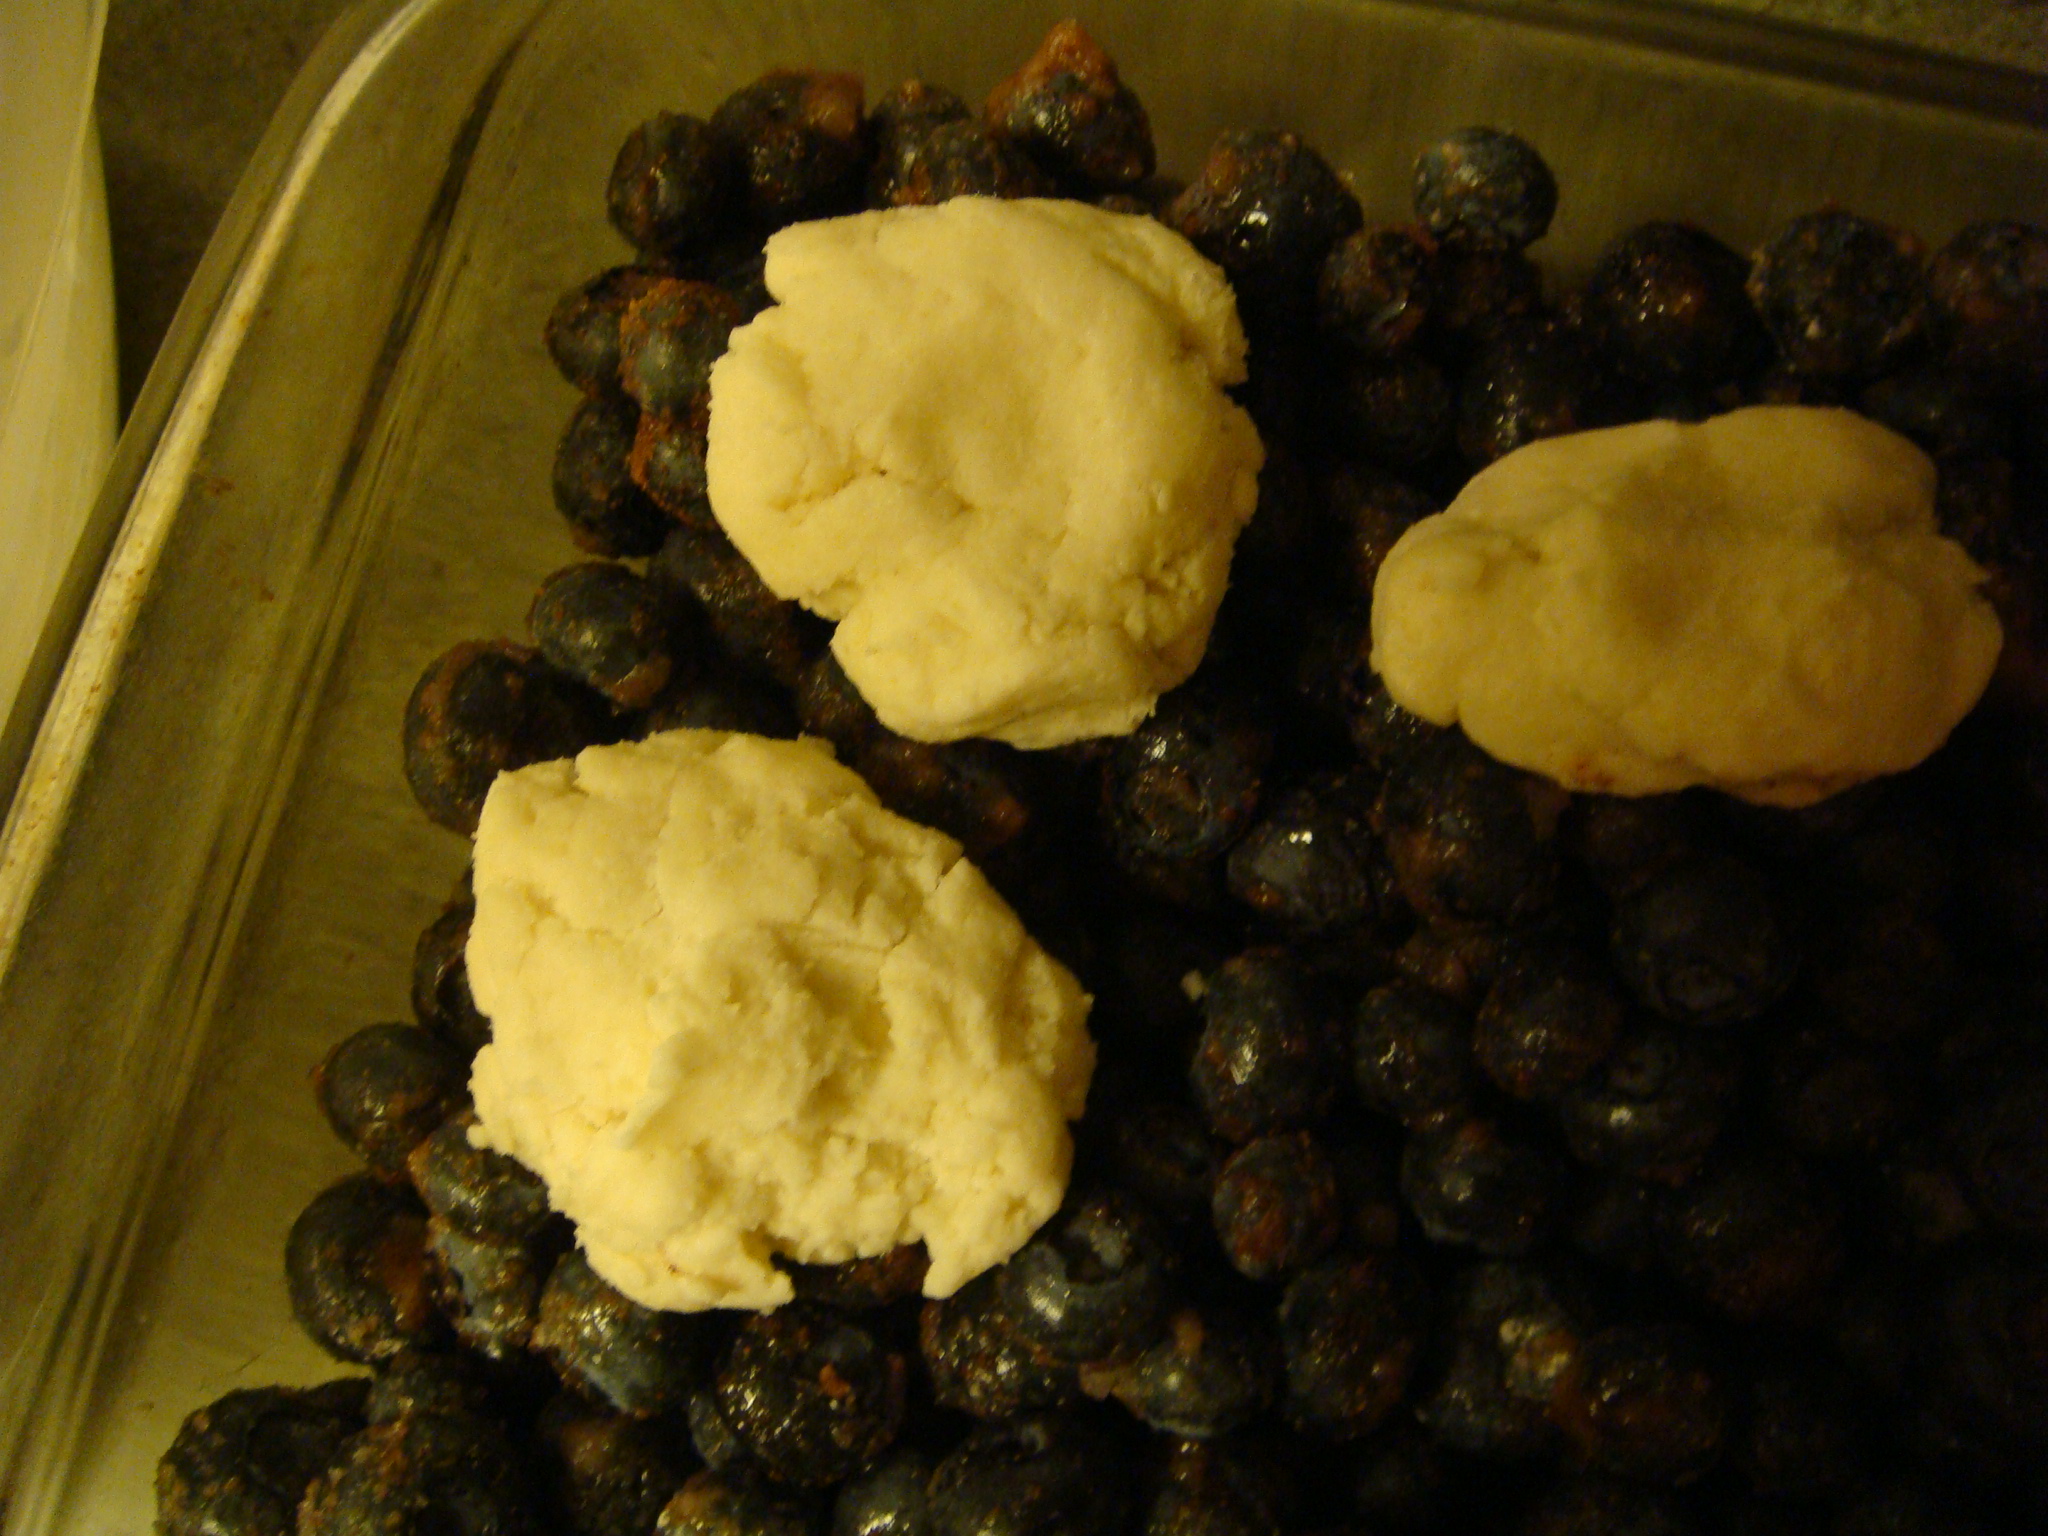
Using an ice cream scooper, fill each muffin cup with dough about ¾ full.

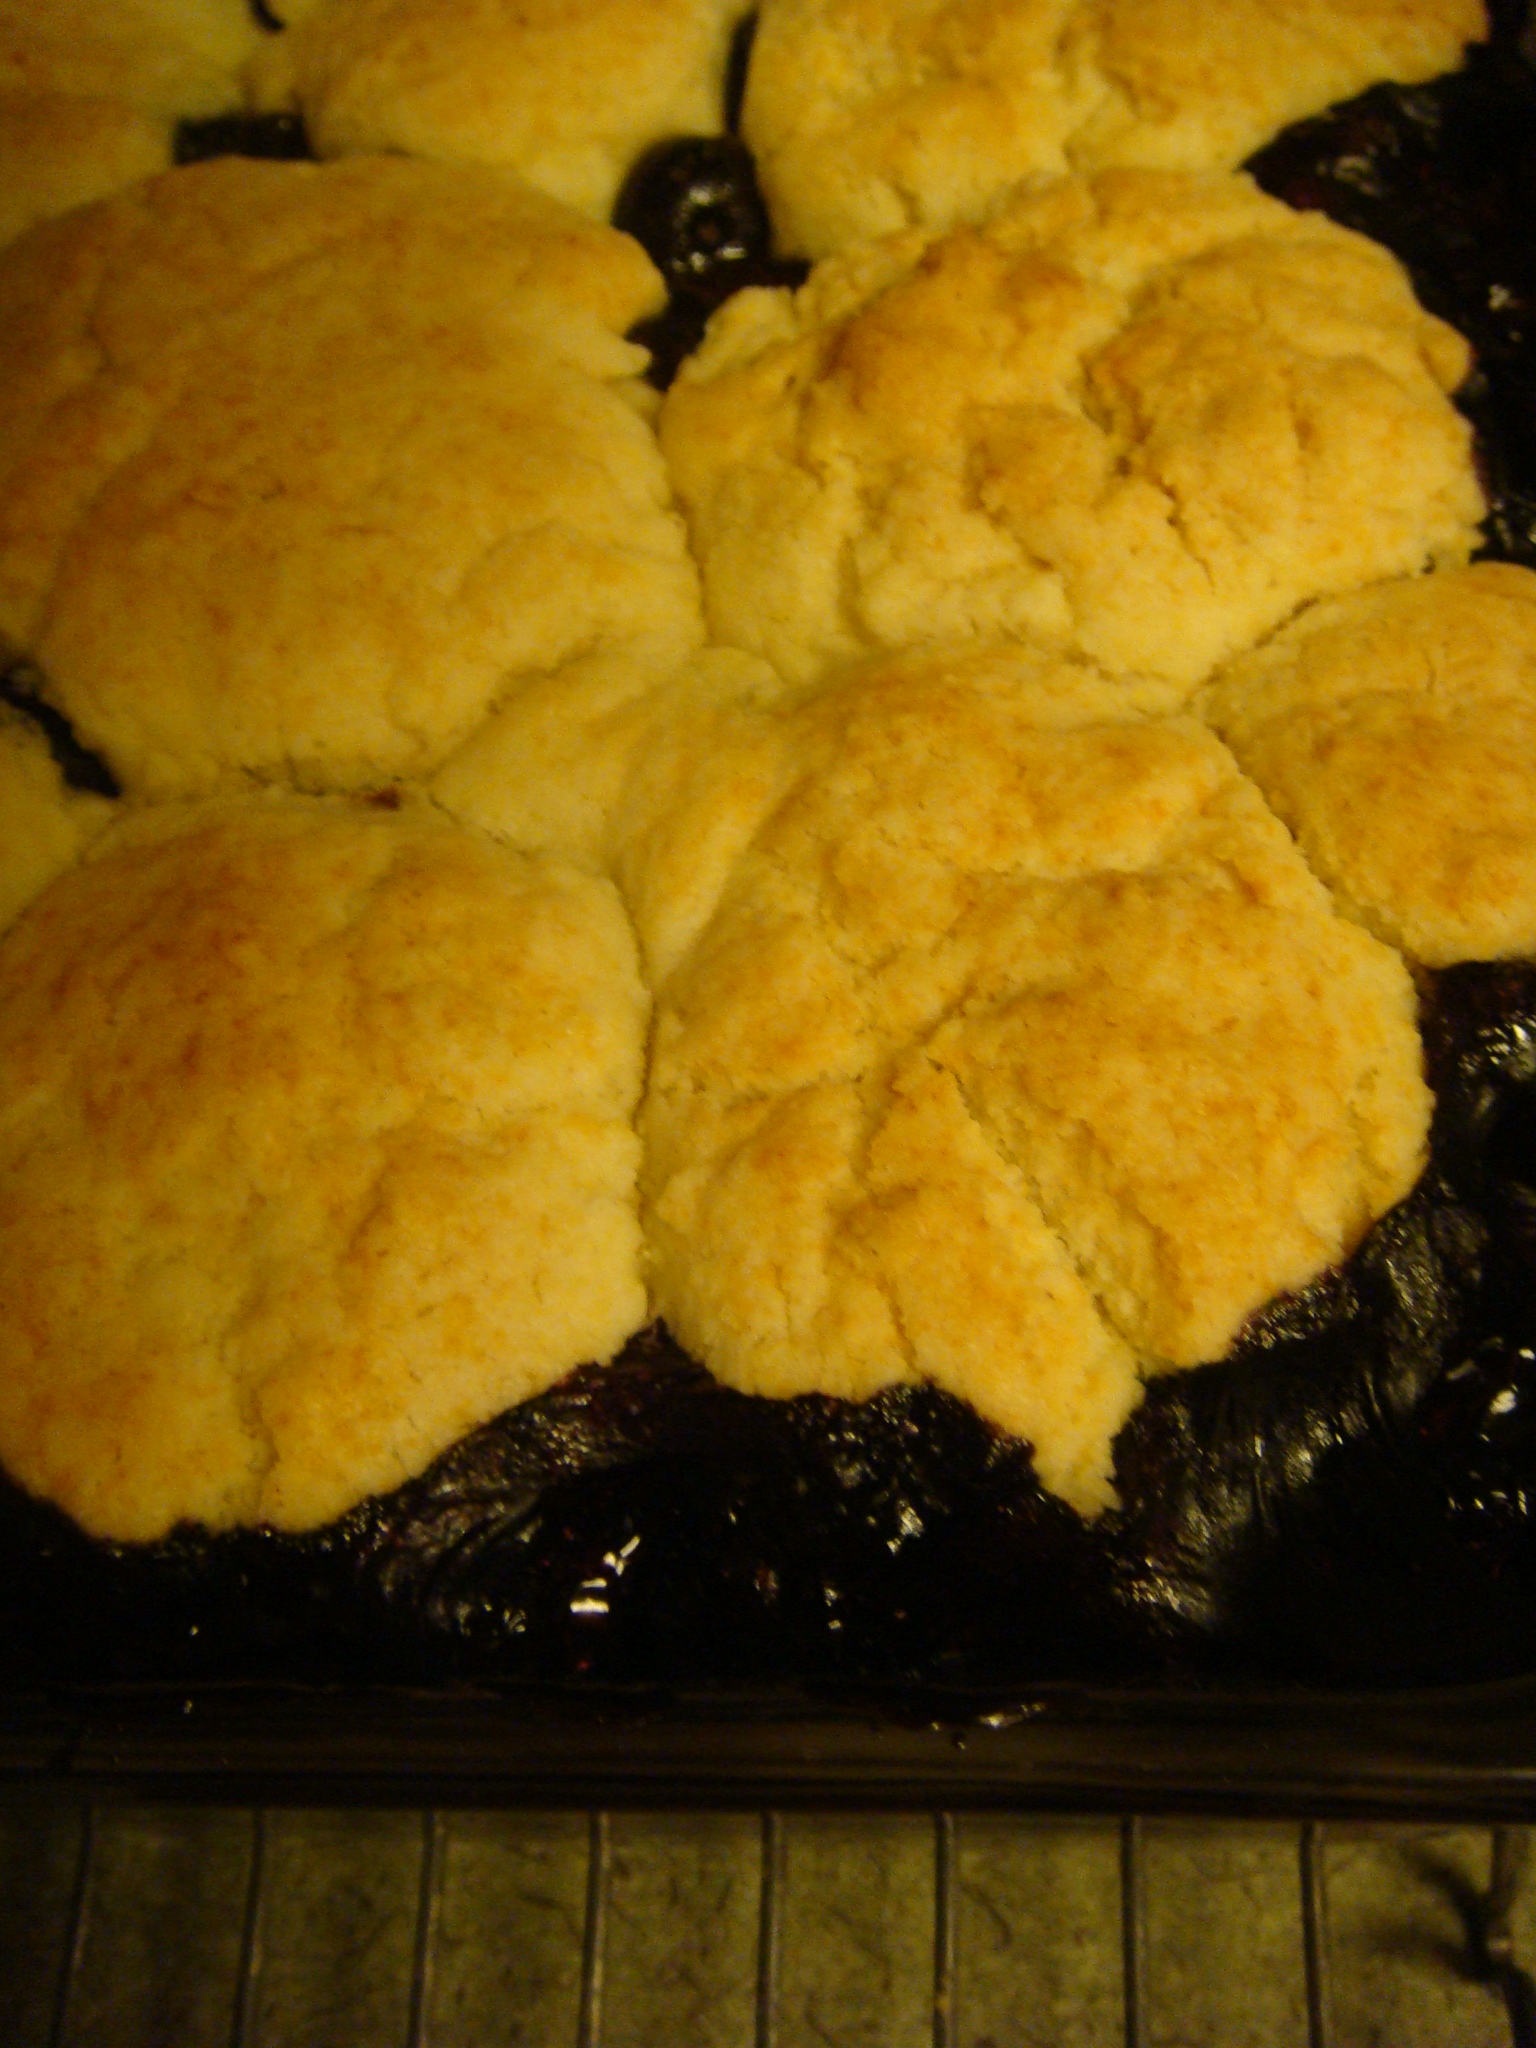
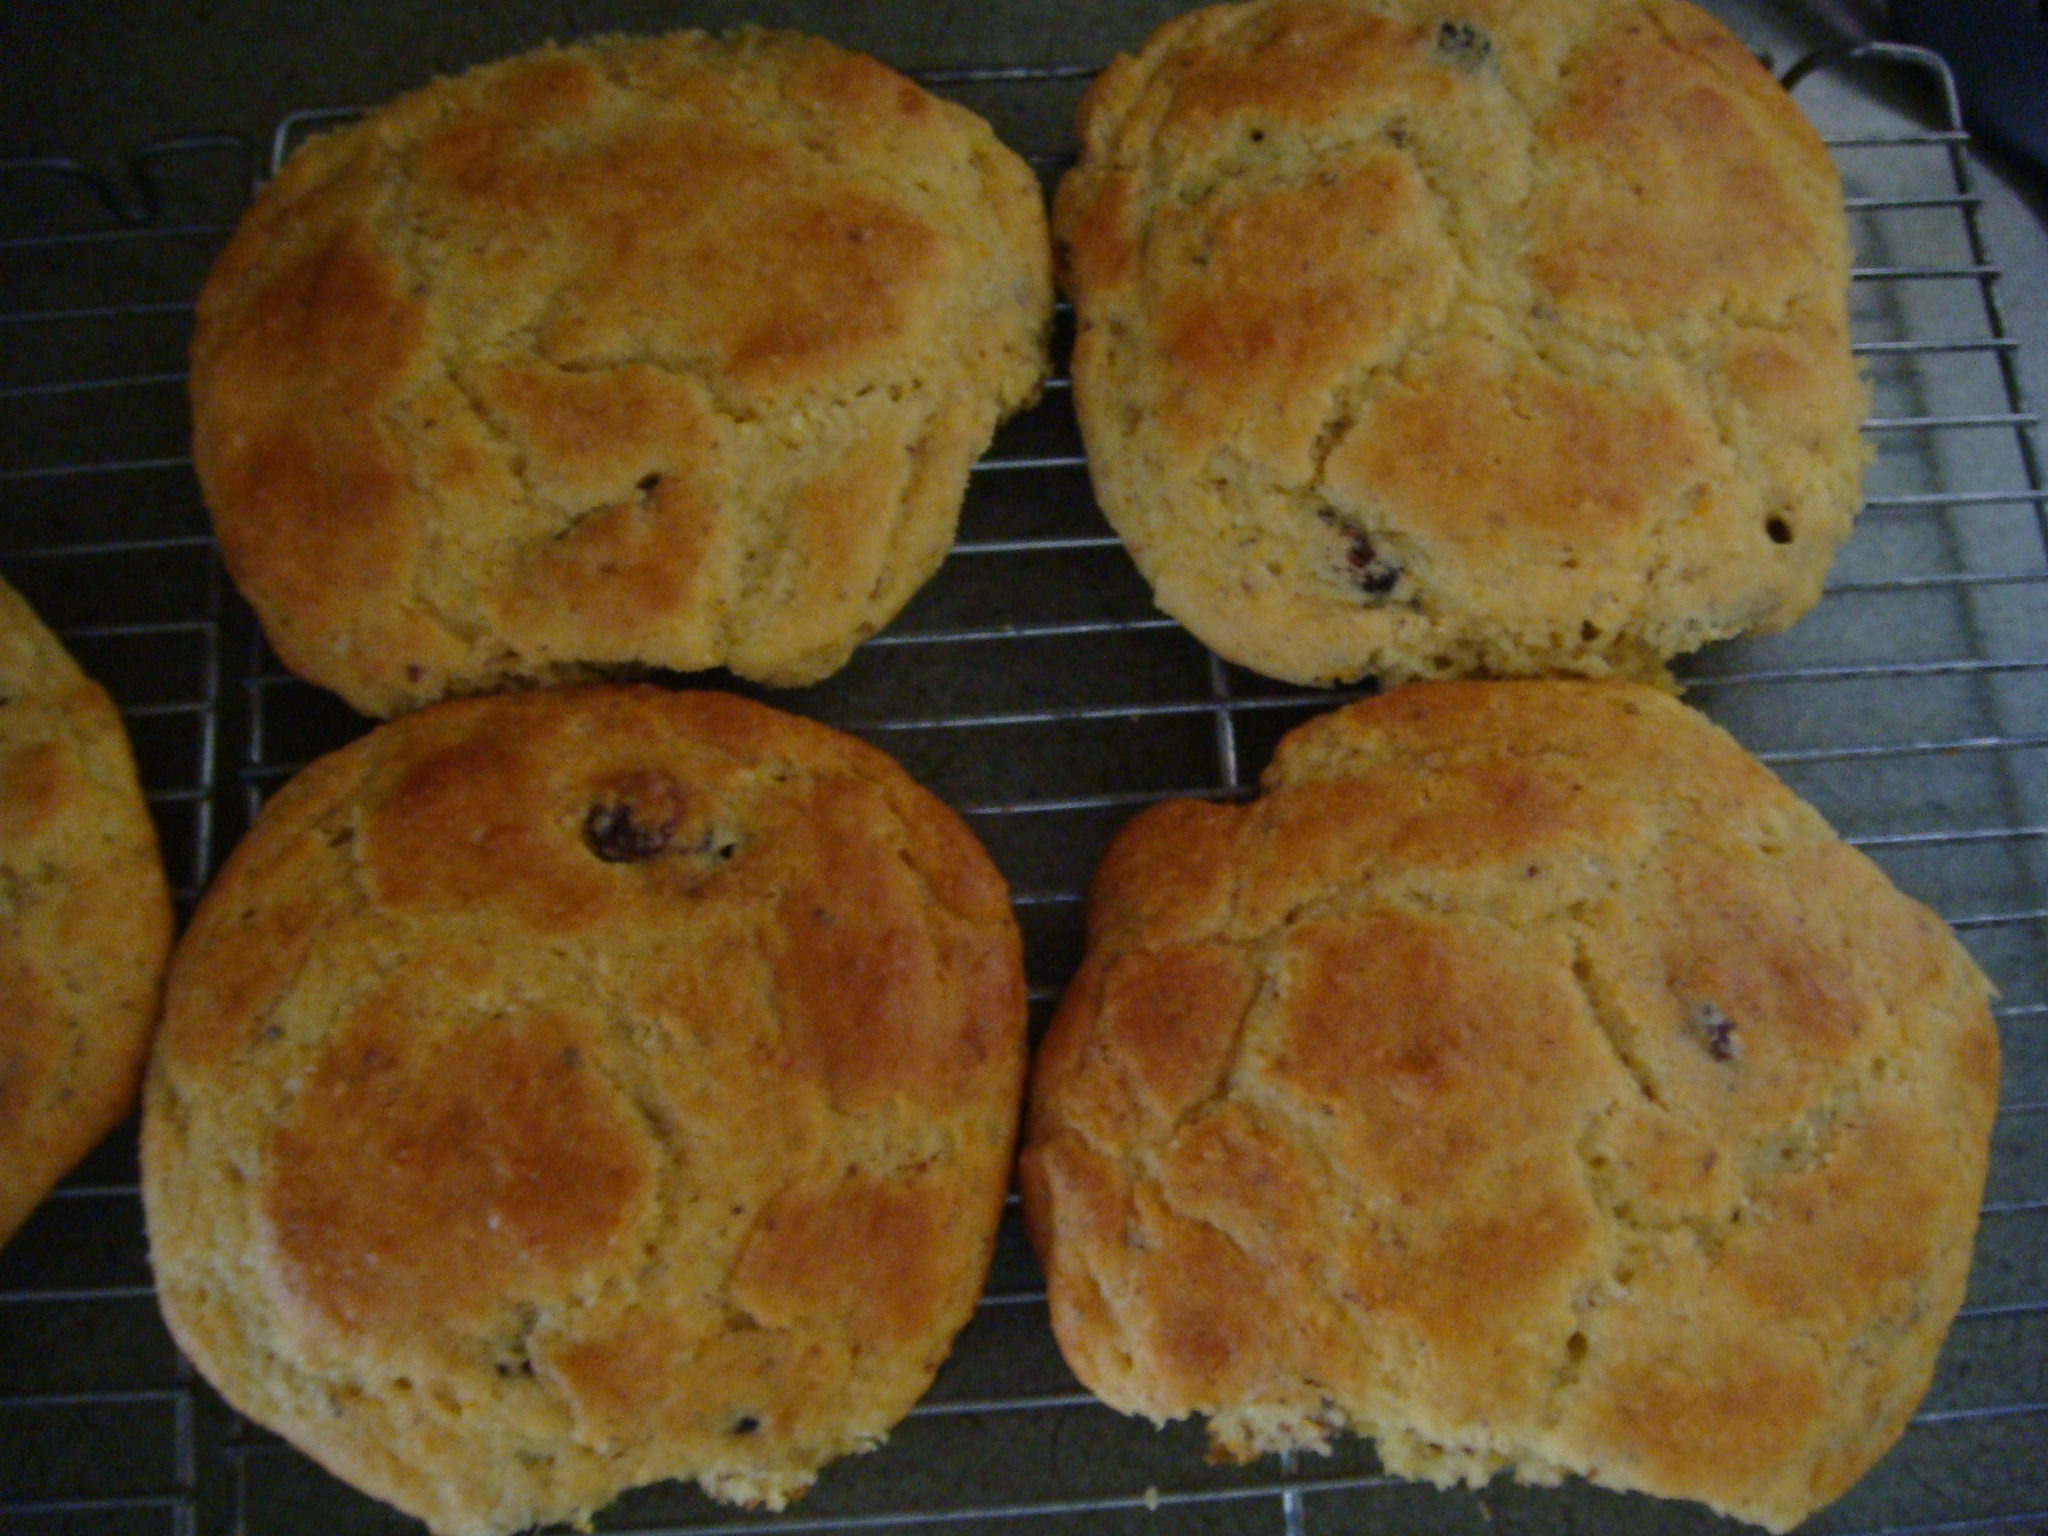
Bake for 15-20 minutes until your muffins are golden brown and spring to the touch!

Once the muffins are baked to your liking, remove from oven and let cool on a wire rack for several minutes. Then remove from pan and let cool completely.

DSC04263


DSC04266

Try not to eat all of them at once!!

DSC04268


DSC04276


DSC04280

Yield 1 dozen delightful gluten-free blueberry muffins!

Happy Baking! And eating, of course!

© 2014, Monica & Daria of glutenfreedoubletalk whisks

Our salads were a hit!

Monica says:

Just wanted to share a few pictures and links for recipes from our salad offerings yesterday at our picnic! Our main protein was my husband’s famous chicken on the grill which was simply wonderful, too!

DSC04206

Everyone gave rave reviews for these veggie delights and I was thrilled to be able to boost everyone’s nutritional intake for the day….rather than the traditional picnic fare!

Let’s start with a salad that I saw in Better Homes and Gardens magazine while at the hairdresser’s!

DSC04195

It was super easy and could even be easier if you used a bag of frozen sweet corn (obviously, thawed); you would eliminate any silk that you tried so hard to remove, but when stirring the salad, you see that some still sneaked in! Oh well….

DSC04196

http://www.bhg.com/recipe/corn-peach-salad/

Same source for this mouth-watering salad….Better Homes and Gardens…..this time got a link to it in my BHG email newsletter that I receive daily.

DSC04198

This salad was so refreshing and had a nostalgic taste for me and my sisters. Our grandmother used to make a salad that featured fresh dill, like this one. It had such a lovely taste! And topping it with a little feta just added another dimension!

DSC04199

http://www.bhg.com/recipe/cucumber-honeydew-salad-with-feta/

We love asparagus in our house and when I caught this recipe on the Leafy Cauldron blog, I had to see if I could replicate it! Oh my….it was so unusual and delicious! A marriage between fresh tarragon and fresh mint made this salad amazing…..

DSC04202

http://leafycauldron.net/2014/05/28/fresh-asparagus-salad/

Another salad that is a must-have when we get together is your basic (and did I say fabulous?) Italian Tomato salad! This one is just from scratch….from my head you might say!

DSC04191

I cut about a dozen fresh tomatoes “on the vine” (that’s how they are advertised in the store) into small bite-sized pieces and sprinkled salt and pepper on them. Then I peeled and cut one medium-sized onion into slivers and added it to the tomatoes. I seasoned it with ¼ cup of virgin olive oil, 1 T dried oregano, and fresh basil (about 6 leaves chopped). I marinated it for several hours at room temperature on the counter.

DSC04193

This tomato salad was served with fresh Italian bread to sop up the goodness! Of course, I didn’t eat the bread, as it was for “regular people” as we refer to them!

Finally, as promised, here is a picture of our gluten-free blueberry cobbler with homemade whipped cream and fresh strawberries….what a way to end the day and make your tummy so happy when viewing fireworks!

DSC04224


Hope everyone enjoyed their Independence Day celebrations!

© 2014, Monica of glutenfreedoubletalk

Happy birthday, America!

Monica and Daria say:

We just love to celebrate the Fourth of July! How about you?

Red, white, and blue abounds all around the house and neighborhood….everyone is in the spirit! And we are gearing up to see some great fireworks tonight!

Since every dessert recipe seems to be red, white, and blue, we decided to share a great recipe for blueberry cobbler. Okay, so we have the blue and white….where’s the red?

We are going to top it with some homemade whipped cream and fresh strawberries. And we’re good!

This recipe was developed by a fellow Culinary Institute of America graduate of Daria’s, Elizabeth Barbone. She is the author of Easy Gluten-Free Baking (©2008) and we have tried quite a few of her recipes over the years!

We changed it slightly to suit our taste and it is a keeper!


Gluten-Free Blueberry Cobbler

Filling:

4 pints of fresh blueberries, washed, dried and all stems removed

¾ c granulated sugar

1 T cornstarch or arrow root flour

2 tsp ground cinnamon (original recipe omits this ingredient)


Biscuits:

Dry ingredients

1 c tapioca starch flour

1 c brown rice flour (original recipe uses 2/3 c white rice flour and 1/3 c cornstarch)

¼ c granulated sugar

1 T baking powder

½ tsp salt

Wet ingredients

6 T butter, cold and cut into pieces

¾ c heavy whipping cream, chilled + several T more if necessary


Preheat your oven to 425˚ (our oven baked this @ 375˚).

Butter a 9” x 13” baking dish (we used a glass Pyrex dish).

In a large bowl, mix blueberries with granulated sugar and cornstarch (or arrow root flour). Add cinnamon, and stir well. Place berries into the prepared dish. Set aside for now.

DSC04178

Now whisk together all of your dry ingredients for the biscuits.

DSC04181

Add the cold butter pieces and cut it into the dry ingredients. You can use your fingers or a pastry cutter until no big pieces remain. We prefer fingers!

Now add ¾ c heavy whipping cream. Stir it into the dry mixture with a wooden spoon until you see a dough form. You can add an additional tablespoon or two of cream to form the dough. It should eventually form a dough ball.

DSC04182

Pinch the dough into small balls. Place each ball on top of the berry mixture using all of the dough.

DSC04184

DSC04185

DSC04186

Bake for approximately 30-35 minutes or until the biscuits are golden brown and the berry mixture is boiling.

Remove the cobbler from the oven and cool it on a wire rack.

DSC04188

It will smell amazing….trust us! Now comes the hard part….waiting for it to cool!

DSC04189

It will be so yummy for our guests….let’s get this party started!

DSC04190

Happy Independence Day and thanks to all who keep us free….we really appreciate their sacrifices!

© 2014, Monica & Daria of glutenfreedoubletalk

Are you ready for a protein-packed salad?

Monica (mom) says:

As a little girl, I remember eating a lot of salads. My mom always served salad at the end of our dinner.

Yes, in those days, we ate our salad at the end of our meal. It was a great way to marry your bread with your oil and vinegar. What is better than dipping Italian bread into salad dressing?

Well, for celiac disease sufferers, salad is awesome, but must not include traditional Italian bread! Don’t know about you, but I still have not found a gluten-free Italian bread that satisfies my fond memory of the crusty outside and airy inside of traditional Italian bread.

I’m still looking….

And speaking of looking….I am always on the lookout for new recipes, and I was thrilled to find this salad! And it uses my favorite bean….the Italian cannellini bean! Creamy and white…it almost melts in your mouth!

DSC04039

Thank you to Healthy Recipe Ecstasy for sharing their adaptation from Bon Appetit magazine!

DSC04041

The recipe is super simple and all you need to do is place all of the ingredients in a bowl and mix them together!

DSC04042

It is so delicious and packed with protein….hope you try it and most of all, enjoy it!

DSC04040

This salad serves four people….or if you’re like me, just one!!

White Bean Salad with Pomegranate and Parsley

Ingredients

1 15-ounce can cannellini (white kidney) beans, rinsed and drained

⅔ cup pomegranate seeds

¼ cup thinly sliced scallions (white and green pieces)

2 ½  tablespoons fresh lemon juice

2 tablespoons chopped fresh flat-leaf Italian parsley leaves

1 tablespoon extra-virgin olive oil

½ teaspoon kosher salt, plus more to taste

¼ teaspoon freshly ground black pepper

Sushi, sushi, sushi

Monica (mom) says:

Ever since my Daria taught me to roll sushi, I have been hooked!

Since it’s not only easy to do and doesn’t take a long time, I find all kinds of reasons for making sushi!

Since we don’t eat raw fish in our diet, I have gotten used to making veggie sushi….although I have made a great jerk chicken recipe that I found in Cat Cora’s cookbook, Cooking from the Hip.

All you have to do is make short-grained sushi rice according to the package instructions, and while the rice is getting all happy, cut your veggies into long thin pieces.

I love to make carrot and cucumber rolls, and avocado with peanut rolls.

DSC03593

Once your rice is done, place it in a glass or ceramic bowl and mix in 4 T of rice vinegar and ½ teaspoon of kosher salt and let it cool. It should become very sticky!

You will need a bamboo rolling mat and a package of Nori seaweed wrap. Keep a bowl of warm water handy on the table or counter where you are rolling, because you will need to dip your fingers quite often. Sticky rice makes sticky fingers!!

Place a piece of Nori (shiny side down) on the mat, spread rice on ¾ of it (leaving top empty for sealing the roll). If you place clear plastic wrap over the entire mat, it will stop the rice from sticking and you will not have to wash it as often. Then at the bottom (side nearest you), place a row of veggies.

Now roll!

Here is a YouTube video from allrecipes.com on making sushi rolls:

https://www.youtube.com/watch?v=XKUSI8ElgRc

If you are not serving the sushi immediately, keep the rolls intact. When you are ready to eat your creations, you can cut each roll into bite-sized pieces and can top with ginger, wasabi, and/or dip in tamari or gluten-free soy sauce!

DSC03592

You can use your fingers or chopsticks…whichever you choose, just enjoy!

© 2014, Monica of glutenfreedoubletalk


Happy National Peanut Butter Cookie Day!

Monica and Daria say:

Would you believe that 90% of all American households have a jar of peanut butter on their pantry shelf most of the time?

If you live in our homes, we usually have at least two….we just LOVE peanut butter!

Peanut butter cookies have been around since the 1910s with the first recipe appearing in a cookbook of George Washington Carver’s. Now if you remember your history, Carver was a botanist and inventor who devised many uses of the peanut. His cookies called for chunks of peanut to be placed in cookie dough. Peanut butter cookies, those made with peanut butter, made their appearance in households in the 1930s and have been a favorite ever since!

DSC04118 DSC04123

Why do peanut butter cookies have the famous criss-cross marks?

DSC04112

It could be one of several reasons.

It might be that a tradition was established in 1936 when a recipe from a Pillsbury cookbook had the criss-cross marks in the instructions….or it might be that placing the marks allows for uniform baking of the cookie….or it might be that the marks originated to warn people who were allergic to peanuts, not to eat these cookies!

No one knows for sure, but the criss-cross marks make the peanut butter cookie unique!

Wanting to use natural peanut butter and use less sugar than most peanut butter cookie recipes have, we came up with this recipe! Enjoy!

Gluten Free Peanut Butter Yummies

DSC04122


Dry Ingredients

1 ½ cups oat flour*

½ tsp baking powder

½ tsp baking soda

½ cup chopped peanuts

Wet Ingredients

1/3 cup shortening

½ cup creamy Natural Peanut Butter

¾ cup dark brown sugar, packed

1 large egg (should be @ room temp)

1 tsp pure vanilla

1/8 cup granulated sugar for making criss-cross marks

*Oat flour can be made by placing 1 ½ of gluten free oats in a food processor – yield 1 cup of flour

Cookie Making Directions:

Preheat oven to 350˚. Cover two baking pans with parchment paper.

Whisk together the dry ingredients and set aside.

Cream the shortening, natural peanut butter, and brown sugar in a large bowl.

Add your egg and vanilla and mix until smooth and thoroughly incorporated.

Next add your dry ingredients and blend until a dough forms.

DSC_0611

Roll dough into balls of about 1 tablespoon each.

Place dough balls on baking sheet at least one and a half inches apart.

DSC_0612

Dip a fork into a bowl with granulated sugar and make a criss-cross on each cookie with the fork tines, as you flatten it.

DSC04111

You can sprinkle a small amount of sugar on each cookie to top it off!

Bake for 10-12 minutes or until golden brown.

DSC04113

Cool on wire racks for at least 3-5 minutes.

Yield almost 3 dozen delightful cookies!

DSC04127

DSC04129

Happy Baking! And eating, of course!

whisks

© 2014, Monica & Daria of glutenfreedoubletalk

Sugar-snap pea salad…..in a snap!

Monica and Daria say:

Want an easy summer salad to take to your next get-together?

You are in luck!

This salad of fresh sugar-snap peas can be made in minutes!

DSC04072

Sugar-snap peas have a high content of dietary fiber, are an excellent source of folic acid, and have more vitamin K than shelled peas. Best of all, fresh pods have more than 150% of vitamin C than fresh garden peas and are rich in many minerals and nutrients.

So, here’s how to prep the salad!

DSC04071

Just get a pound of fresh sugar-snap peas and wash them in cold water and pat dry. Then trim the stem and remove the stringy fiber from each end. Place all cleaned snap-peas in a serving dish. You can sometimes find a nice big bag of sugar snap-peas in your grocery aisle….just check the date for freshness!

Next, wash some red grape tomatoes and some yellow cherry tomatoes. Pat dry and add to salad. If you have a small red onion, you can chop this and add to salad now. We omit this due to the fact that we cannot seem to digest raw red onions in our household!

DSC04070

Then add some herbs….We love basil and oregano. We used dry herbs in this salad because we didn’t plant ours yet! We also added some garlic powder (you can use some fresh minced garlic) and kosher salt and pepper.

DSC04073

Last for the dressing….We drizzled extra virgin olive oil on the salad and then squeezed one half of a fresh lemon. Toss it all together!

Done!

DSC_0598

It’s so pretty and nutritious!

Enjoy ❤

© 2014, Monica & Daria of glutenfreedoubletalk

Birthday Scones!

Monica (mom) says:

Yesterday was my birthday! And as I was waking up to the smell of something delicious, I was really hoping that it was scones!

DSC04053

Can I tell you how happy I was that my husband got up early to bake these for me?

DSC04043

The recipe uses Pamela’s Baking and Pancake Mix as the base and has scrumptious dried cranberries and fresh orange juice in it! To add even more flavor, Lewie adds in extra orange zest and pulp, too!

DSC04045

Look at the presentation! Isn’t he the best??

DSC04047

DSC04049

DSC04048

You’re thinking….how did she eat just one?

DSC04050

I didn’t!

Could you?

The plate “says” it all….I had a thankful heart and was so grateful for a plateful!

DSC04044

Here is the recipe that he has been using for many years! He found it online, so many thanks to RecipeZaar!

Happy Baking!

© 2014, Monica of glutenfreedoubletalk

Gluten Free Cranberry Orange Scones Recipe #366484

27 min | 10 min prep

SERVES 10, 10 scones

  • 1/2 cup dried cranberries
  • 1/3 cup orange juice
  • 2 1/3 cups Pamela’s Ultimate Baking and Pancake Mix
  • 1/3 cup sugar
  • 1 teaspoon baking powder
  • 4 tablespoons butter, softened
  • 1 egg, beaten
  • 1/3 cup milk
  • 1/2 teaspoon vanilla extract
  • zest of one orange
  1. Preheat the oven to 375 degrees.
  2. Add the dried cranberries to the orange juice and set aside. (This allows the cranberries to get plump and juicy).
  3. Combine the dry ingredients.
  4. Cut in the butter using two knives.
  5. Add the beaten egg, milk, orange juice/cranberry mixture, vanilla, and orange zest. Mix together with a fork. The batter will be thick and lumpy.
  6. Drop large, tall dollops onto a lightly greased cookie sheet. About 1/4 cup of batter will make for even scones.
  7. Bake for 15-17 until lightly browned.
© 2009 Recipezaar. All Rights Reserved. http://www.recipezaar.com

Italy’s answer to hors d’oeuvres!

Monica (mom) says:

What can whet a gathering’s appetite with just its looks?

The Italian antipasto!

DSC04025

“Antipasto” comes from the Latin root “anti” meaning before and “pastus” meaning meal. It really is the perfect start to any meal!

Oh, this lovely salad provides an appealing mixture of textures, tastes, and especially color! It invites guests to relax and indulge for a moment or two before the main course. And since it’s mainly veggies and proteins, it’s naturally gluten-free!

Since we were going to a cookout to celebrate Memorial Day at my sister’s new home, I decided to make an antipasto with a slightly different take.

I upped the nutrition for the greens by using baby kale, baby spinach, and baby chard as the base. Then, I chopped organic carrots, and celery. Everyone is our family is addicted to black olives, so I chopped one can of these, too. Of course you need some fresh mozzarella to add the cheese component and since the family also loves pepperoni, I chopped one stick of that, too (not my personal favorite, but majority rules, right?). Last, but not least, baby red tomatoes were added!

I brought along a bowl of cannellini beans, too, for anyone who wanted some extra protein.  A balsamic vinaigrette topped it all off!

DSC04024

Antipasto…..it’s all in the presentation!

DSC04027

© 2014, Monica of glutenfreedoubletalk