Who doesn’t love polenta?

Monica says:

Hello friends!

I know that I have been missing in action for quite some time now, and I apologize! Life gets in the way, but today I am here to share a yummy dinner that I recently made.

Normally I don’t watch daytime television, but since being diagnosed with Hashimoto’s thyroiditis, my energy level hasn’t been the greatest! But I am making time for self-care and that’s all you can ask for, right?

Anyway, since I am a fan of ABC’s The Chew, I was watching one day and my mouth began to water!

Michael Symon, the program’s resident Iron Chef, was making an Italian dish that I swore I could smell right through the television….anyone else out there know what I mean?

It’s called Polenta with Sausage Ragu and Fresh Mozzarella and it is so yummy!

Since we are fortunate to have an Italian grocer in our community and the proprietor makes the sausage fresh every Tuesday, I just had to try this recipe!

The only thing I did not follow in this recipe was to use a Dutch Oven…I used a nice fry pan with a lid and it worked just fine.  And of course, I used Bob’s Red Mill Gluten Free Polenta!

Here are some of my pictures as I cooked my way through the recipe!


What could go better with a great glass of wine?

My husband and I thoroughly enjoyed this meal and I will definitely make this again!

This recipe is a KEEPER!

Hope you get a chance to try it and special thanks to Michael Symon (my favorite Iron Chef)!

© 2018, Monica of glutenfreedoubletalk


Strawberry pie…as sweet as can be!

Monica says:

Oh how we love strawberry season! It’s time to pick the juiciest berries that we can find!

Do you think we did just that?

Our sweet girl, Emily, and my sister Maria (her granny), and I went to a little farm to find the best berries we could. This time we were smart and each wore disposable gloves….boy, they made all the difference!

Highly recommend this move!

Anyway, after about an hour, we had filled our vessels to capacity….here was my personal stash!

When we got home, I researched the best way to keep these beauties fresh and long lasting. Well, I found advice from a blog, Momables and I can say it was the best advice ever!

Following her instructions below, even today, after 8 days, my strawberries are still fresh and plump like they were just picked!

Washing Fresh Strawberries

  • 8 cups water
  • 2 cups white vinegar
  • Drop dish detergent
  1. Place above in salad spinner
  2. Clean strawberries in batches if too many
  3. Swish them around in liquid and then rinse
  4. Place on towel lined cookie sheets to dry
  5. Store them in sealed container lined with paper towels when completely dry
  6. Leave a smidge open on container so they don’t get too much moisture!

NOTE: I used 9 x 13 glass dishes with paper towels and only covered top layer with paper toweling; stayed perfect! And depending on the amount of strawberries you pick, you may have to do this several times.

I also decided to make my own strawberry filling for the pies since I wanted to eliminate some of the sugar content, so I followed this recipe!

Fresh Strawberry Filling

Note: This recipe is for ONE pie

  • 1 quart fresh, organic strawberries
  • ½ cup sugar
  • ½ teaspoon salt
  • ½ cup water
  • 1 ½ tablespoon  cornstarch

To make the filling:

  1. In a sauce pan, put 1 cup sliced berries, ½ cup sugar, salt, and ¼ cup water. Bring to boil.
  2. Cook 3 minutes. Remove from heat.
  3. Mix cornstarch and remaining water. Add to sauce pan.
  4.  Return to heat. Stir until thickened, about 2 minutes.
  5. Allow to cool.

Meanwhile my official pie crust maker and our biggest gluten free lifestyle supporter, my hubby, began to make the crust. We decided to try a gluten free blend and chose King Arthur’s Measure for Measure blend with my mother’s pie crust recipe!

Mom’s Water Whip Pie Crust

Note: This recipe makes 2 crusts (either a top and bottom, or two bottoms)

  • ¾ cup shortening
  • ¼ cup boiling water
  • 2 ¼ cups gluten free flour (a blend of your own or any commercial blend)
  • 1 T milk (Lactaid if needed)
  • 1 tsp salt

Whip shortening and water with a fork until smooth and creamy. Add milk, flour and salt. Work into a nice dough ball.


Perfection!

Since you have to bake these pastry shells without filling, I cut a round of parchment

for each and filled with uncooked rice.

Baked the crusts at 375 degrees for 20 minutes and then took them out of the oven, removed the rice with parchment, and then pricked small tine marks with a fork in the bottom of the crusts.

Then I placed the crusts back in the oven for 20 minutes.

Look at these babies!

While letting everything cool (filling and crusts), I removed the stems from the strawberries.

And now the best part…..filling them up with the sweet strawberries!

Once I liked the arrangement, I began pouring the filling over the strawberries. It was so thick and lovely!

Daria told me that I could have taken the filling and placed the strawberries in it to get better coverage,

but honestly, that didn’t occur to me.

That’s why she’s a pastry chef, and I’m not!!

Anyway, here is picture of our completed strawberry pies!

And the “pie maker” and “official gluten free taste tester” finally gets to dig in!

Y*U*M!

Wishing you fun picking strawberries…

…but most of all, eating strawberry pie!

Enjoy!


© 2017, Monica of glutenfreedoubletalk


Mmm, mmm, good….gluten free Maine!

Monica says:

Last Christmas when the family was all gathered for the holidays, we started tossing around places that we would like to vacation in the summer. After a lively discussion, we settled on Maine.

Yes, Maine.

The only state with one syllable…Maine was the winner!

January came and I started to scope out prospective places to stay for what would be our “Junebabies Birthday Celebration!”  Daria, Claudia and I were all born under the sign of Gemini and we always loved celebrating our birthdays together! It’s more fun and honestly, we get to celebrate all month long since we are 10 days apart from the beginning of the month to the end! (How did we manage that??)

Anyway, we chose the coastal town of Ogunquit which means “beautiful place by the sea” and it fully lived up to its name!

With 90% of its coast open to visitors and a gorgeous white beach, who could complain? The weather was a bit rainy in the beginning of the week, but that didn’t dampen our spirits. We were lucky to have some 70+ degree weather in no time and it was just lovely.

And now let’s talk about food…..gluten free food!

The majority of our meals was eaten out and about, but after an unfortunate incident where both Daria and I got “glutened,” Daria’s boyfriend, Andy, (a trained chef), came to our aid and cooked dinner for us a few nights.

We were so lucky to have both his skills and willingness to help us and our gastrointestinal tracts that soon we were ready to take the plunge again into the restaurant scene!

Here we enjoyed some ribs and gluten free mac ‘n cheese from BeachFire Bar & Grille 

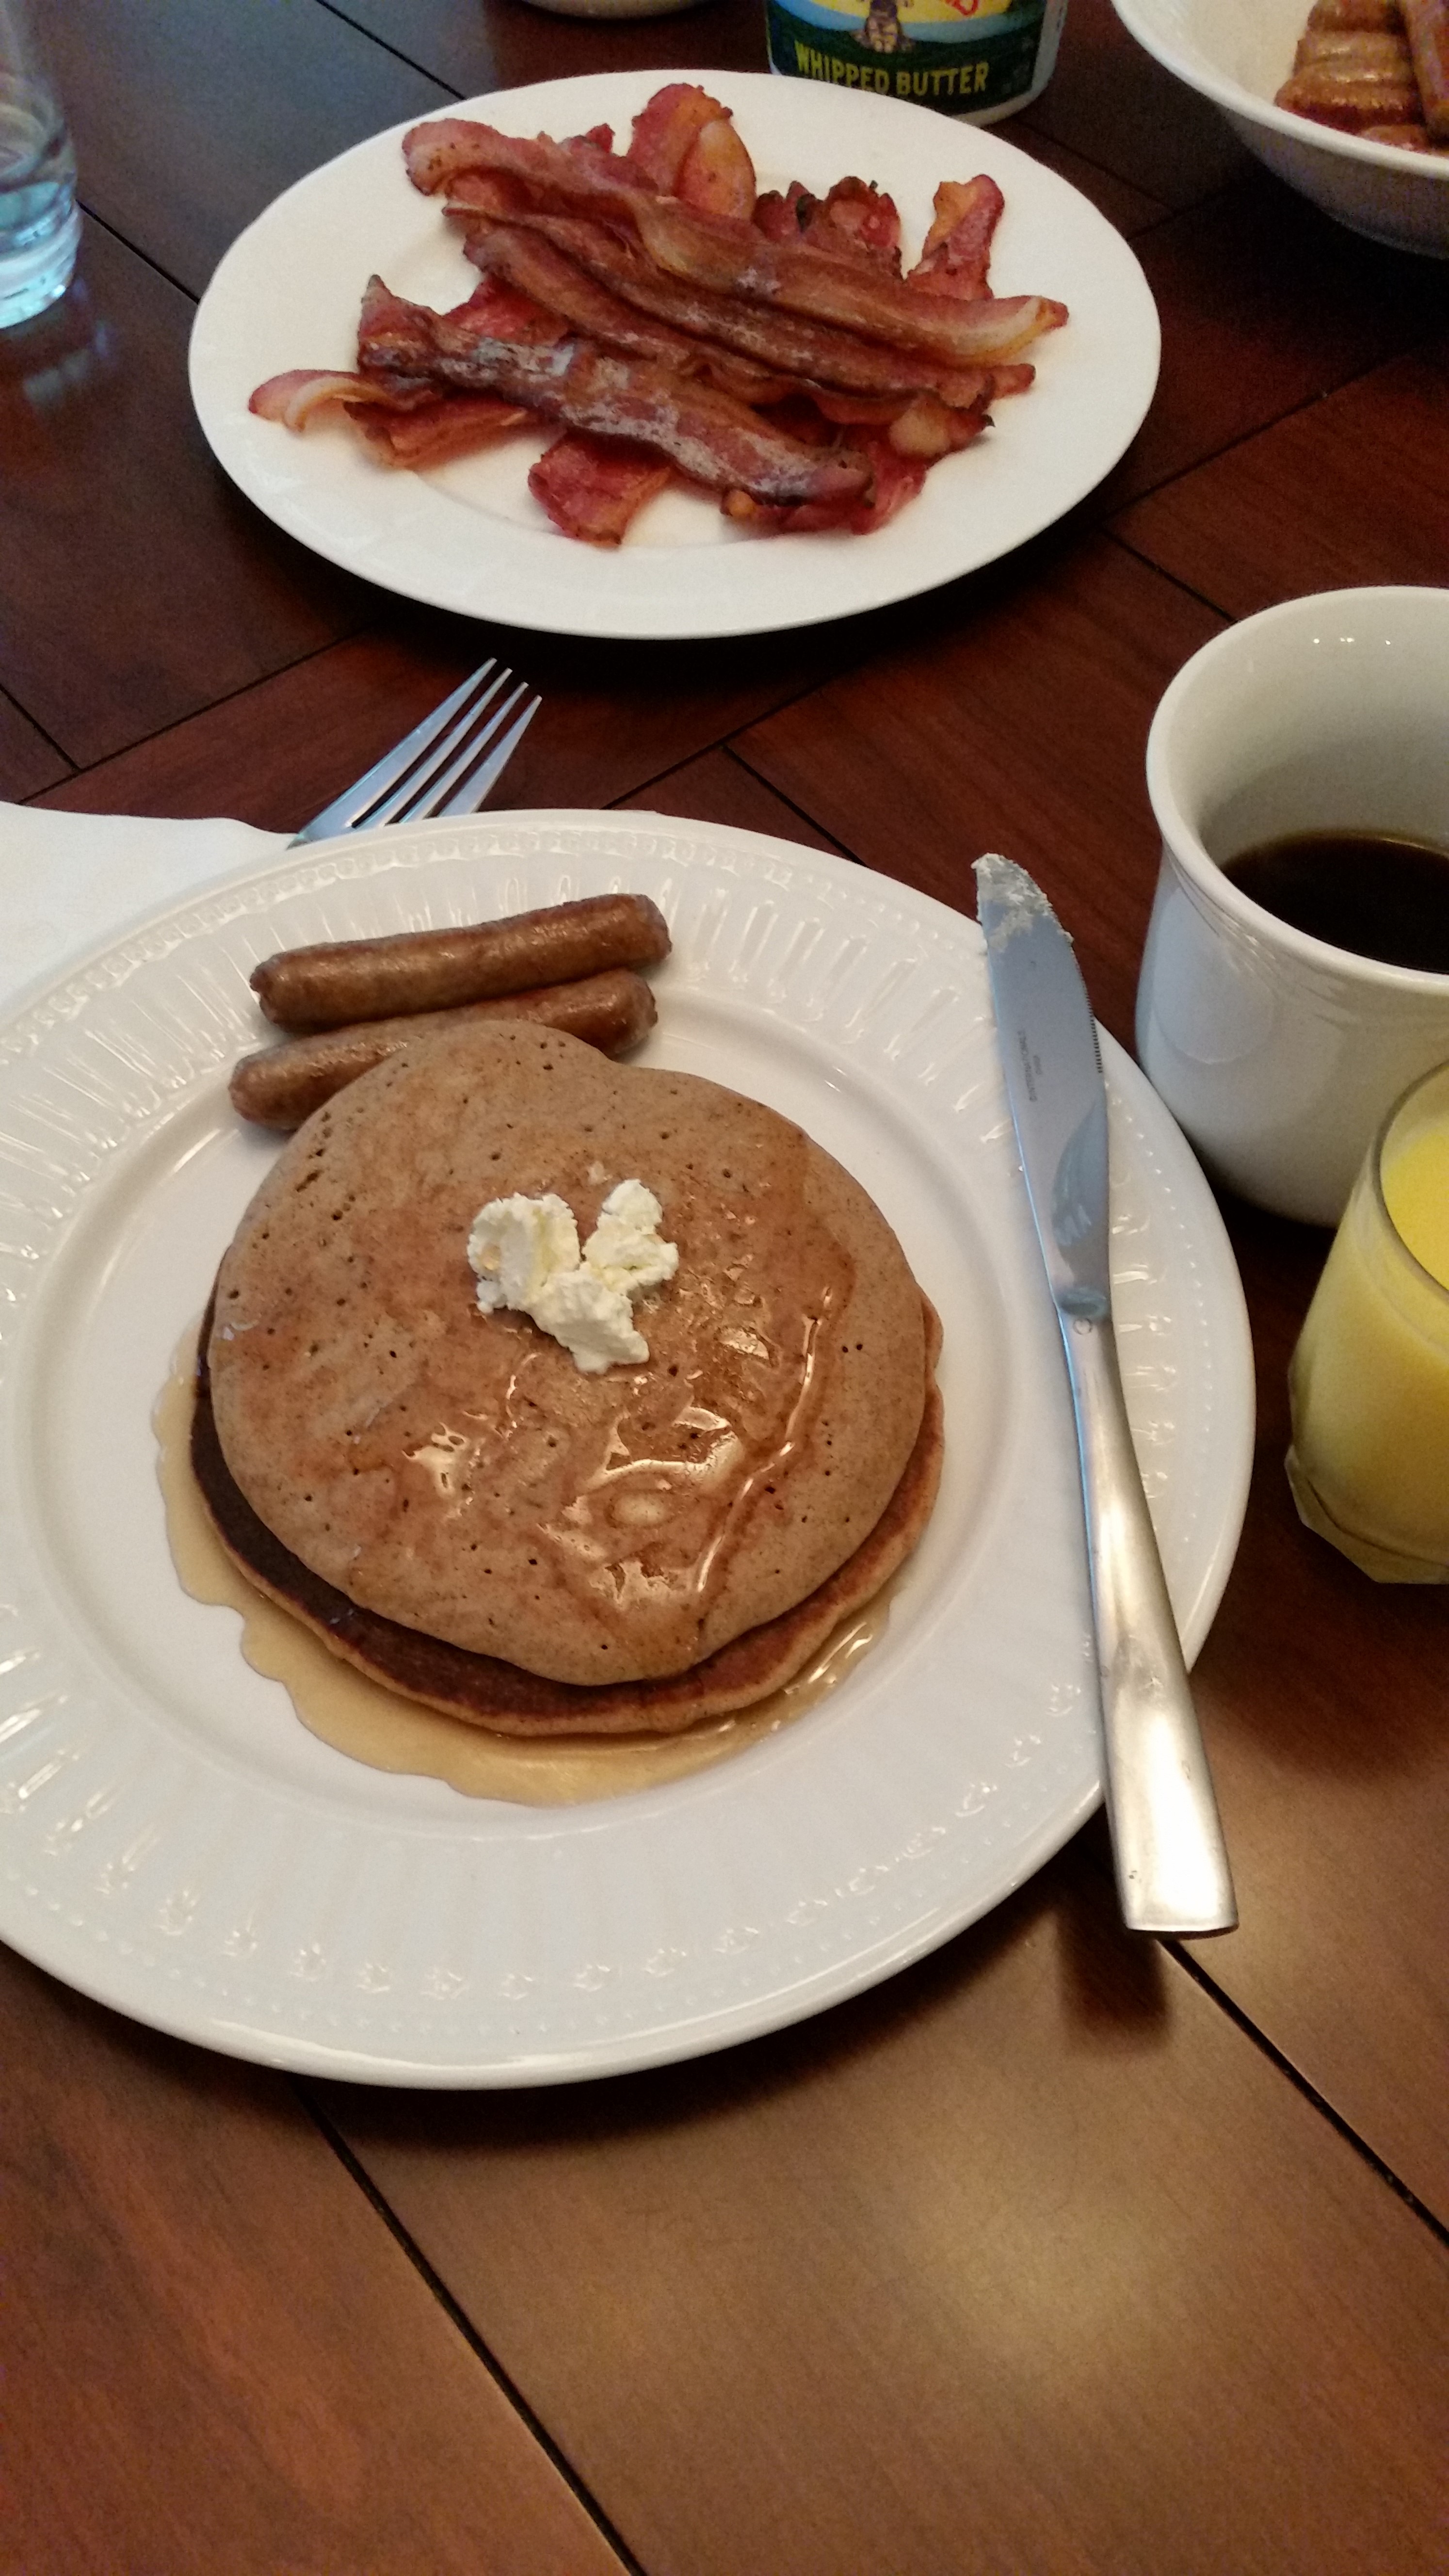
Breakfast made by Chef Andy and Chef Daria included her famous gluten free pancakes from Batter (her business) and his specialty of bacon and sausage. They prepared breakfast more than a few times, but I was so busy eating, I forgot to photograph all of the wonderful treats!!

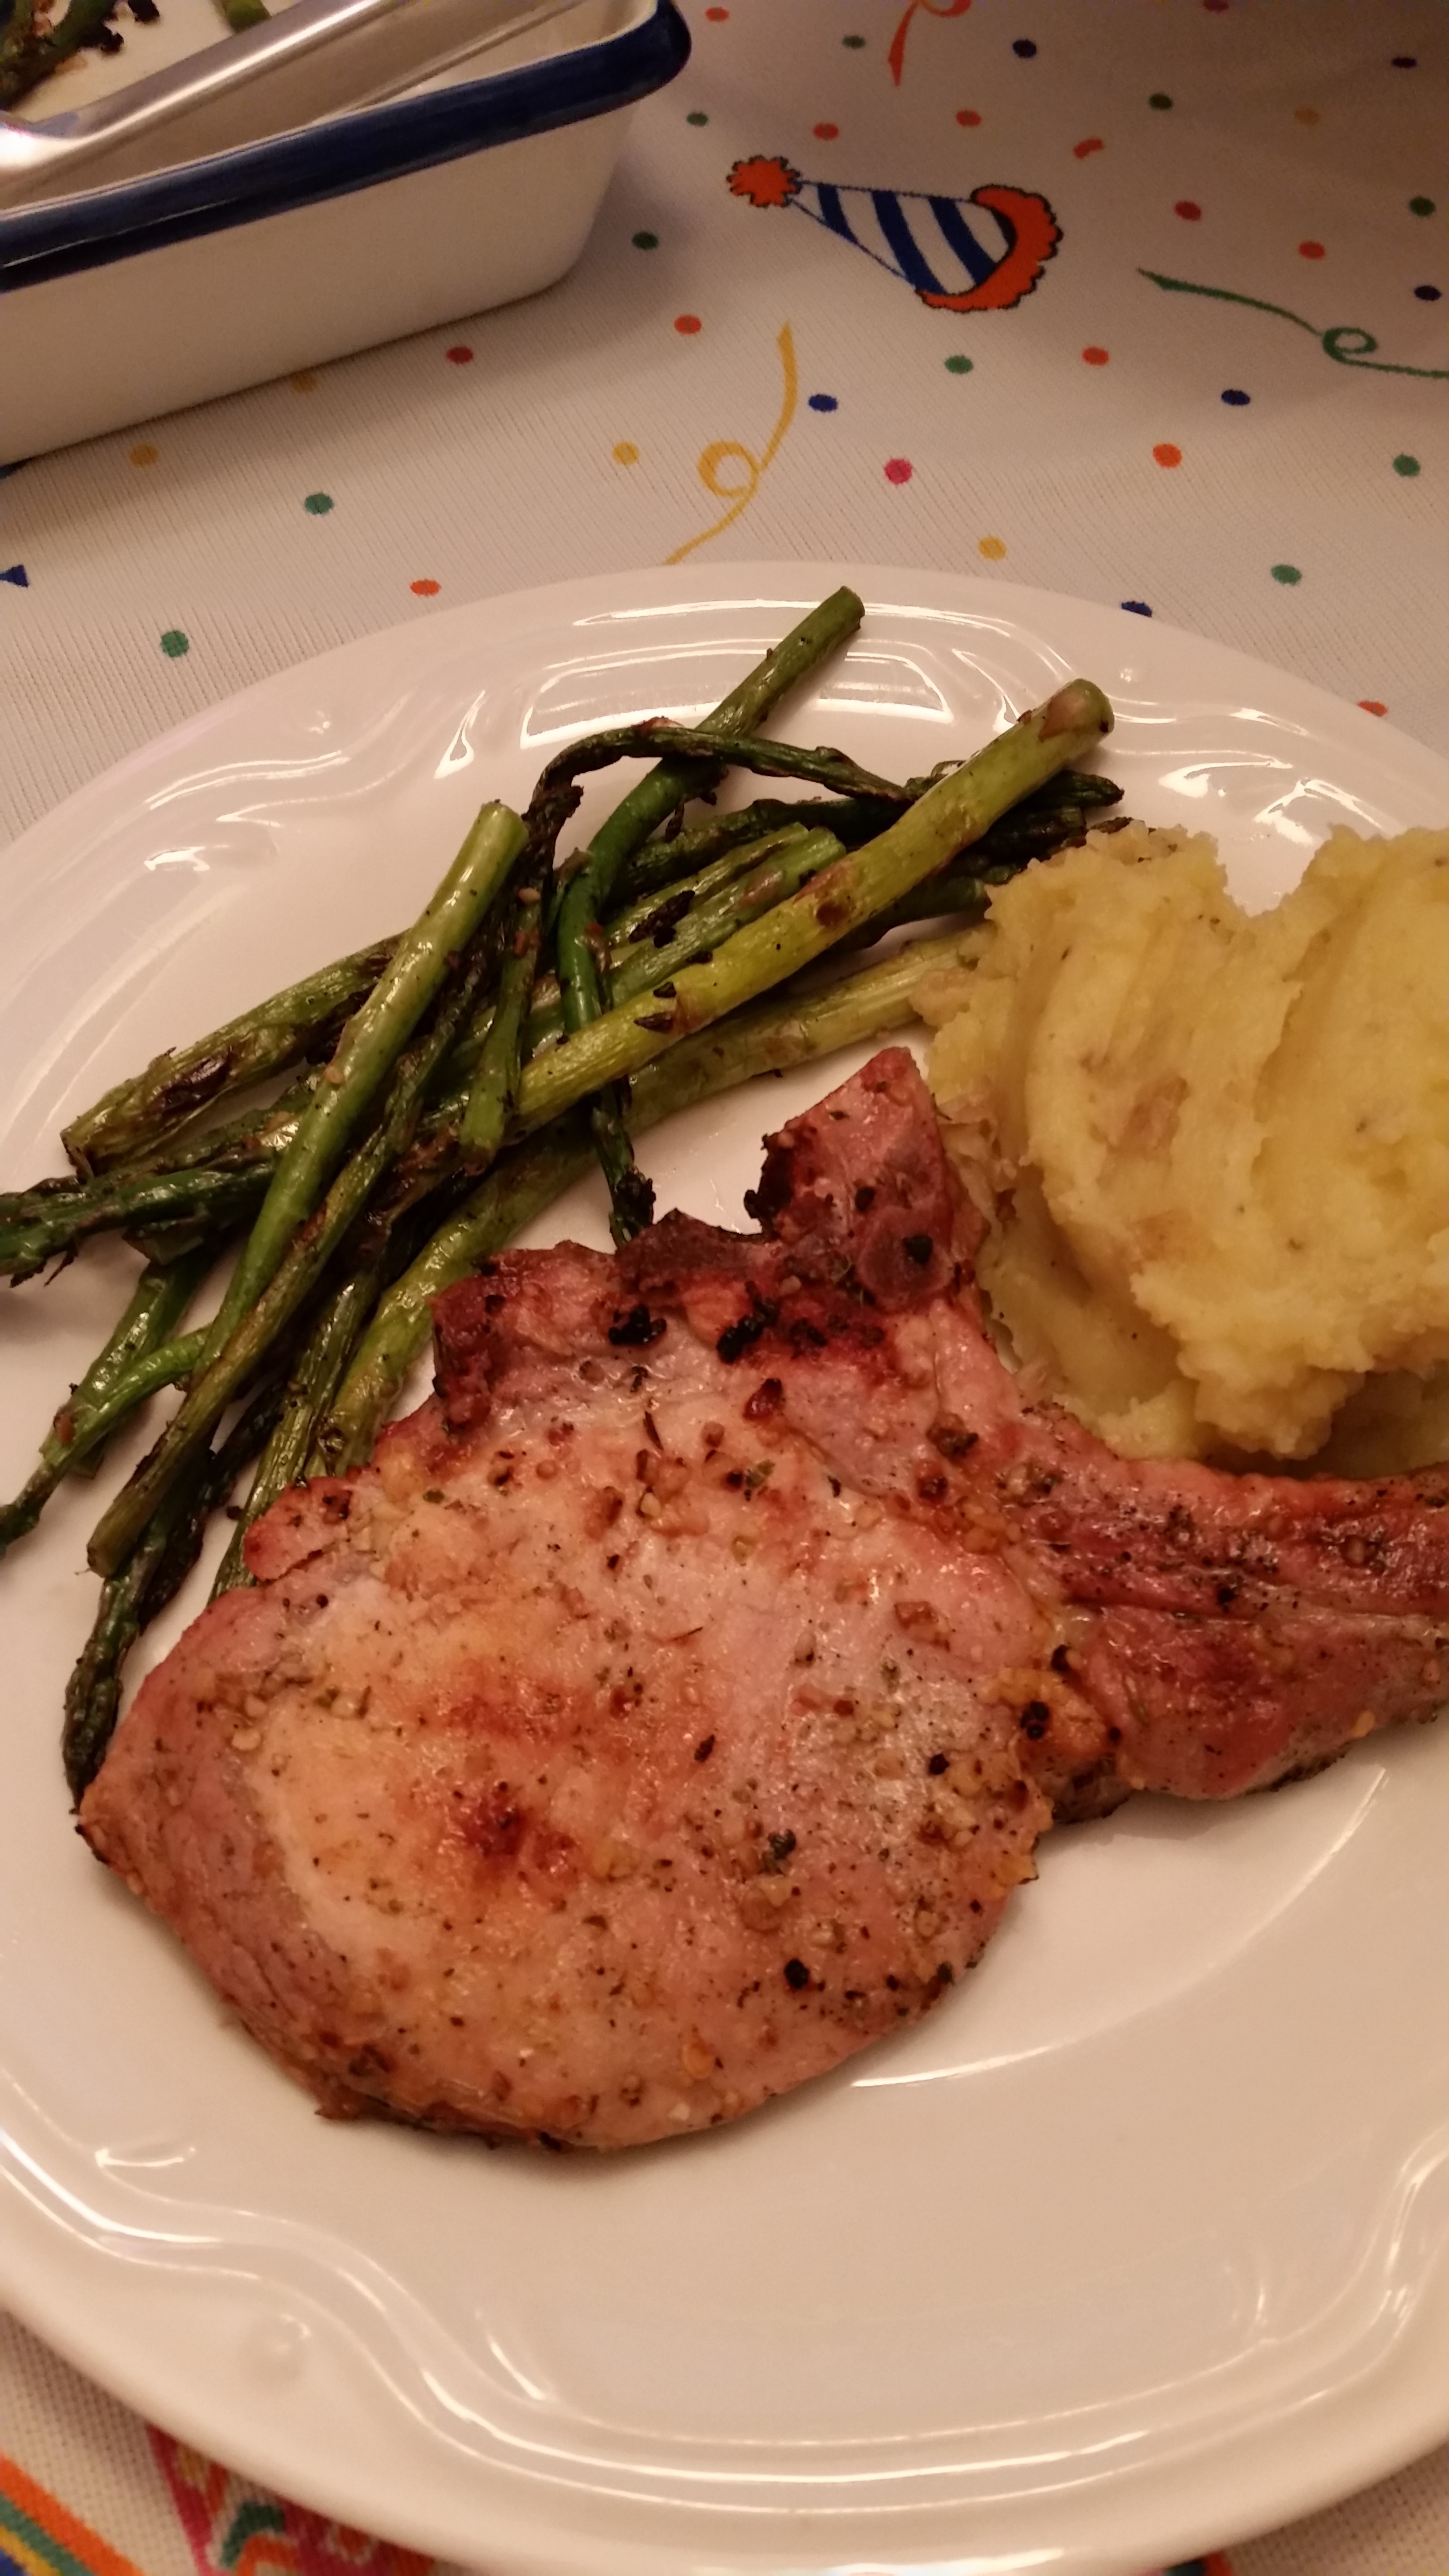
Next we enjoyed a home-cooked meal of grilled pork chops with Andy’s special rub, grilled asparagus, and mashed potatoes that I am still dreaming about!

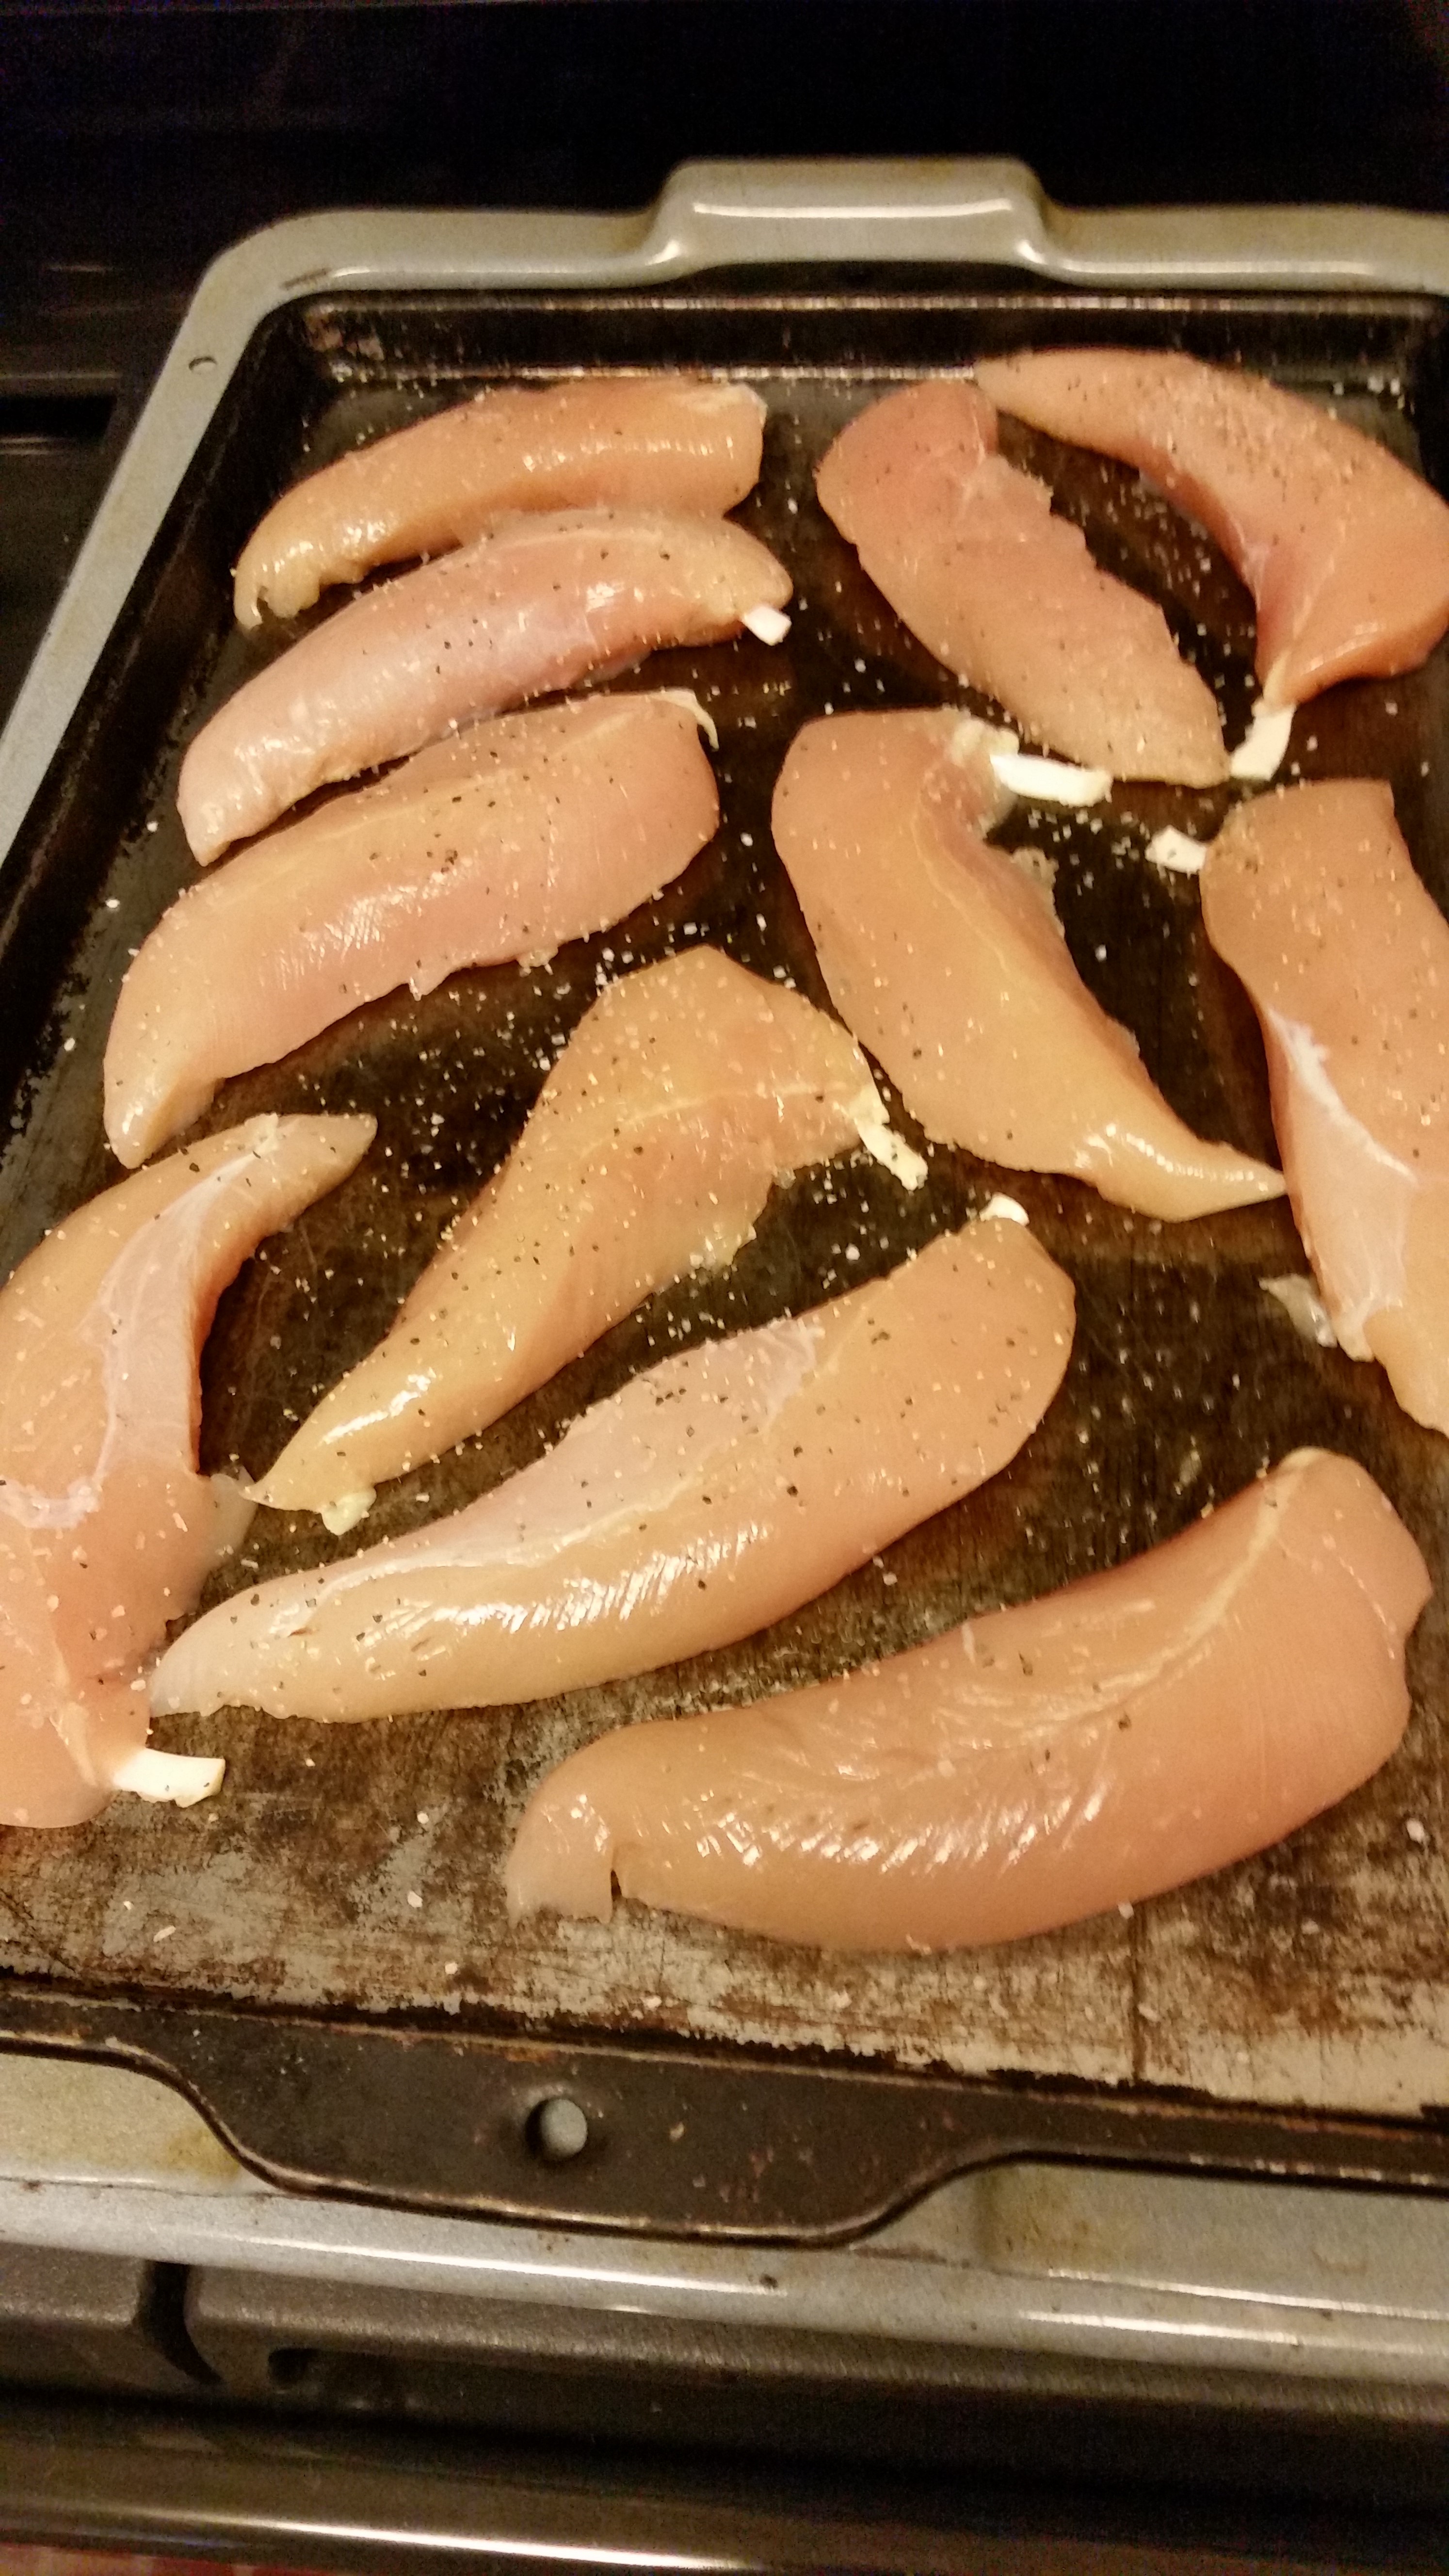
And barbequed chicken made the menu, too….yum!

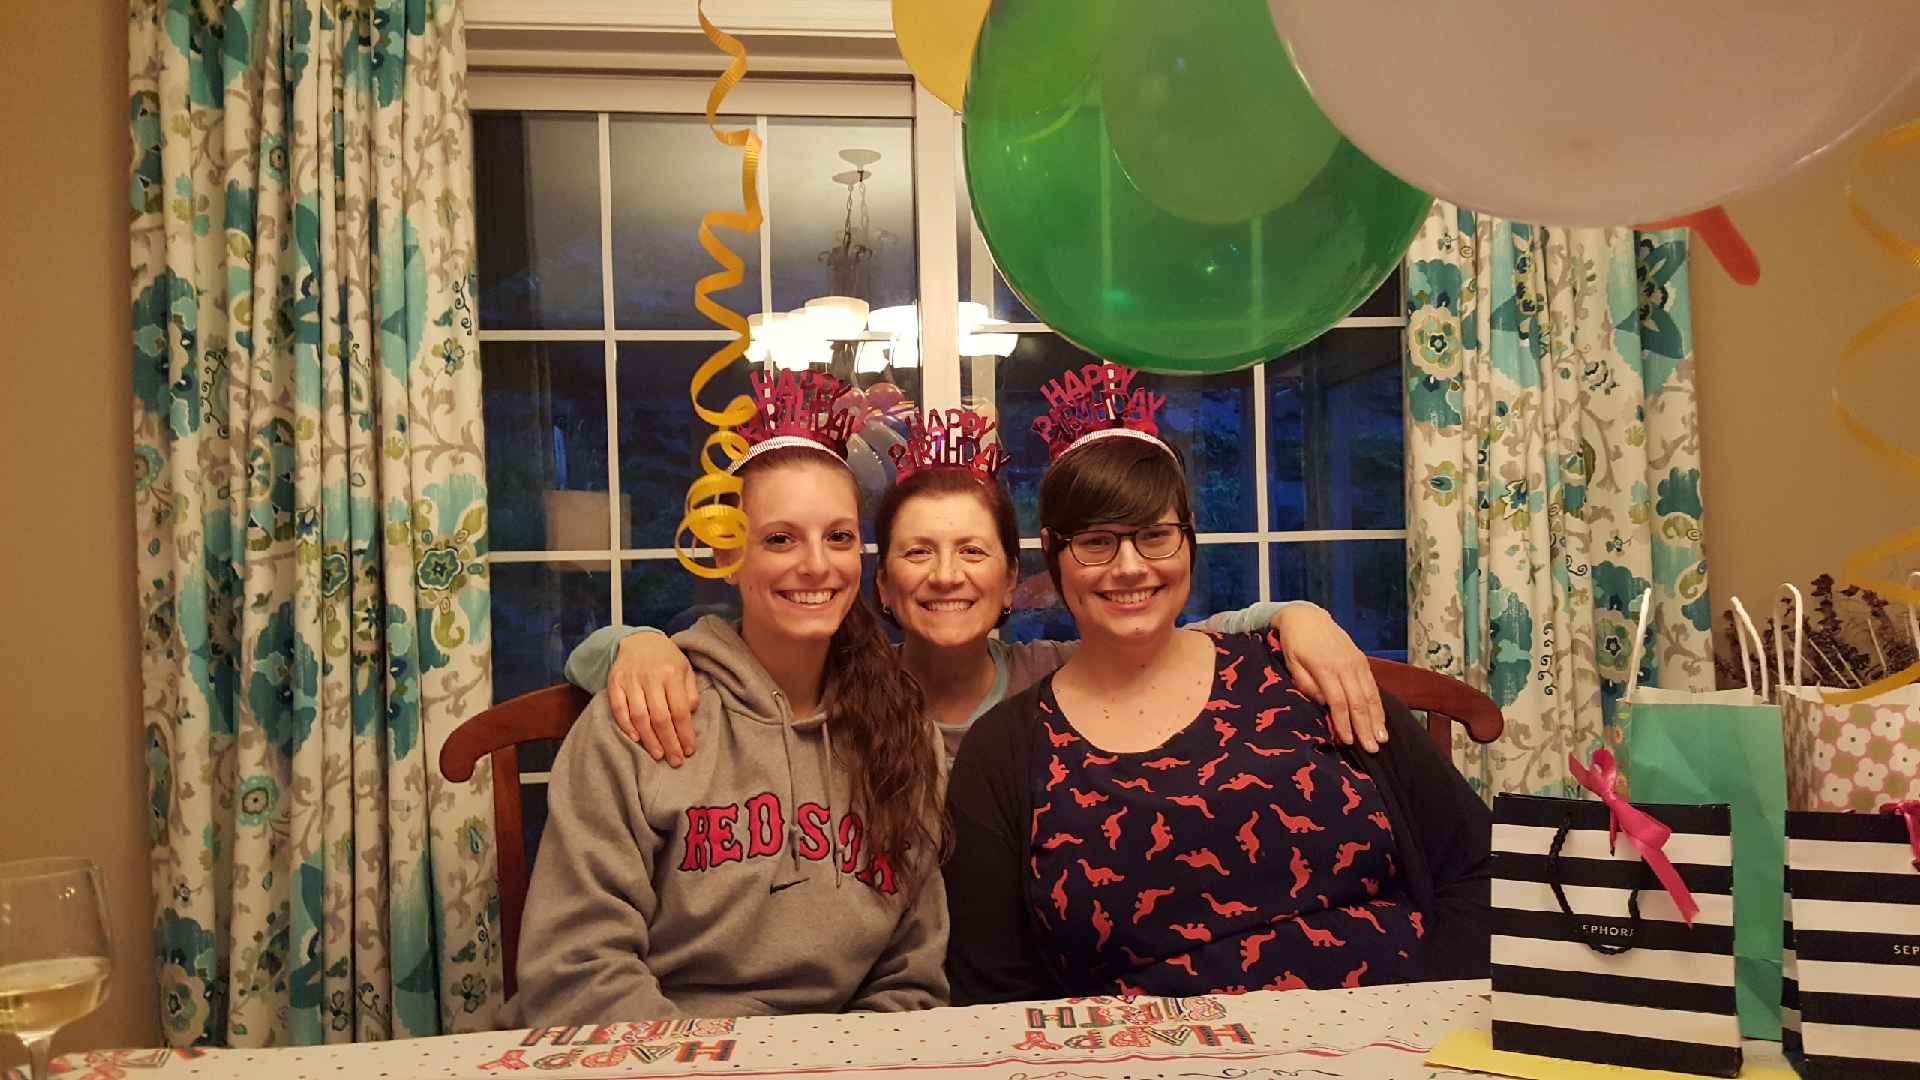
Our “Junebabies Birthday Celebration” included our baking Funfetti vanilla cupcakes and we celebrated by eating them with ice cream….we were having so much fun, that we didn’t photograph the food as much as the singing and wish making!

Happy birthday, girls!

And I am so happy to be with my favorite Junebabies for our birthdays!

We ventured up to Portland (about 45 minutes north of Ogunquit) a few times and found some wonderful things to eat there.

The best place, by far, was Bam Bam Bakery!

A gluten free bakery in the heart of Portland, it had just about everything we could ask for. From goodies to savory items, where everything is made from scratch, this little gem had it all!

Take a look!


Daria and I were in gluten free heaven!

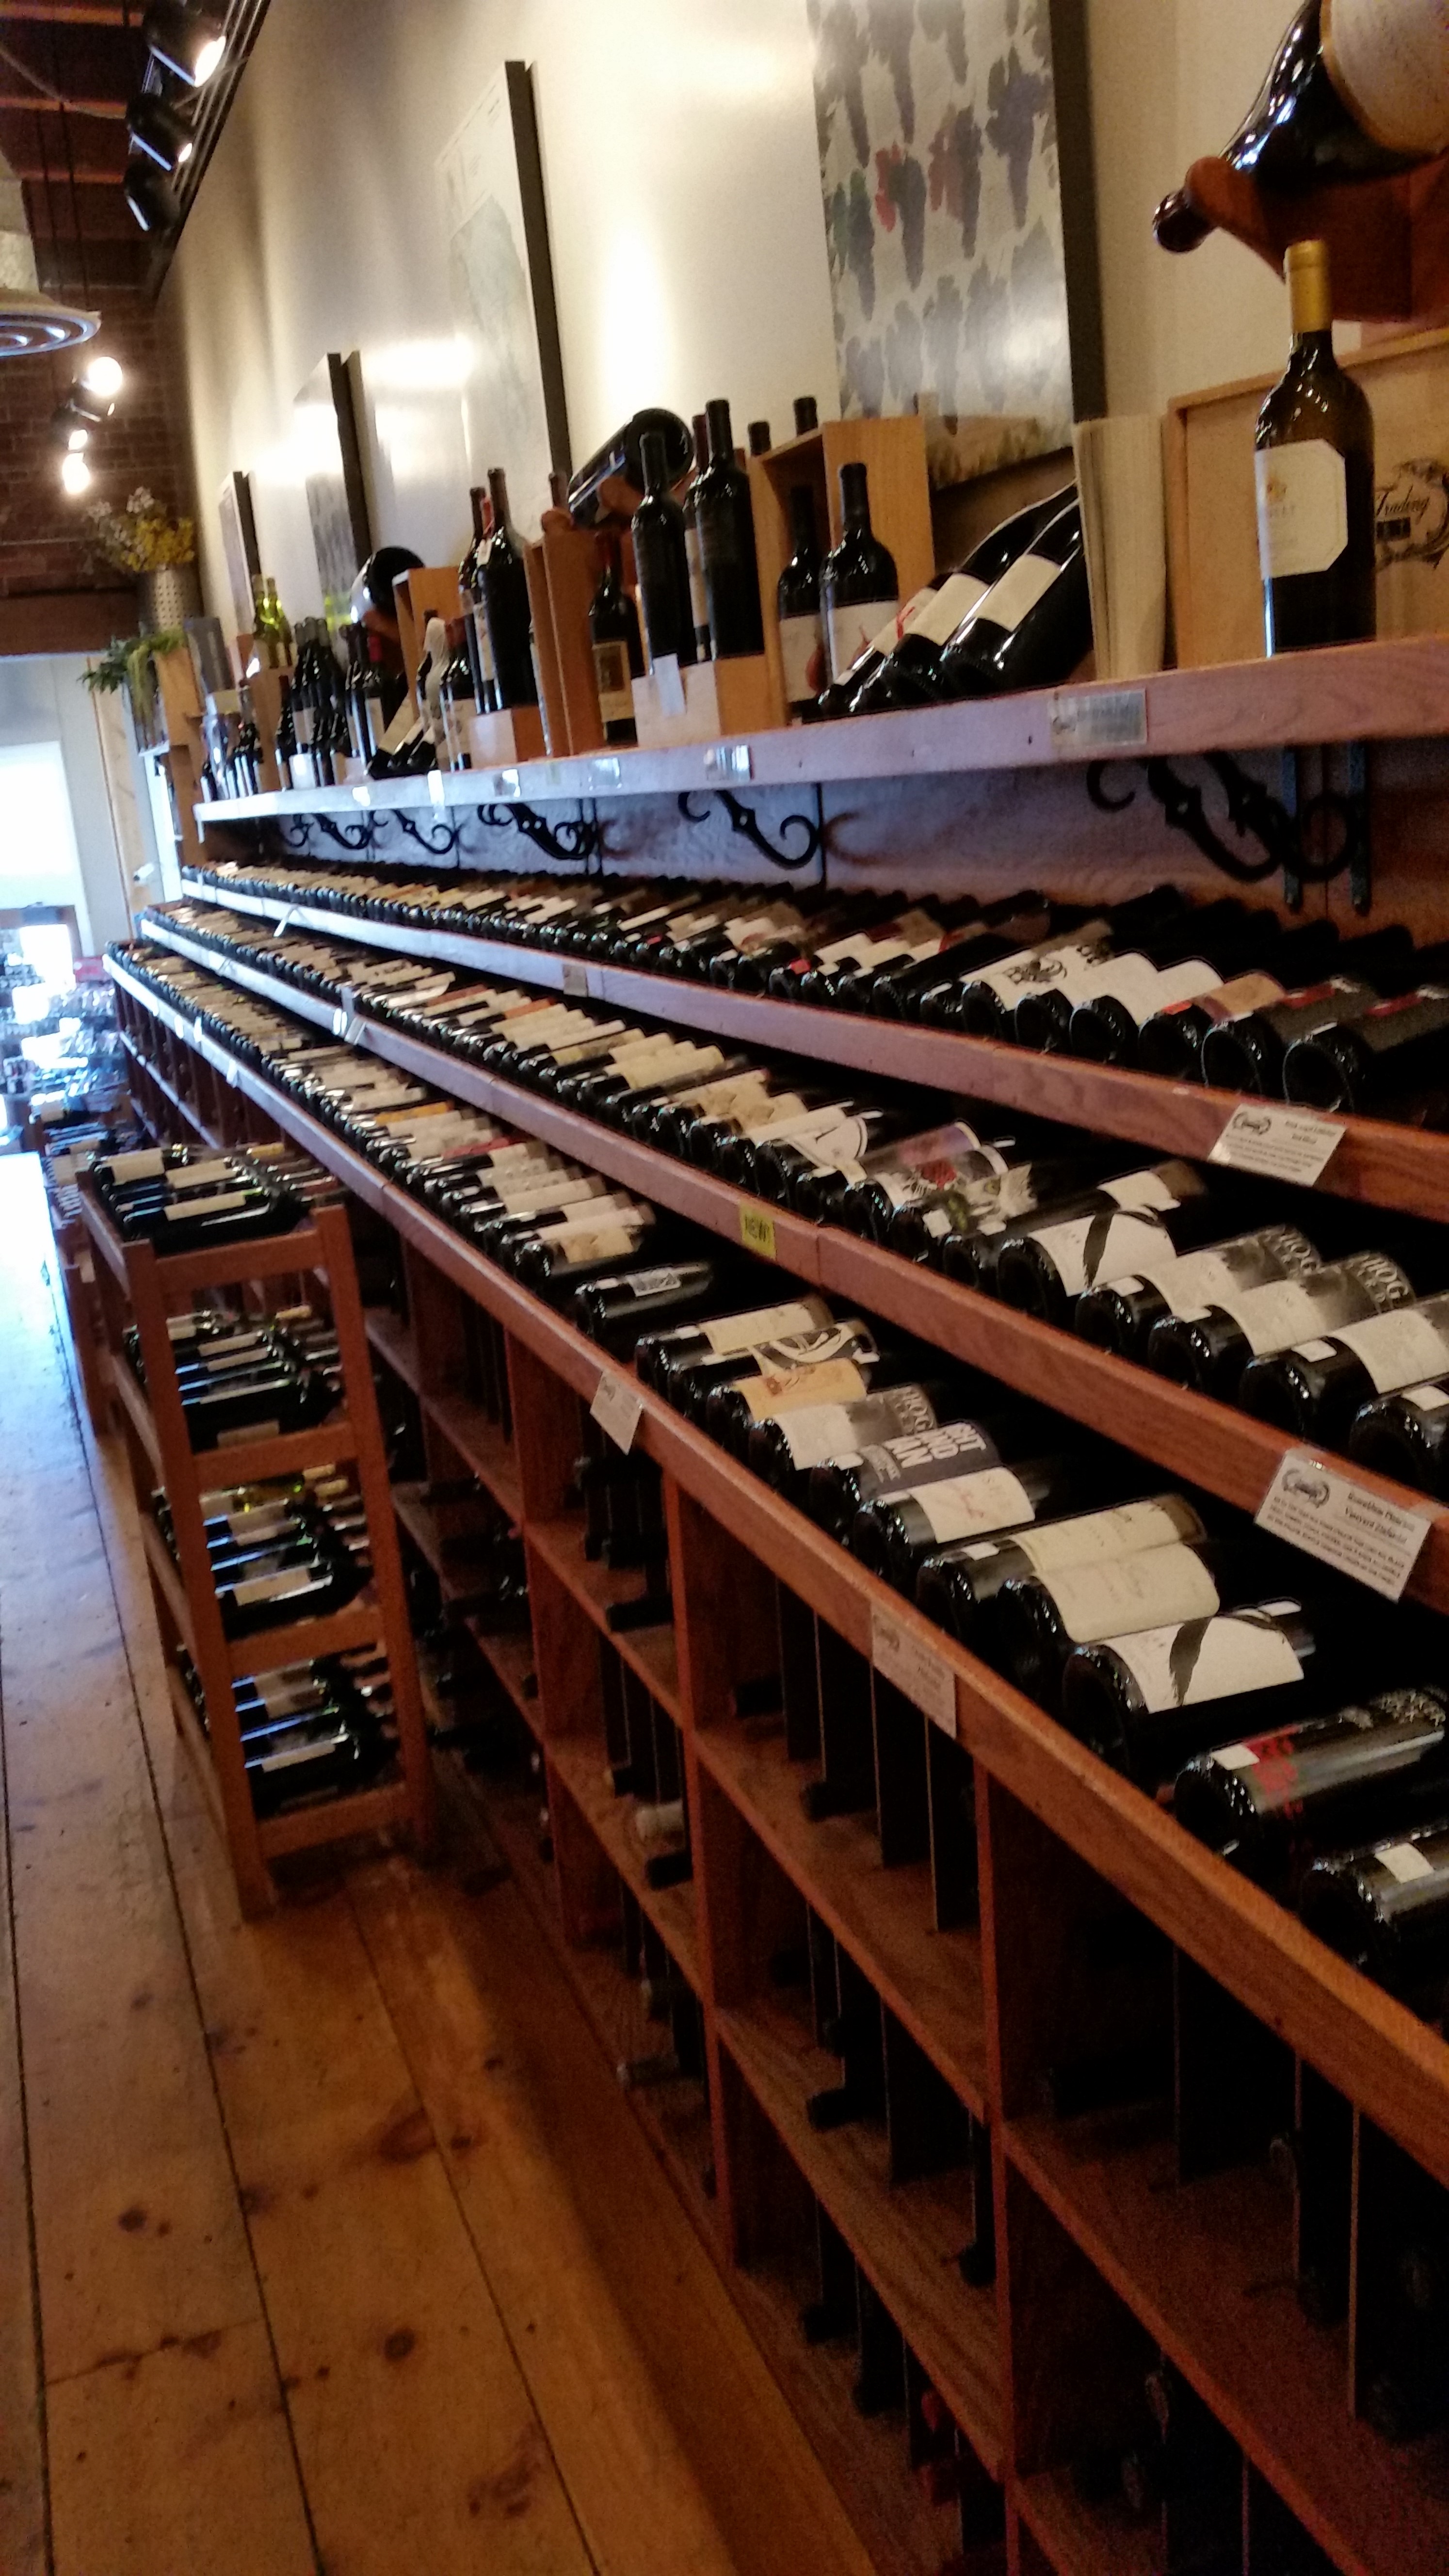
And right across the street was Browne Trading Market which had fresh fish, caviar, and smoked seafood as well as cheeses, jams, vinegars, etc., and of course, wine!

For lunch, one trip into Portland, Lewie and I stopped in The Lobster Company and I ordered a lobster salad as you can see! The problem was that upon ordering, the girl never said that there would be a 45 minute wait for our food!!

Yikes….for a salad?

Only saving grace was that the lobster-shaped table pager, which we couldn’t wait for to vibrate, was adorable!

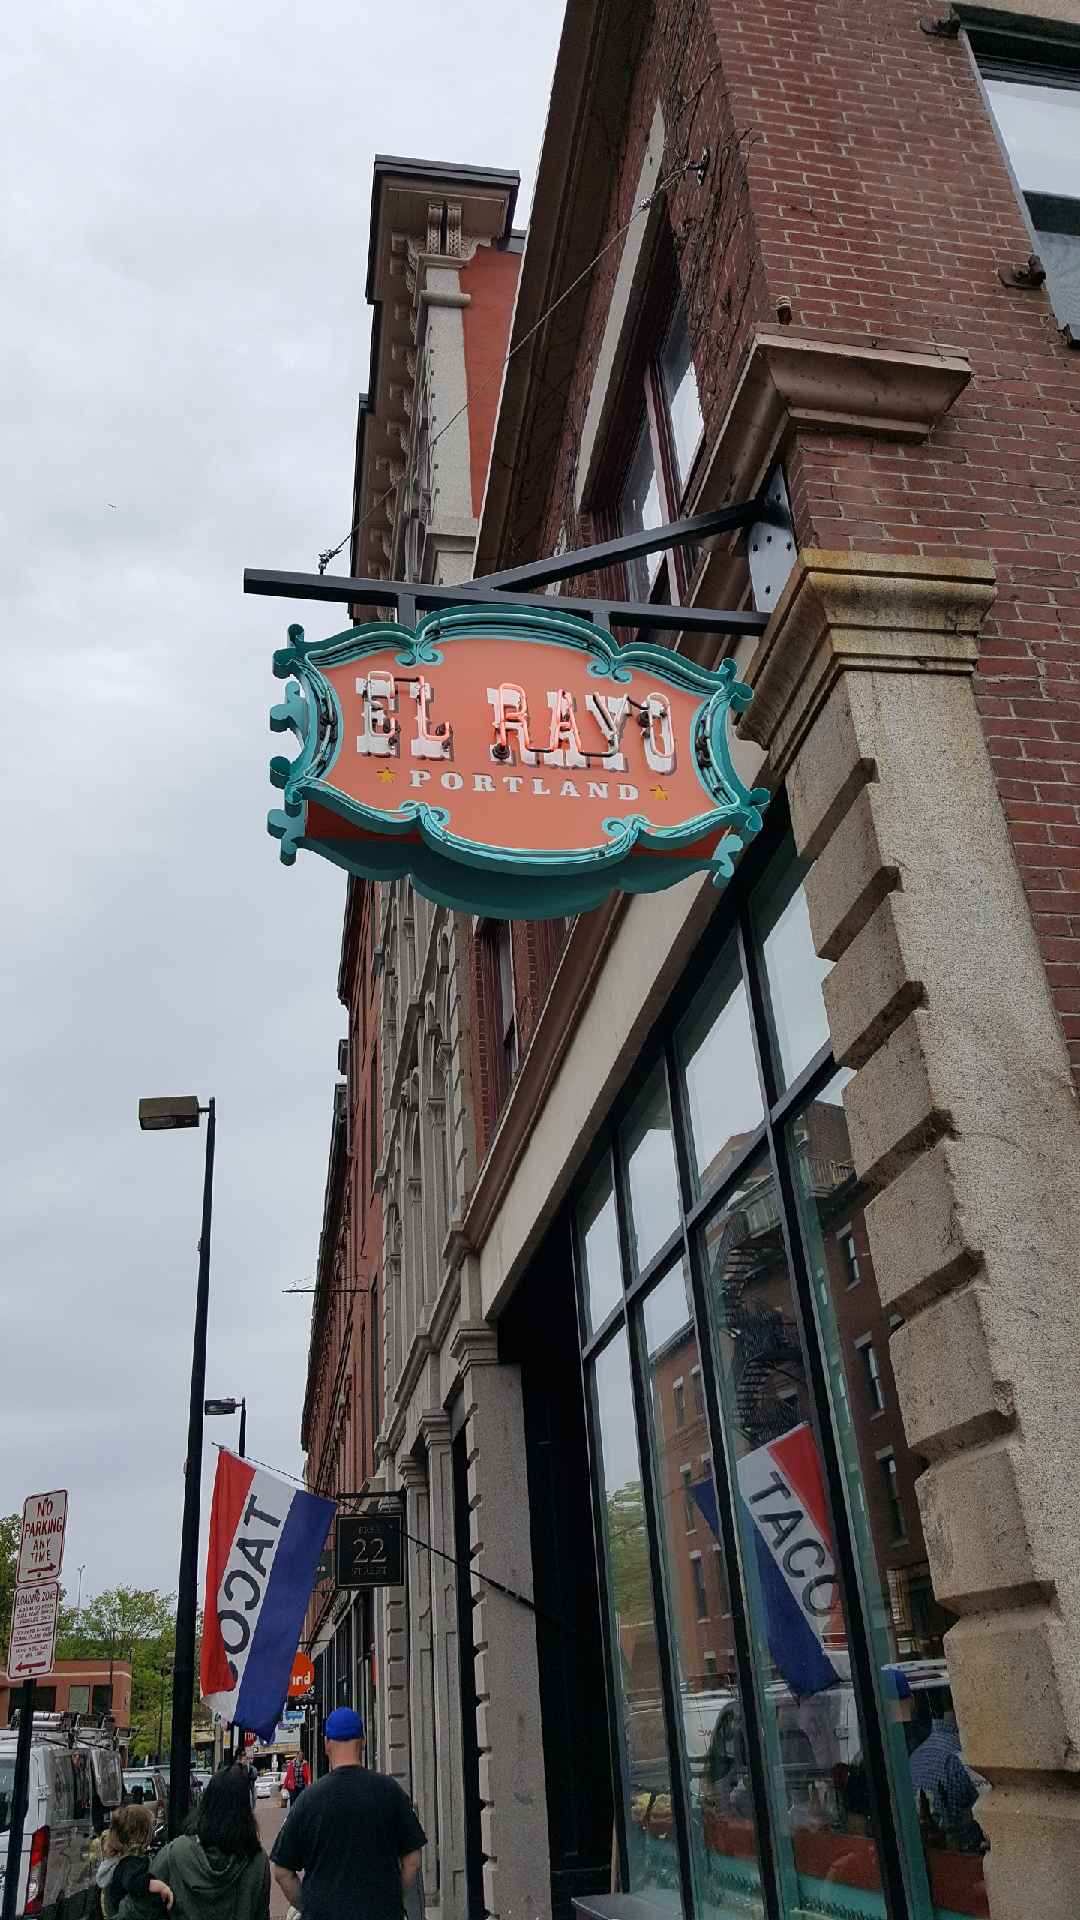
Daria and Andy headed to El Rayo Taqueria for some much talked about tacos…they love Mexican and were super excited! Most (notice I said most) Mexican food is gluten free, so it’s good choice!

Al Carbon taco with char grilled chicken with pico de gallo salsa, cotija cheese, shredded lettuce & radish on the left and Carne Asada taco with char grilled steak with rajas, pico de gallo, shredded lettuce & lime on the right. Both delicious and gluten free, of course!

Elevation Burger was another choice for a change of pace and it did not disappoint!

100% organic, grass-fed, free range burgers make all the difference….so fresh and tasty. All that was missing was a gluten free bun, but they had a lettuce wrap, so that’s what I got!

NO fries, of course!

Dessert was a scrumptious cup of gelato from Gorgeous Gelato.  Making a selection was tough but I decided on pistachio….oh dear! So smooth and delightful! The owners are from Milan, Italy, and this gelato is true Italian gelato!

Wish I had a bigger stomach!

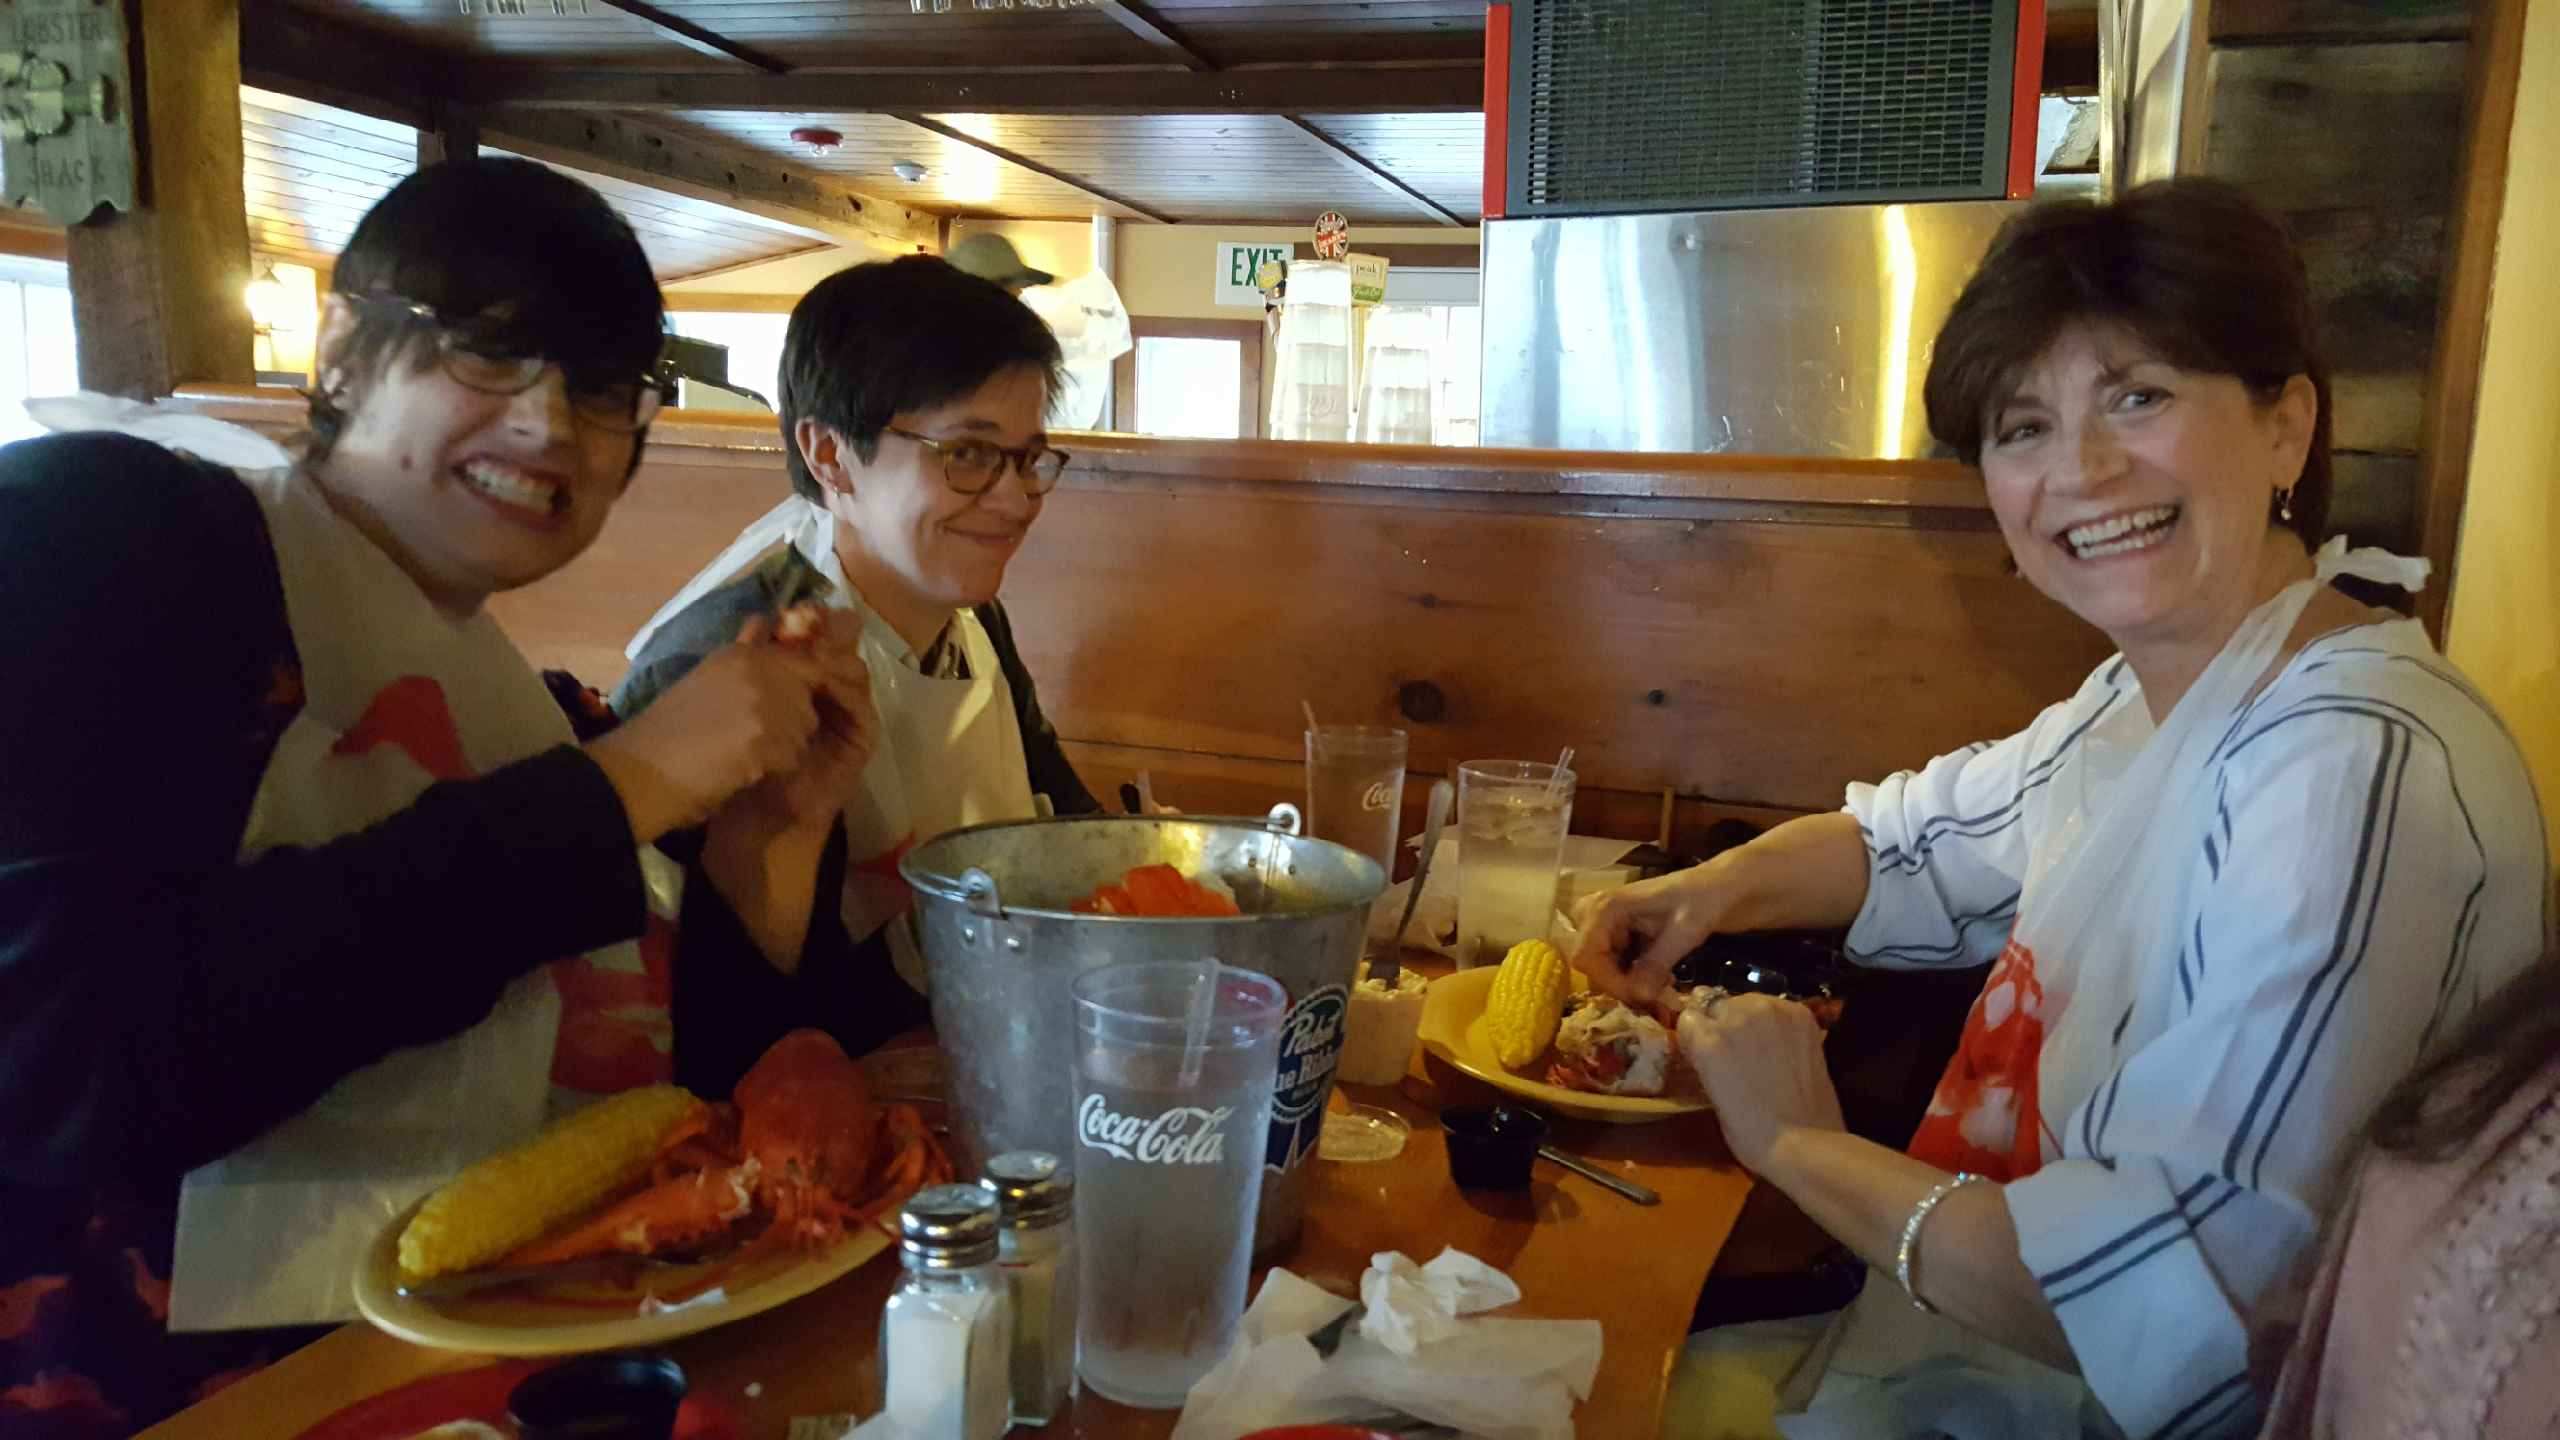
Maine, which supplies almost 90% of the nation’s lobsters, is teeming with places sporting the best lobster rolls and lobster tails. Back in Ogunquit, we decided to go to The Lobster Shack in Perkins Cove, the local fishing community, to check out their “full Maine experience.”

What a great little place!

All of the live lobsters are caught by local lobstermen and are held in ocean water tanks before steaming.

This had to be the sweetest lobster we ever ate!

And the “Maine experience” included shelling the whole lobster and even though it took us a while (we are complete novices), it was very enjoyable. Thank goodness for the “lobster bibs”…they proved to be so necessary!

Before our lobster dinners arrived, we decided to try the homemade New England clam chowder. It is a family recipe that doesn’t have any thickening flour which worked with our gluten free diet!

Full of clams, haddock, potatoes, onions, spices, milk and cream….oh what a delicious way to start the meal!

And I can’t forget the steamers!

We were a very happy table with happy bellies!

Even though it wasn’t planned, we seemed to save the best restaurant for last!

With so many gluten free options, we were thrilled to find and experience Roost Café and Bistro in Ogunquit.

Their homemade gluten free products are made on site by their chefs and the proof is in the taste!

We had gone to this wonderful eatery on Friday evening (our last night of vacation) and wish that we had discovered it sooner!

Of course we wanted to try everything but settled on two gluten free appetizers. The first was the Pan Fried Crab Cakes with red pepper aioli and dressed greens. They were amazing!

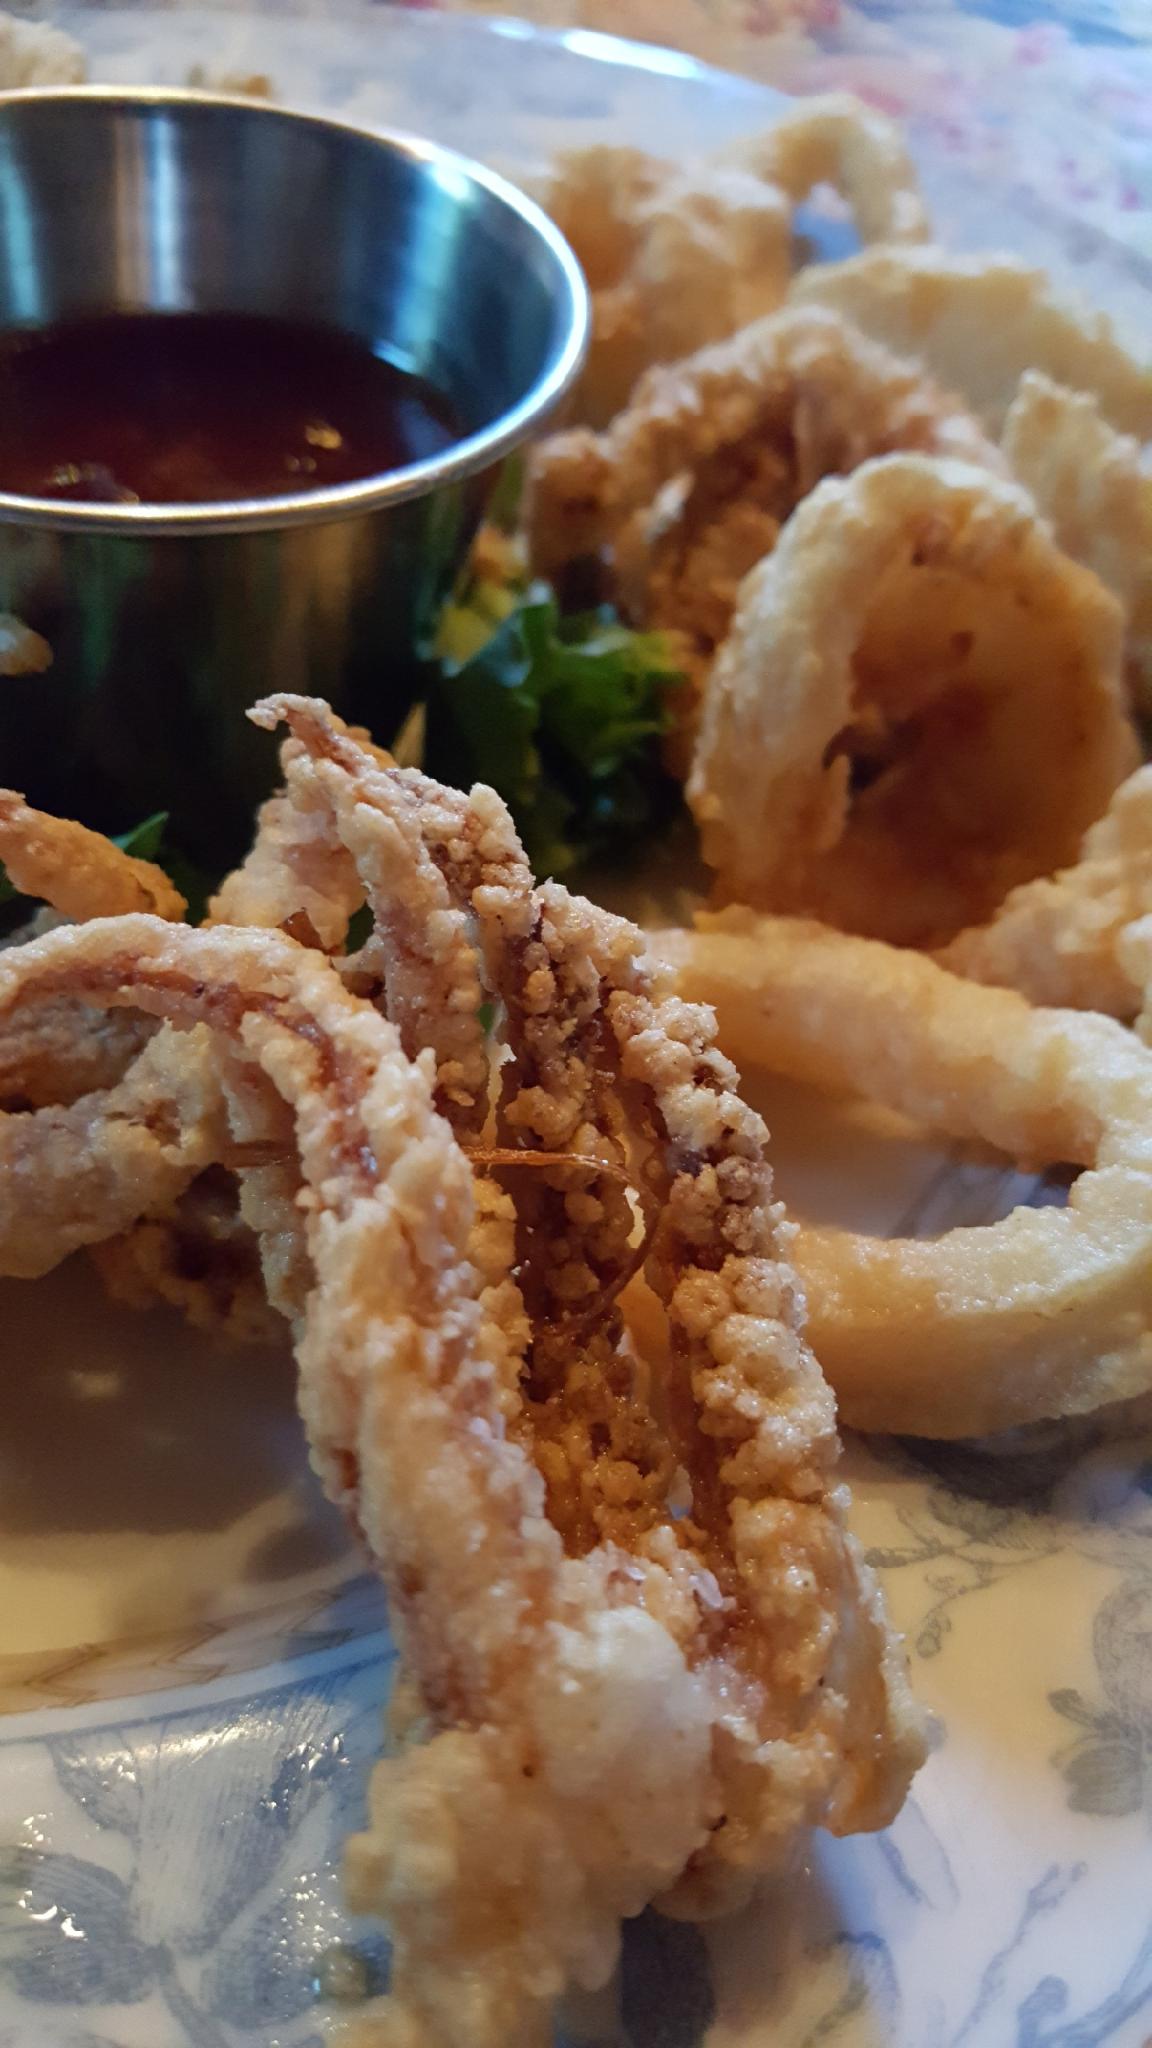
Next, was the Calamari with roasted garlic, pineapple and sweet chili sauce. This breaded and fried delight was the best ever!

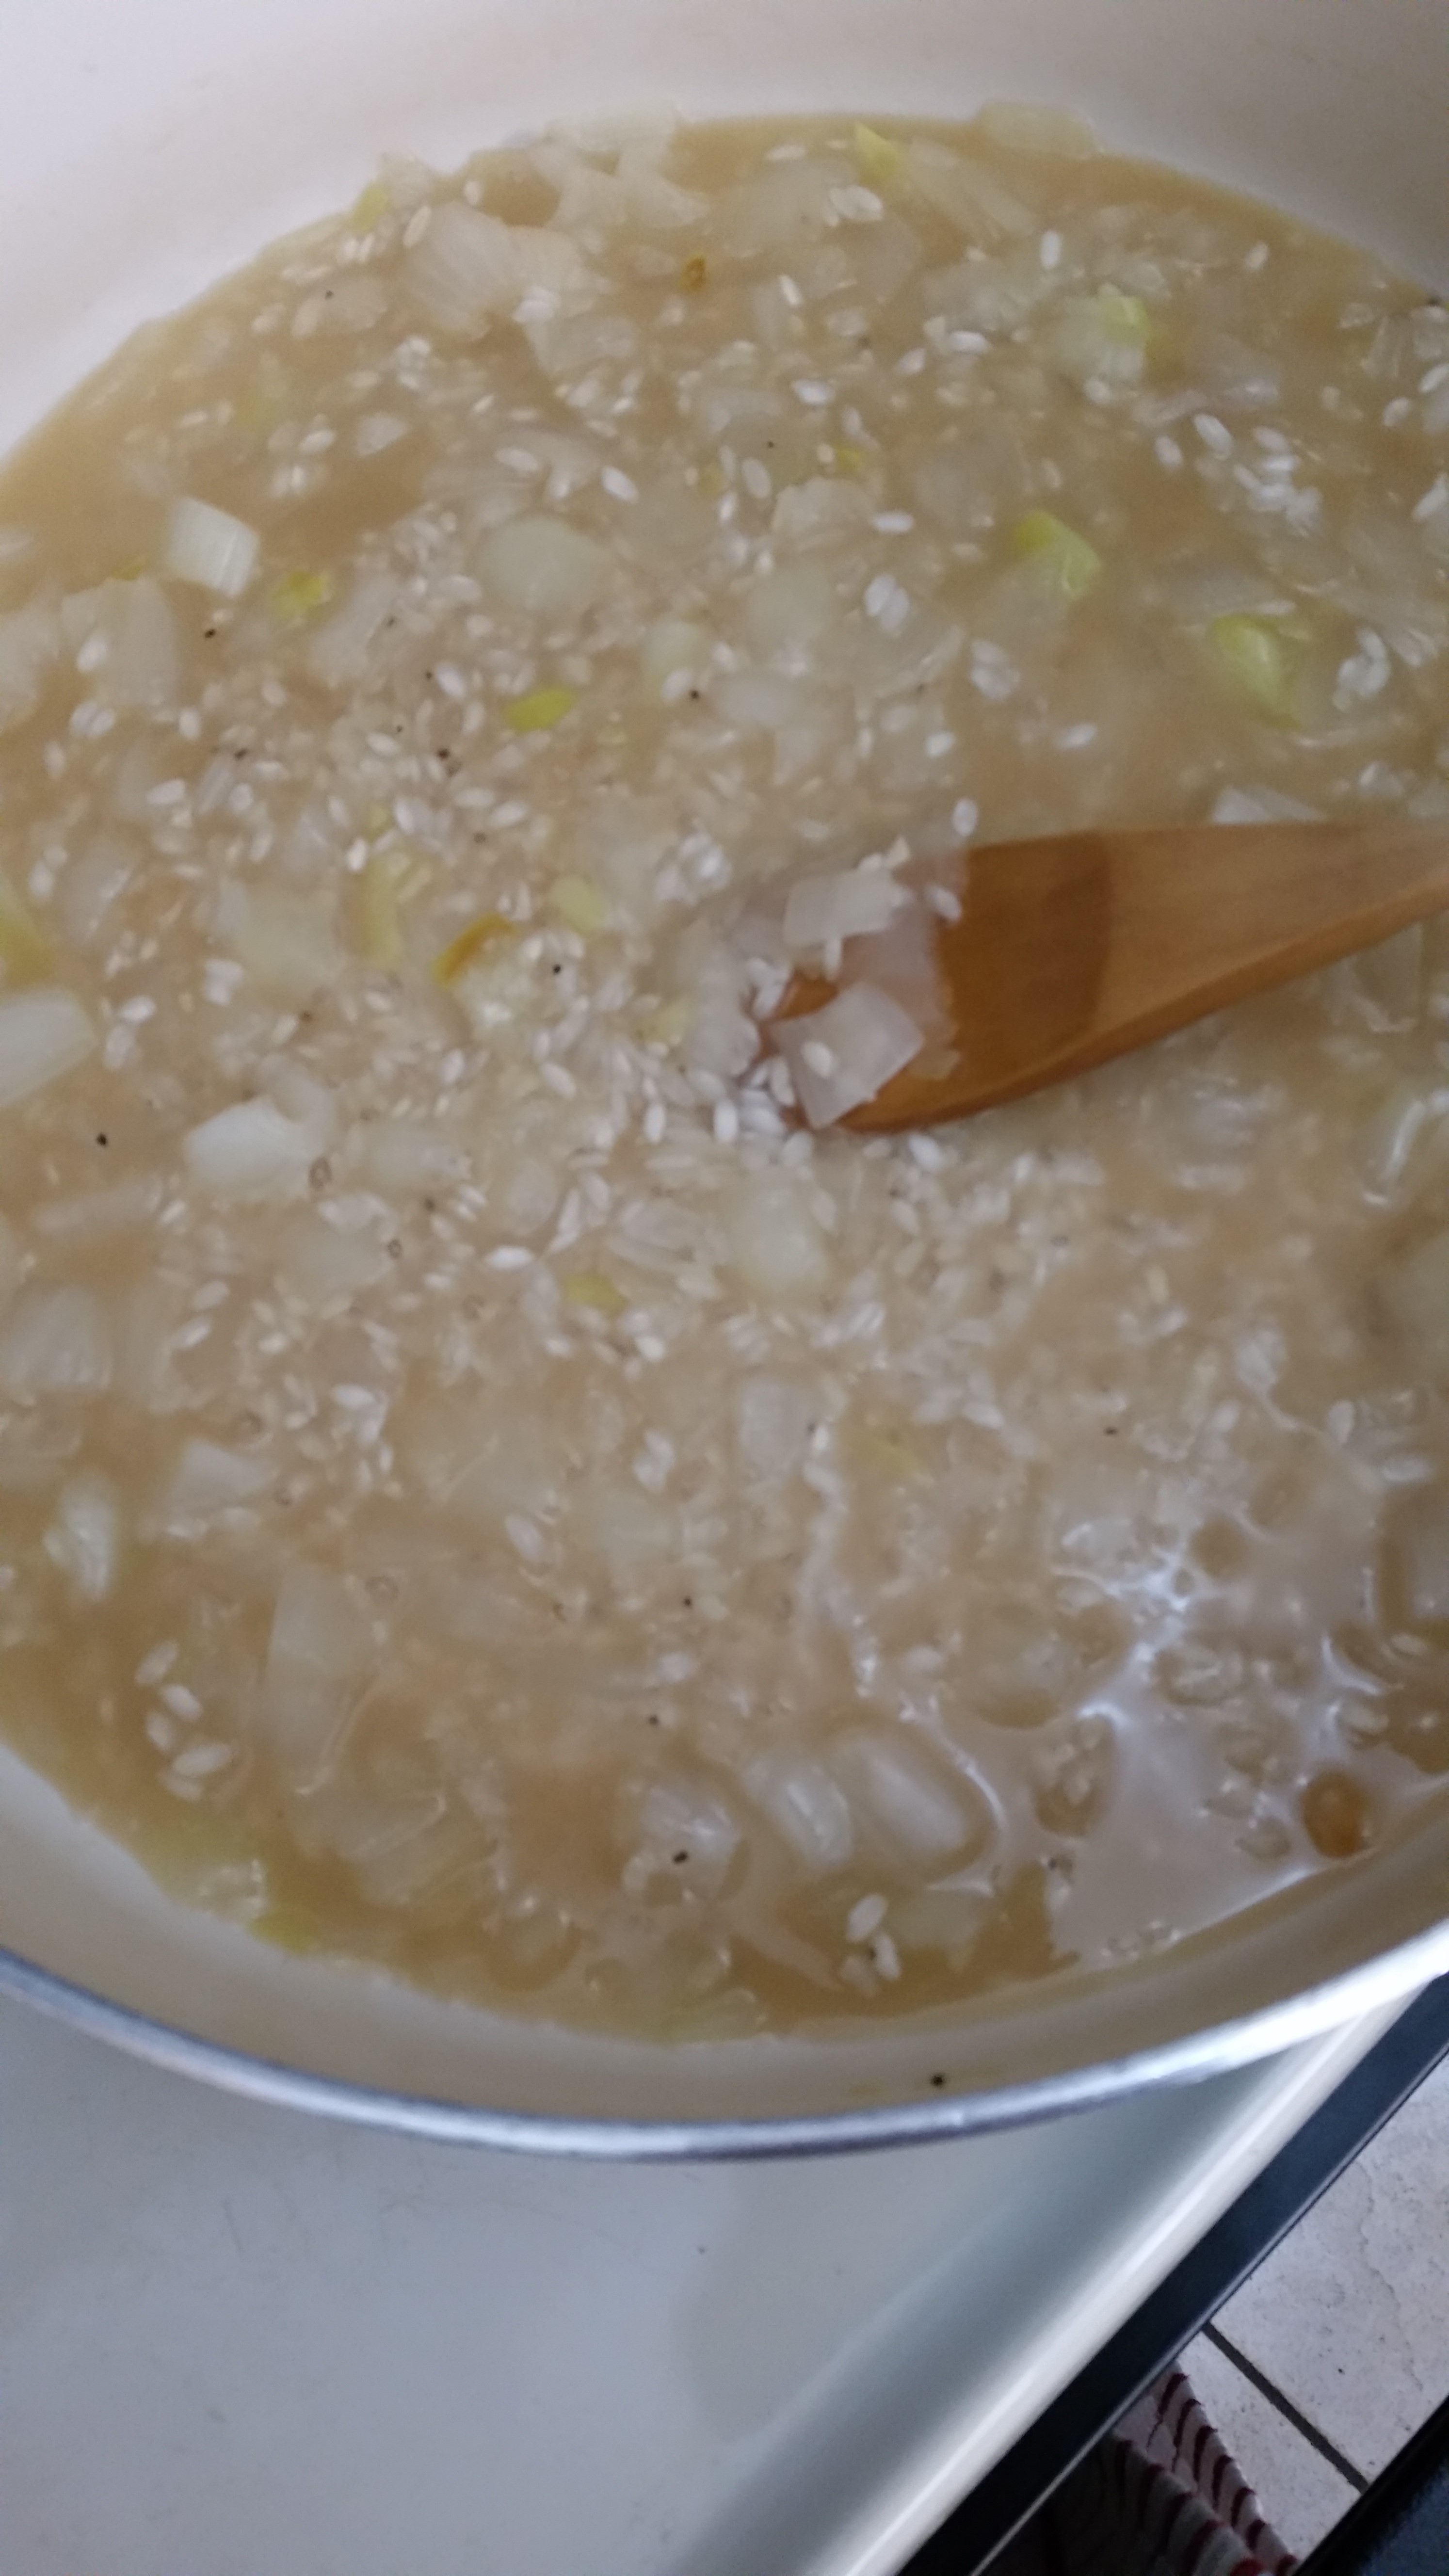
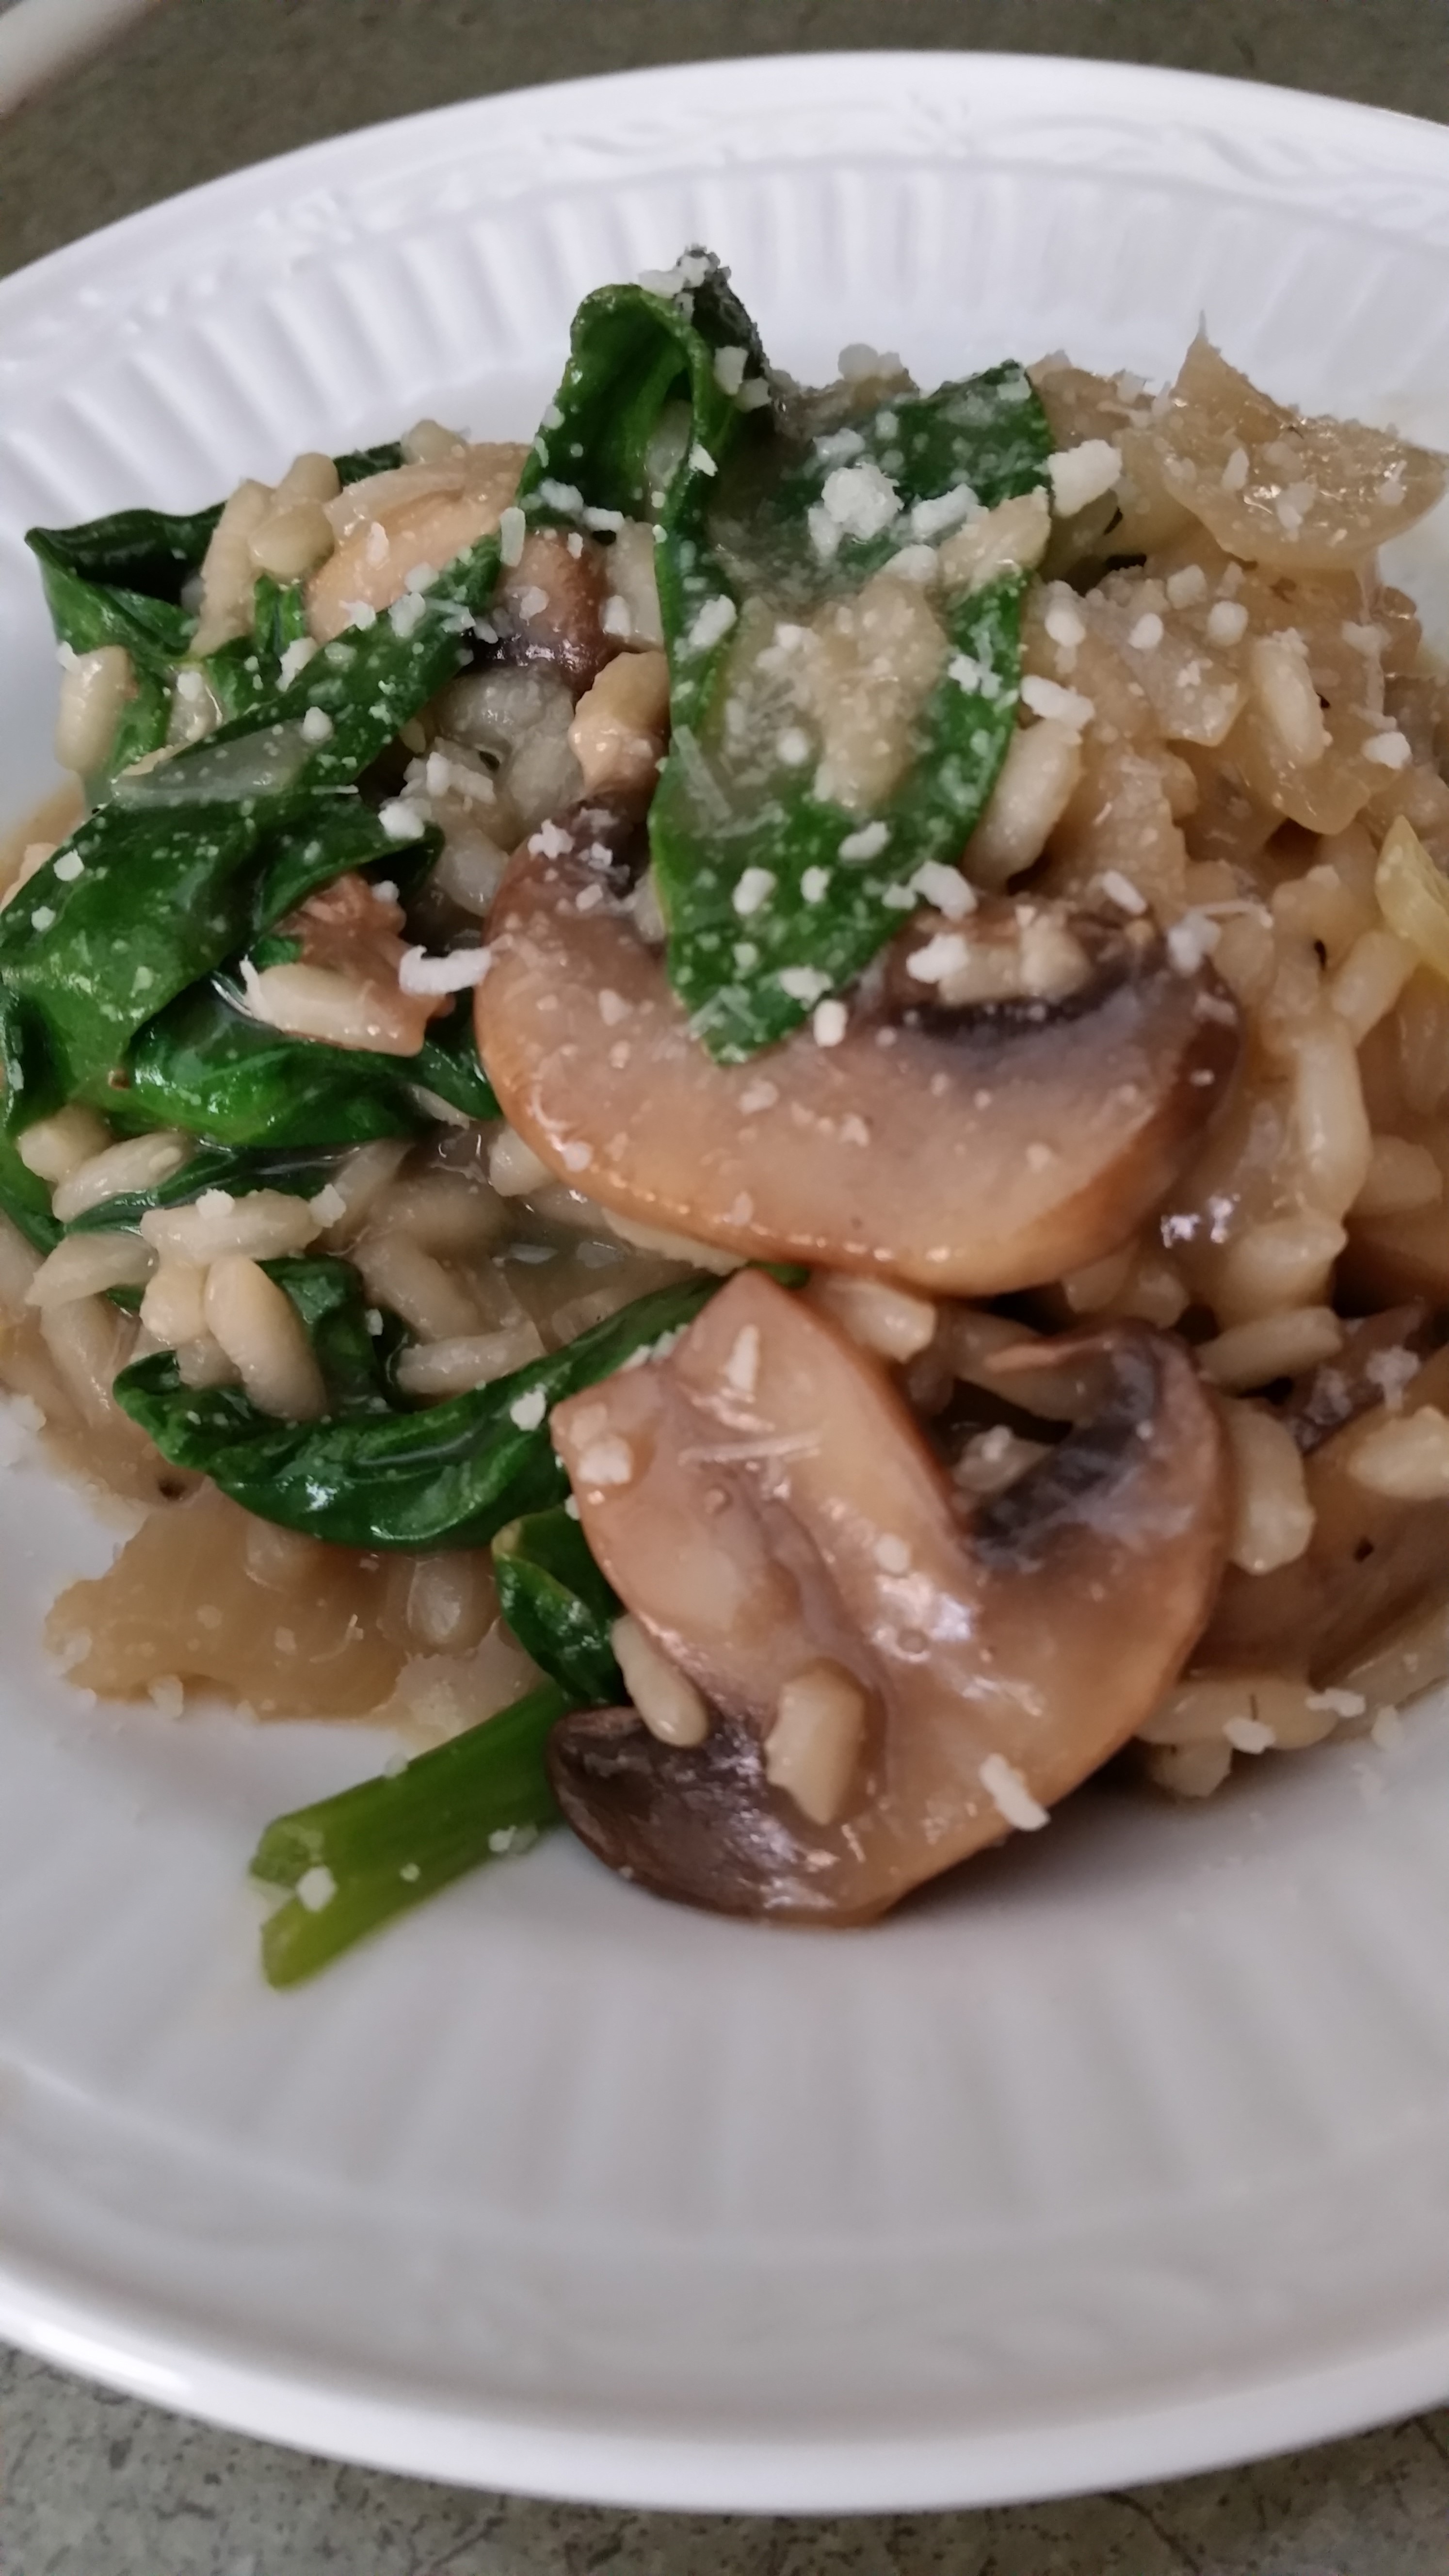
My entrée was the Seared Scallops, pan roasted with creamy sweet pea risotto, and house veggies. Full of flavor and so delicious! All gluten free!

Daria chose the Fish and Chips, baked haddock with lime-cilantro slaw, and fries (made in a dedicated fryer!). She was so happy with this entrée….fried but gluten free! When does this happen in a restaurant? Almost never!

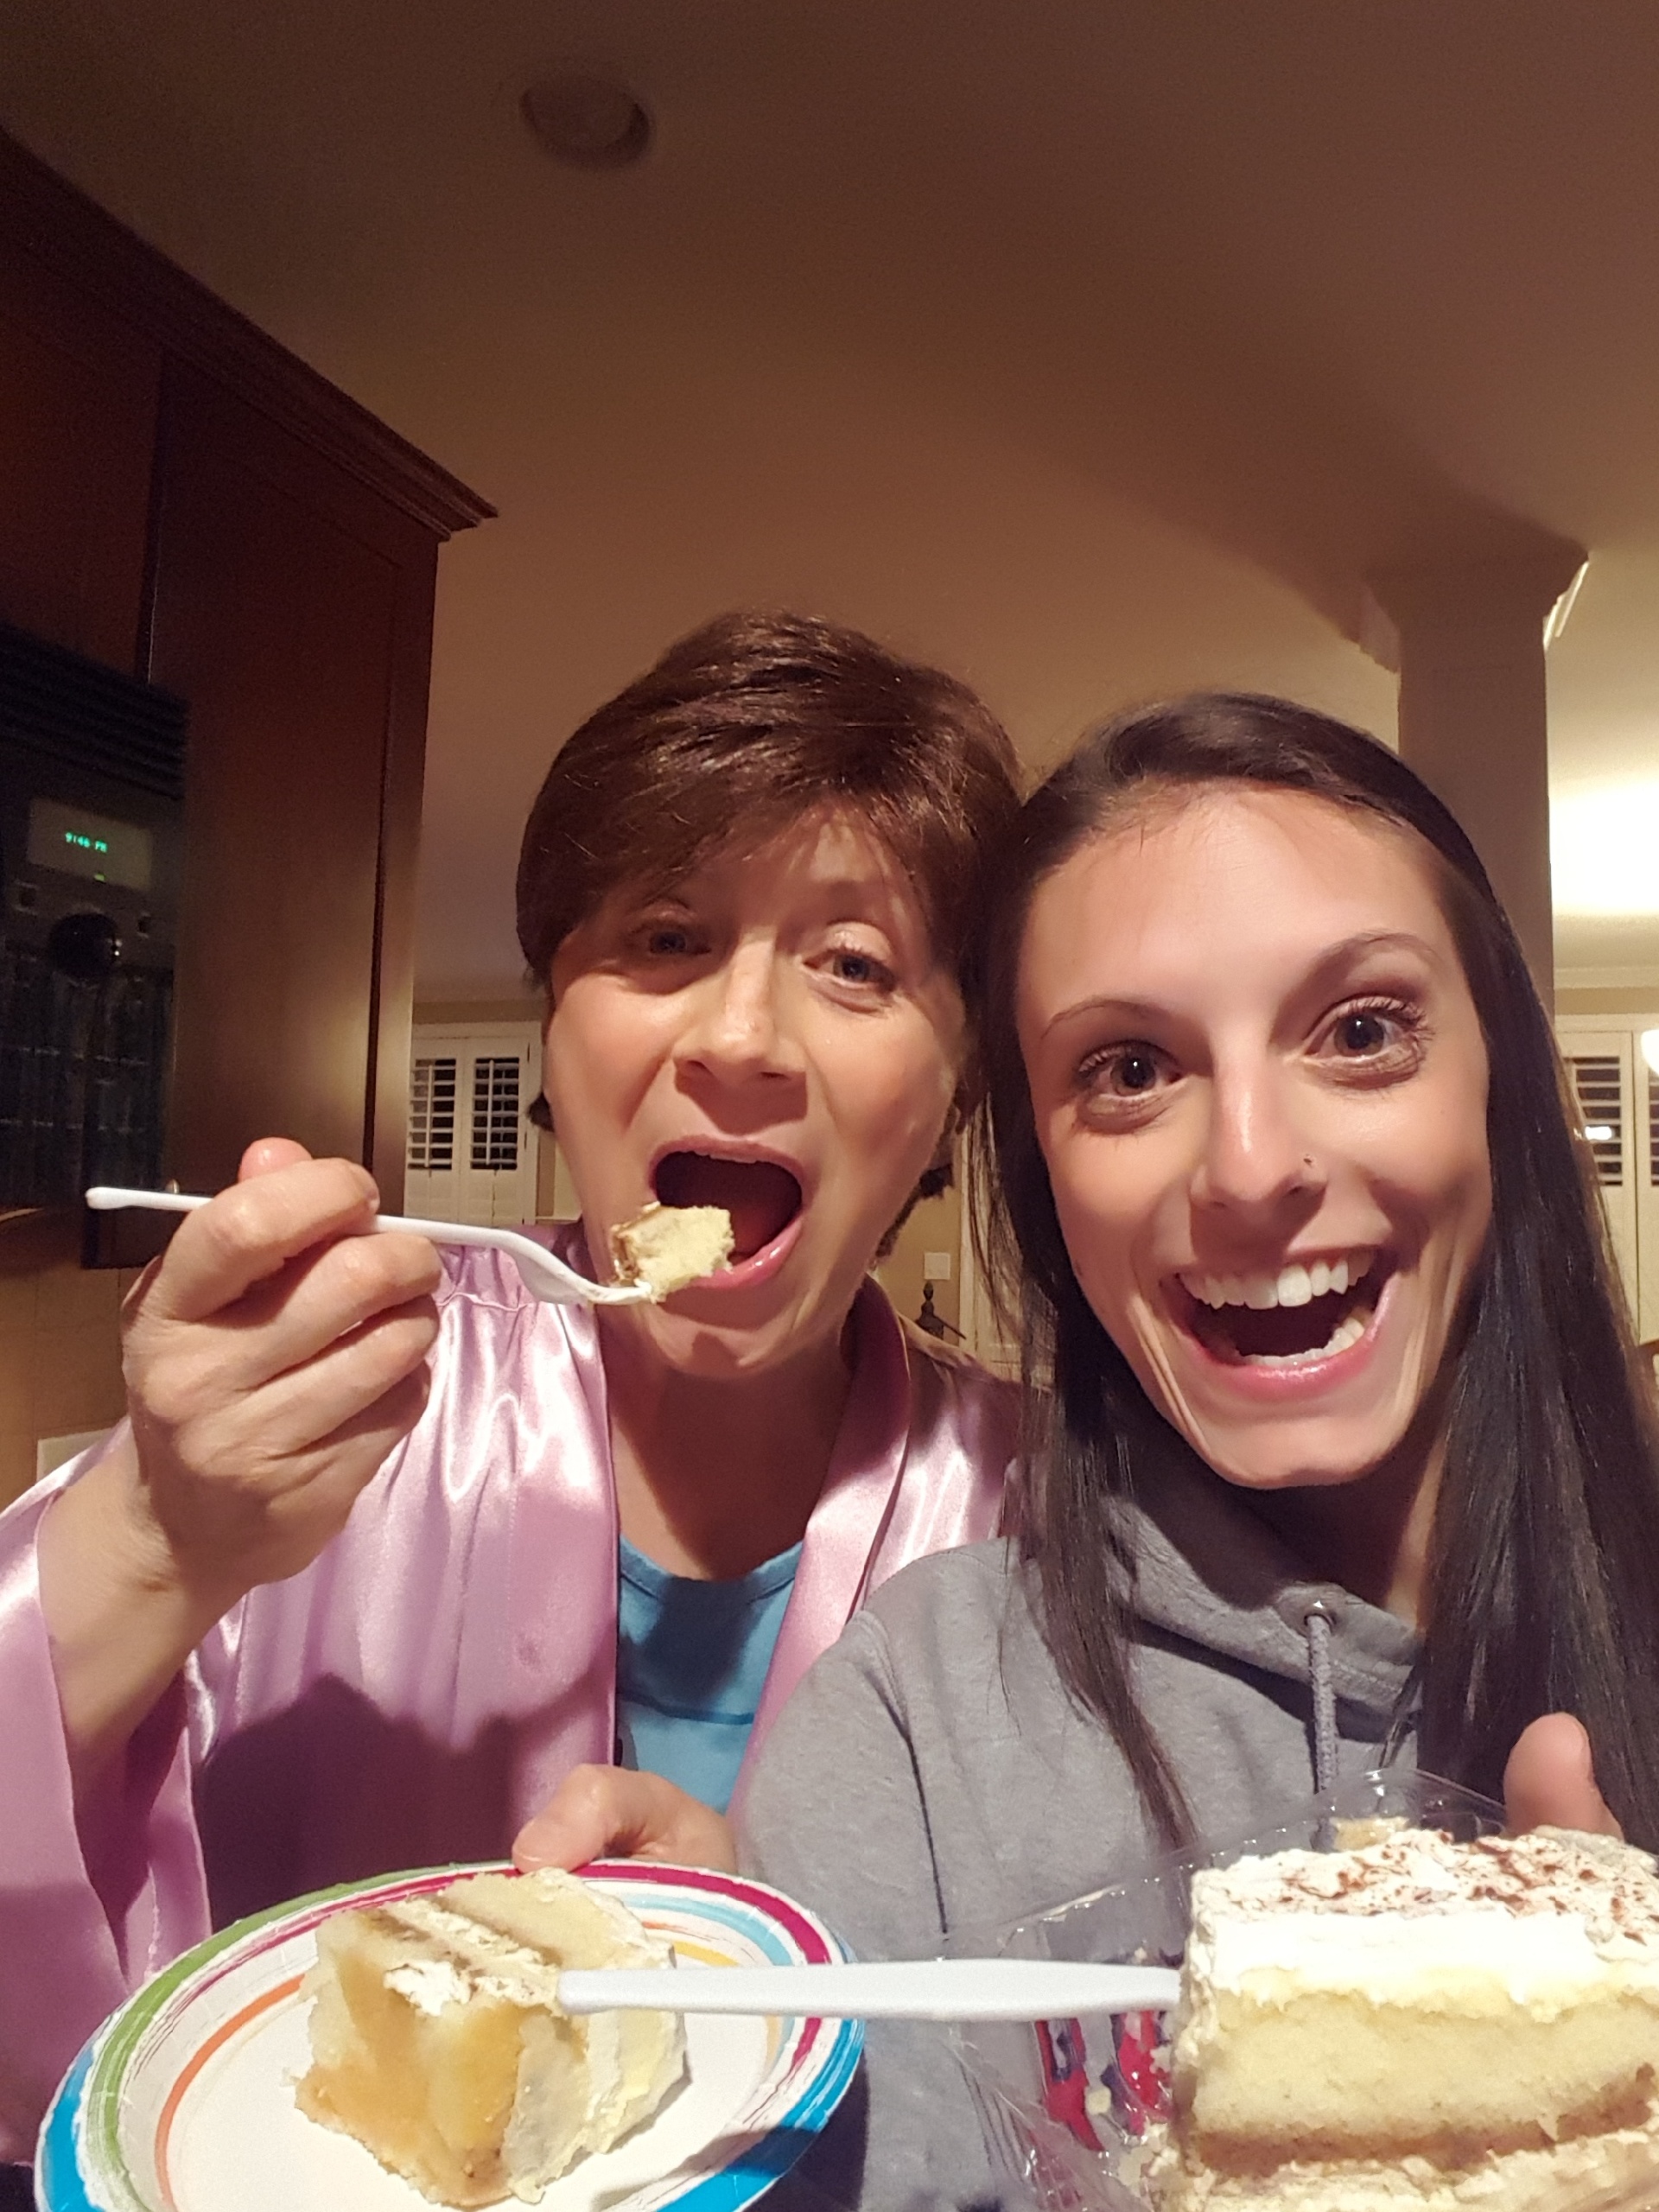
We were so full at dessert time that we declined, even though the gluten free offerings sounded incredible. A few hours later, we realized that I had gotten a piece of Tiramisu from Bam Bam Bakery and we found it in the refrigerator!

Here we are devouring it!

After eating our dessert, Daria and Andy suggested that we go to Roost before leaving for home for their breakfast/brunch. And since it was Daria’s birthday, we couldn’t resist!

As we sat down, we all were feeling the same way….we just didn’t want our vacation to come to an end. But once we ordered our breakfast food, we knew it would end on a high note!

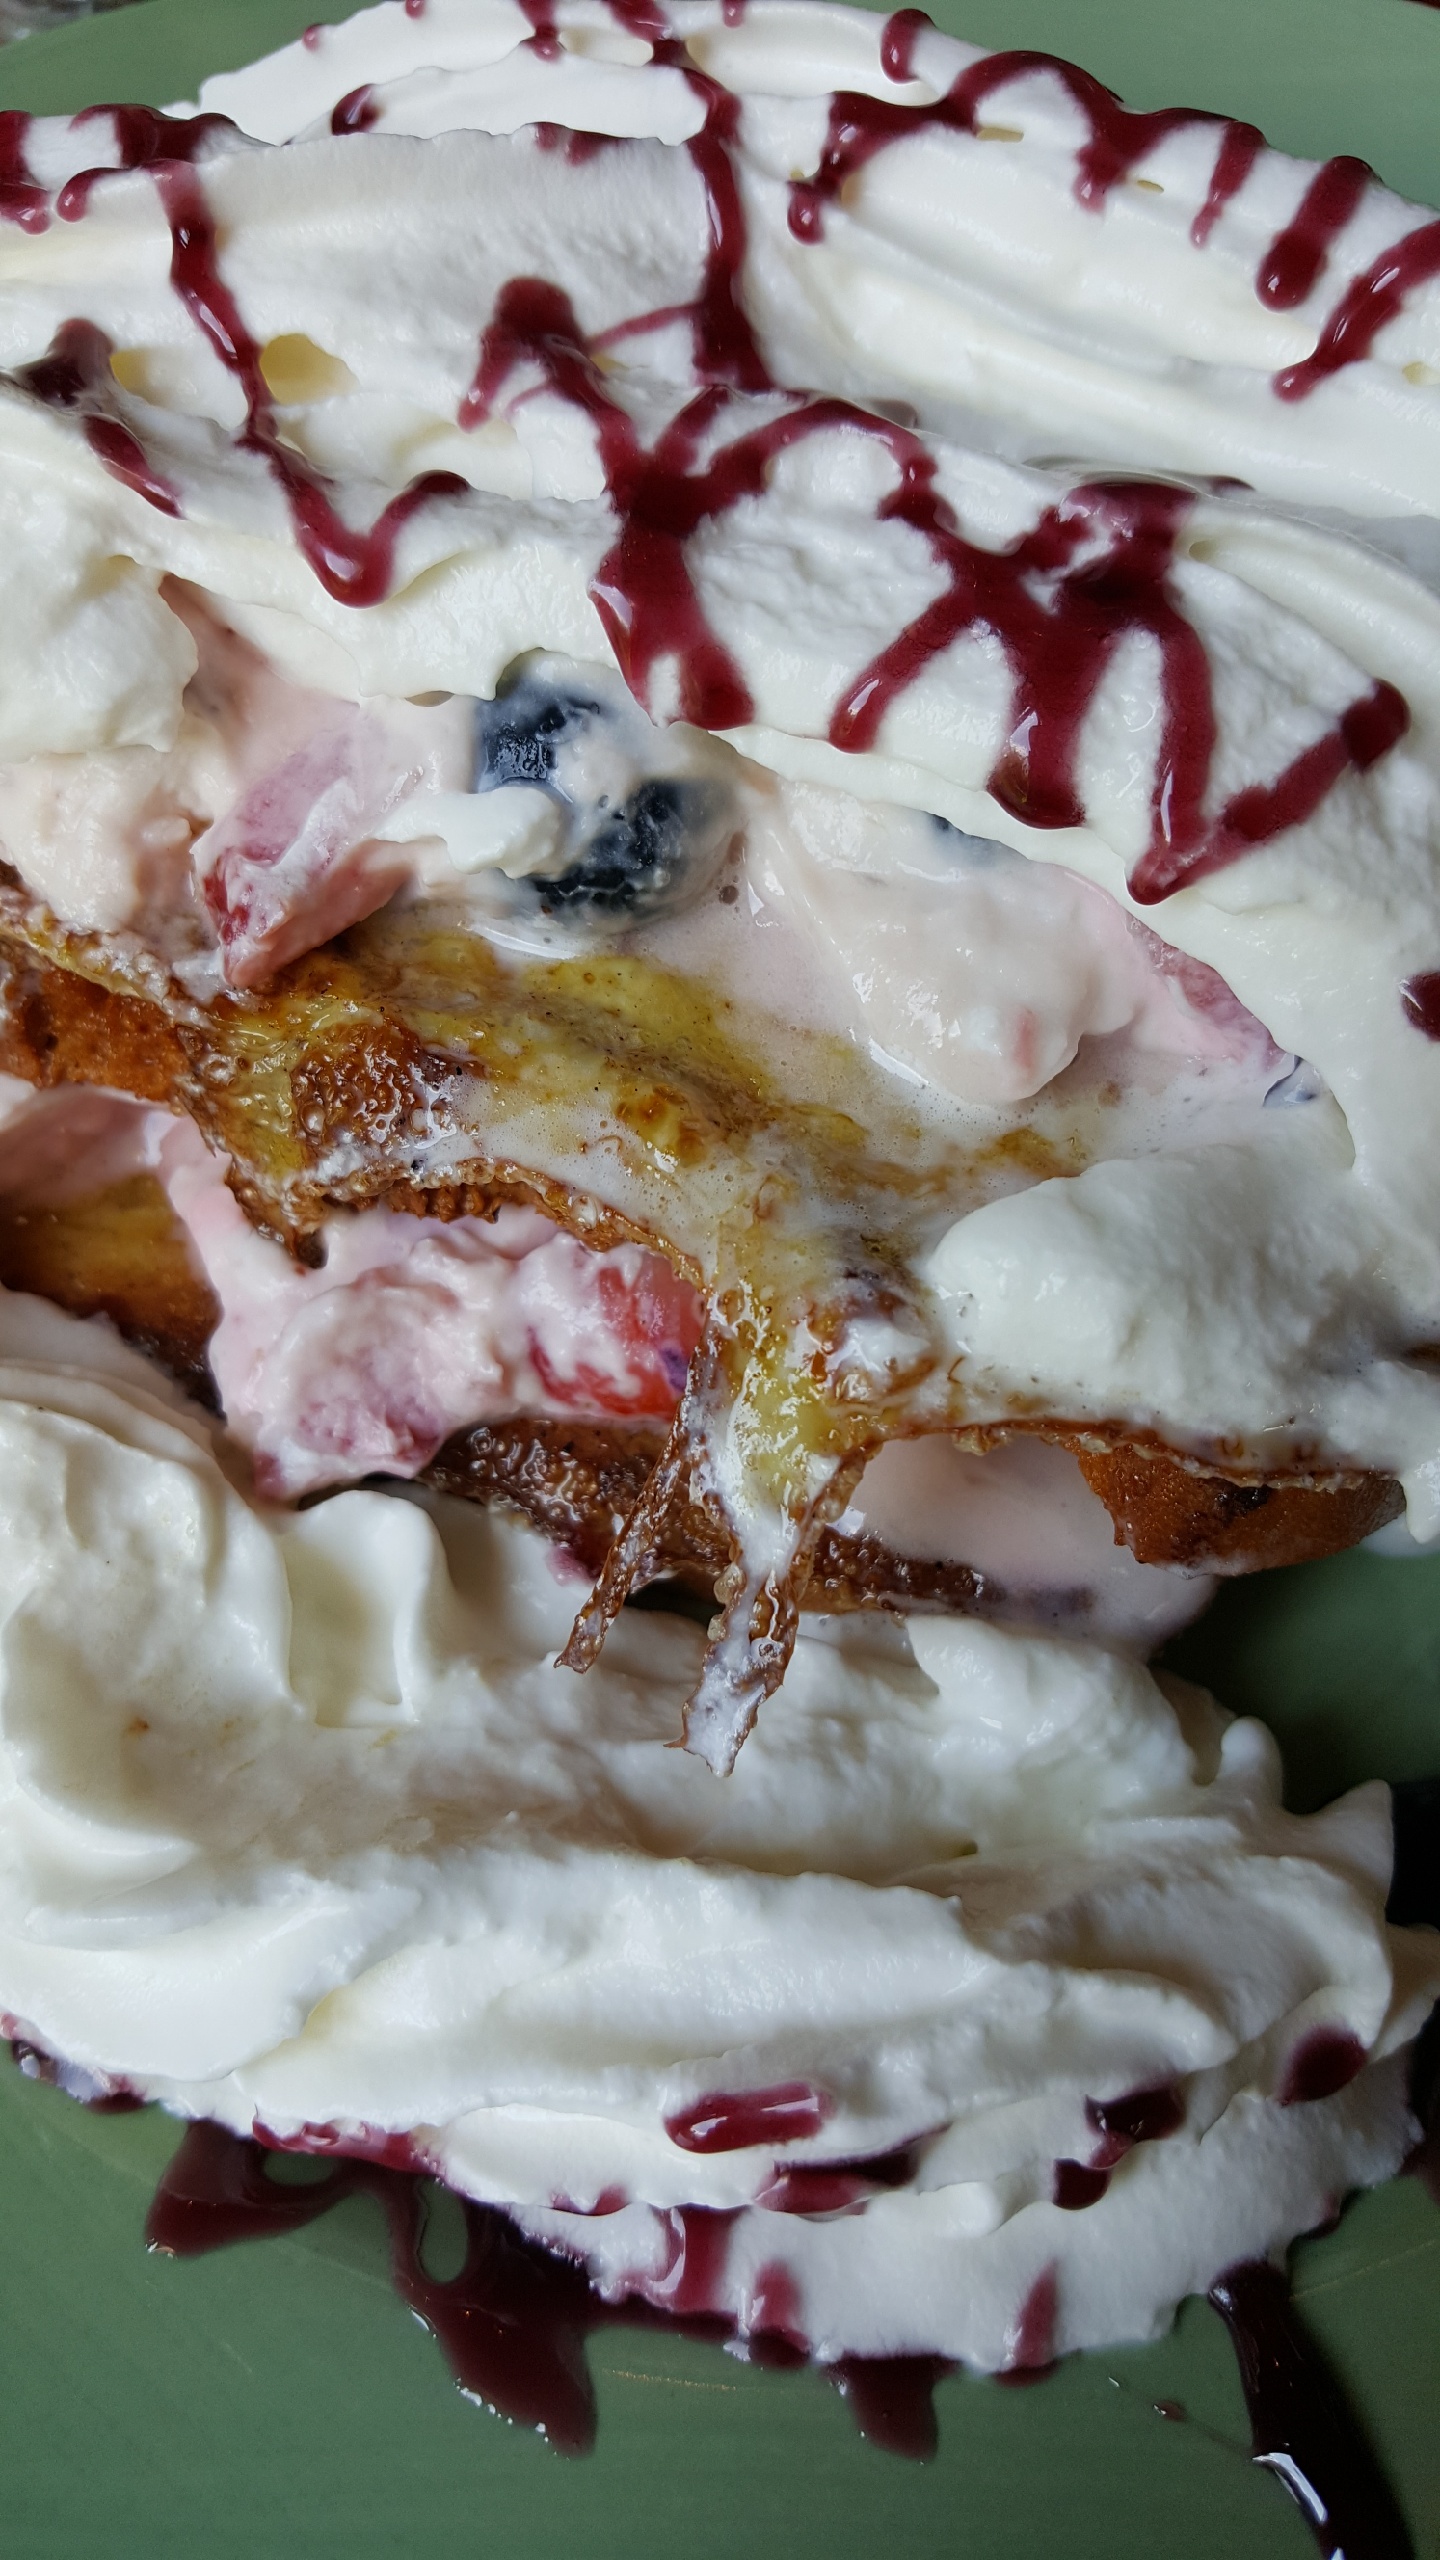
The birthday girl ordered Brioche French Toast stuffed with mascarpone, fresh berries, and whipped cream….just what she wanted!

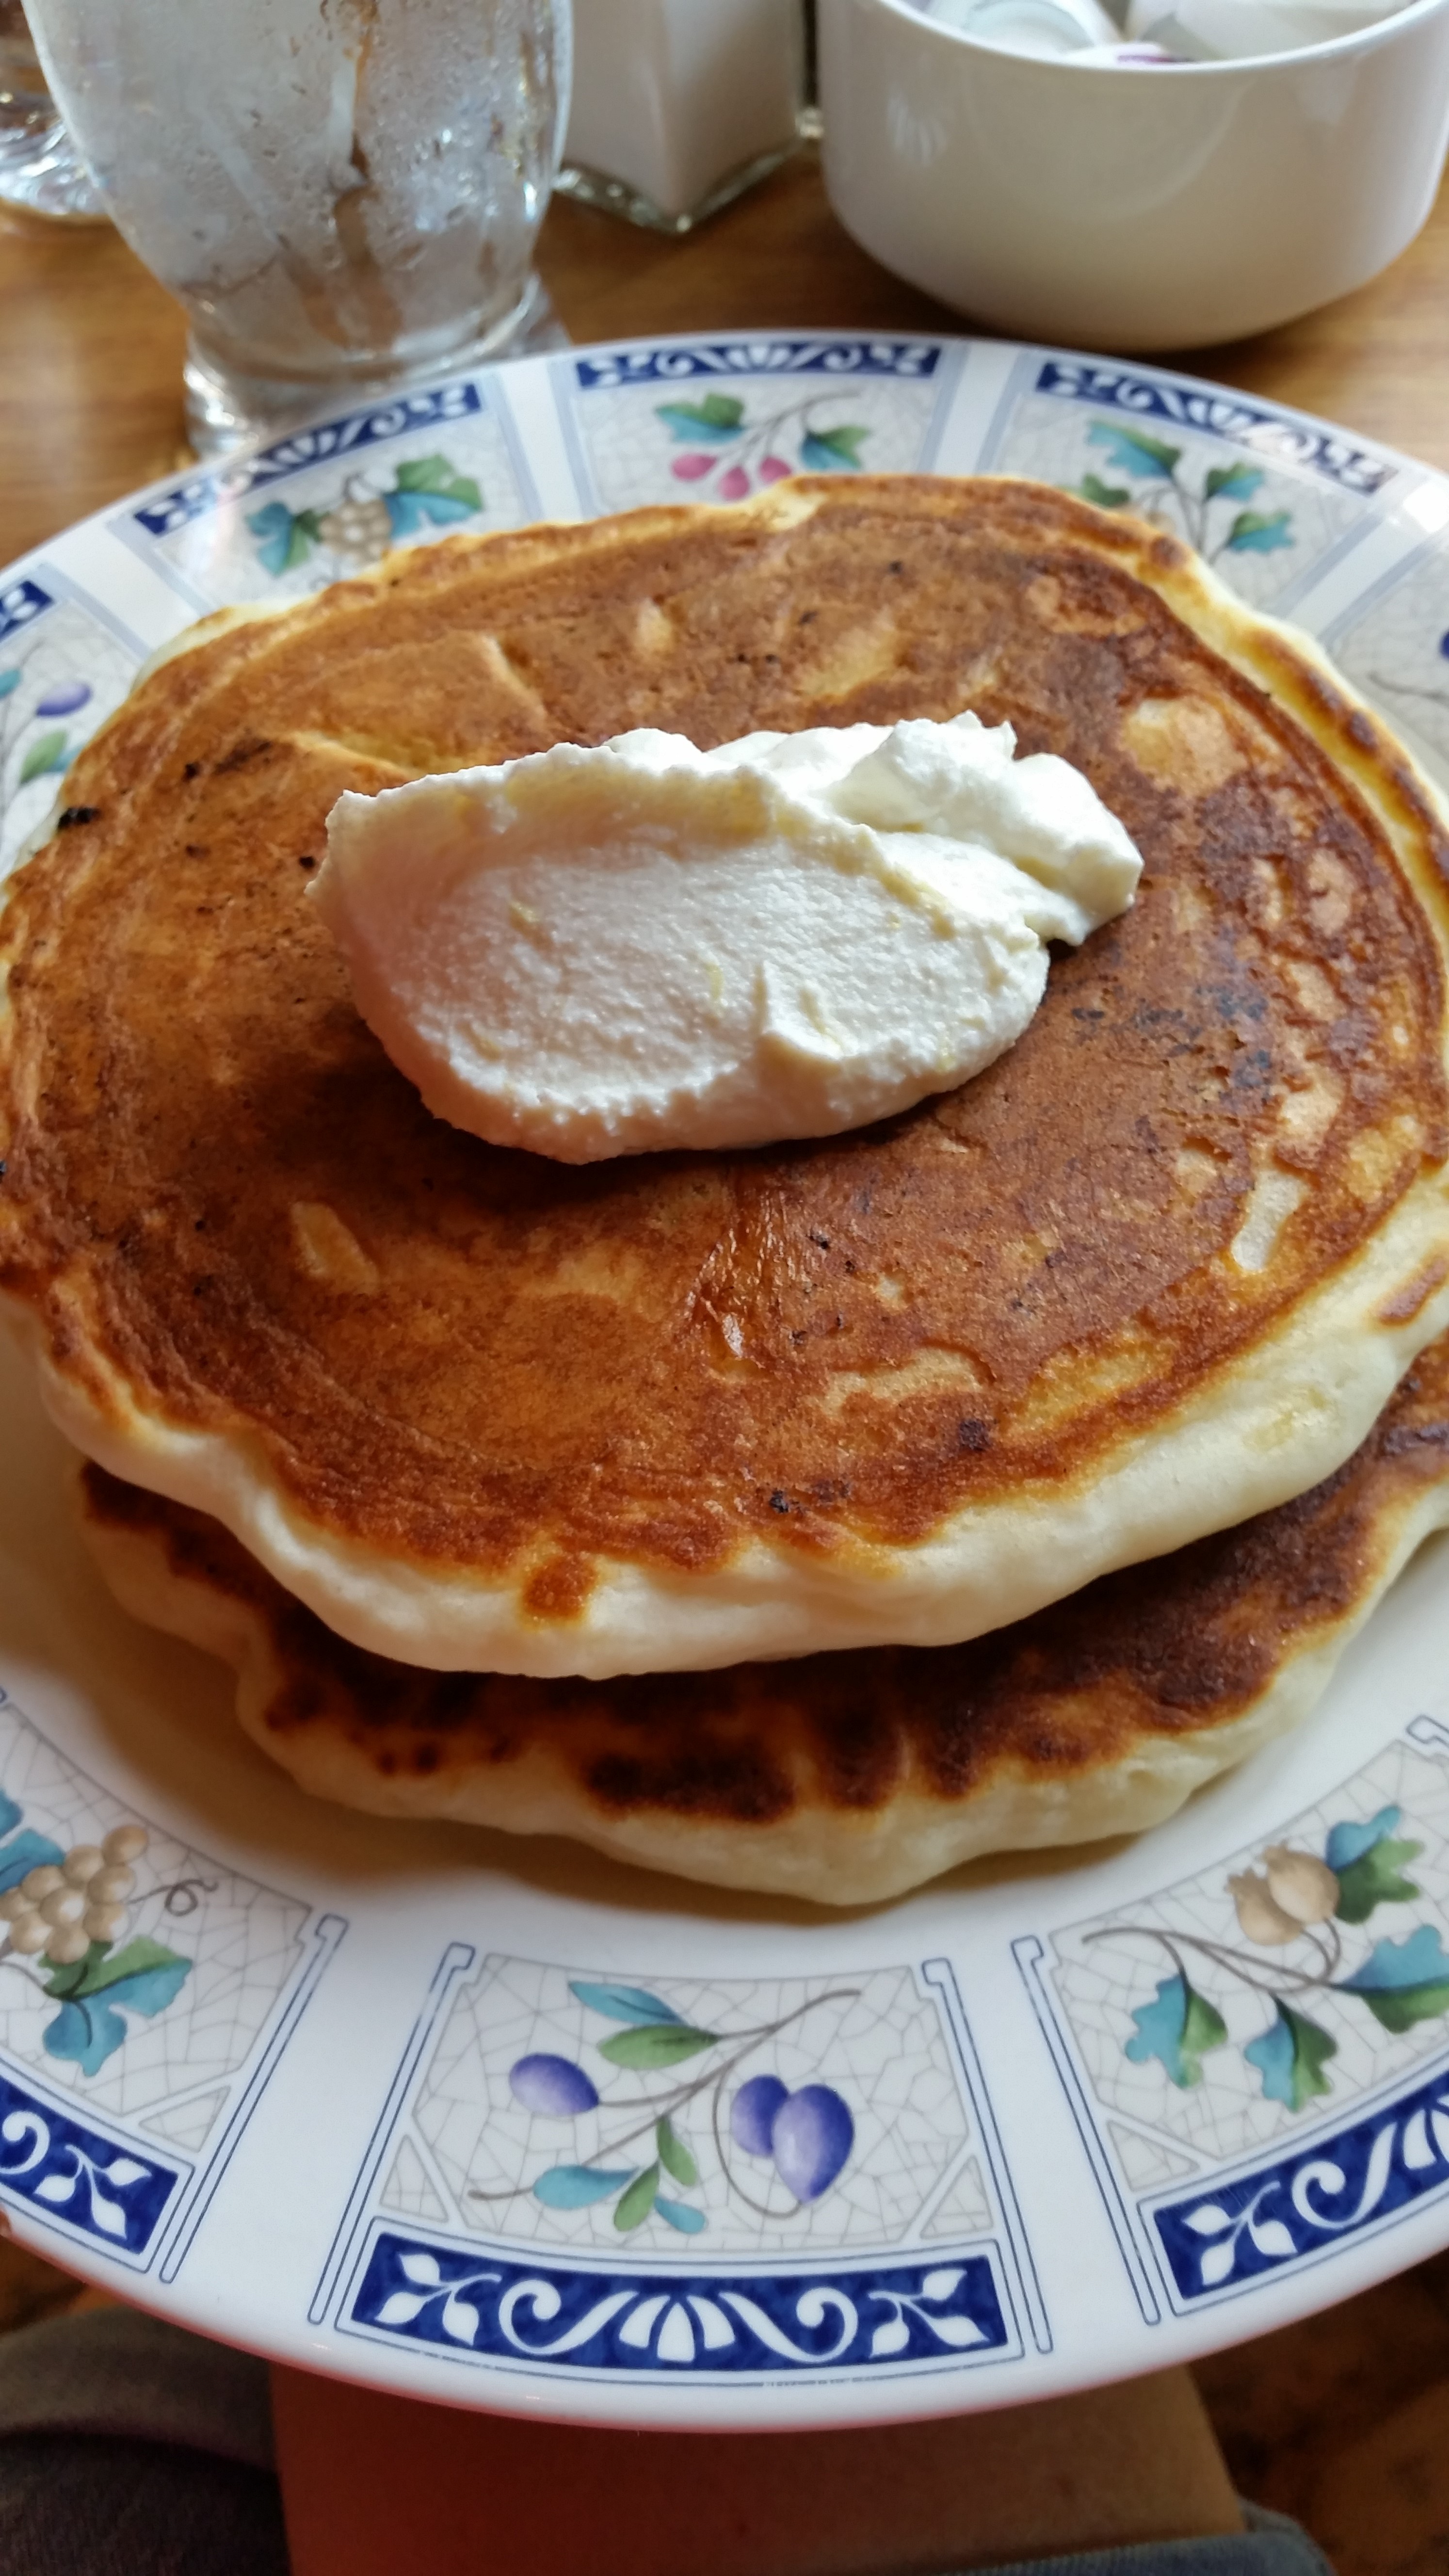
I chose the Lemon Ricotta Pancakes….which were so amazing! They were the fluffiest gluten free pancakes that I have ever eaten!

OmG! Take a look at these beauties!

I had a little help, but I would say I did good, yes?

And since our puppy daughter, Molly, wasn’t able to come with us to the beautiful state of Maine, she had to have some lobster, too….okay, it’s not edible, but cute, huh?

Some day we hope to return to Maine…..such a gorgeous place with some great gluten free food!

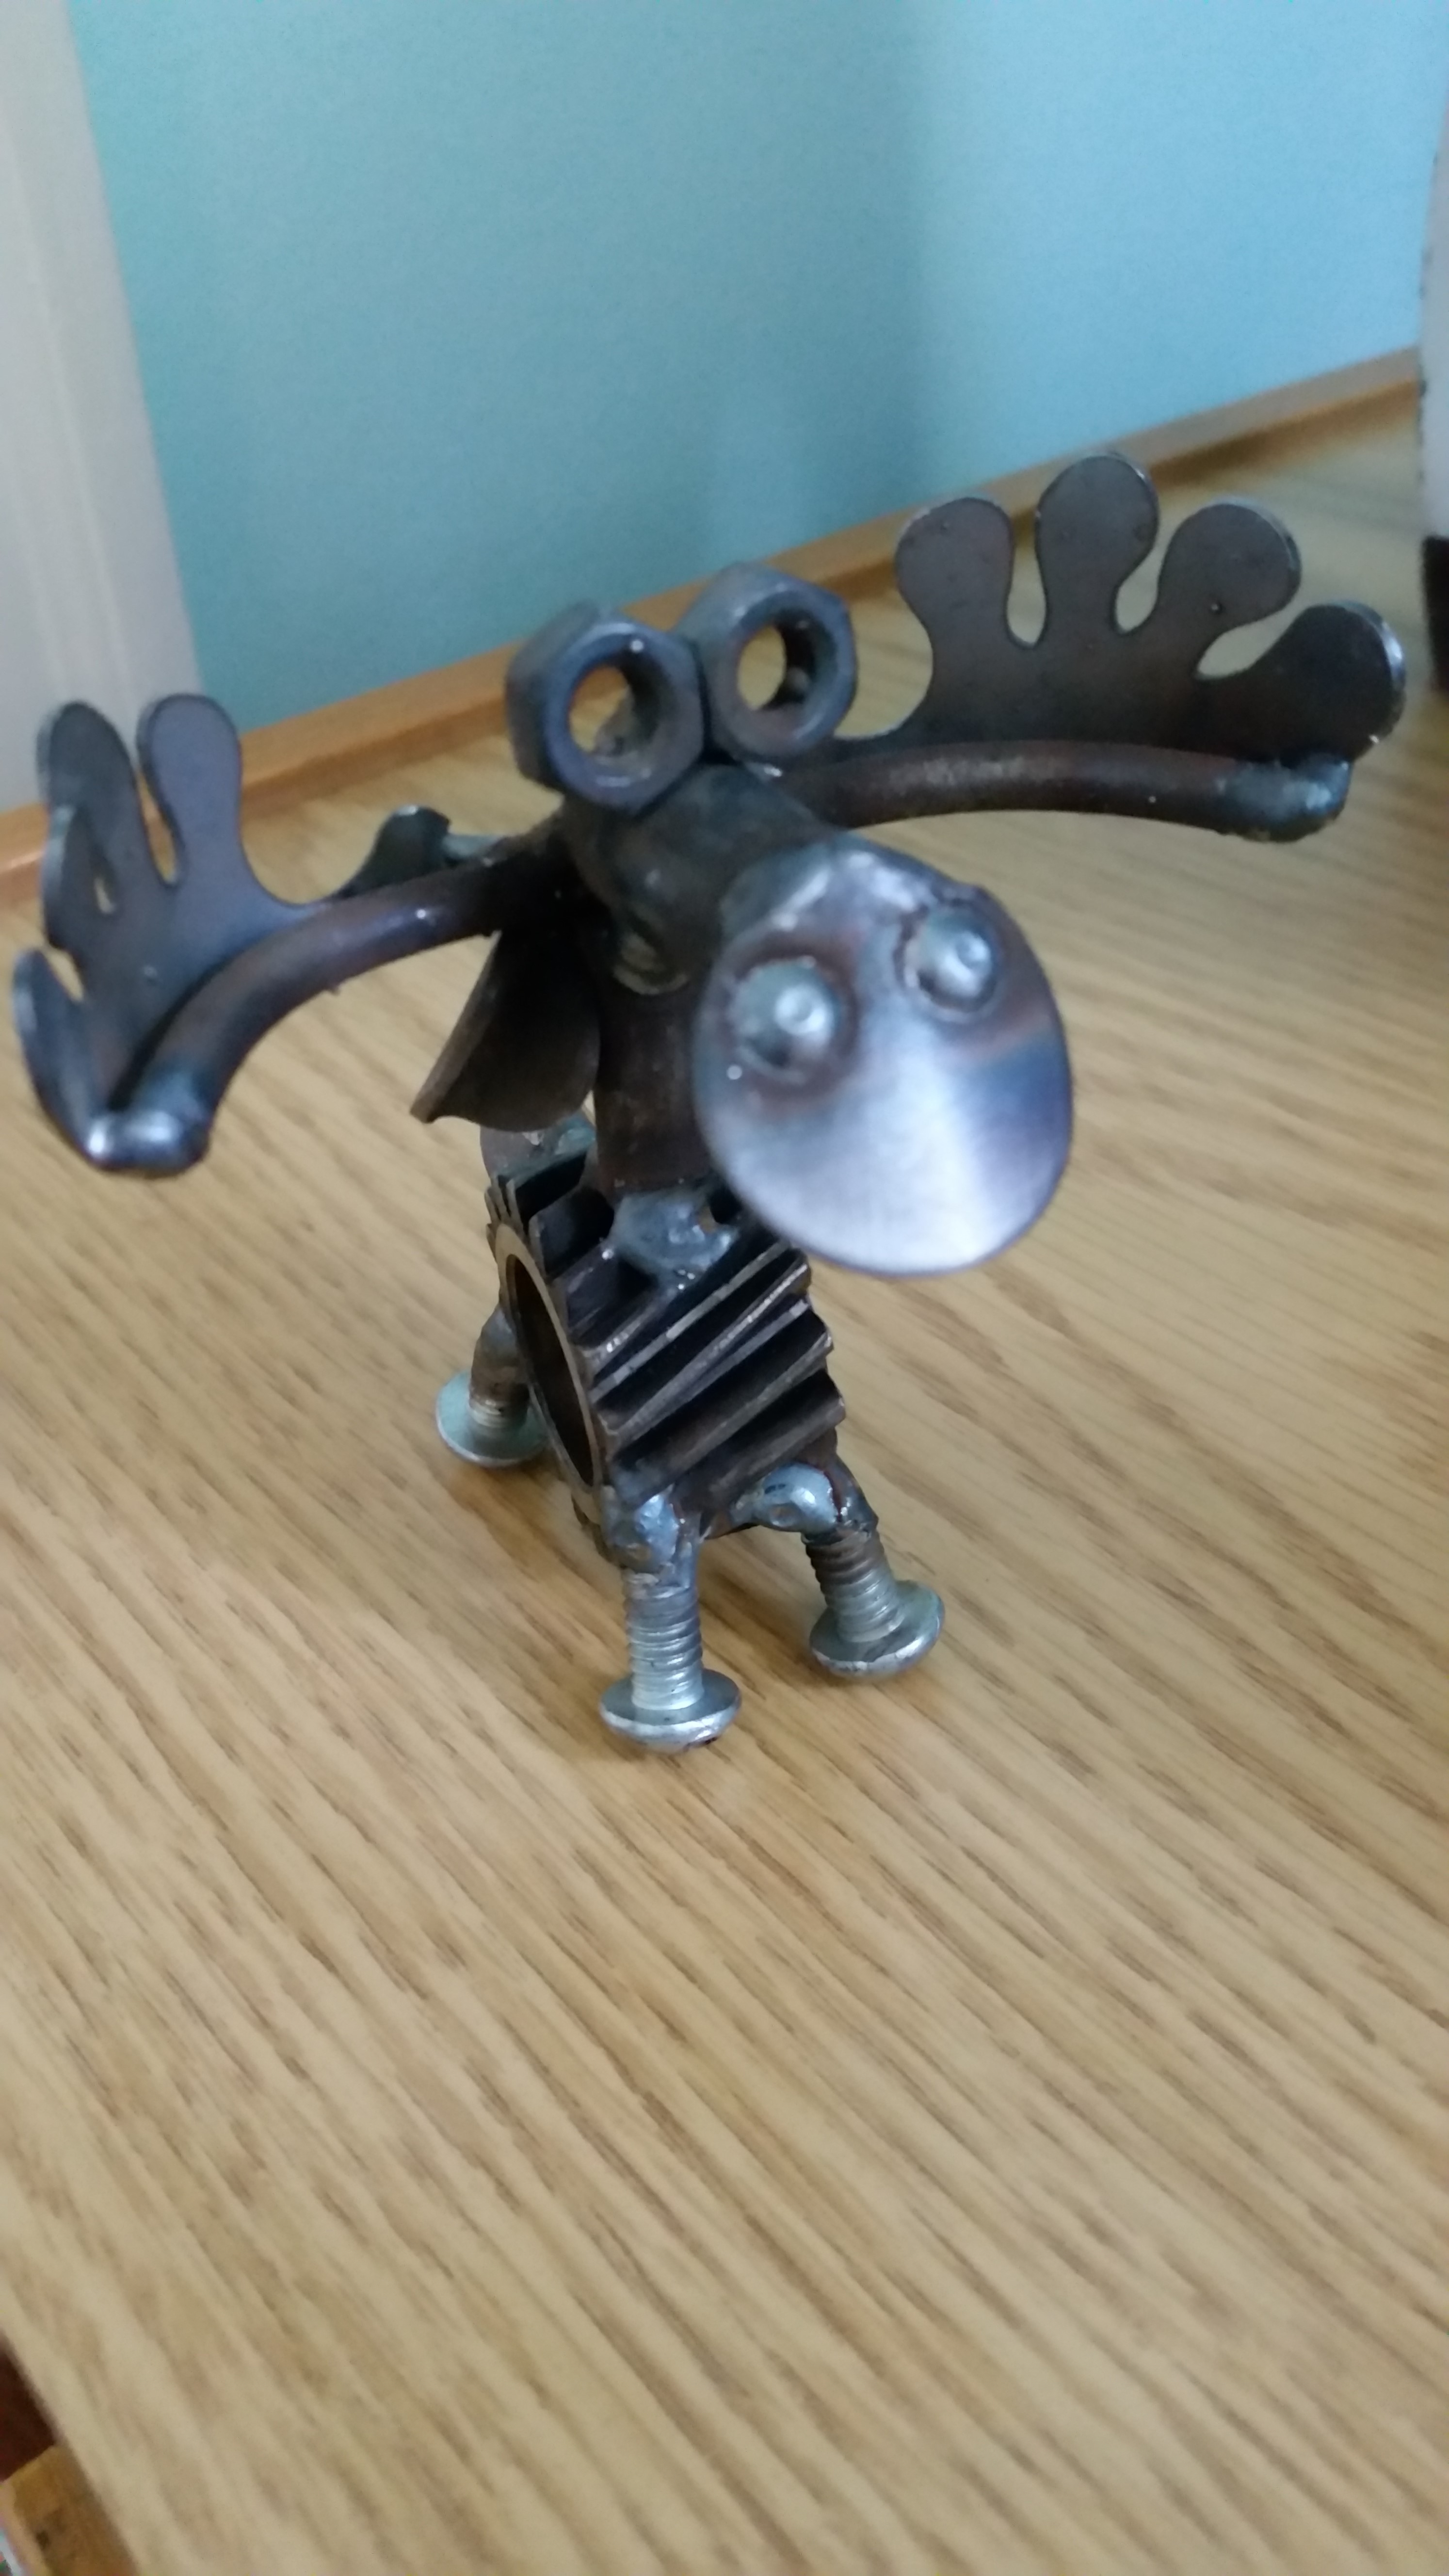
And next time, we hope to see a moose!

But for now, we brought home the next best thing!

© 2017, Monica of glutenfreedoubletalk


Chicken and Broccoli Casserole…..gluten free style!

Monica and Daria say:

Everyone has a few meals from their childhood (or from their early motherhood days) that invoke strong feelings of comfort. And while most of the meals for us involve our Italian heritage, there is one chicken dish that brings back many wonderful memories!

That dish was actually shared with me (Monica) by our neighbor and wonderful friend, Carmine. I was talking with her about trying to get the girls to eat more veggies and she remembered that her Aunt Sarah had a casserole that might do the trick!

So, I looked over the recipe and decided to give it a try…..what could I lose?

Well, as luck would have it, we all thought it was a winner and I made it several times over our girls’ growing up. Broccoli became a new favorite and everyone was happy!

Until our diagnosis with celiac disease, that is…we haven’t eaten this casserole for over 14 years!

That is, until now.

We had misplaced the recipe, so we reached out to Carmine recently and asked her if she still had it. It took her a few days to locate it, but lo and behold, she told me she had found it! She was so excited that she even gave me the original recipe, in her aunt’s handwriting, and copied it for herself.

Now to make it gluten-free!

The one ingredient we remembered before seeing the recipe again was Cream of Chicken soup by Campbell’s and we were leery about being able to substitute it with something similar. But we did (even though we don’t normally buy prepared soups) and now we would like to share our version of this 1980s classic casserole.

We have placed the original ingredients in parentheses after our GF ingredients, just for comparison.

Our goal here today was to make it as fresh as possible, rather than rely on shelf-ready food. And of course, it had to taste how we remembered it did!

It was a winner, again….14 years later!

20170127_180113

GF Chicken and Broccoli Casserole

2 fresh organic broccoli crowns (2 10 oz packages of frozen broccoli)

5 large organic carrots, peeled and cut into rounds (2 10 oz packages of frozen carrots)

12-14 organic chicken tenders (3 cups cooked and cubed chicken)

10 oz organic sharp cheddar cheese, shredded (10 oz sharp cheddar cheese, shredded)

1 large can of Progresso Cream of Mushroom Soup, labeled GF, undiluted (2 cans of Cream of Chicken soup, undiluted)

½ cup Fage Greek yogurt (½ cup mayonnaise with celery powder)

2 T fresh squeezed lemon juice (2 T lemon juice)

Curry powder

3 T melted butter (same….who can improve on butter??)

1 cup Schaar breadcrumbs seasoned with garlic powder, basil, oregano, Romano cheese (1 cup Italian breadcrumbs)

Directions:

Steam the broccoli and carrots until fork tender but still somewhat firm.

Meanwhile, bake the chicken tenders at 350˚ for about 20 minutes.

Cool the chicken when done and then shred.

Spray a 9” x 13” glass pan with cooking spray.

Spread the chicken on the bottom of the dish and layer the veggies on top.

Combine the undiluted soup with the yogurt, lemon juice and sprinkle of curry powder.

Spread this mixture over the layers of veggies and chicken.

Place the shredded cheddar cheese on top.

Melt the butter in the microwave and mix with the breadcrumbs. Spread on top of the casserole.

Bake at 350˚ for about a half hour or until the top begins to brown nicely.


And now, the process via photos!

We are both very visual people and love to include step-by-step pictures!

20170127_153527


20170127_160148


20170127_153306


20170127_160211


20170127_162241


20170127_162503


20170127_164905


20170127_172319


20170127_180107


Oh how exciting this recipe conversion was…..hope you consider trying this easy and delicious casserole!

And by the way, it can be made ahead of time, refrigerated, and baked the next day!

Happy cooking!


© 2017, Monica & Daria of glutenfreedoubletalk   whisks 


5 ingredient baked apples!

Monica says:

Would you like a guiltless dessert for dinner tonight?

One that’s easy and gluten-free?

Well, I was looking for one too, and I found one!

When I was at the grocery store, I bought a huge bag of Honeycrisp apples (they are our favorite) and while we love to eat them plain or dipped in peanut butter, I thought about baking them.

My mom used to bake apples all the time, as we had several types of apple trees in our yard. But we don’t have any fruit bearing trees, so I love to get apples at the farmer’s market or grocery store.

While my pork chops were baking, I quickly trolled through the food sites I bookmarked on my phone, and I found one that sounded perfect!

Not too much sugar, using some nuts, and this recipe featured Honeycrisp apples!

So, thanks to Trisha Yearwood, here is the recipe!


Baked Apples

It’s so easy and believe me, these baked apples are amazing!


Here is what my process looked like…

20170202_160606

I like to use a melon baller to core apples, especially when you need the bottom of the apple intact, like this recipe calls for.

And look at the “little star” that formed while I was coring this apple!

20170202_175350

Filled with yummy goodness and ready to eat!

20170202_205319

Oh dear!

20170202_210051

And of course, you can top your apple with some whipped cream!

Enjoy!

© 2017, Monica of glutenfreedoubletalk

You’ll love this gluten free oatmeal!

Monica says:

Oh how I love breakfast!

In fact, it might be my favorite meal of the day!

I love to get my body started on the right foot for the day….it’s a win-win!

Since blueberries are my favorite fruit, this gluten free oatmeal is hearty, delicious, and so easy to make.

See for yourself!

20170130_110831

GF Blueberry Baked Oatmeal

Dry Ingredients:

3 cups gluten free Old Fashioned Oatmeal (not instant)

½ cup almond meal

¾ cup chopped almonds (divide into two servings and set one aside)

2 tsp Saigon Cinnamon (we used Calicutt’s)

½ tsp salt

½ tsp baking powder

Wet Ingredients:

2 large organic eggs

2 ½ cups vanilla nut milk (we used Silk High Protein)

1/3 cup unsulphured honey

2 tsp vanilla

Fold in:

1 cup fresh organic blueberries

Top:

Spread reserved almonds on top of whole mixture

Directions:

Preheat your oven to 350˚. Prepare a 9” x 13” pan with non-stick spray.

Get two bowls ready and mix all dry ingredients in one (use only ONE serving of the chopped almonds), and whisk wet ingredients in the other.

Combine the two mixtures together with a wooden spoon and then gently FOLD in the blueberries.

Pour into your prepared pan and top with remaining serving of chopped almonds.

Bake for 30 minutes or until brown and bubbly. You may want to insert a toothpick into the oatmeal to ensure it is done (toothpick should come out clean!).

Serve warm or cool.

You can top each serving with more fresh blueberries….since you can never have enough blueberries!

Also, you can pour some milk of your choice on top and enjoy!

Refrigerate any uneaten portions.

And believe me, it’s great the next day, too!

20170131_093358

Just heat it up for a few seconds in the microwave and garnish….oh my!

© 2017, Monica of glutenfreedoubletalk whisks

Happy New Year! Soup for you!

We hope 2017 is off to a great start!

It seems that every time I turn around, a week or two has passed! Yikes!

Do any of you feel the same?

I have been on a mission to make a more concerted effort to eat as organic as possible and have been busy in the kitchen. Since my Daria continues to bring me wonderful organic food from the Lancaster Co-op, I have been creating recipes to satisfy our appetites and souls.

Here is a creation of a butternut squash soup with apples….all organic and all delicious!

And did I say it was easy?

All you need is a saucepan, a bit of time, a blender, and you are set!

Enjoy!


20161229_151529

Butternut Squash Soup

Ingredients:

1 whole butternut squash, peeled, cut and cooked

1 apple, cored, cut and cooked

2 T olive oil

1 small onion, cut

1 peeled garlic clove, minced

10.5 oz veggie stock

¼ tsp thyme

Pinch of cinnamon

Pinch of kosher salt

Directions:

NOTE: In order to infuse the flavors, you need to cook the ingredients on the stovetop before blending.

20161229_152258

Add olive oil to large saucepan and when hot, saute onion and garlic until translucent.

Add the squash and apple and cover with the veggie stock.

Add the thyme, cinnamon and salt.

Cook until fork tender.

Now put the squash mixture into your blender and blend until smooth!

20161229_165933

Y*U*M!

Hope you enjoy this soup as much as we do!

20161229_165921

whisks © 2017, Monica of glutenfreedoubletalk

Homemade hummus, if you please!

Monica says:

Hello friends! I’ve missed you!

You know how life gets in the way when you are planning things? Well, yes, that’s what happened to me over these past few months.

It’s been forever since my last post and I truly apologize. I hadn’t been feeling well and it turns out that I have thyroid issues. And it all makes sense to me now!

Health aside, my blogging partner, Daria, has started a new career teaching pastry arts full time and we are overjoyed for her! In addition, she launched her gluten-free baking business Batter. A Gluten Free Baking Co, LLC, and she’s been super busy selling her delightful gluten free goodies every Saturday in Hershey at the Farmers’ Market on Chocolate. Her dad and I are in awe of her talent and stamina!

Check out Daria’s business Facebook page @ https://www.facebook.com/Batter-A-Gluten-Free-Baking-Co-1739749562921022/?fref=ts

So today, I am going to keep it simple, okay?

My diet has gone almost 100% organic and luckily for me, Daria, has an organic veggie garden. Every time I see her she fills my arms and cooler with lots of wonderful veggies that help me cope with my aches and pains….she’s a great kid!

Since my refrigerator has housed 2 eggplants for a few days, I decided to make an eggplant hummus. I looked for a recipe that could guide me and I found one at epicurious.com.

They never fail me!

I looked it over and checked my pantry ingredients and I had everything except the chickpeas!

No problem….I had cannellini beans….it can be Italian eggplant hummus, right?

So I modified the recipe to fit my needs, as most people do, too!

It’s fun to make things your own!


Here is my version:

Ingredients:

2 medium sized organic eggplants

3 T olive oil (plus a little more)

1 can of cannellini beans, drained

2 T organic tahini paste (heaping)

1 ½ tsp of minced garlic

Bunch of fresh parsley

Dash of salt and pepper


How to:

Preheat oven to 350°F.

20160908_083134


Cut eggplants in half lengthwise. Make a crisscross pattern with a sharp knife, here and there, on the flesh.

Rub each cut side with a total of 1 1/2 tablespoons oil; sprinkle with salt.

Place eggplant on rimmed baking sheet, cut side down; bake until tender, about 1 hour.


20160908_121129

Cool and then scoop flesh (seeds and all) into food processor and discard eggplant skins.

20160908_121705

Add cannellini beans, remaining 1 1/2 tablespoons oil, lemon juice, tahini, fresh parsley and garlic; puree until mixture is almost smooth.

Transfer to bowl; swirl some additional olive oil on top before serving and add extra parsley if desired.

Taste and season the hummus with additional salt and pepper if desired.

You can serve the hummus in individual bowls with Lundberg Gluten Free Rice Chips, as pictured here!

20160908_122037


So simple, so nutritious, and so delicious! (this is my new mantra!)

Enjoy!

© 2016, Monica of glutenfreedoubletalk


Blueberry Coconut Crisp…gluten-free and oh, so good!

Monica says:

Every 4th of July brings new blueberry recipes to my collection. This one is a keeper for sure!

So easy and delicious!

I’ve even had some “coconut haters” try it and come over to the “coconut lovers” (okay, “likers”) side!

See what you think!

I adapted this recipe from Two Peas and Their Pod (thank you!).

Ingredients:

5 cups fresh blueberries
1 tablespoon fresh lemon juice and a dash of cinnamon*
1 cup GF Quaker Old Fashioned Oats
1/4 cup almond meal or whole wheat flour (I used hazelnut flour)
1 cup sweetened flaked coconut (I used unsweetened, unsulphured flaked coconut)
1/4 cup brown sugar (I used organic coconut palm sugar)
1/2 teaspoon salt
1/2 teaspoon ground cinnamon (I used Calicutts Spice Co. Saigon Cinnamon*)
1/3 cup melted coconut oil (I used organic extra virgin coconut oil)
Ice cream or yogurt for serving, optional

Directions:

Preheat oven to 350 degrees F. Spray a 9 x 9-inch baking dish with cooking spray.

Pour blueberries into dish and pour lemon juice over the berries. Add a dash of cinnamon. Gently toss.

20150720_112208

A huge THANK YOU to my niece, Alicia, for letting us pick these beauties from her blueberry trees!

Honestly….TREES! Never have seen anything like them!

In a medium bowl, combine oats, flour or almond meal, coconut, brown sugar, salt, and cinnamon.

Pour coconut oil over the dry ingredients and stir until combined.

20150722_161015


20150722_160952


Sprinkle the oat mixture evenly over the blueberries in the pan.

20150722_170545

Bake the crisp for 35 minutes, or until the topping is golden brown and the fruit is bubbling.

Serve warm with ice cream or yogurt, if desired.

20150723_084930

Best thing about this dessert is that you can make it ahead of time and as long as it’s covered,

it can be stored in the refrigerator for up to 2 days!

So, in a word….YUM!

Give it a try…you won’t be sorry!

© 2016, Monica of glutenfreedoubletalk

Meatless Monday….any day of the week!

Monica says:

I woke up and I was craving risotto!

No kidding….couldn’t  stop thinking about it! Talk about strong Italian roots!

So I decided to scan the web and look for a recipe that included spinach. It was a must-have ingredient for me!

Lo and behold after a short while scanning recipes, I found it!

Woman’s Day never lets me down! LOVE their site and especially the recipes!

Here is what presented itself to me and I ran to the grocery store to fulfill the ingredient list. Such simple ingredients and so wholesome!

You gotta try this simple recipe!

Risotto with Scallions, Mushrooms, and Spinach

Upon reading the recipe, I did things in a little different sequence and chose to add ½ cup of veggie stock at a time, rather than all at once….the risotto came super creamy! If you have the extra time, in my humble opinion, it’s worth the effort!

Let the cooking begin!

Sauté the mushrooms in olive oil until they are happy!

20160419_150856

Now sauté the onions and garlic…smells amazing!

20160419_151615

Add the Arborio rice and then the white wine…oh yum!

20160419_152137

Start adding the veggie stock a little at a time and stir often….the consistency will be smooth as silk!

20160419_152542

Don’t these mushrooms look ready to jump in the risotto?

20160419_152623

Incorporate the mushrooms into the risotto…it’s almost done!

20160419_154859

Now let’s wilt the fresh organic baby spinach and pack in the vitamins!

20160419_154929

Looks amazing, huh?

20160419_155124

Plate and add a little Romano cheese…oh dear!

20160419_155315

Oh…forgot to add the scallions that I cut!

20160419_155507

They really add to the flavor profile…bon appetit!

© 2016, Monica of glutenfreedoubletalk