It’s a virtual gluten-free expo! Check it out…we just pre-registered!

http://glutenaway.blogspot.com/2014/06/first-ever-gluten-free-virtual-expo.html
It’s a virtual gluten-free expo! Check it out…we just pre-registered!
http://glutenaway.blogspot.com/2014/06/first-ever-gluten-free-virtual-expo.html
Monica (mom) says:
As a little girl, I remember eating a lot of salads. My mom always served salad at the end of our dinner.
Yes, in those days, we ate our salad at the end of our meal. It was a great way to marry your bread with your oil and vinegar. What is better than dipping Italian bread into salad dressing?
Well, for celiac disease sufferers, salad is awesome, but must not include traditional Italian bread! Don’t know about you, but I still have not found a gluten-free Italian bread that satisfies my fond memory of the crusty outside and airy inside of traditional Italian bread.
I’m still looking….
And speaking of looking….I am always on the lookout for new recipes, and I was thrilled to find this salad! And it uses my favorite bean….the Italian cannellini bean! Creamy and white…it almost melts in your mouth!
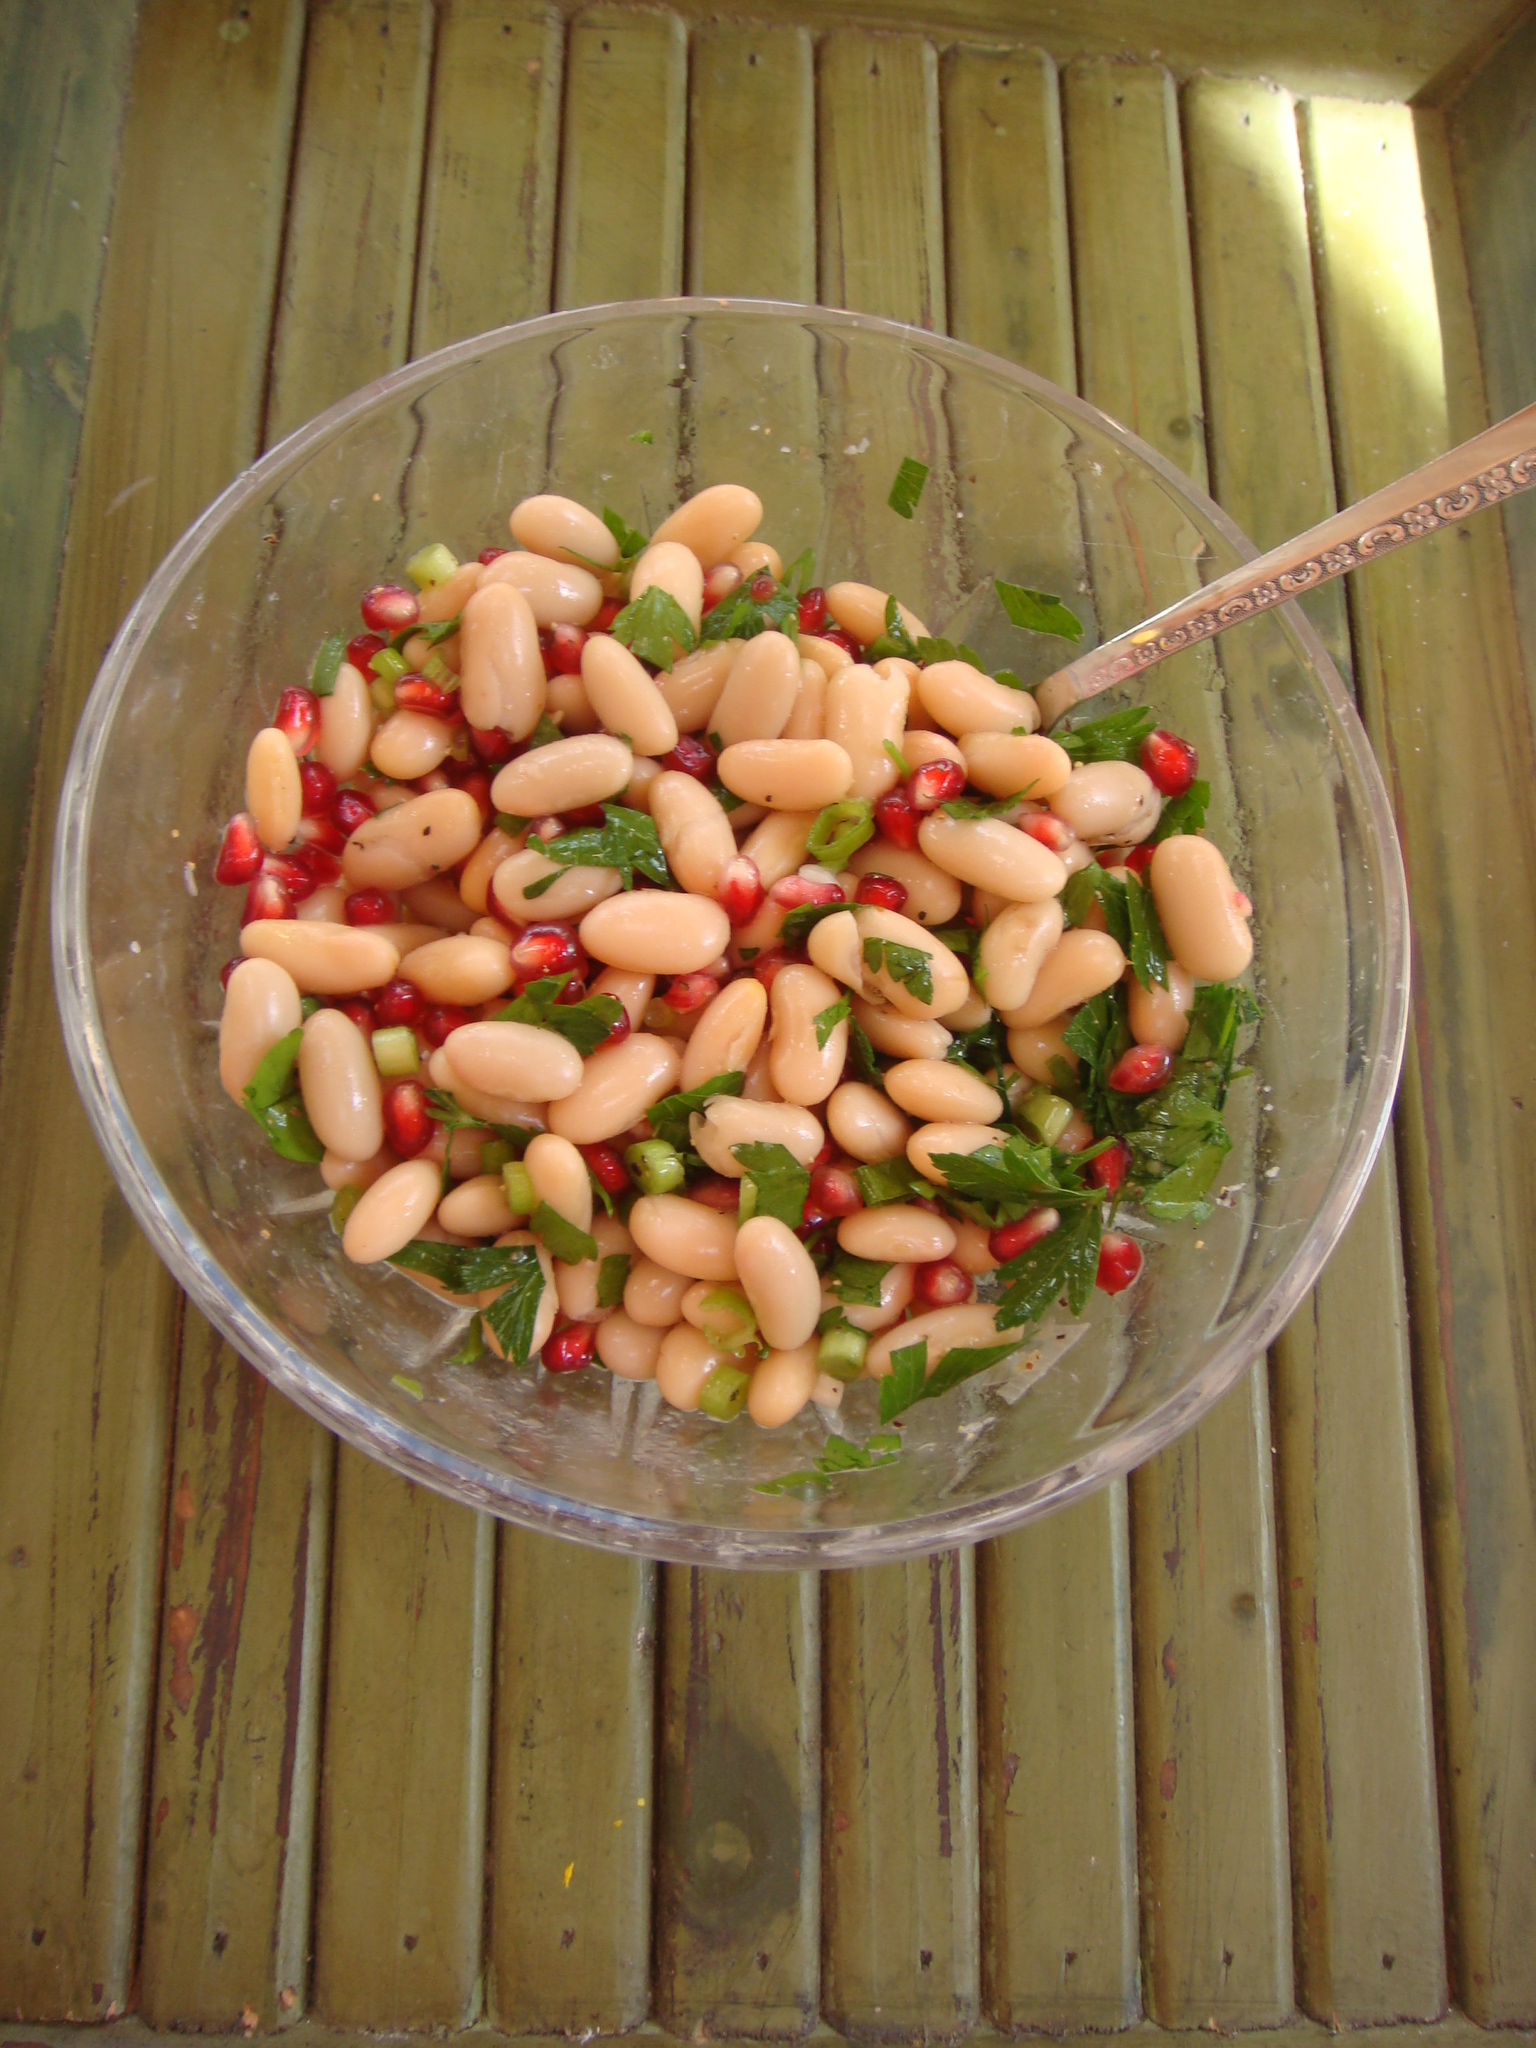
Thank you to Healthy Recipe Ecstasy for sharing their adaptation from Bon Appetit magazine!

The recipe is super simple and all you need to do is place all of the ingredients in a bowl and mix them together!

It is so delicious and packed with protein….hope you try it and most of all, enjoy it!
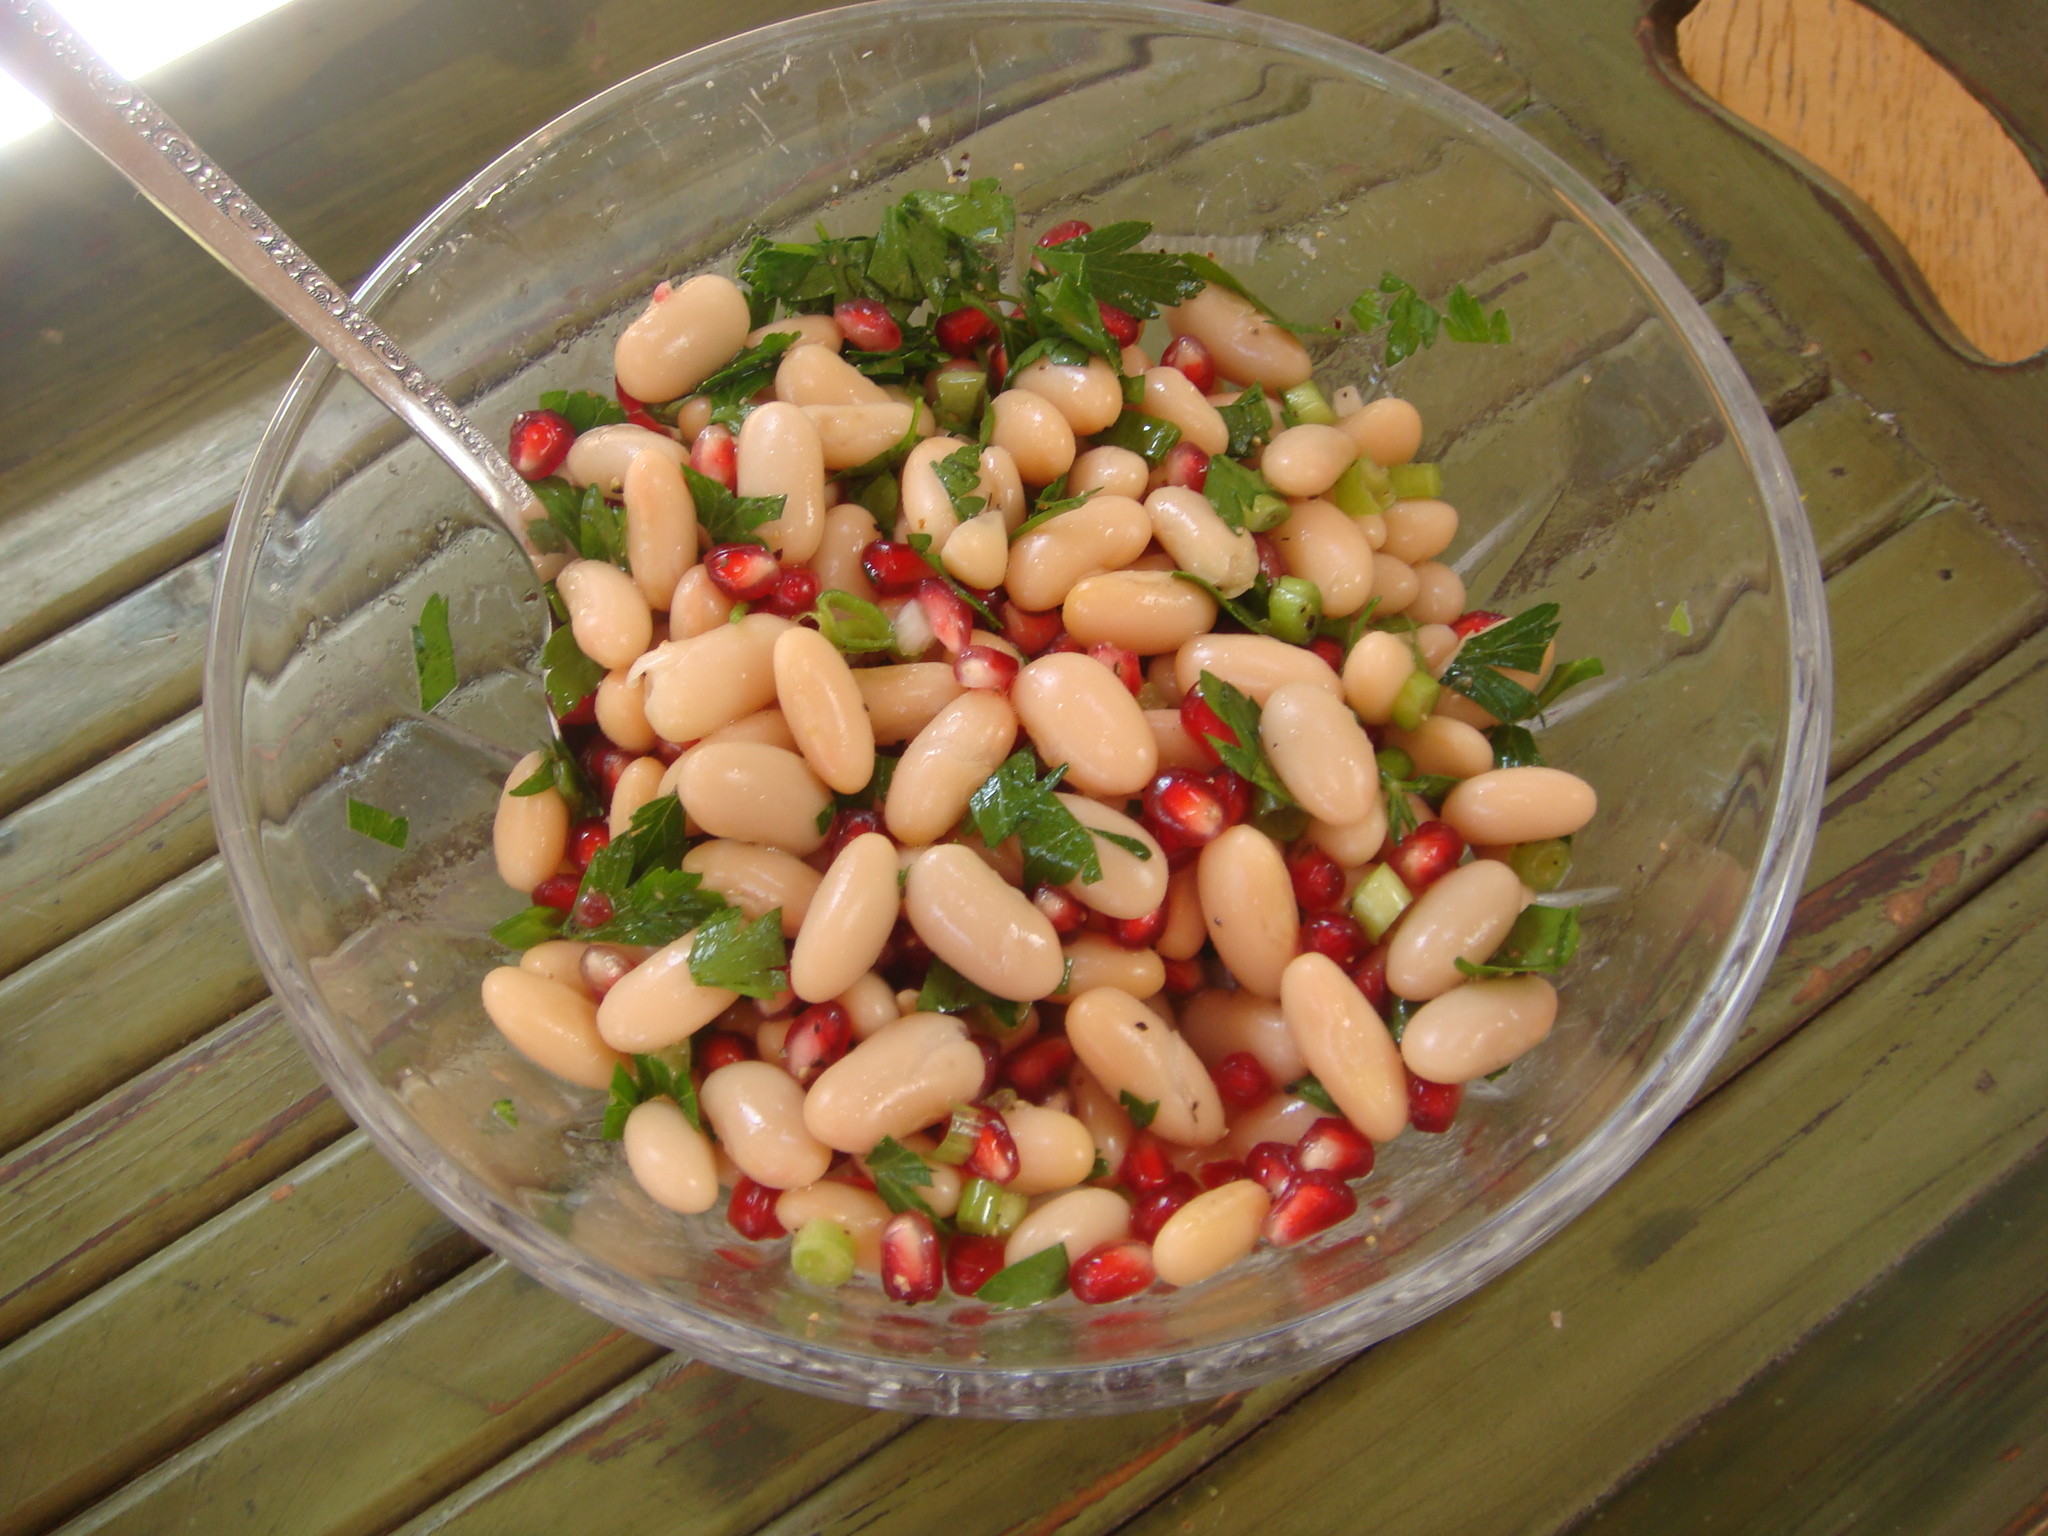
This salad serves four people….or if you’re like me, just one!!
White Bean Salad with Pomegranate and Parsley
Ingredients
1 15-ounce can cannellini (white kidney) beans, rinsed and drained
⅔ cup pomegranate seeds
¼ cup thinly sliced scallions (white and green pieces)
2 ½ tablespoons fresh lemon juice
2 tablespoons chopped fresh flat-leaf Italian parsley leaves
1 tablespoon extra-virgin olive oil
½ teaspoon kosher salt, plus more to taste
¼ teaspoon freshly ground black pepper
Monica (mom) says:
Ever since my Daria taught me to roll sushi, I have been hooked!
Since it’s not only easy to do and doesn’t take a long time, I find all kinds of reasons for making sushi!
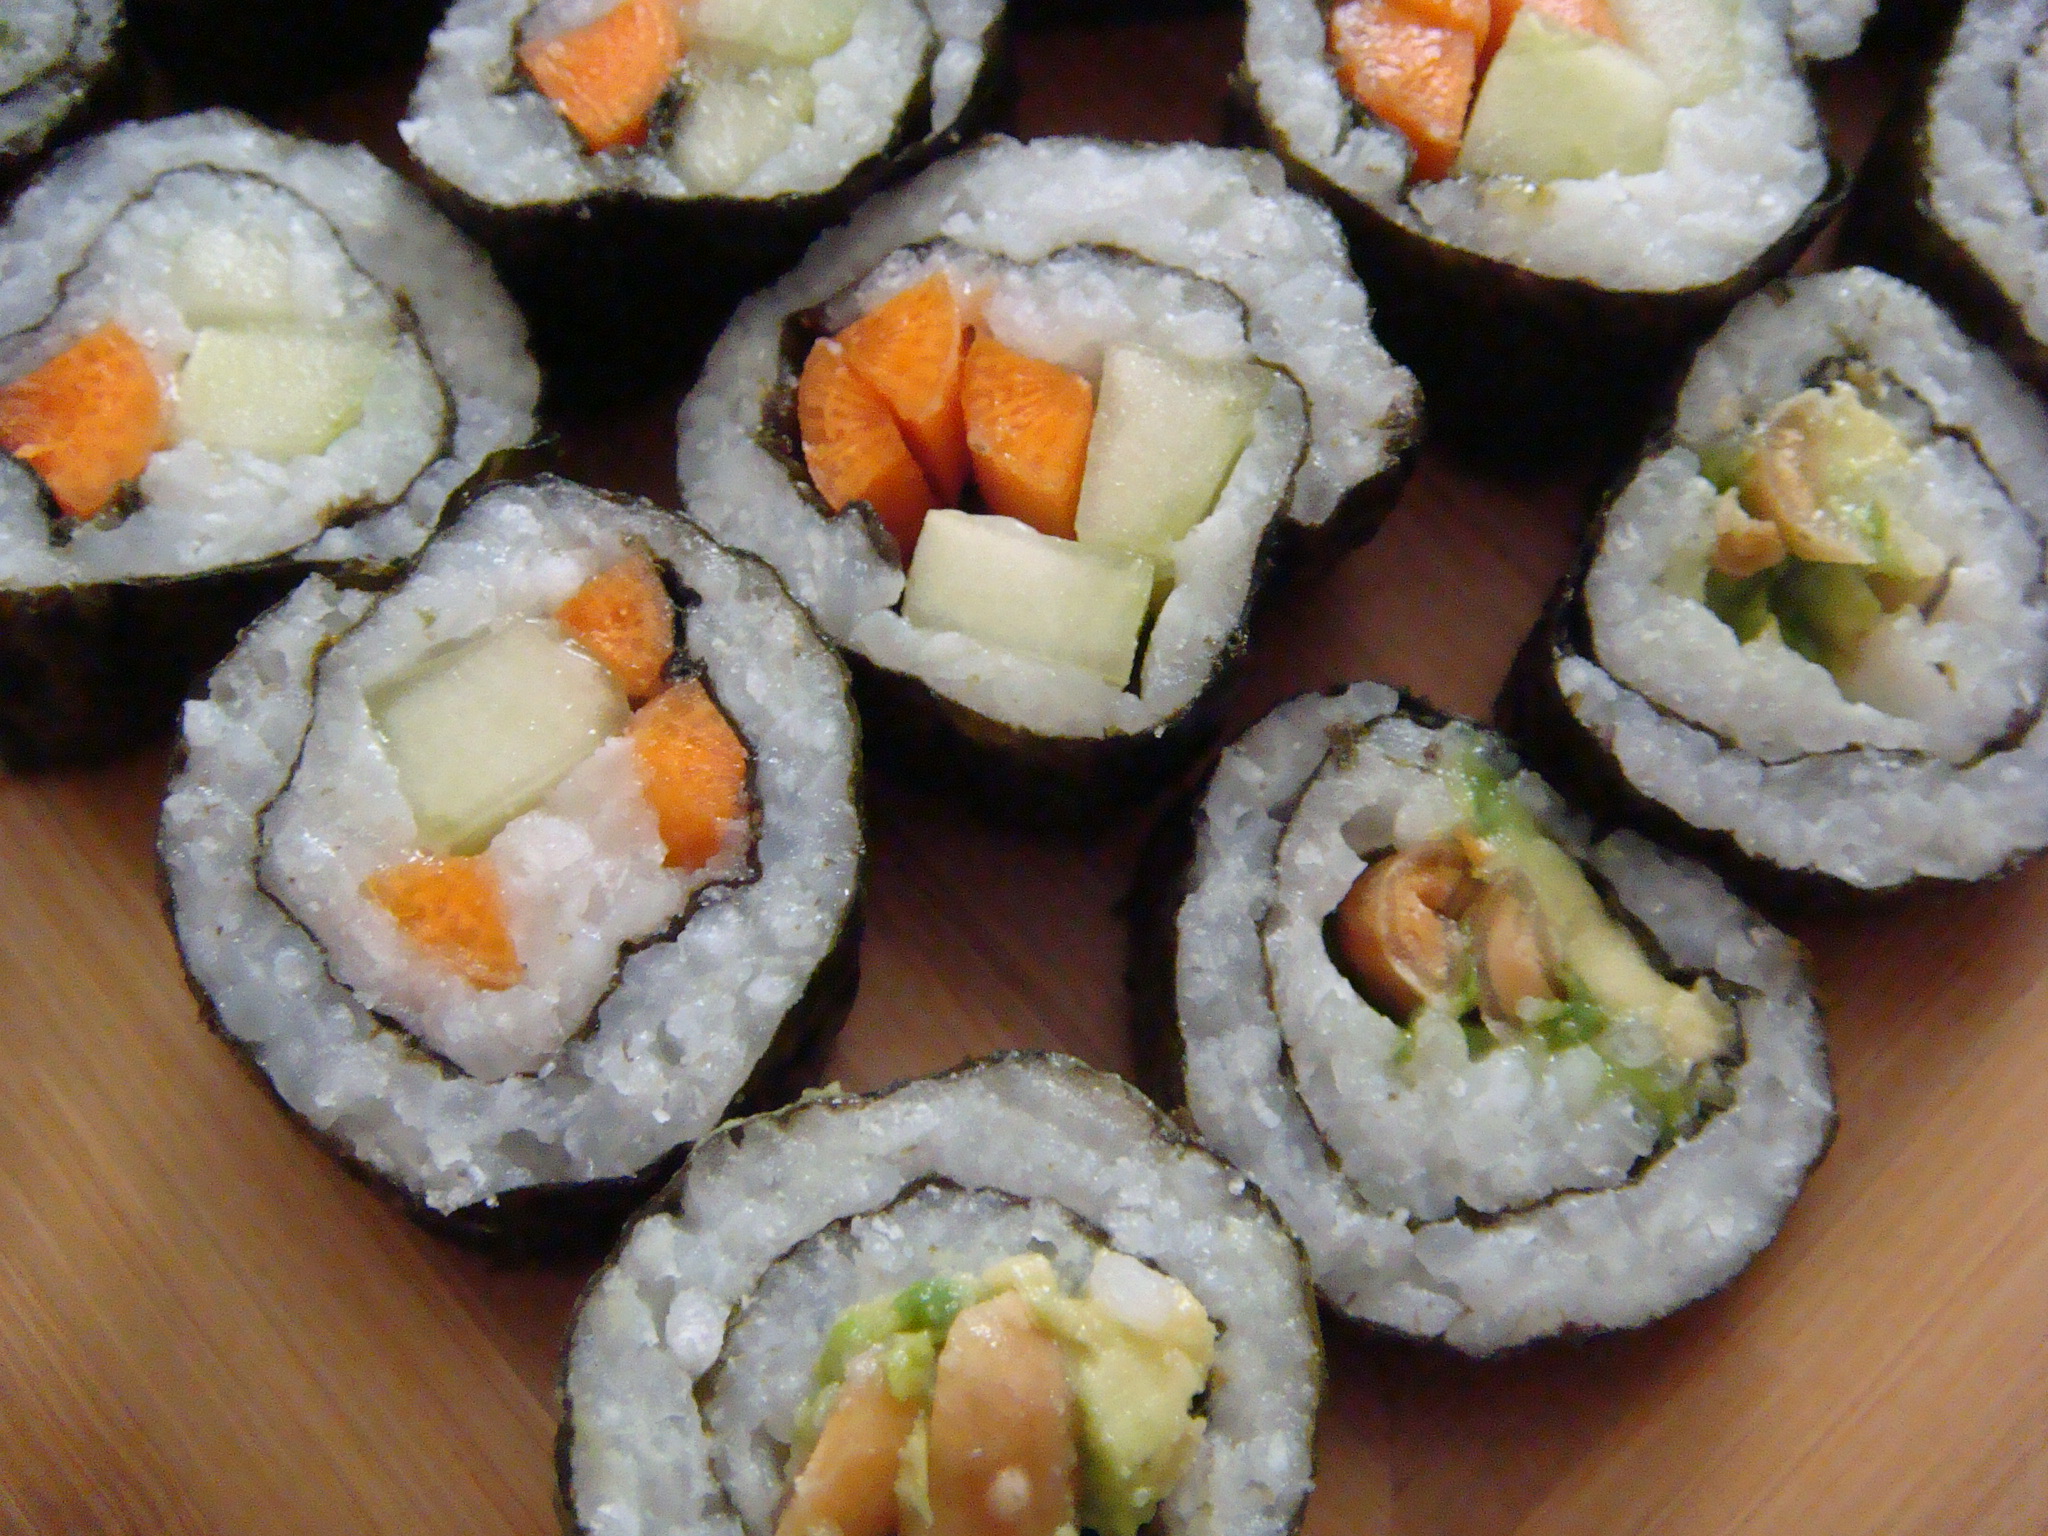
Since we don’t eat raw fish in our diet, I have gotten used to making veggie sushi….although I have made a great jerk chicken recipe that I found in Cat Cora’s cookbook, Cooking from the Hip.
All you have to do is make short-grained sushi rice according to the package instructions, and while the rice is getting all happy, cut your veggies into long thin pieces.
I love to make carrot and cucumber rolls, and avocado with peanut rolls.
Once your rice is done, place it in a glass or ceramic bowl and mix in 4 T of rice vinegar and ½ teaspoon of kosher salt and let it cool. It should become very sticky!
You will need a bamboo rolling mat and a package of Nori seaweed wrap. Keep a bowl of warm water handy on the table or counter where you are rolling, because you will need to dip your fingers quite often. Sticky rice makes sticky fingers!!
Place a piece of Nori (shiny side down) on the mat, spread rice on ¾ of it (leaving top empty for sealing the roll). If you place clear plastic wrap over the entire mat, it will stop the rice from sticking and you will not have to wash it as often. Then at the bottom (side nearest you), place a row of veggies.
Now roll!
Here is a YouTube video from allrecipes.com on making sushi rolls:
https://www.youtube.com/watch?v=XKUSI8ElgRc
If you are not serving the sushi immediately, keep the rolls intact. When you are ready to eat your creations, you can cut each roll into bite-sized pieces and can top with ginger, wasabi, and/or dip in tamari or gluten-free soy sauce!

You can use your fingers or chopsticks…whichever you choose, just enjoy!
© 2014, Monica of glutenfreedoubletalk
Monica and Daria say:
Would you believe that 90% of all American households have a jar of peanut butter on their pantry shelf most of the time?
If you live in our homes, we usually have at least two….we just LOVE peanut butter!
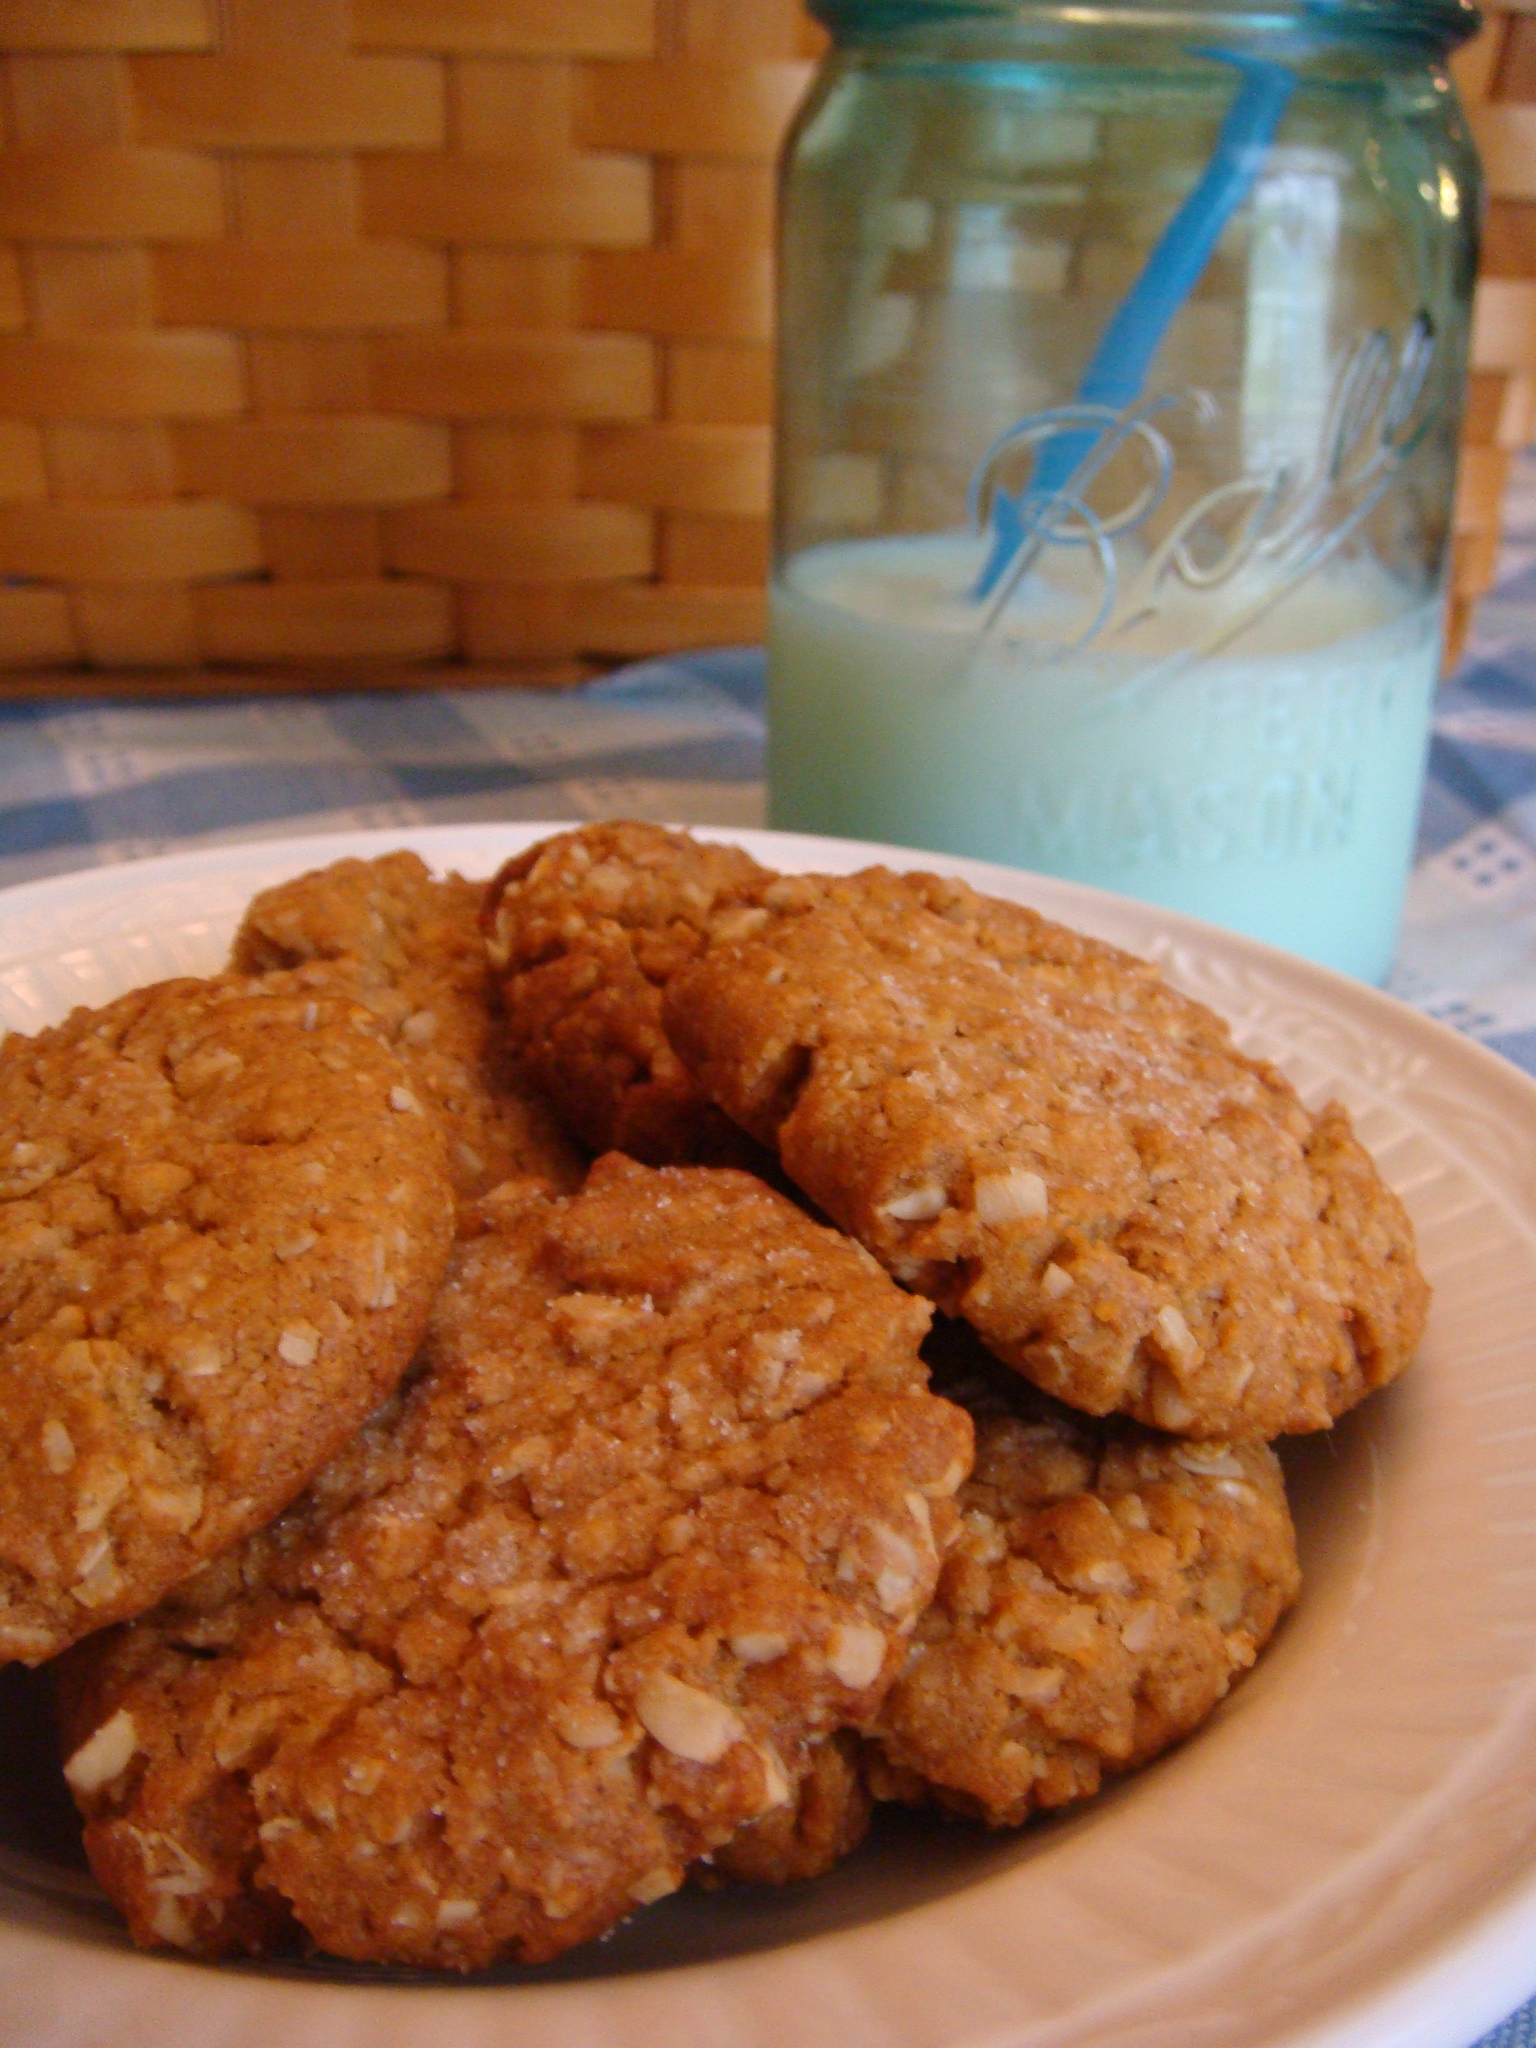
Peanut butter cookies have been around since the 1910s with the first recipe appearing in a cookbook of George Washington Carver’s. Now if you remember your history, Carver was a botanist and inventor who devised many uses of the peanut. His cookies called for chunks of peanut to be placed in cookie dough. Peanut butter cookies, those made with peanut butter, made their appearance in households in the 1930s and have been a favorite ever since!

Why do peanut butter cookies have the famous criss-cross marks?
It could be one of several reasons.
It might be that a tradition was established in 1936 when a recipe from a Pillsbury cookbook had the criss-cross marks in the instructions….or it might be that placing the marks allows for uniform baking of the cookie….or it might be that the marks originated to warn people who were allergic to peanuts, not to eat these cookies!
No one knows for sure, but the criss-cross marks make the peanut butter cookie unique!
Wanting to use natural peanut butter and use less sugar than most peanut butter cookie recipes have, we came up with this recipe! Enjoy!
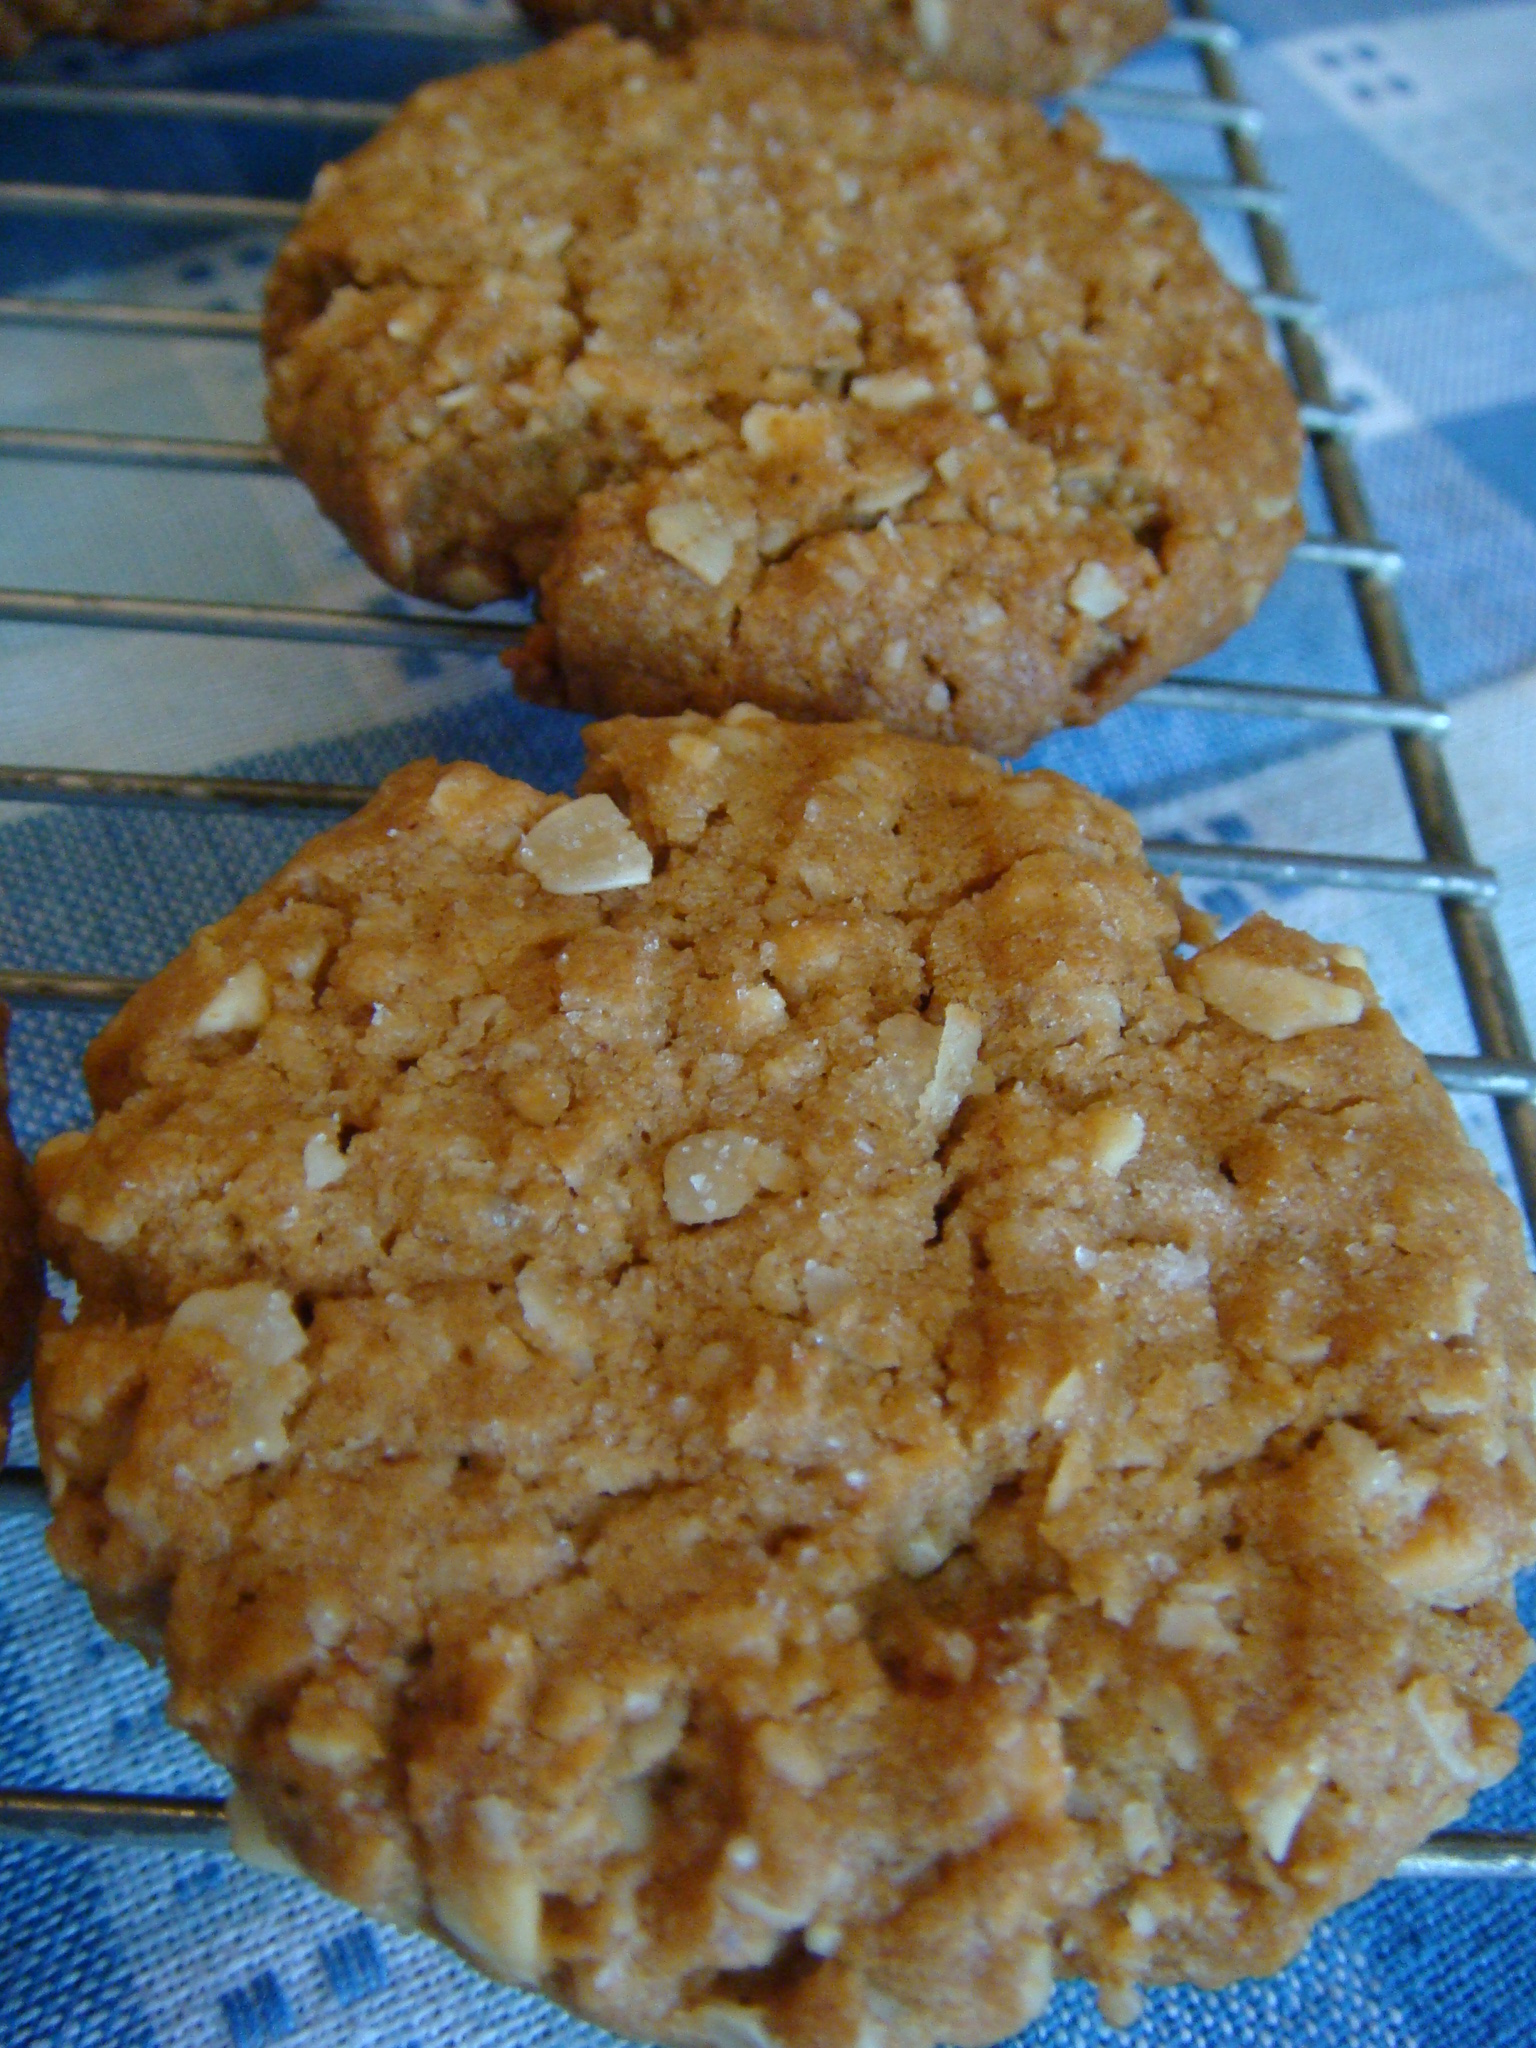
Gluten Free Peanut Butter Yummies

Dry Ingredients
1 ½ cups oat flour*
½ tsp baking powder
½ tsp baking soda
½ cup chopped peanuts
Wet Ingredients
1/3 cup shortening
½ cup creamy Natural Peanut Butter
¾ cup dark brown sugar, packed
1 large egg (should be @ room temp)
1 tsp pure vanilla
1/8 cup granulated sugar for making criss-cross marks
*Oat flour can be made by placing 1 ½ of gluten free oats in a food processor – yield 1 cup of flour
Cookie Making Directions:
Preheat oven to 350˚. Cover two baking pans with parchment paper.
Whisk together the dry ingredients and set aside.
Cream the shortening, natural peanut butter, and brown sugar in a large bowl.
Add your egg and vanilla and mix until smooth and thoroughly incorporated.
Next add your dry ingredients and blend until a dough forms.

Roll dough into balls of about 1 tablespoon each.
Place dough balls on baking sheet at least one and a half inches apart.
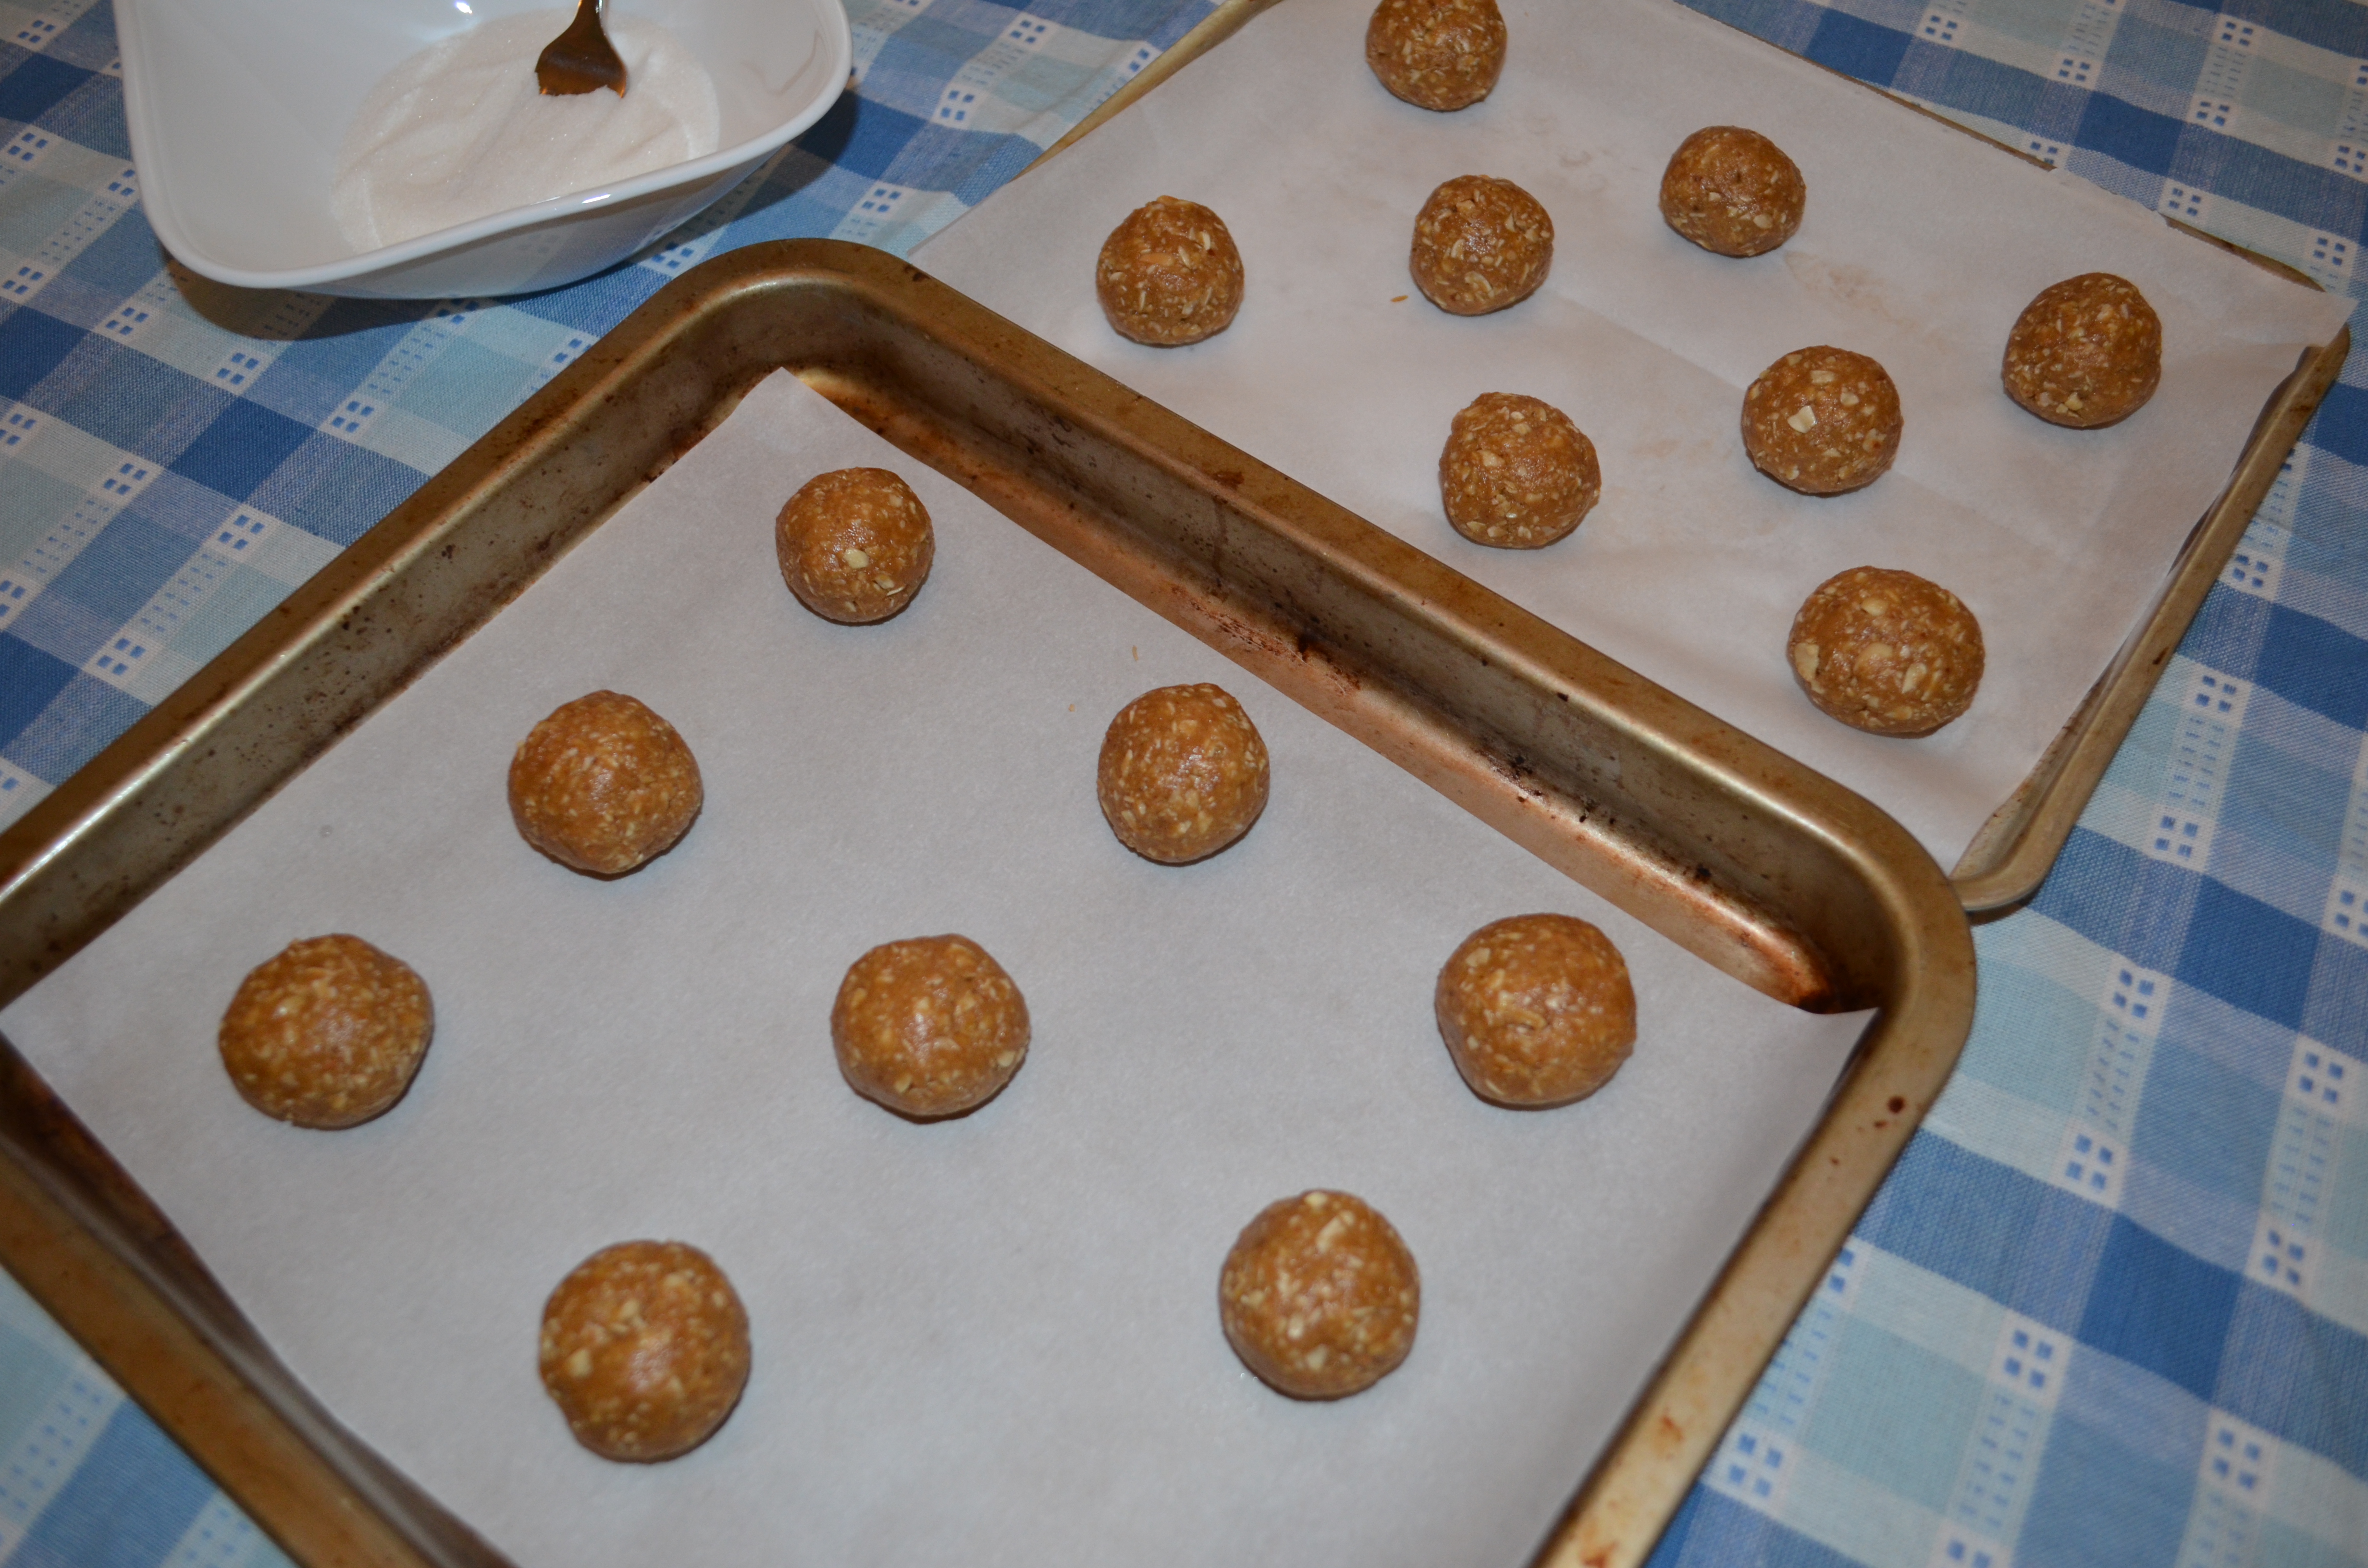
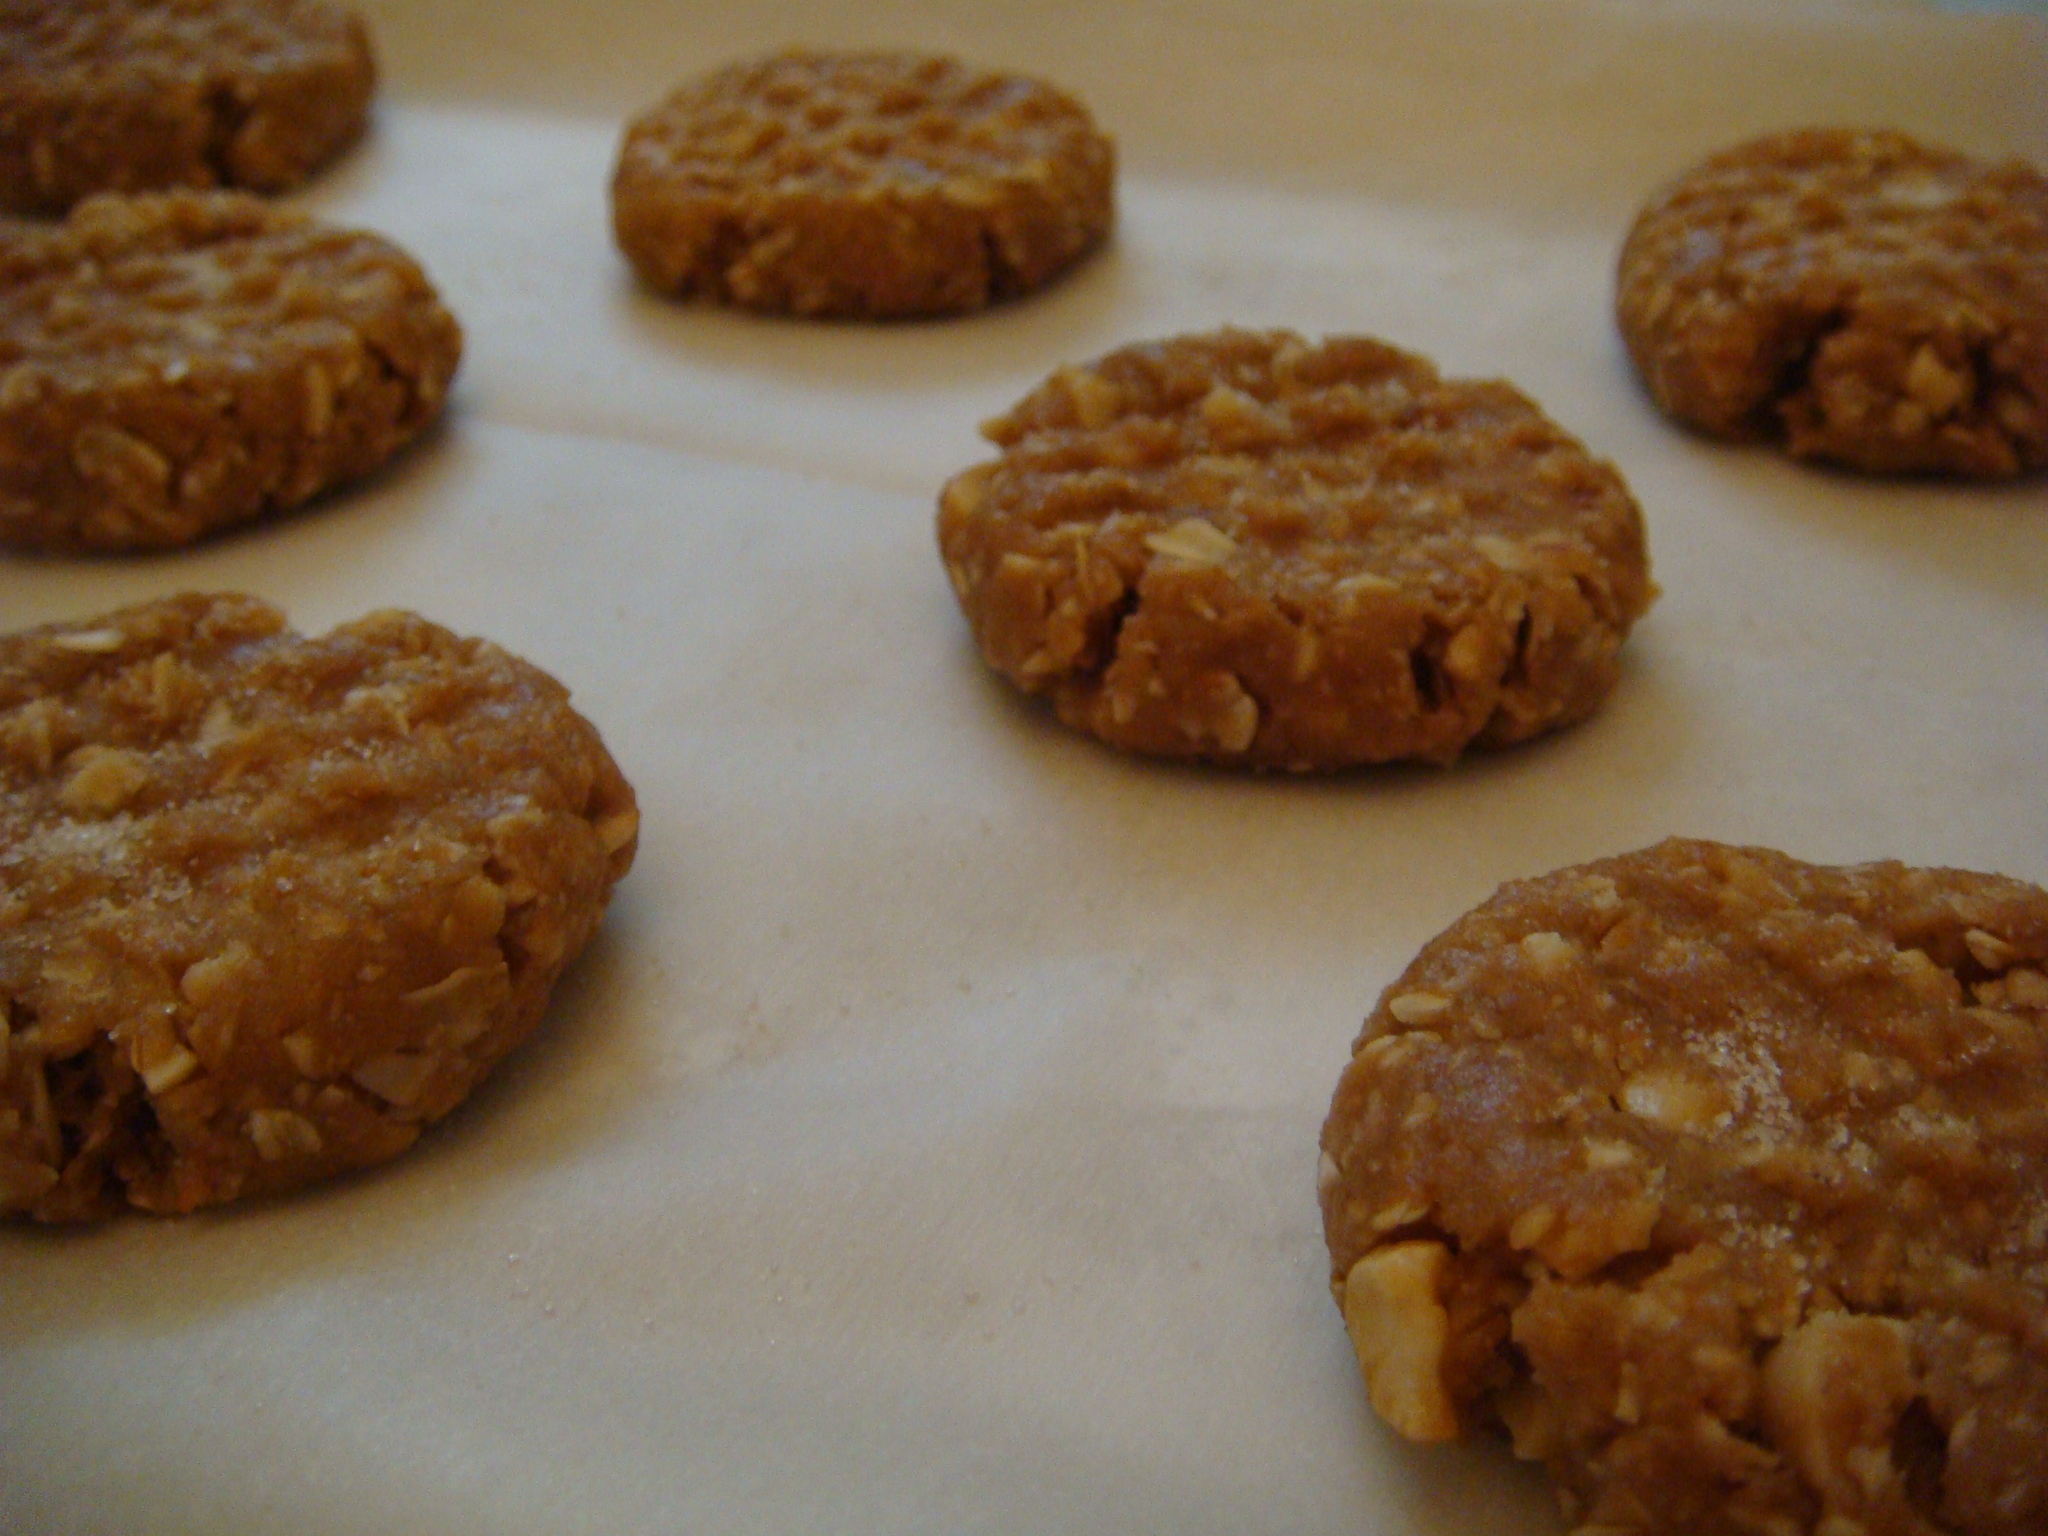
Dip a fork into a bowl with granulated sugar and make a criss-cross on each cookie with the fork tines, as you flatten it.

You can sprinkle a small amount of sugar on each cookie to top it off!
Bake for 10-12 minutes or until golden brown.
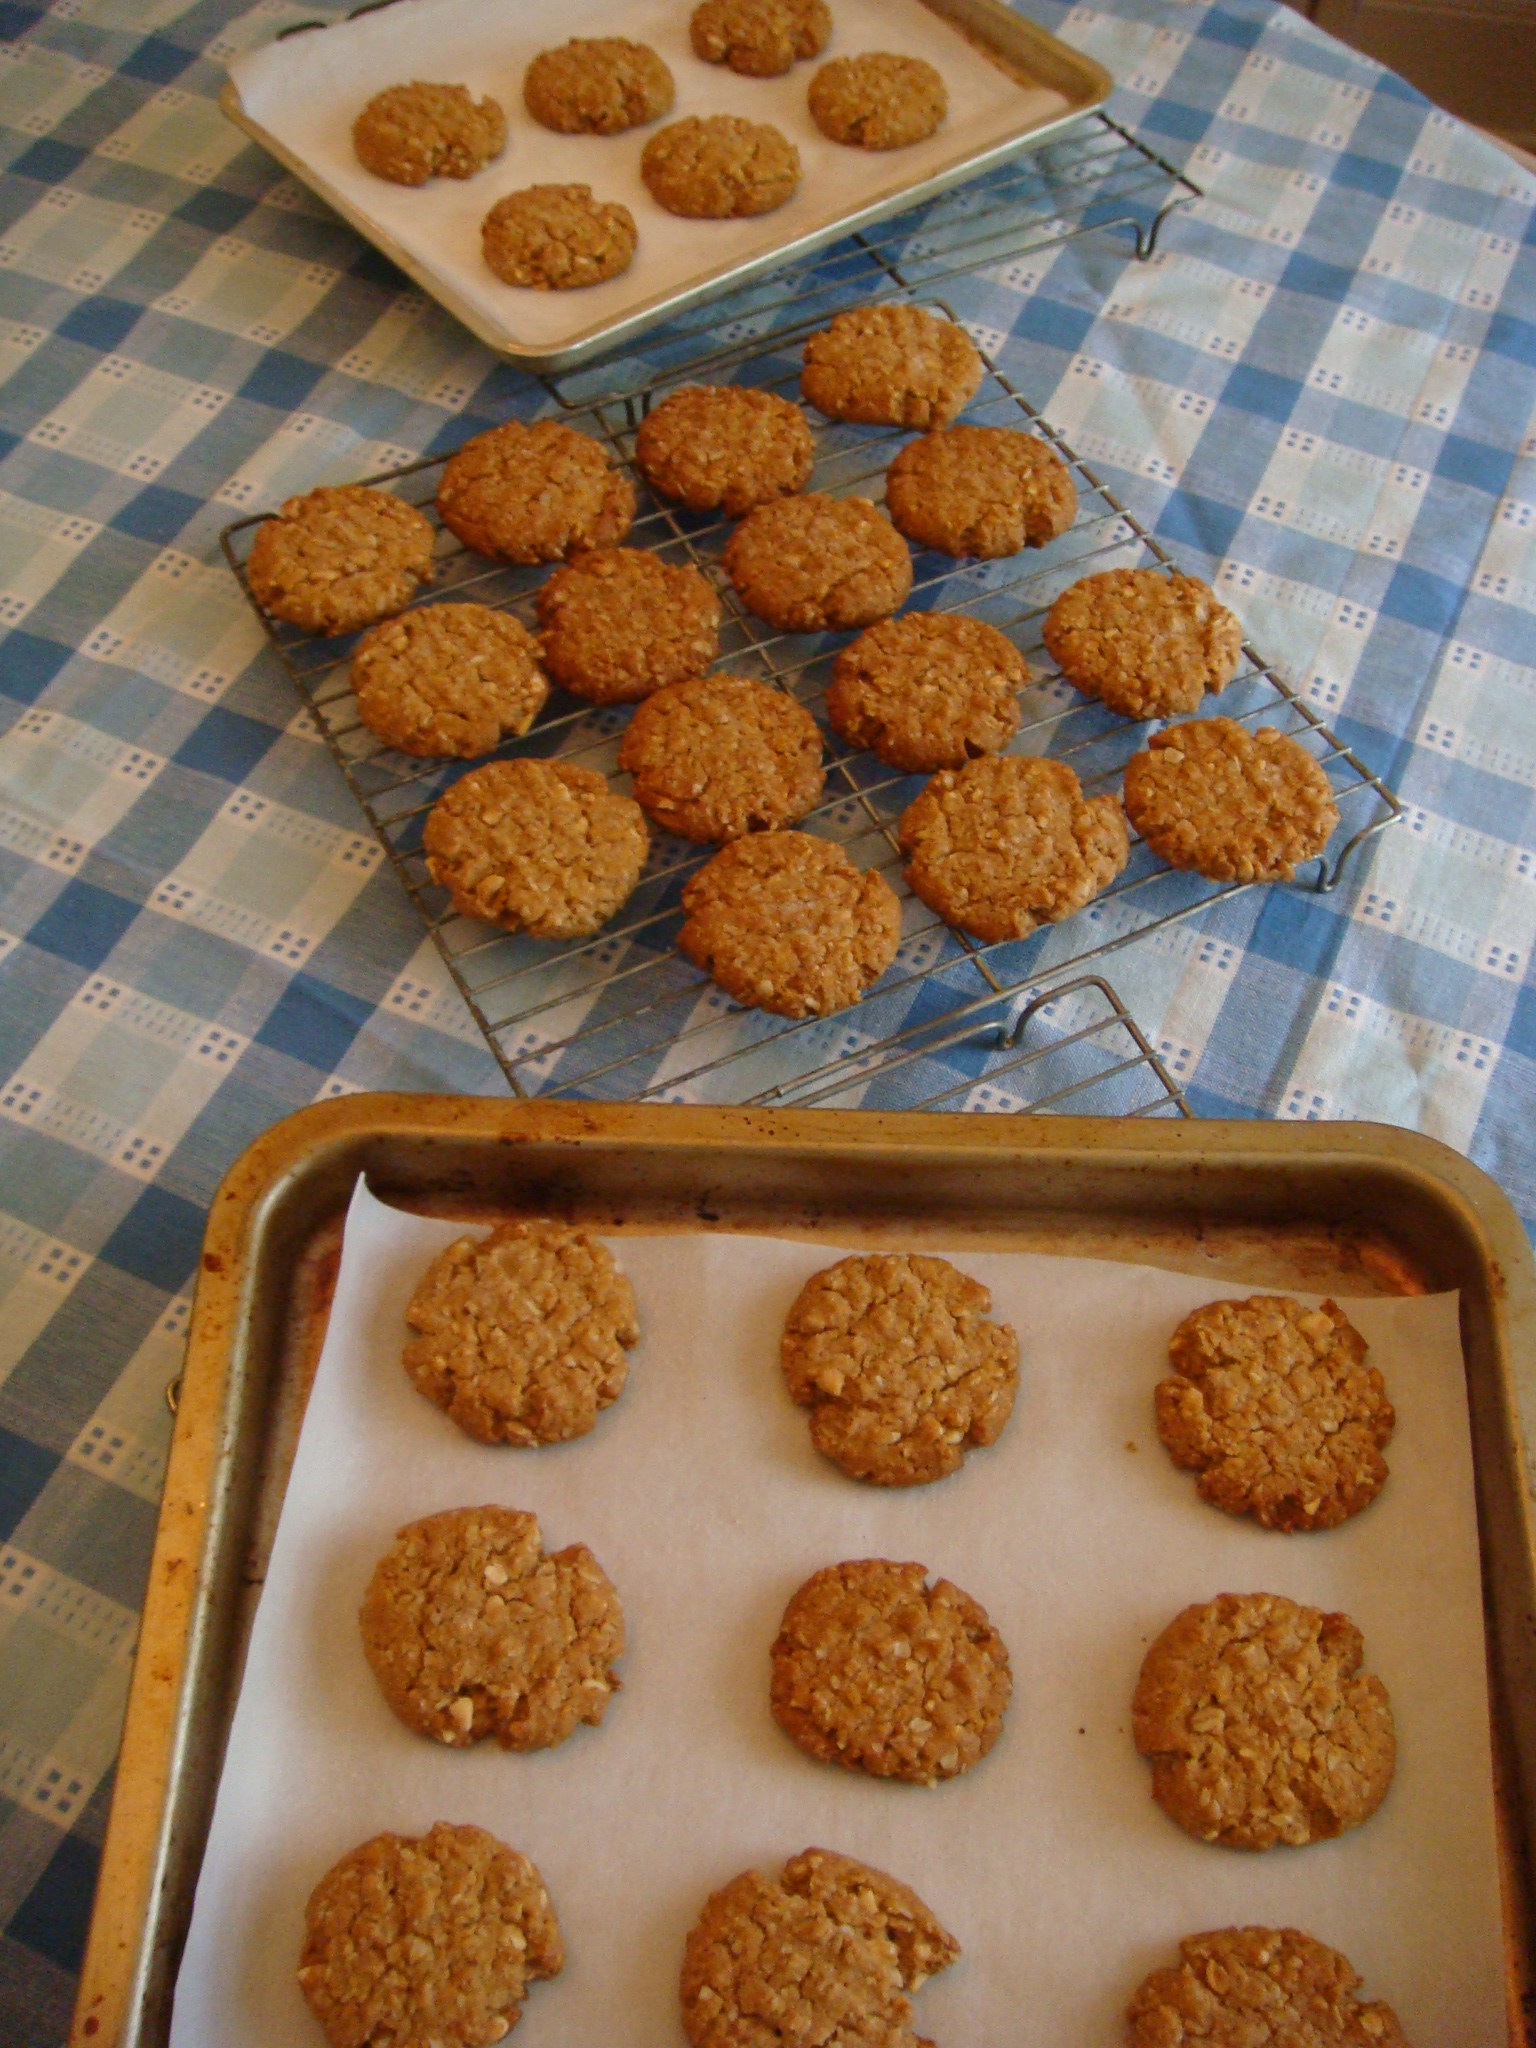
Cool on wire racks for at least 3-5 minutes.
Yield almost 3 dozen delightful cookies!

Happy Baking! And eating, of course!

© 2014, Monica & Daria of glutenfreedoubletalk
Monica and Daria say:
Want an easy summer salad to take to your next get-together?
You are in luck!
This salad of fresh sugar-snap peas can be made in minutes!

Sugar-snap peas have a high content of dietary fiber, are an excellent source of folic acid, and have more vitamin K than shelled peas. Best of all, fresh pods have more than 150% of vitamin C than fresh garden peas and are rich in many minerals and nutrients.
So, here’s how to prep the salad!
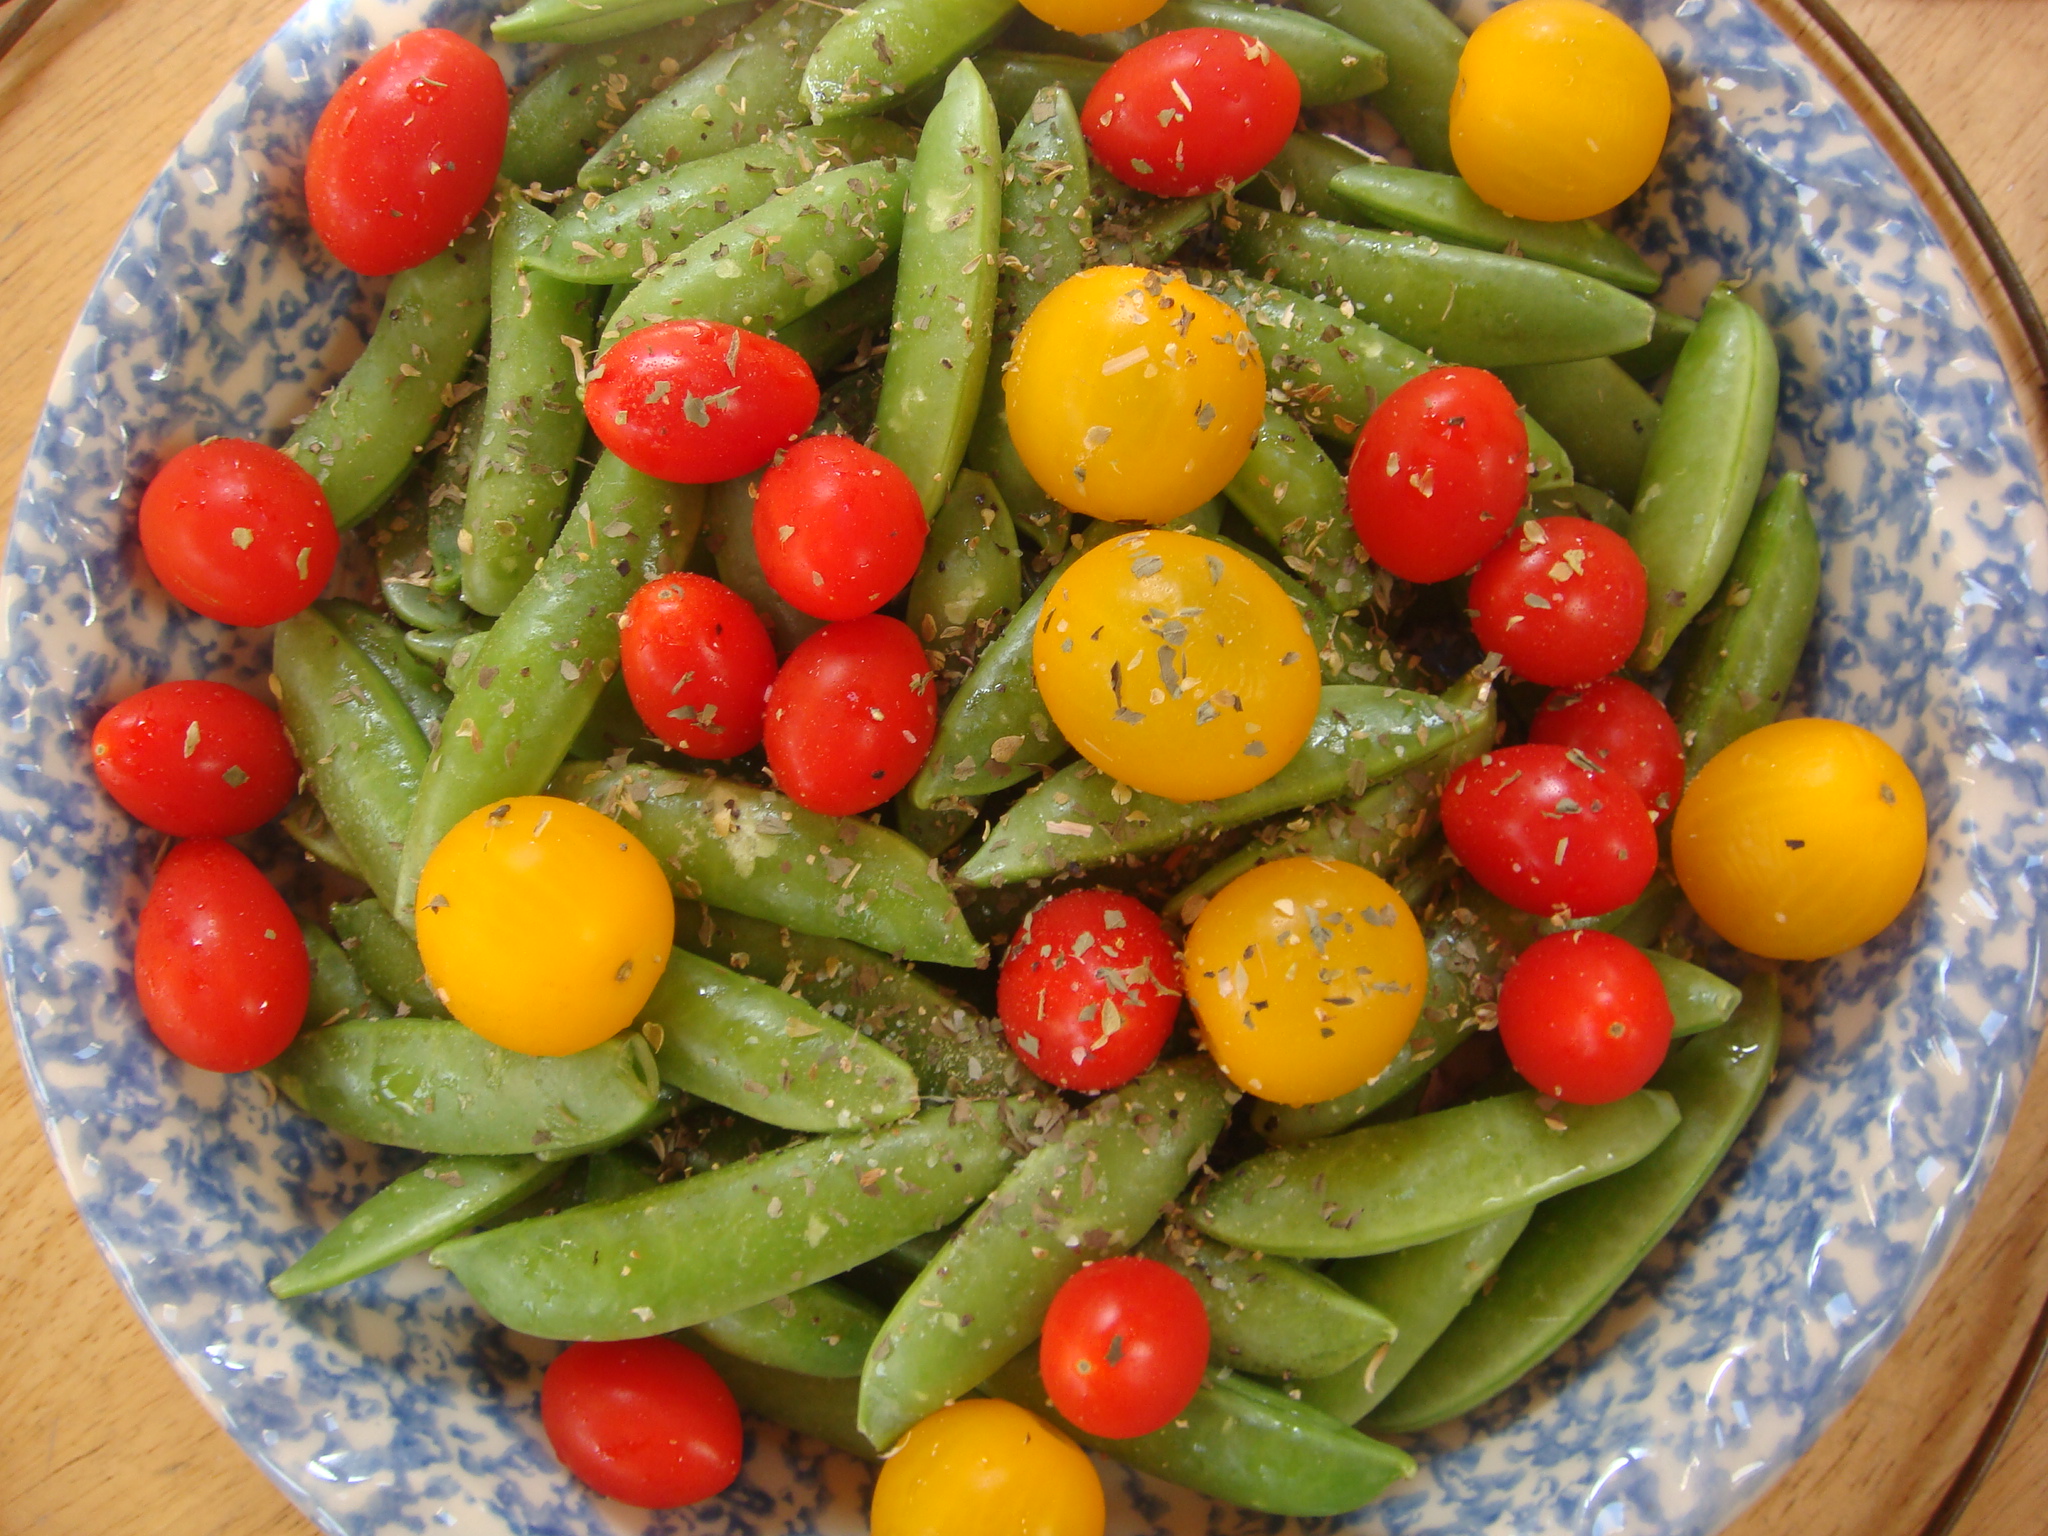
Just get a pound of fresh sugar-snap peas and wash them in cold water and pat dry. Then trim the stem and remove the stringy fiber from each end. Place all cleaned snap-peas in a serving dish. You can sometimes find a nice big bag of sugar snap-peas in your grocery aisle….just check the date for freshness!
Next, wash some red grape tomatoes and some yellow cherry tomatoes. Pat dry and add to salad. If you have a small red onion, you can chop this and add to salad now. We omit this due to the fact that we cannot seem to digest raw red onions in our household!
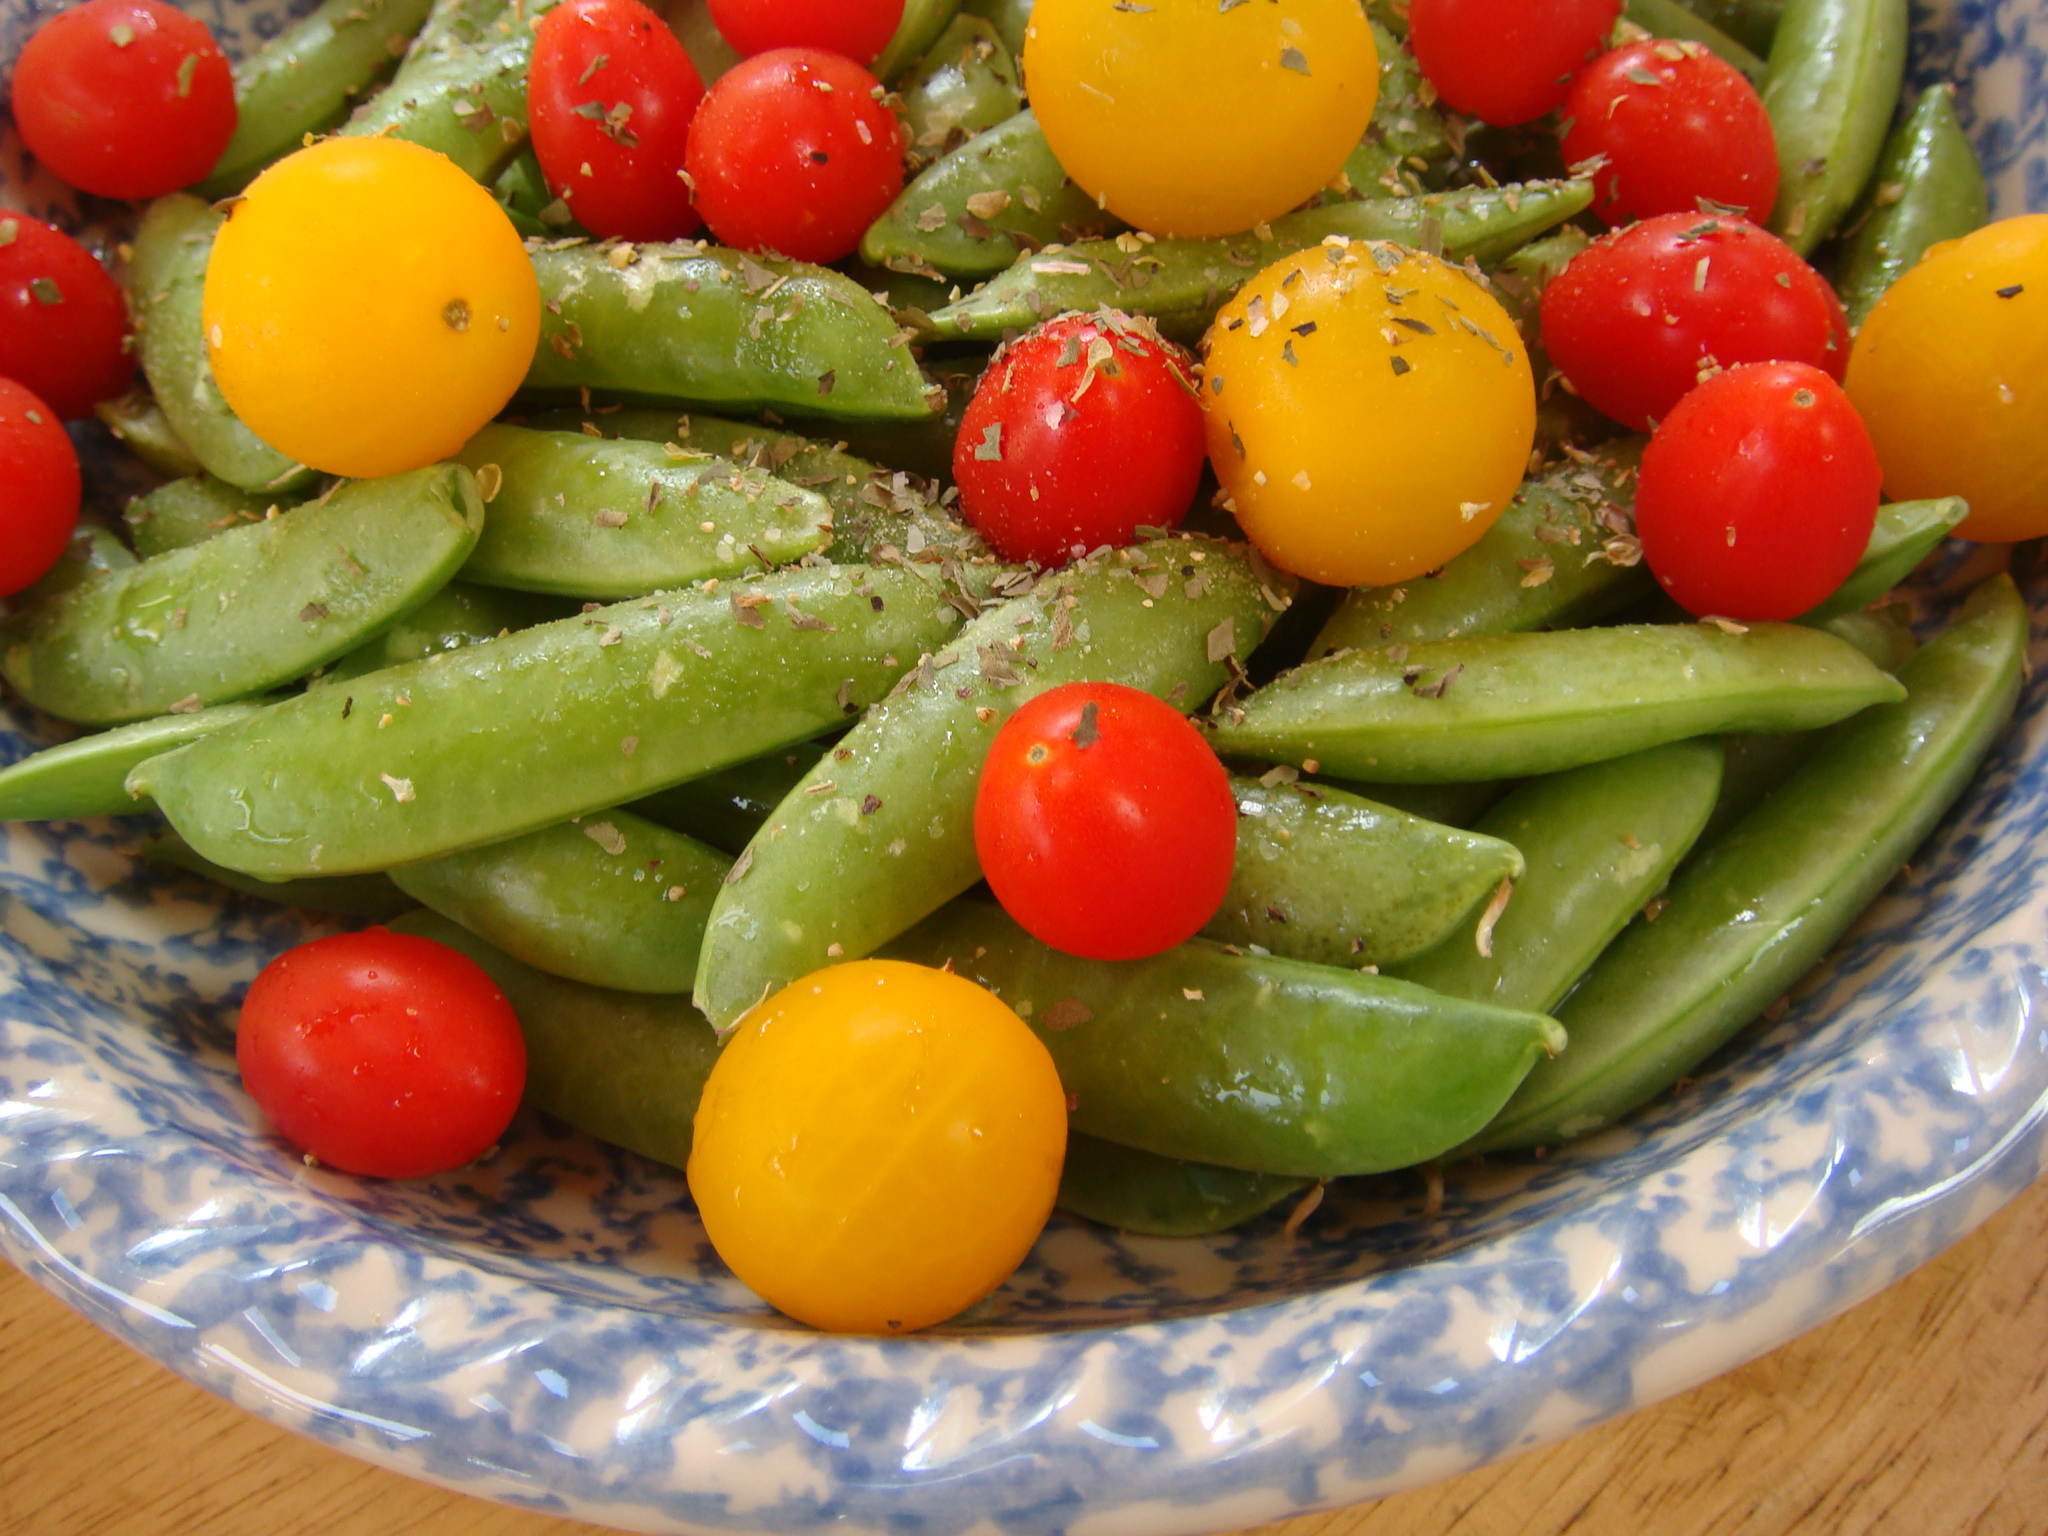
Then add some herbs….We love basil and oregano. We used dry herbs in this salad because we didn’t plant ours yet! We also added some garlic powder (you can use some fresh minced garlic) and kosher salt and pepper.

Last for the dressing….We drizzled extra virgin olive oil on the salad and then squeezed one half of a fresh lemon. Toss it all together!
Done!

It’s so pretty and nutritious!
Enjoy ❤
© 2014, Monica & Daria of glutenfreedoubletalk
Monica and Daria say:
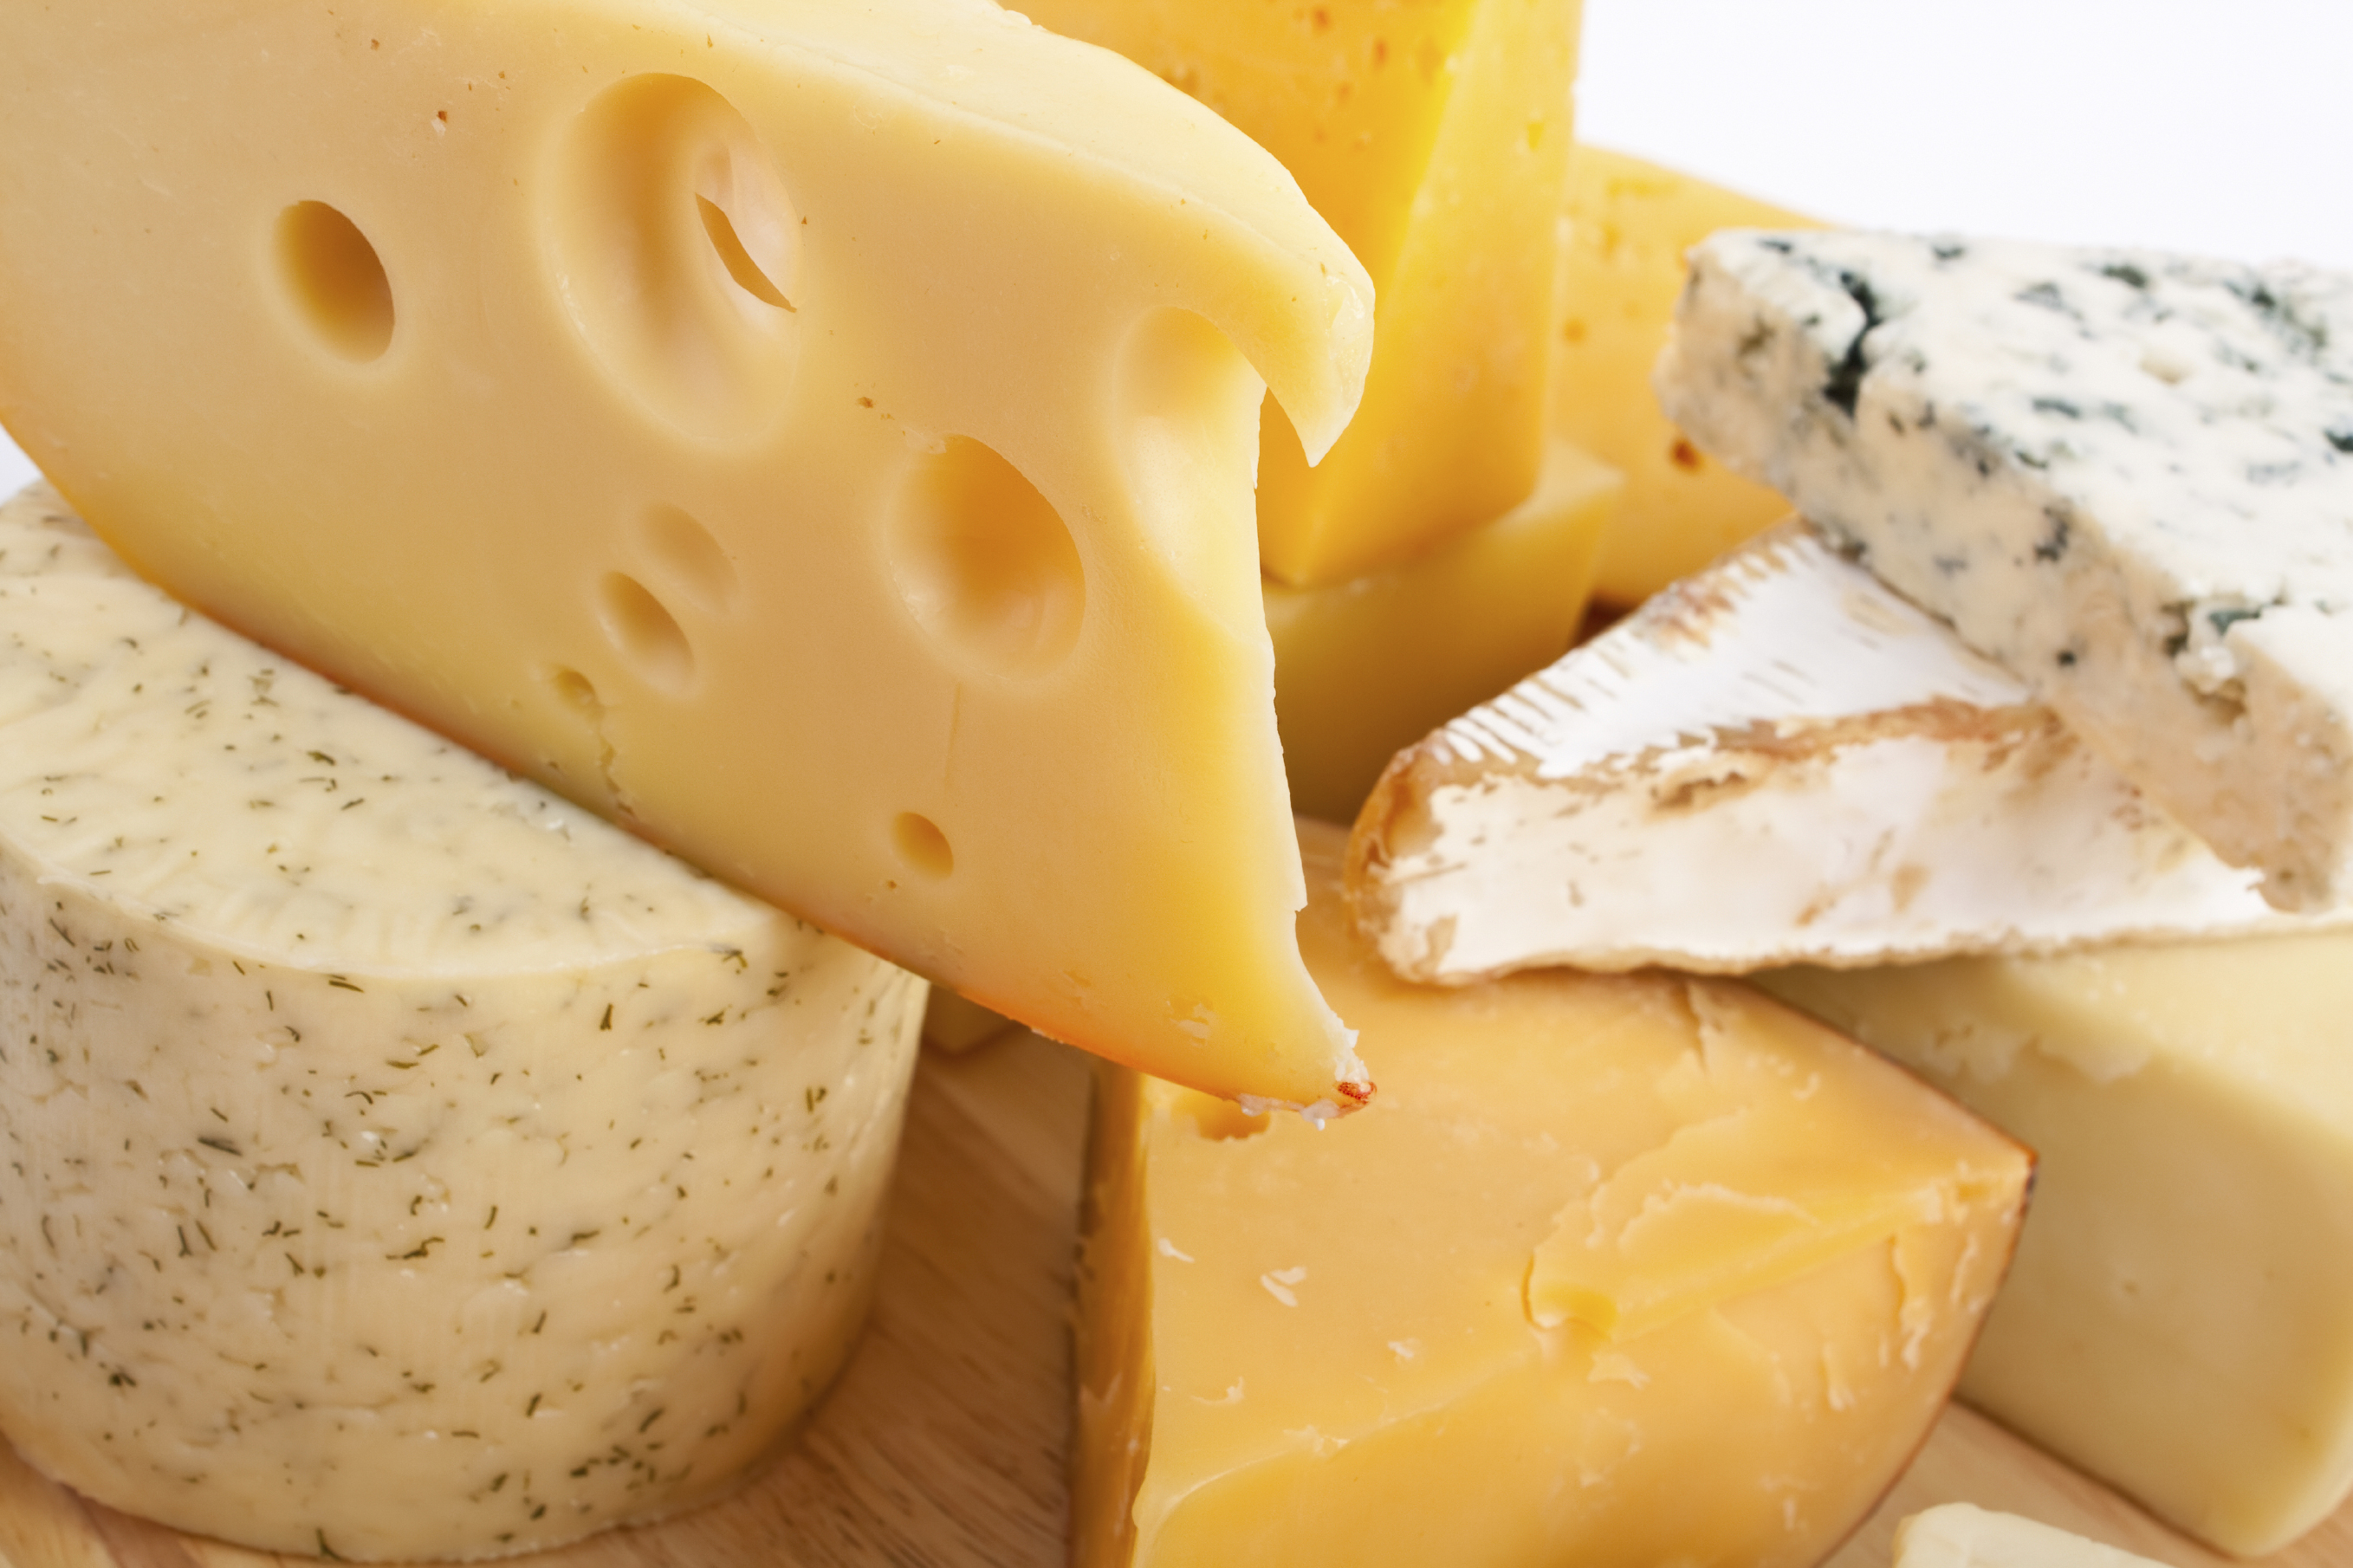
Celebrate this great day with your favorite cheese or cheese dish! And even if you are lactose intolerant (like we are) you can still enjoy dairy!
Always check the label of any cheese for the lactose level. It’s easy!
The grocery chain Wegman’s gives this advice to consumers:
An easy way to check for lactose in cheese is to look at the Nutrition Facts under “Sugar” Since the sugar in cheese is lactose, you can easily see how much lactose the cheese contains. If the sugar is listed as zero, then the cheese contains no more than half a gram of lactose per ounce. Compare to 12 grams of lactose in an 8 ounce glass of milk.
Natural, aged cheeses are best for those with lactose intolerance. Since most of the lactose is drained off during the cheese making process, these are easy to digest. Cheddar, Parmesan, and Swiss are a few.
Can you guess the #1 cheese recipe for Americans?
Macaroni and cheese, of course!
So whatever you eat today with cheese in it, or on it, enjoy!
© 2014, Monica & Daria of glutenfreedoubletalk
Photo credit http://www.thekitchenskinny.com/
Monica (mom) says:
Yesterday was my birthday! And as I was waking up to the smell of something delicious, I was really hoping that it was scones!
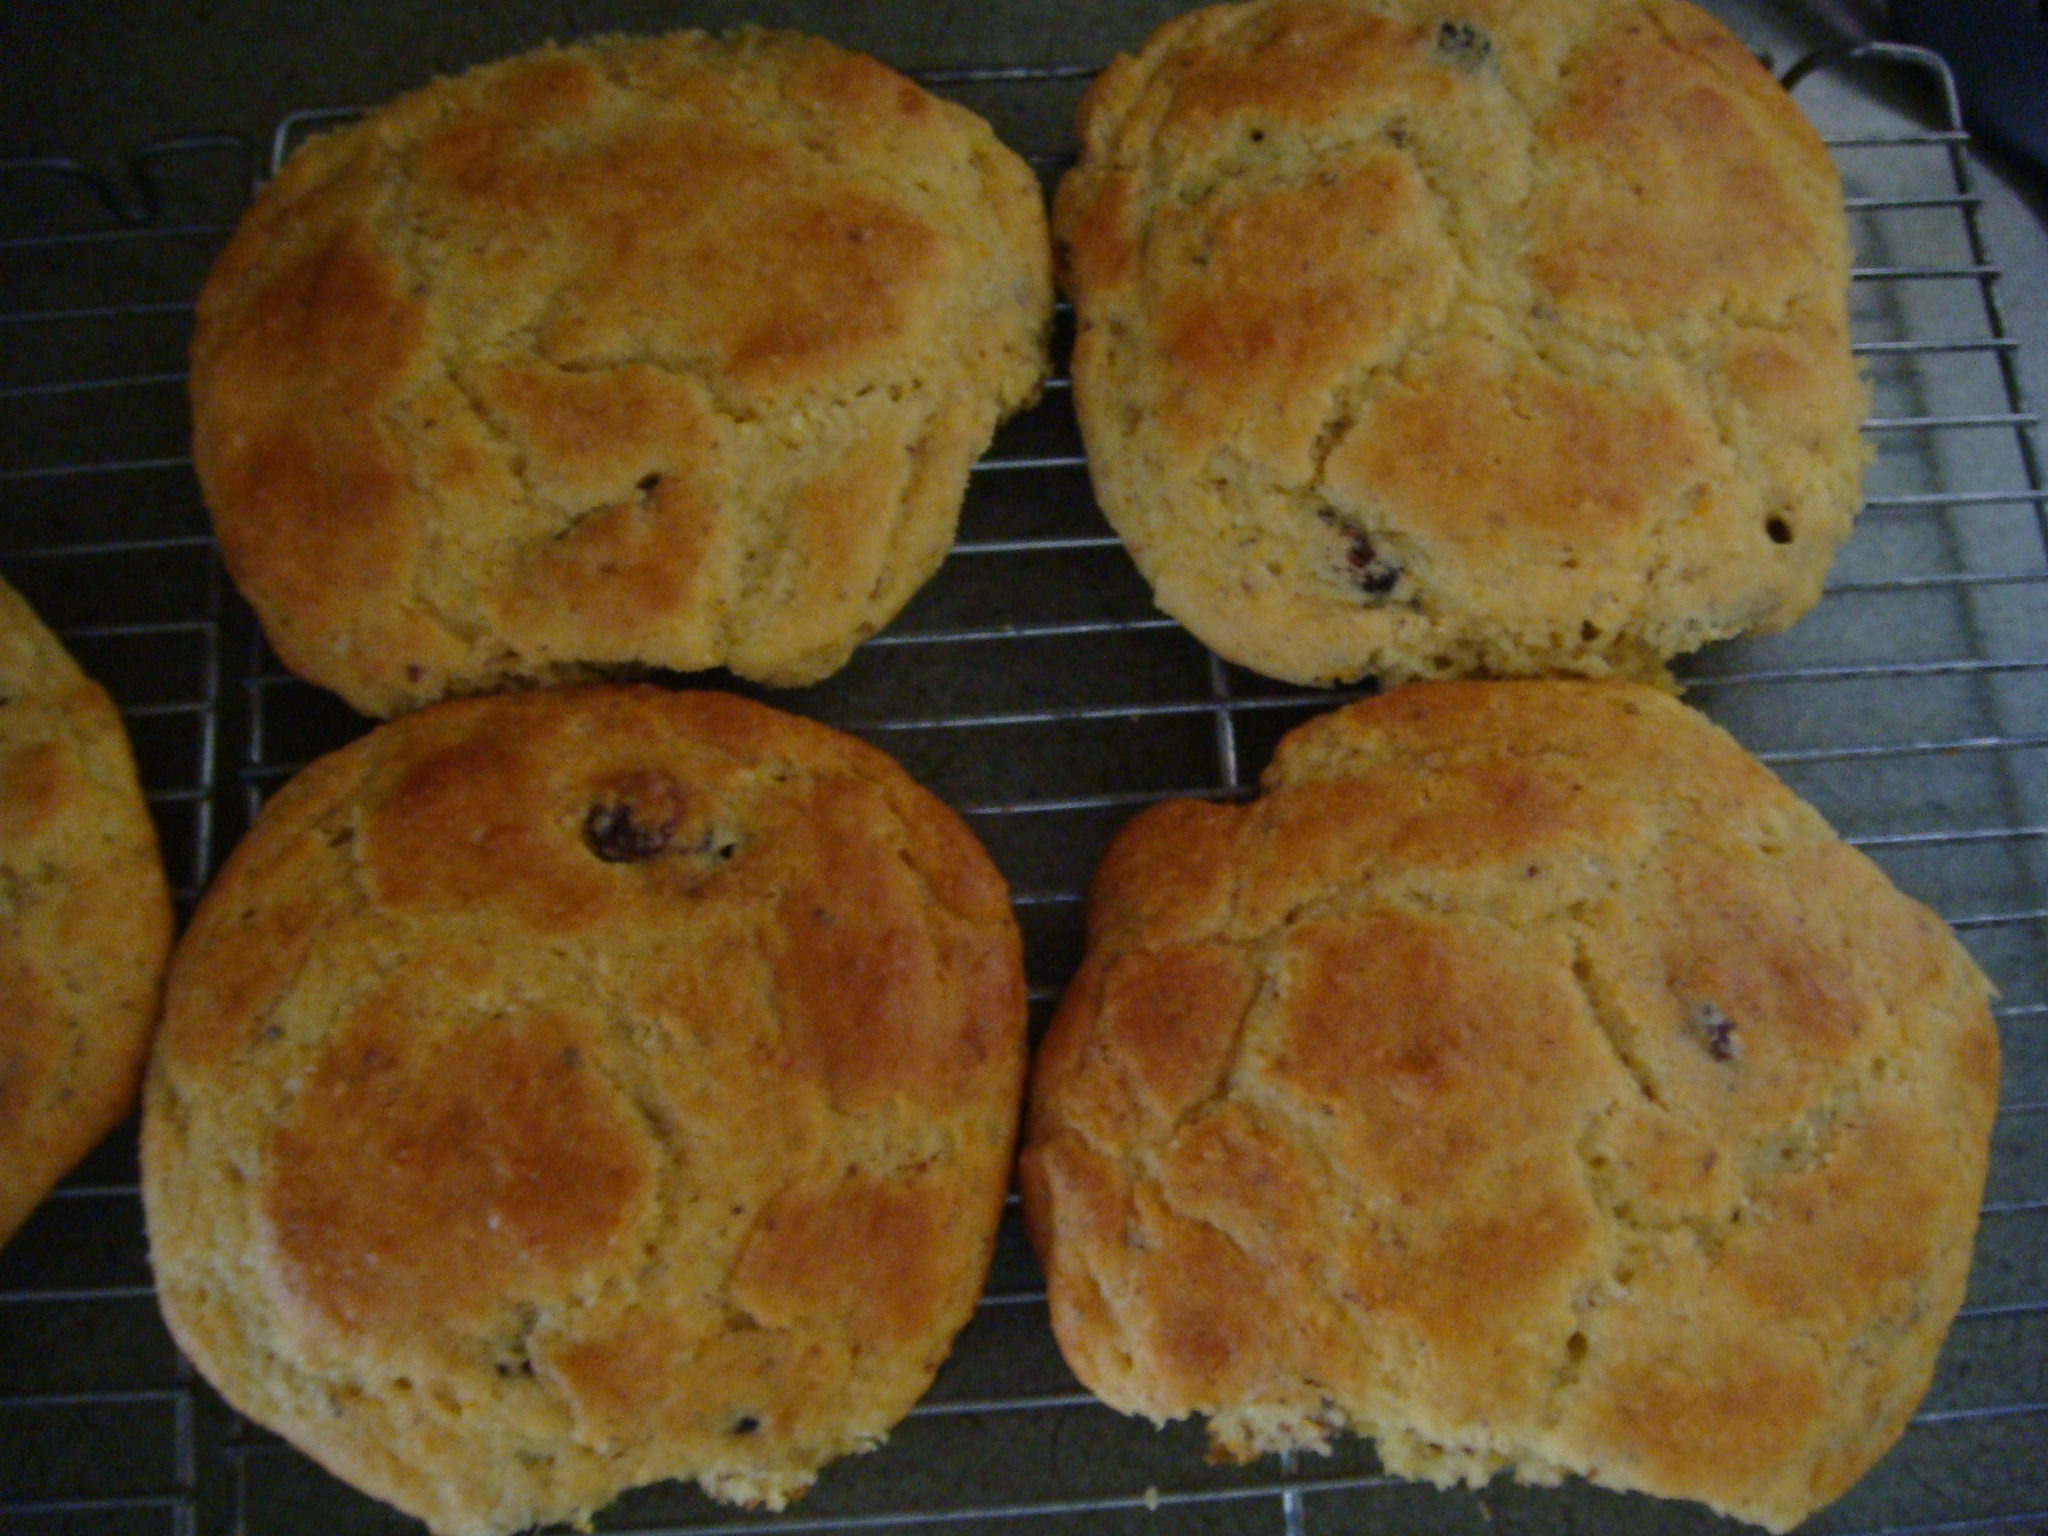
Can I tell you how happy I was that my husband got up early to bake these for me?

The recipe uses Pamela’s Baking and Pancake Mix as the base and has scrumptious dried cranberries and fresh orange juice in it! To add even more flavor, Lewie adds in extra orange zest and pulp, too!

Look at the presentation! Isn’t he the best??
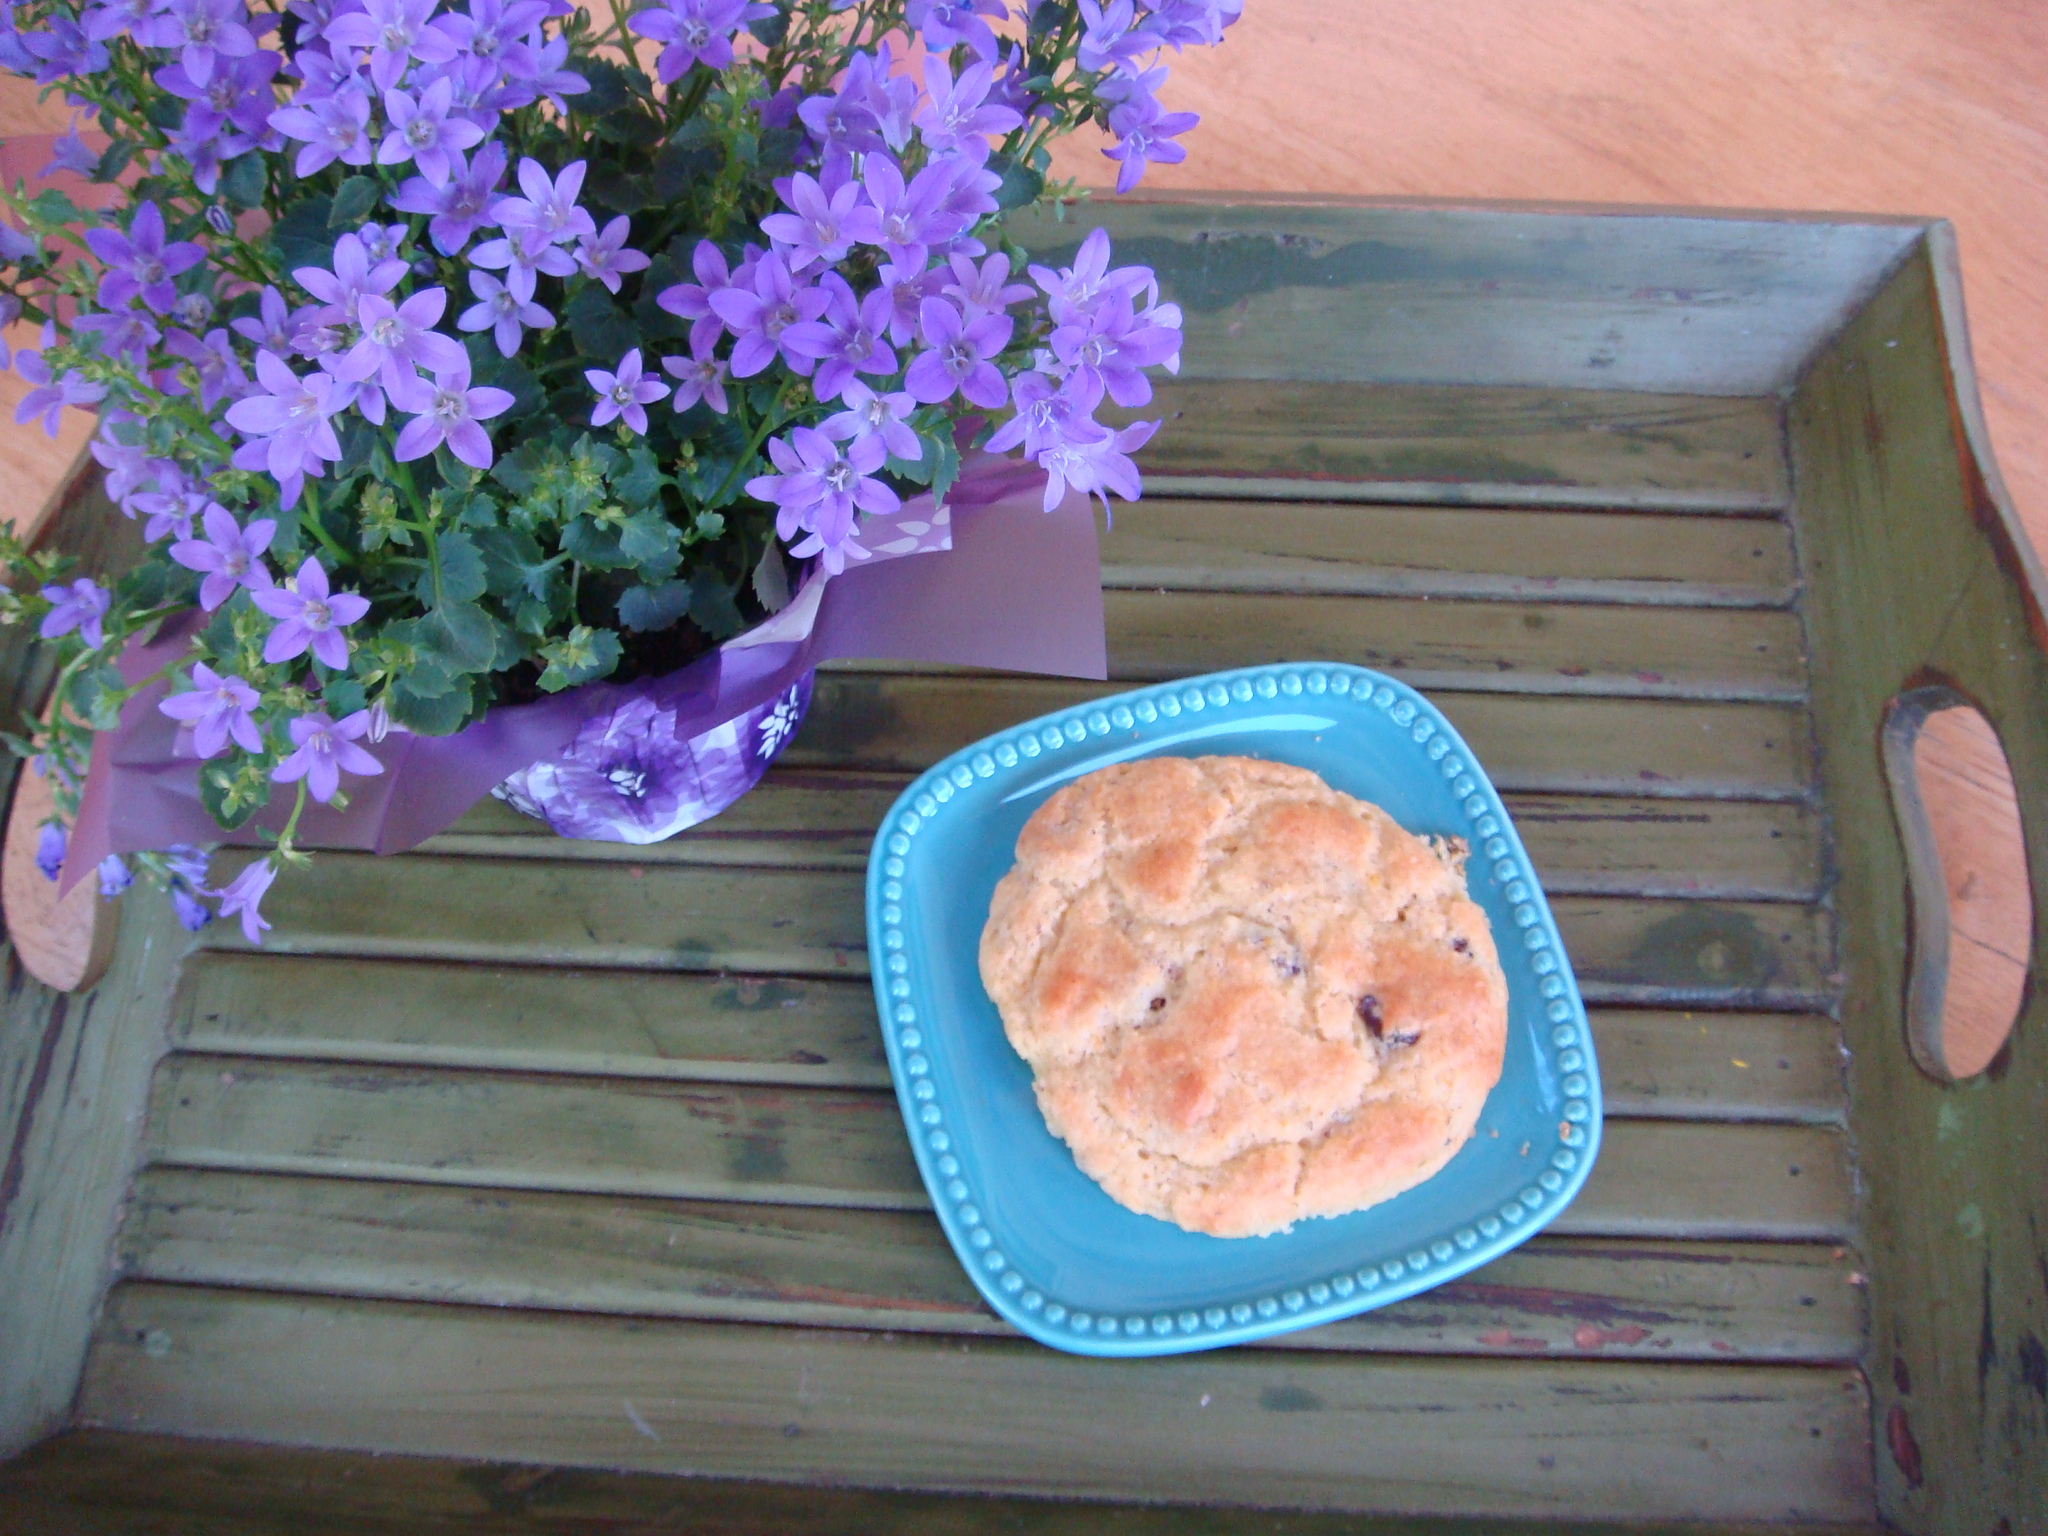
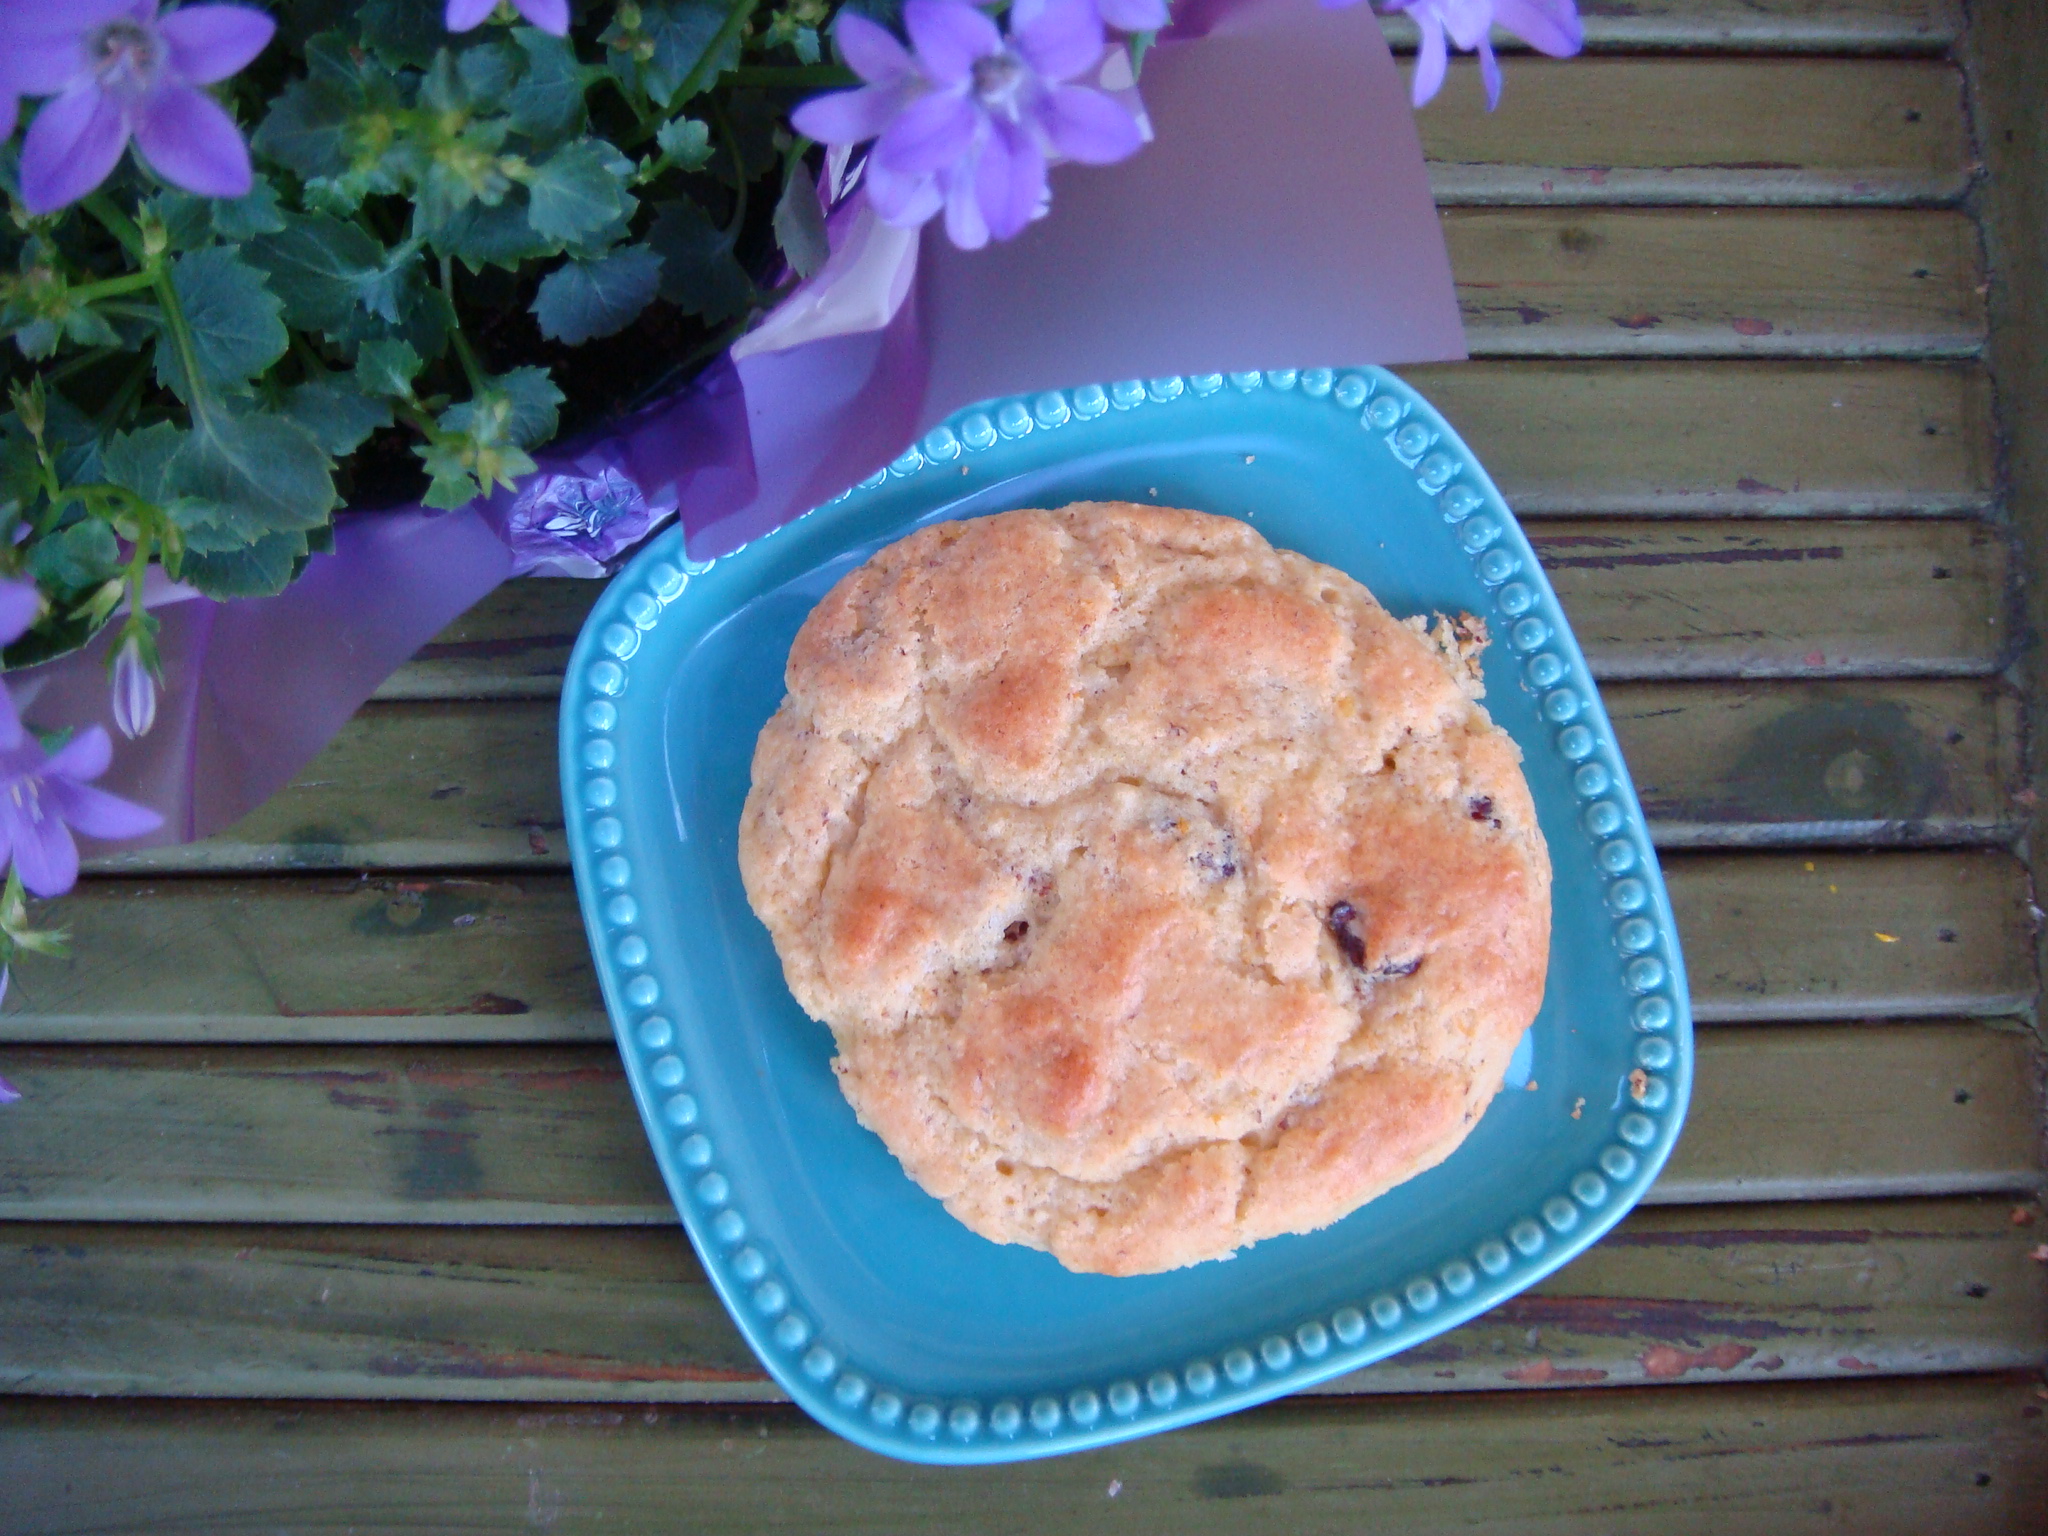

You’re thinking….how did she eat just one?

I didn’t!
Could you?
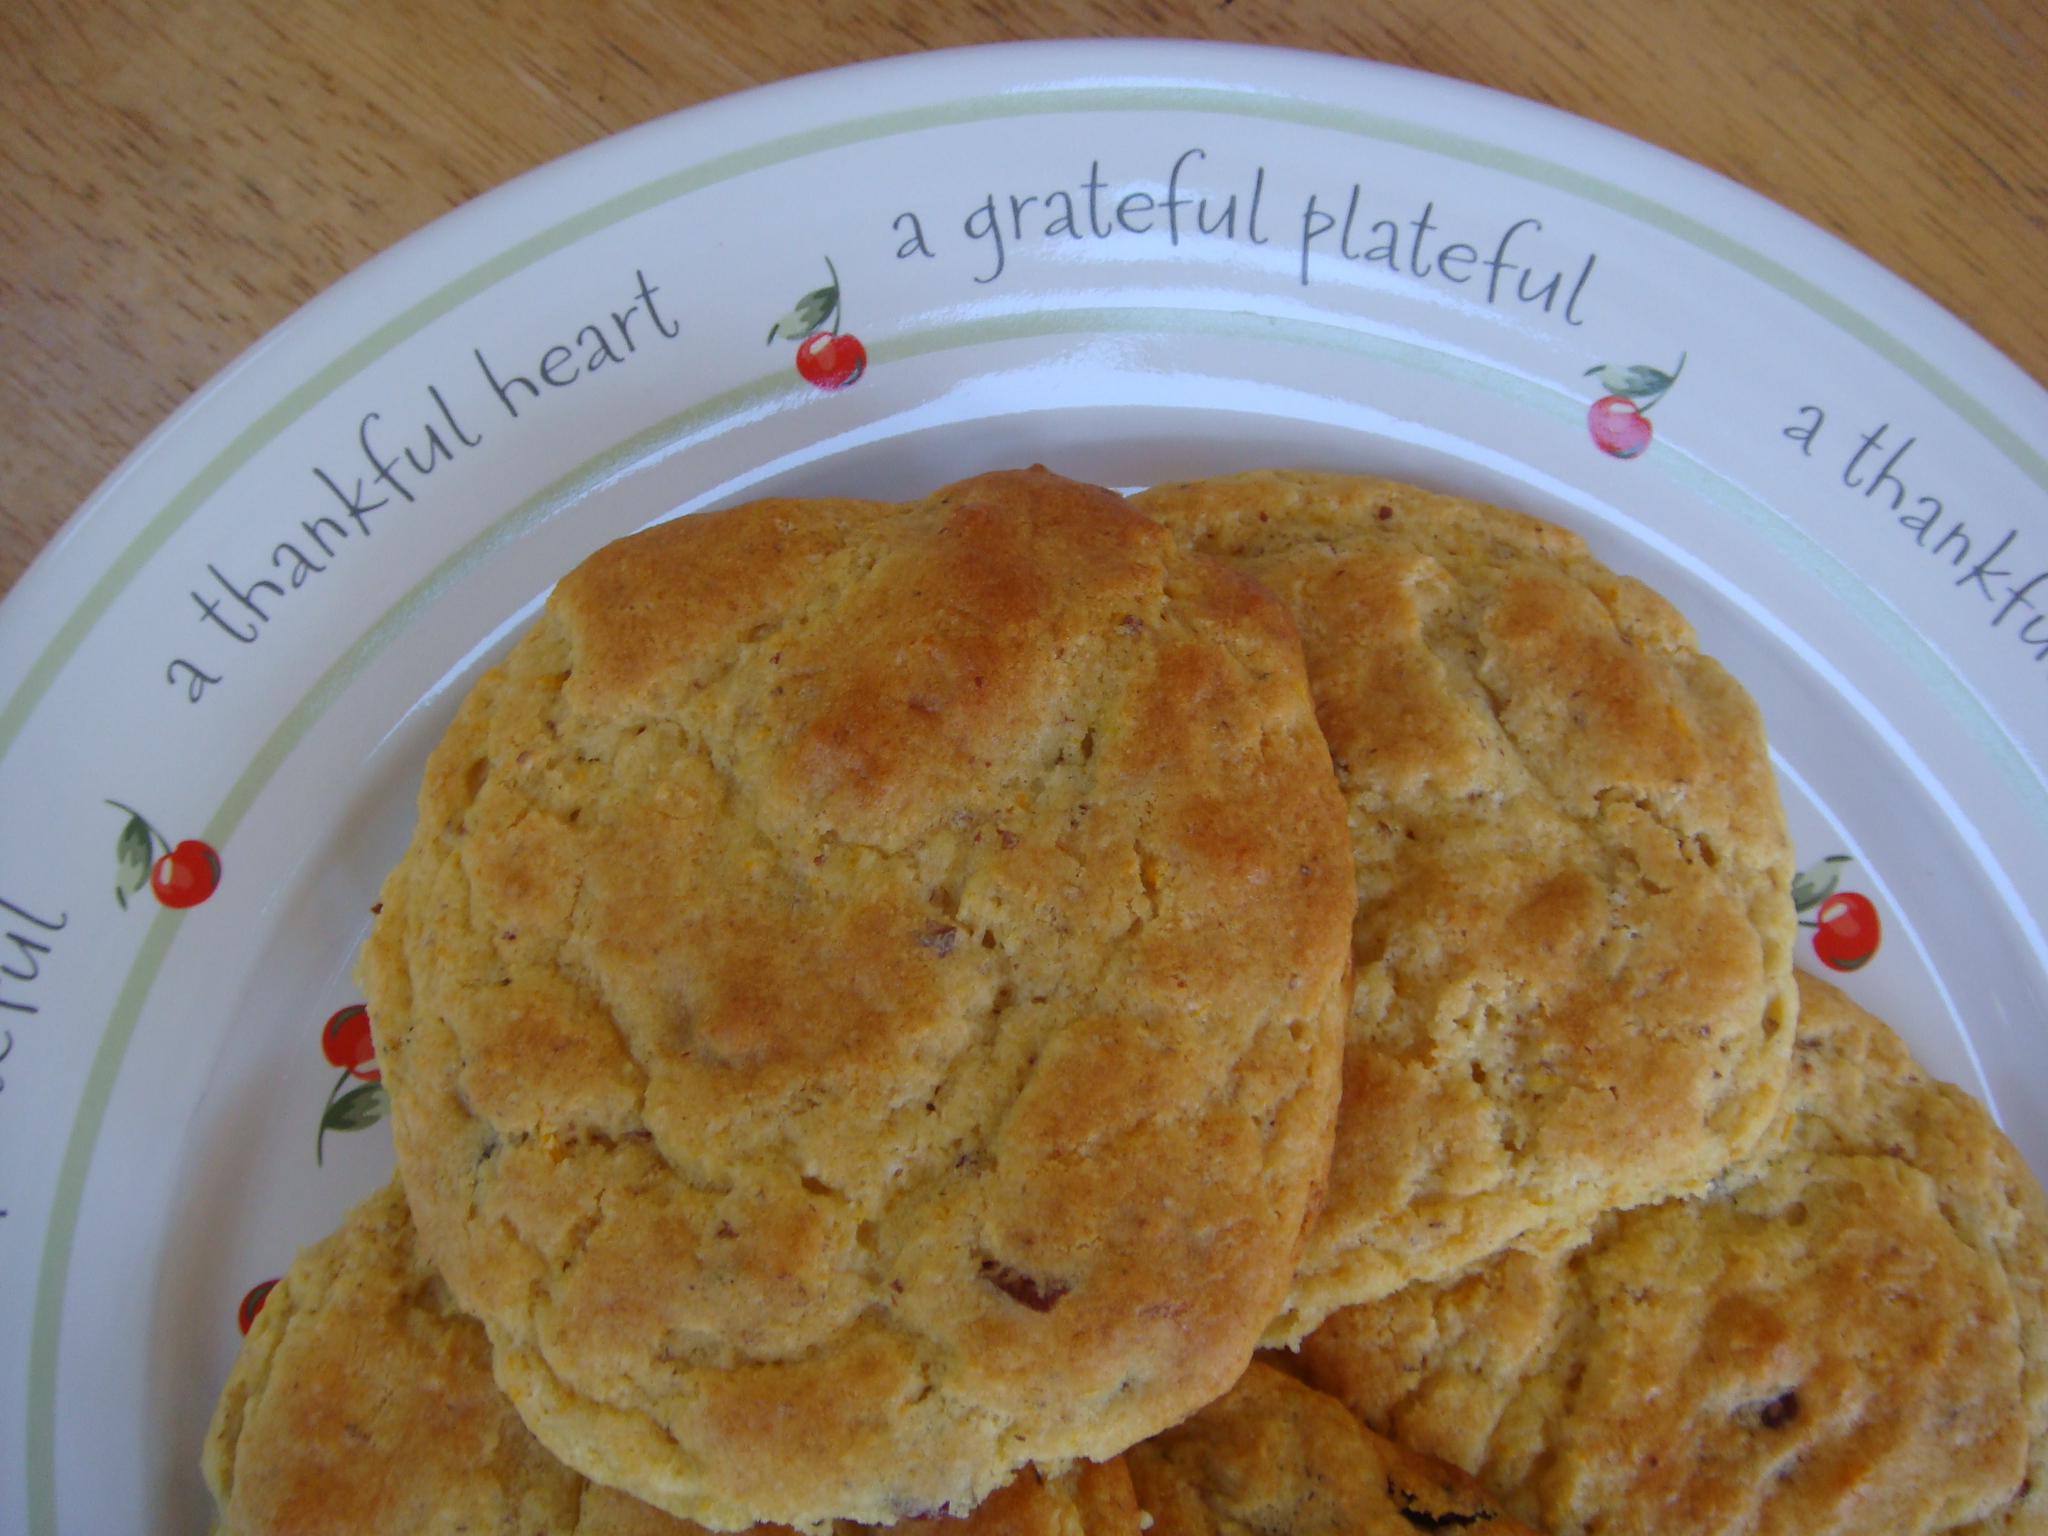
The plate “says” it all….I had a thankful heart and was so grateful for a plateful!
Here is the recipe that he has been using for many years! He found it online, so many thanks to RecipeZaar!
Happy Baking!
© 2014, Monica of glutenfreedoubletalk
Gluten Free Cranberry Orange Scones Recipe #366484
27 min | 10 min prep
SERVES 10, 10 scones
| © 2009 Recipezaar. All Rights Reserved. http://www.recipezaar.com |
My Wonderful Little World
Food Photography & Recipes
Making Mondays just a little bit brighter.
Feeding a hungry family!
A mom and daughter discuss celiac disease
One young man's adventure in cooking clean and green. New recipes every Sunday! Winner of 'Best Food & Drink Blog' - North East Blogger Awards 2015
Learn about Goan and Indian Recipes
