Strawberry pie…as sweet as can be!

Monica says:

Oh how we love strawberry season! It’s time to pick the juiciest berries that we can find!

Do you think we did just that?

Our sweet girl, Emily, and my sister Maria (her granny), and I went to a little farm to find the best berries we could. This time we were smart and each wore disposable gloves….boy, they made all the difference!

Highly recommend this move!

Anyway, after about an hour, we had filled our vessels to capacity….here was my personal stash!

When we got home, I researched the best way to keep these beauties fresh and long lasting. Well, I found advice from a blog, Momables and I can say it was the best advice ever!

Following her instructions below, even today, after 8 days, my strawberries are still fresh and plump like they were just picked!

Washing Fresh Strawberries

  • 8 cups water
  • 2 cups white vinegar
  • Drop dish detergent
  1. Place above in salad spinner
  2. Clean strawberries in batches if too many
  3. Swish them around in liquid and then rinse
  4. Place on towel lined cookie sheets to dry
  5. Store them in sealed container lined with paper towels when completely dry
  6. Leave a smidge open on container so they don’t get too much moisture!

NOTE: I used 9 x 13 glass dishes with paper towels and only covered top layer with paper toweling; stayed perfect! And depending on the amount of strawberries you pick, you may have to do this several times.

I also decided to make my own strawberry filling for the pies since I wanted to eliminate some of the sugar content, so I followed this recipe!

Fresh Strawberry Filling

Note: This recipe is for ONE pie

  • 1 quart fresh, organic strawberries
  • ½ cup sugar
  • ½ teaspoon salt
  • ½ cup water
  • 1 ½ tablespoon  cornstarch

To make the filling:

  1. In a sauce pan, put 1 cup sliced berries, ½ cup sugar, salt, and ¼ cup water. Bring to boil.
  2. Cook 3 minutes. Remove from heat.
  3. Mix cornstarch and remaining water. Add to sauce pan.
  4.  Return to heat. Stir until thickened, about 2 minutes.
  5. Allow to cool.

Meanwhile my official pie crust maker and our biggest gluten free lifestyle supporter, my hubby, began to make the crust. We decided to try a gluten free blend and chose King Arthur’s Measure for Measure blend with my mother’s pie crust recipe!

Mom’s Water Whip Pie Crust

Note: This recipe makes 2 crusts (either a top and bottom, or two bottoms)

  • ¾ cup shortening
  • ¼ cup boiling water
  • 2 ¼ cups gluten free flour (a blend of your own or any commercial blend)
  • 1 T milk (Lactaid if needed)
  • 1 tsp salt

Whip shortening and water with a fork until smooth and creamy. Add milk, flour and salt. Work into a nice dough ball.


Perfection!

Since you have to bake these pastry shells without filling, I cut a round of parchment

for each and filled with uncooked rice.

Baked the crusts at 375 degrees for 20 minutes and then took them out of the oven, removed the rice with parchment, and then pricked small tine marks with a fork in the bottom of the crusts.

Then I placed the crusts back in the oven for 20 minutes.

Look at these babies!

While letting everything cool (filling and crusts), I removed the stems from the strawberries.

And now the best part…..filling them up with the sweet strawberries!

Once I liked the arrangement, I began pouring the filling over the strawberries. It was so thick and lovely!

Daria told me that I could have taken the filling and placed the strawberries in it to get better coverage,

but honestly, that didn’t occur to me.

That’s why she’s a pastry chef, and I’m not!!

Anyway, here is picture of our completed strawberry pies!

And the “pie maker” and “official gluten free taste tester” finally gets to dig in!

Y*U*M!

Wishing you fun picking strawberries…

…but most of all, eating strawberry pie!

Enjoy!


© 2017, Monica of glutenfreedoubletalk


5 ingredient baked apples!

Monica says:

Would you like a guiltless dessert for dinner tonight?

One that’s easy and gluten-free?

Well, I was looking for one too, and I found one!

When I was at the grocery store, I bought a huge bag of Honeycrisp apples (they are our favorite) and while we love to eat them plain or dipped in peanut butter, I thought about baking them.

My mom used to bake apples all the time, as we had several types of apple trees in our yard. But we don’t have any fruit bearing trees, so I love to get apples at the farmer’s market or grocery store.

While my pork chops were baking, I quickly trolled through the food sites I bookmarked on my phone, and I found one that sounded perfect!

Not too much sugar, using some nuts, and this recipe featured Honeycrisp apples!

So, thanks to Trisha Yearwood, here is the recipe!


Baked Apples

It’s so easy and believe me, these baked apples are amazing!


Here is what my process looked like…

20170202_160606

I like to use a melon baller to core apples, especially when you need the bottom of the apple intact, like this recipe calls for.

And look at the “little star” that formed while I was coring this apple!

20170202_175350

Filled with yummy goodness and ready to eat!

20170202_205319

Oh dear!

20170202_210051

And of course, you can top your apple with some whipped cream!

Enjoy!

© 2017, Monica of glutenfreedoubletalk

Blueberry Coconut Crisp…gluten-free and oh, so good!

Monica says:

Every 4th of July brings new blueberry recipes to my collection. This one is a keeper for sure!

So easy and delicious!

I’ve even had some “coconut haters” try it and come over to the “coconut lovers” (okay, “likers”) side!

See what you think!

I adapted this recipe from Two Peas and Their Pod (thank you!).

Ingredients:

5 cups fresh blueberries
1 tablespoon fresh lemon juice and a dash of cinnamon*
1 cup GF Quaker Old Fashioned Oats
1/4 cup almond meal or whole wheat flour (I used hazelnut flour)
1 cup sweetened flaked coconut (I used unsweetened, unsulphured flaked coconut)
1/4 cup brown sugar (I used organic coconut palm sugar)
1/2 teaspoon salt
1/2 teaspoon ground cinnamon (I used Calicutts Spice Co. Saigon Cinnamon*)
1/3 cup melted coconut oil (I used organic extra virgin coconut oil)
Ice cream or yogurt for serving, optional

Directions:

Preheat oven to 350 degrees F. Spray a 9 x 9-inch baking dish with cooking spray.

Pour blueberries into dish and pour lemon juice over the berries. Add a dash of cinnamon. Gently toss.

20150720_112208

A huge THANK YOU to my niece, Alicia, for letting us pick these beauties from her blueberry trees!

Honestly….TREES! Never have seen anything like them!

In a medium bowl, combine oats, flour or almond meal, coconut, brown sugar, salt, and cinnamon.

Pour coconut oil over the dry ingredients and stir until combined.

20150722_161015


20150722_160952


Sprinkle the oat mixture evenly over the blueberries in the pan.

20150722_170545

Bake the crisp for 35 minutes, or until the topping is golden brown and the fruit is bubbling.

Serve warm with ice cream or yogurt, if desired.

20150723_084930

Best thing about this dessert is that you can make it ahead of time and as long as it’s covered,

it can be stored in the refrigerator for up to 2 days!

So, in a word….YUM!

Give it a try…you won’t be sorry!

© 2016, Monica of glutenfreedoubletalk

Have processor, have pudding! GF, of course!

Monica says:


Who loves chocolate?

Who loves dark chocolate?

Who loves dark chocolate pudding?

If you are yelling, “Yes!” “Yes!” “Yes!” …I have a recipe for you!

It combines healthy dark chocolate cocoa with avocado and banana.

That’s right. Three powerful foods full of antioxidants, healthy fats, fiber, and nutrients.

And best of all, making this wonderful pudding is so incredibly easy.

If you have a food processor, you are in business!

Get ready for gluten-free yumminess!


20150831_180346


Avocado Chocolate Pudding

Ingredients:

2 avocados

2 ripe bananas

½ cup milk (used Lactaid Milk)

¼ cup raw unfiltered honey (can use maple syrup)

1 T maple syrup

1/3 cup cocoa powder (used Hershey’s Special Dark)

1 ½ tsp pure vanilla

1 tsp cinnamon

Directions:

Process all ingredients until smooth in a food processor.

whisks  © 2015, Monica of glutenfreedoubletalk

That’s it!

No kidding!

20150831_175540

Pour the pudding into a bowl and set in refrigerator for a few hours covered.

20150831_180328

To serve, I split the pudding into two ramekins and topped it with slivered almonds and dark cocoa nibs.

What a delight!

The cinnamon really brings out the dark chocolate, while the banana and avocado make it super silky smooth.

You just want to keep on eating and eating it!

20150831_180321

Luckily, this recipe only makes two servings. Because you might eat yourself into oblivion!

I know I would!

So give this recipe a try and let me know how you like it.

20150831_180421

Gluten free doesn’t have to be boring, you know!

Happy blending!

Enjoy!

© 2015, Monica of glutenfreedoubletalk


A gluten-free getaway!

Monica and Daria say:

Oh how we love the end of July!

“Why?” you ask.

In a word….Bedford!

Well, maybe two words…Bedford Springs!

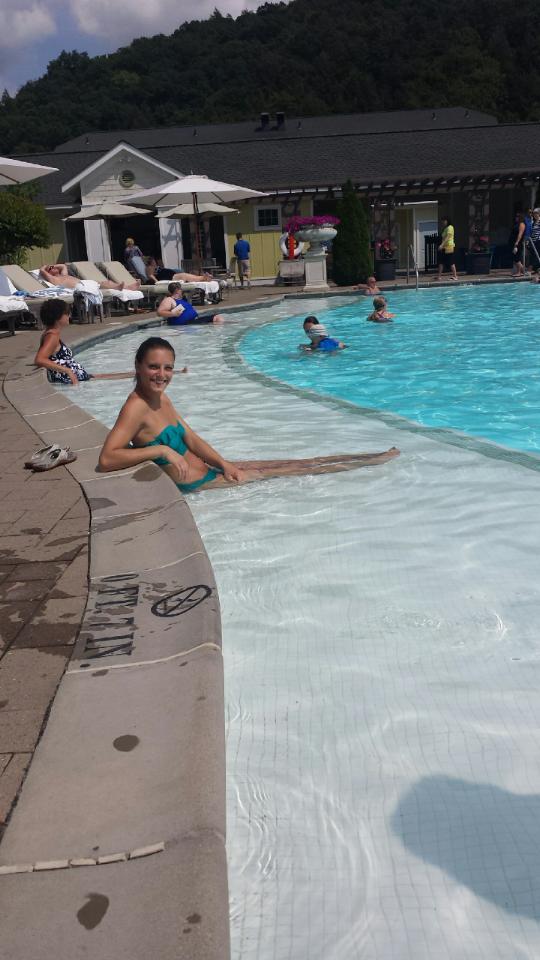
Lewie (hubby and daddy) always attends a conference here and he is so nice to invite us to tag along! He is busy during the day with meeting people from around the state of Pennsylvania, and we busy ourselves with leisure activities…..swimming, reading, antiquing, etc.

Is it any wonder that we look forward to this conference???

This year we couldn’t have asked for any better weather, either. The days were hot and sunny and even though I, (Monica), am not into tanning, reading under the umbrella and sipping something yummy was simply delightful! Daria gets enough sun for both of us!!

2627


2636

Even though this is the fifth year that we’ve accompanied Lewie to Bedford Springs and have gotten to know the area quite well, we always look online for any new restaurants (before we leave) that may have opened since our last visit.

And to our surprise, we usually find something!

This year we investigated via findmeglutenfree.com and were not disappointed!

What a great resource for people who need to eat gluten-free!

This web site offers the user an insight into gluten-free friendly businesses in cities around the United States and even some cities in Canada! You can go online from your computer or download the free app to your cell so that you are connected wherever you go!

For those places that we had eaten at in previous years and wanted to dine there again, we made a reservation using Open Table. For the new places, we stored the information (address, phone, hours and days of operation) in a memo on our cell and were we happy we did!

This info was right at our fingertips when making inquiries and reservations when we arrived. We didn’t have to take any extra time to look anything up a second or third time! What a timesaver!

Here are our new favorite places!

Our dinner at Eat2Live Bistro was perfection! This wonderful little place in New Paris, is a dream come true for gluten-free diners! From soup to dessert(s)…we enjoyed every second!

Our server Tina was so friendly and knowledgeable about eating gluten-free; she truly added to our dining experience!

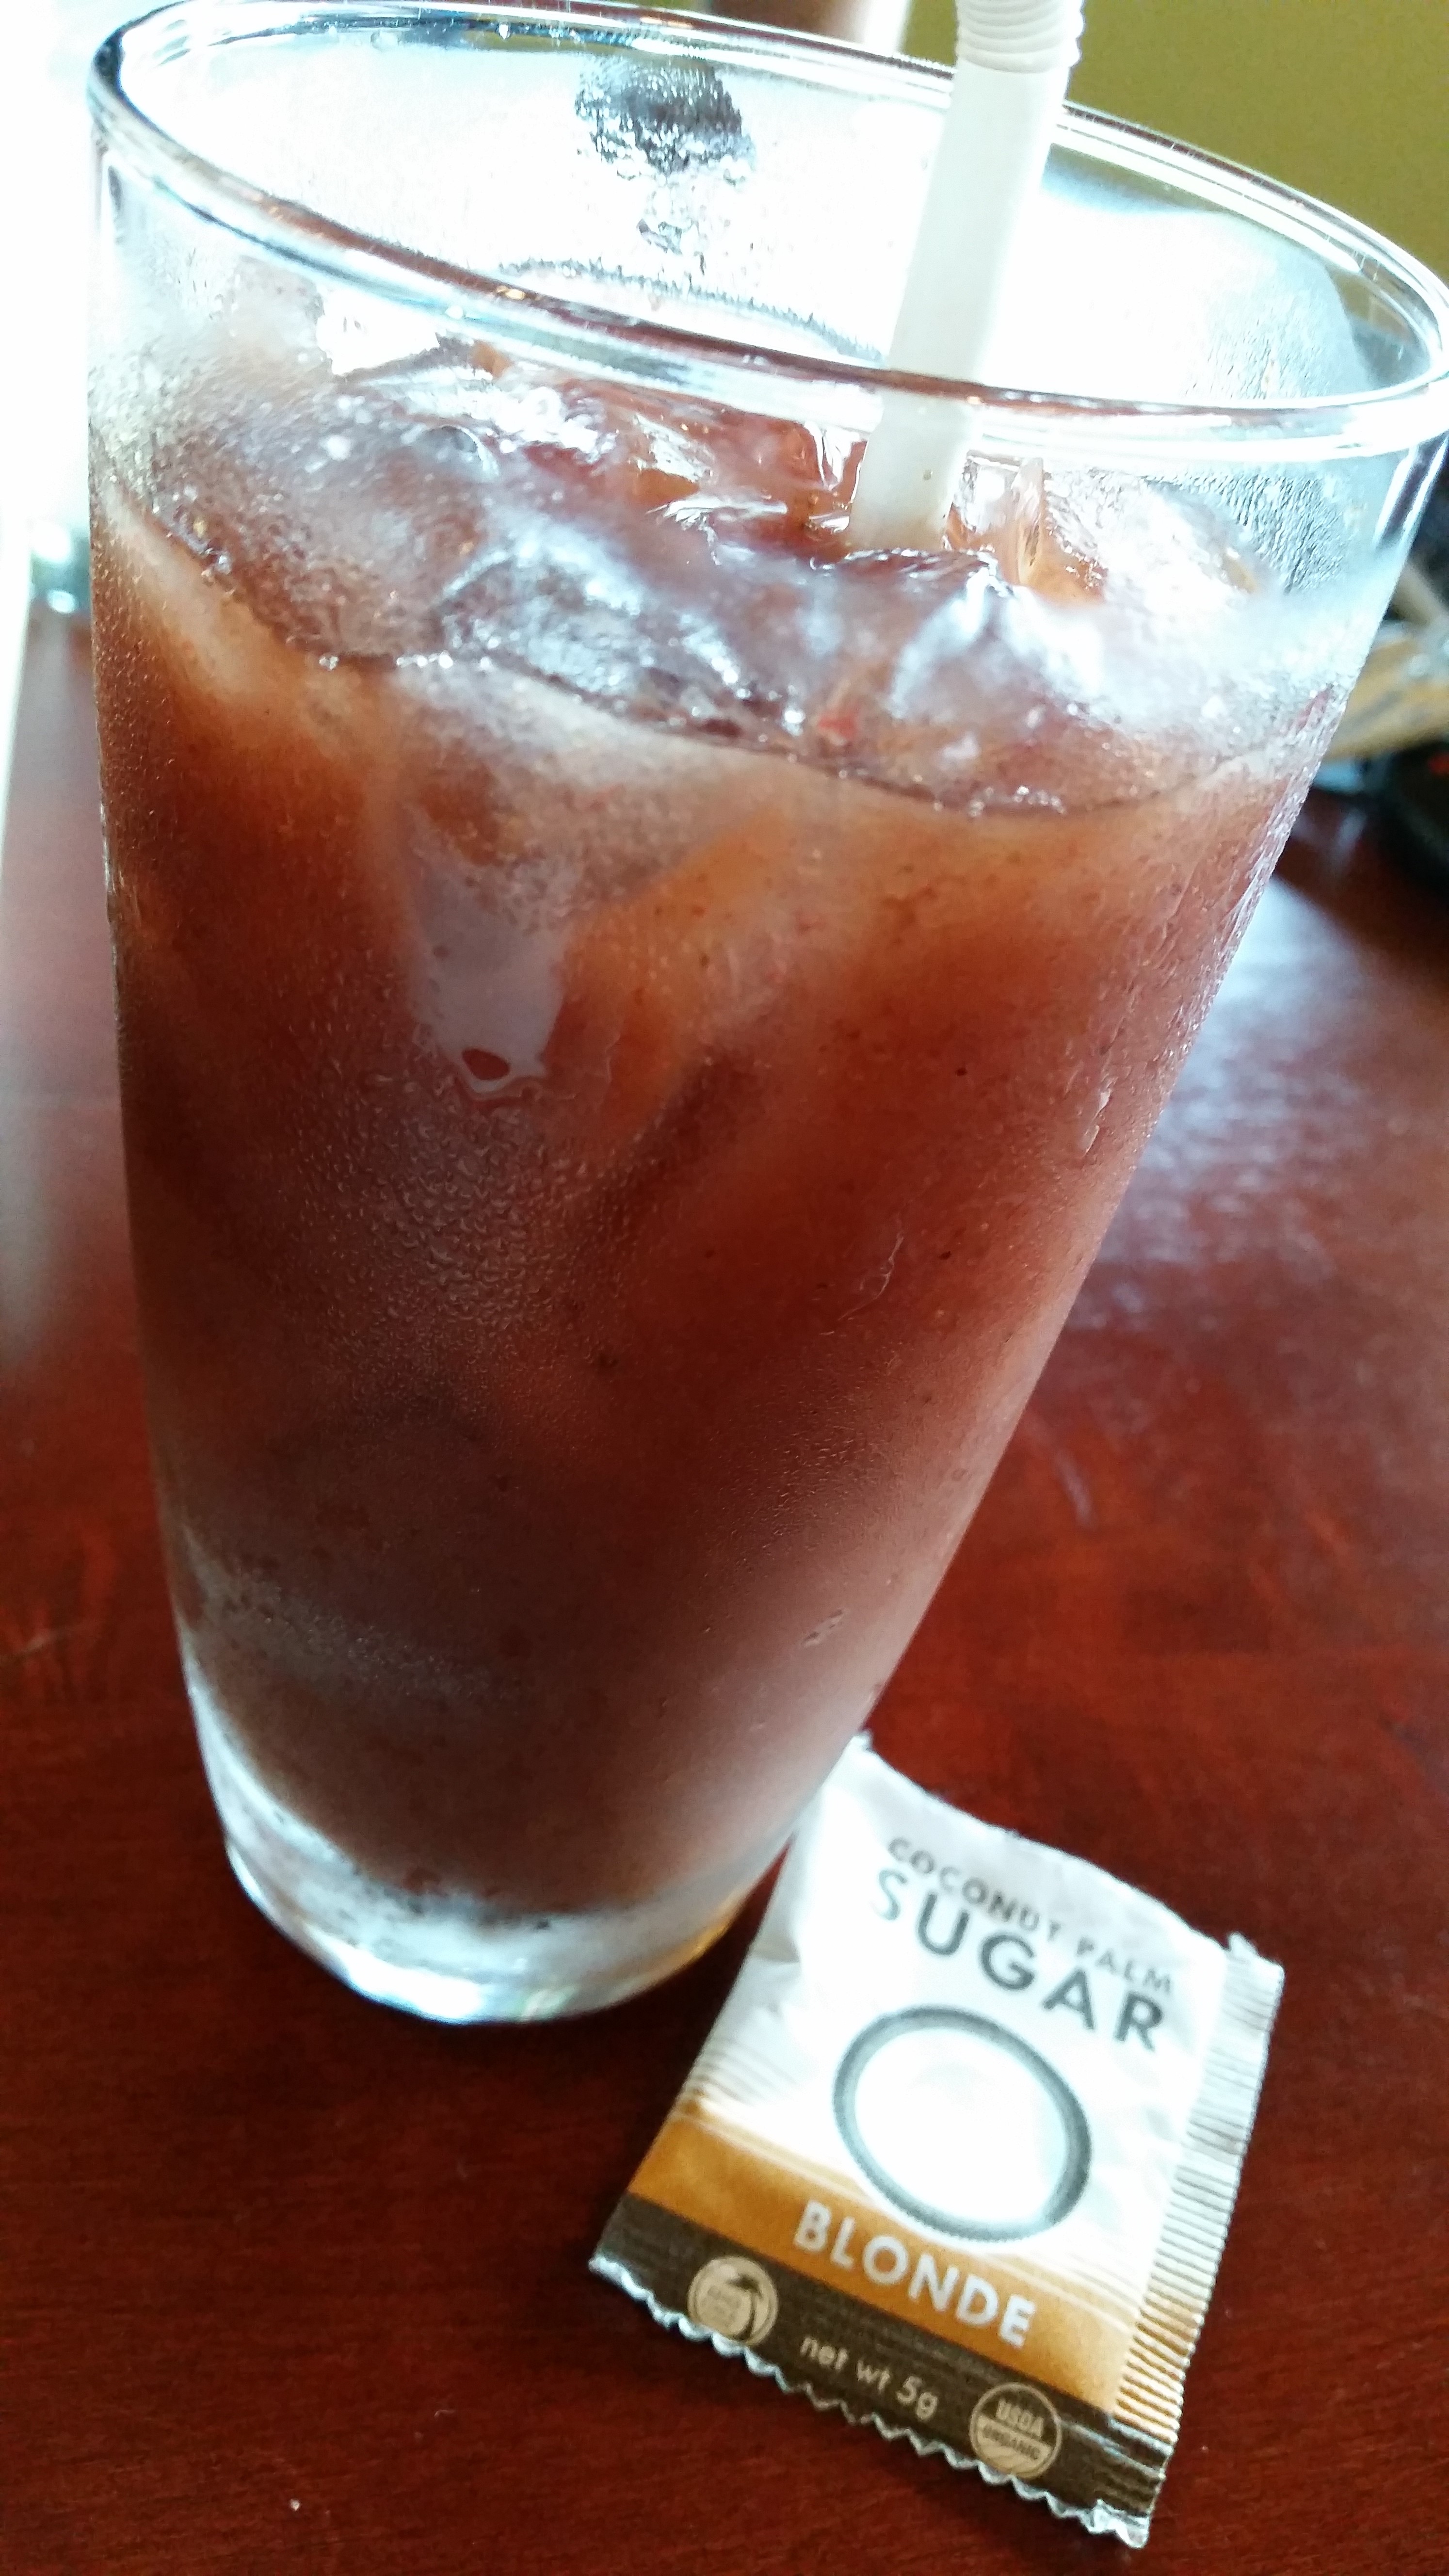
We started off with fresh blackberry infused water….Daria chose to add some coconut palm sugar to sweeten it a bit!

20150729_182616

Then we looked over the extensive menu!

Daria enjoyed the chilled Gazpacho which consisted of local tomatoes, peppers, onions, cucumbers, and watermelon…so refreshing!

20150729_182557

Monica and Lewie had the Roasted Corn and Red Pepper Chowder which boasted creamy, roasted sweet corn and red bell peppers with potatoes and nitrate-free bacon! Amazing!

20150729_182643

We each ordered a different entrée and had so much fun tasting each other’s. That’s what families do!

Daria had the Chicken ‘n Pesto which featured seasoned, grilled chicken breast topped with a roasted garlic and herb feta. It was served over house made quinoa pasta tossed with marinated local tomatoes and butter pesto sauce.

20150729_184031

OmG! So delicious!

20150729_184120

Look at that quinoa pasta!

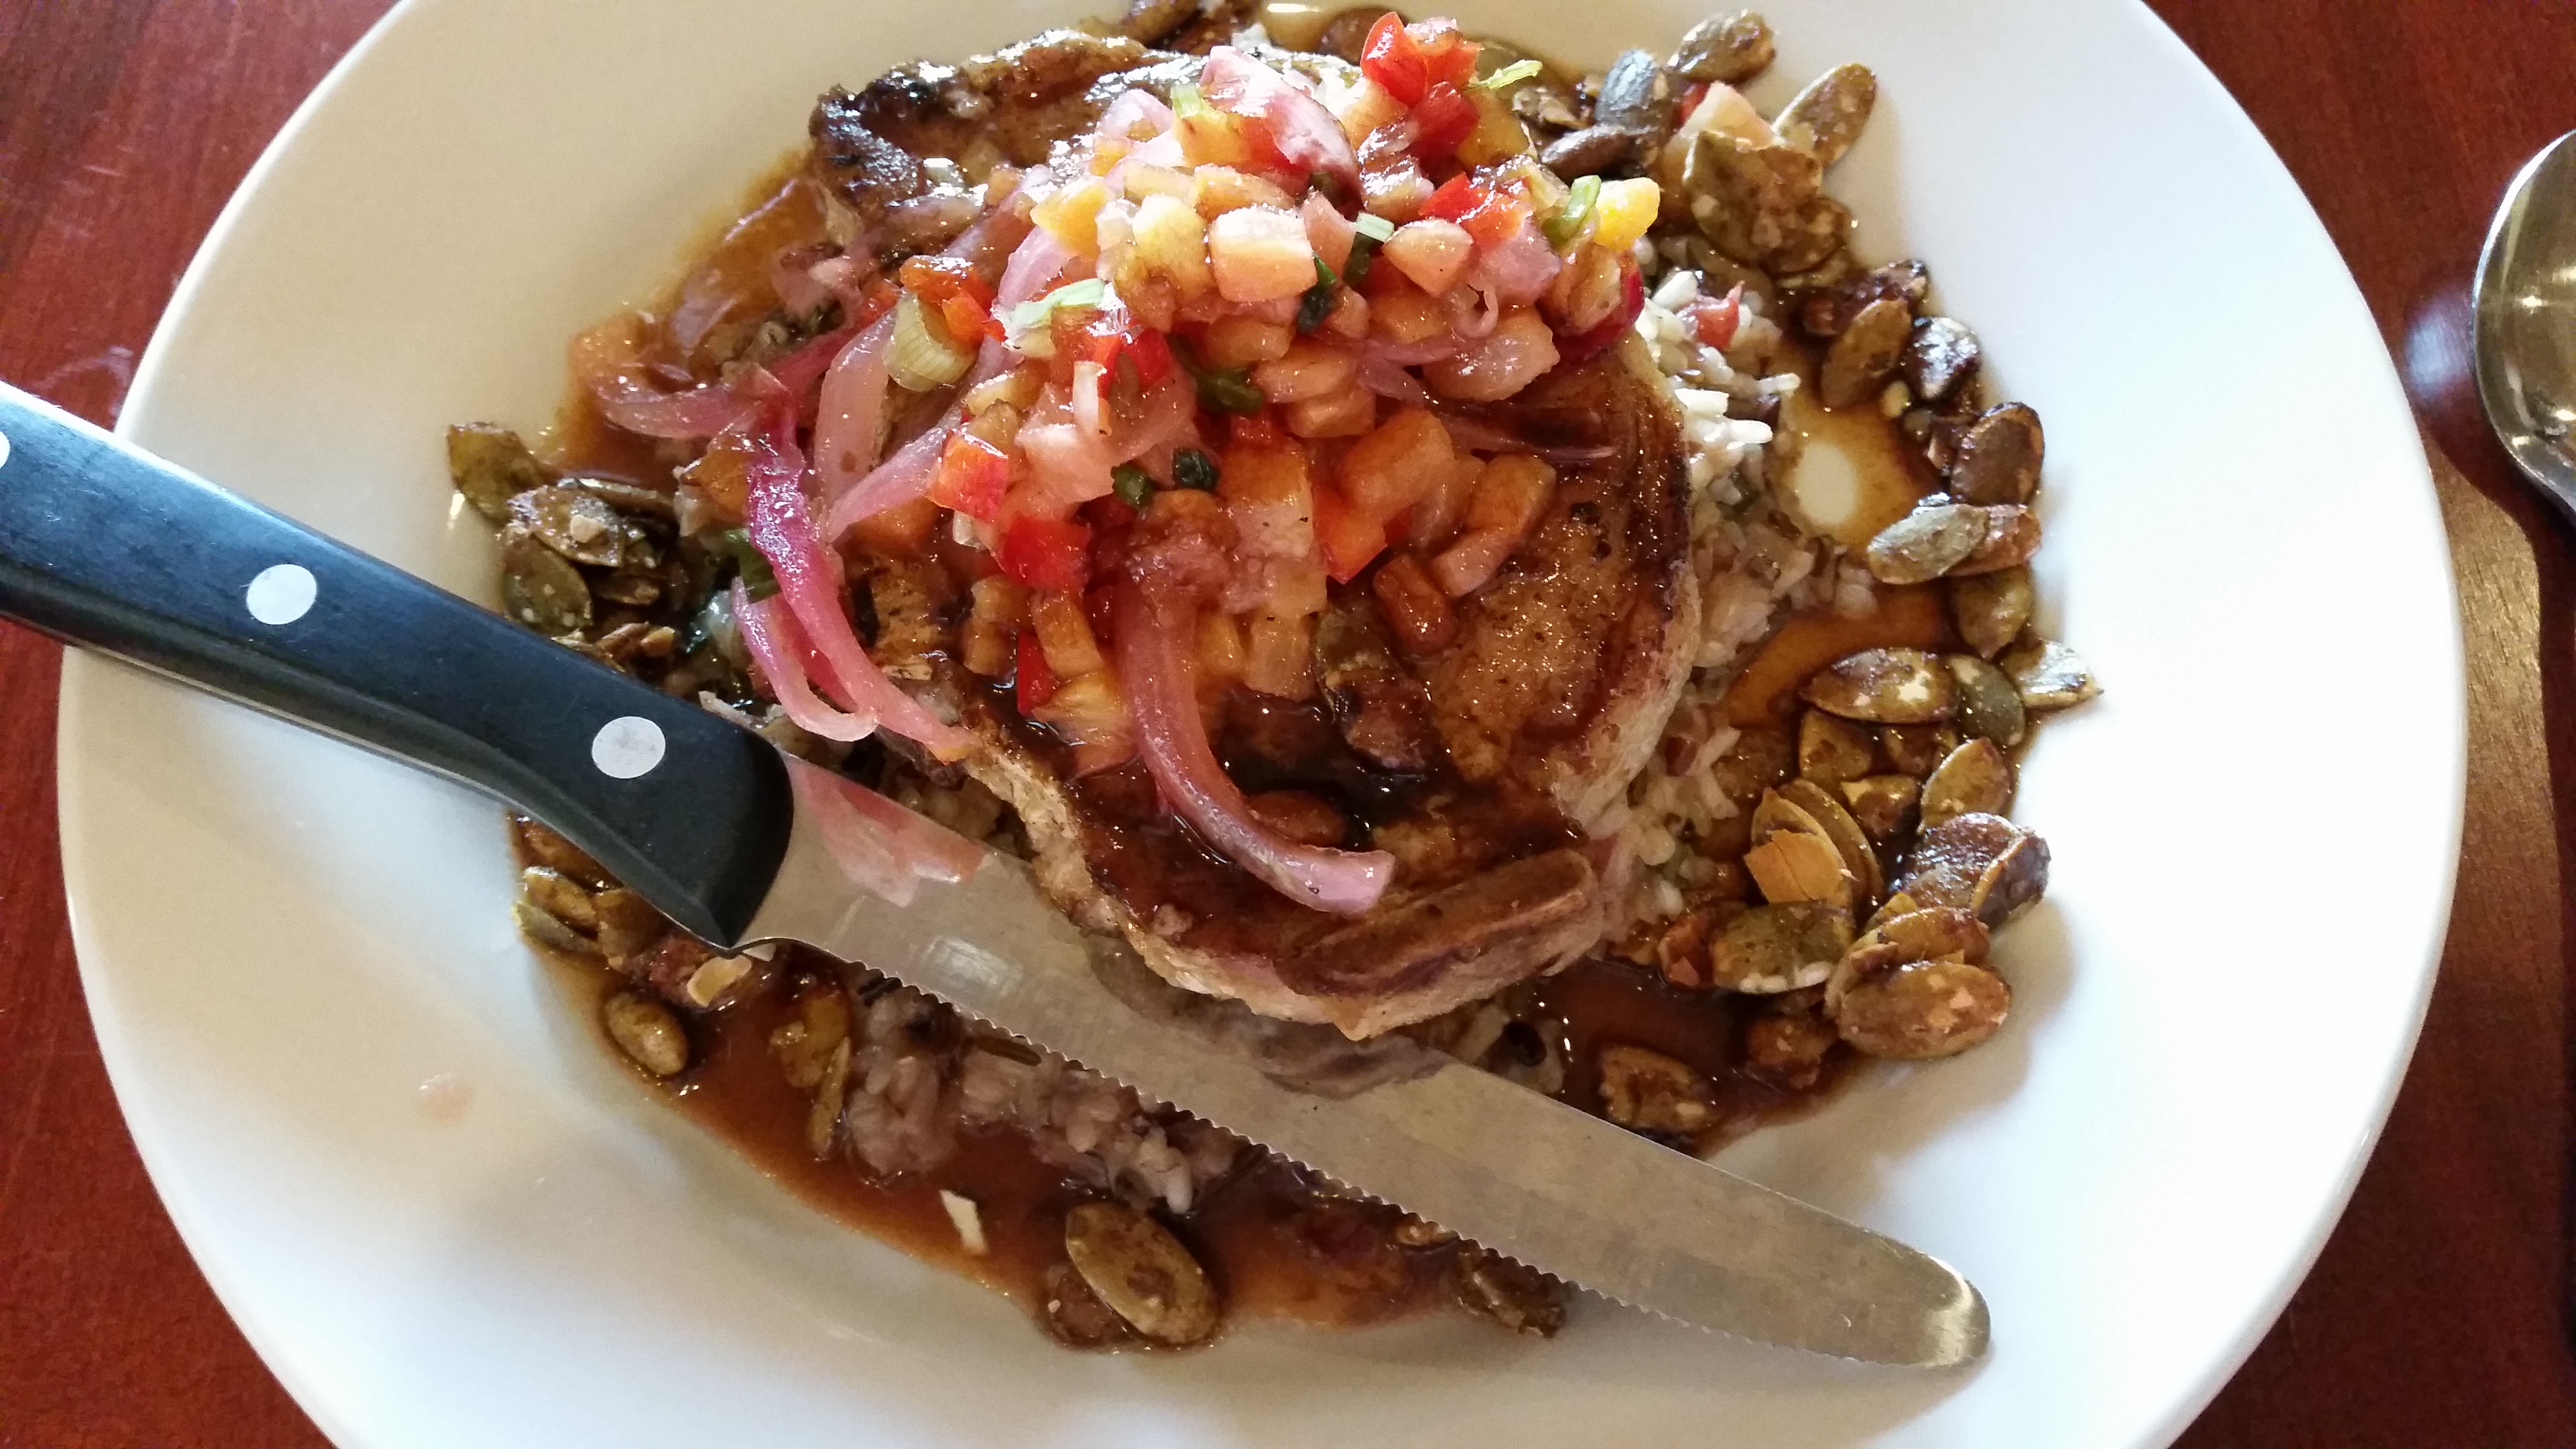
Monica chose the Roasted Pineapple Pork Chop. This local pasture raised pork chop was topped with roasted pineapple salsa and served over a creamy mushroom wild rice risotto.

20150729_184019

In a word…delightful!

Lewie decided on the Trout Almondine (a local spring water fed trout, of course) which was presented on a creamy mushroom wild rice risotto, with seasonal veggies and toasted almond butter.

20150729_184043

Melted in your mouth!

Tina’s suggestions were spot-on and we were delighted to have found such a great eatery.

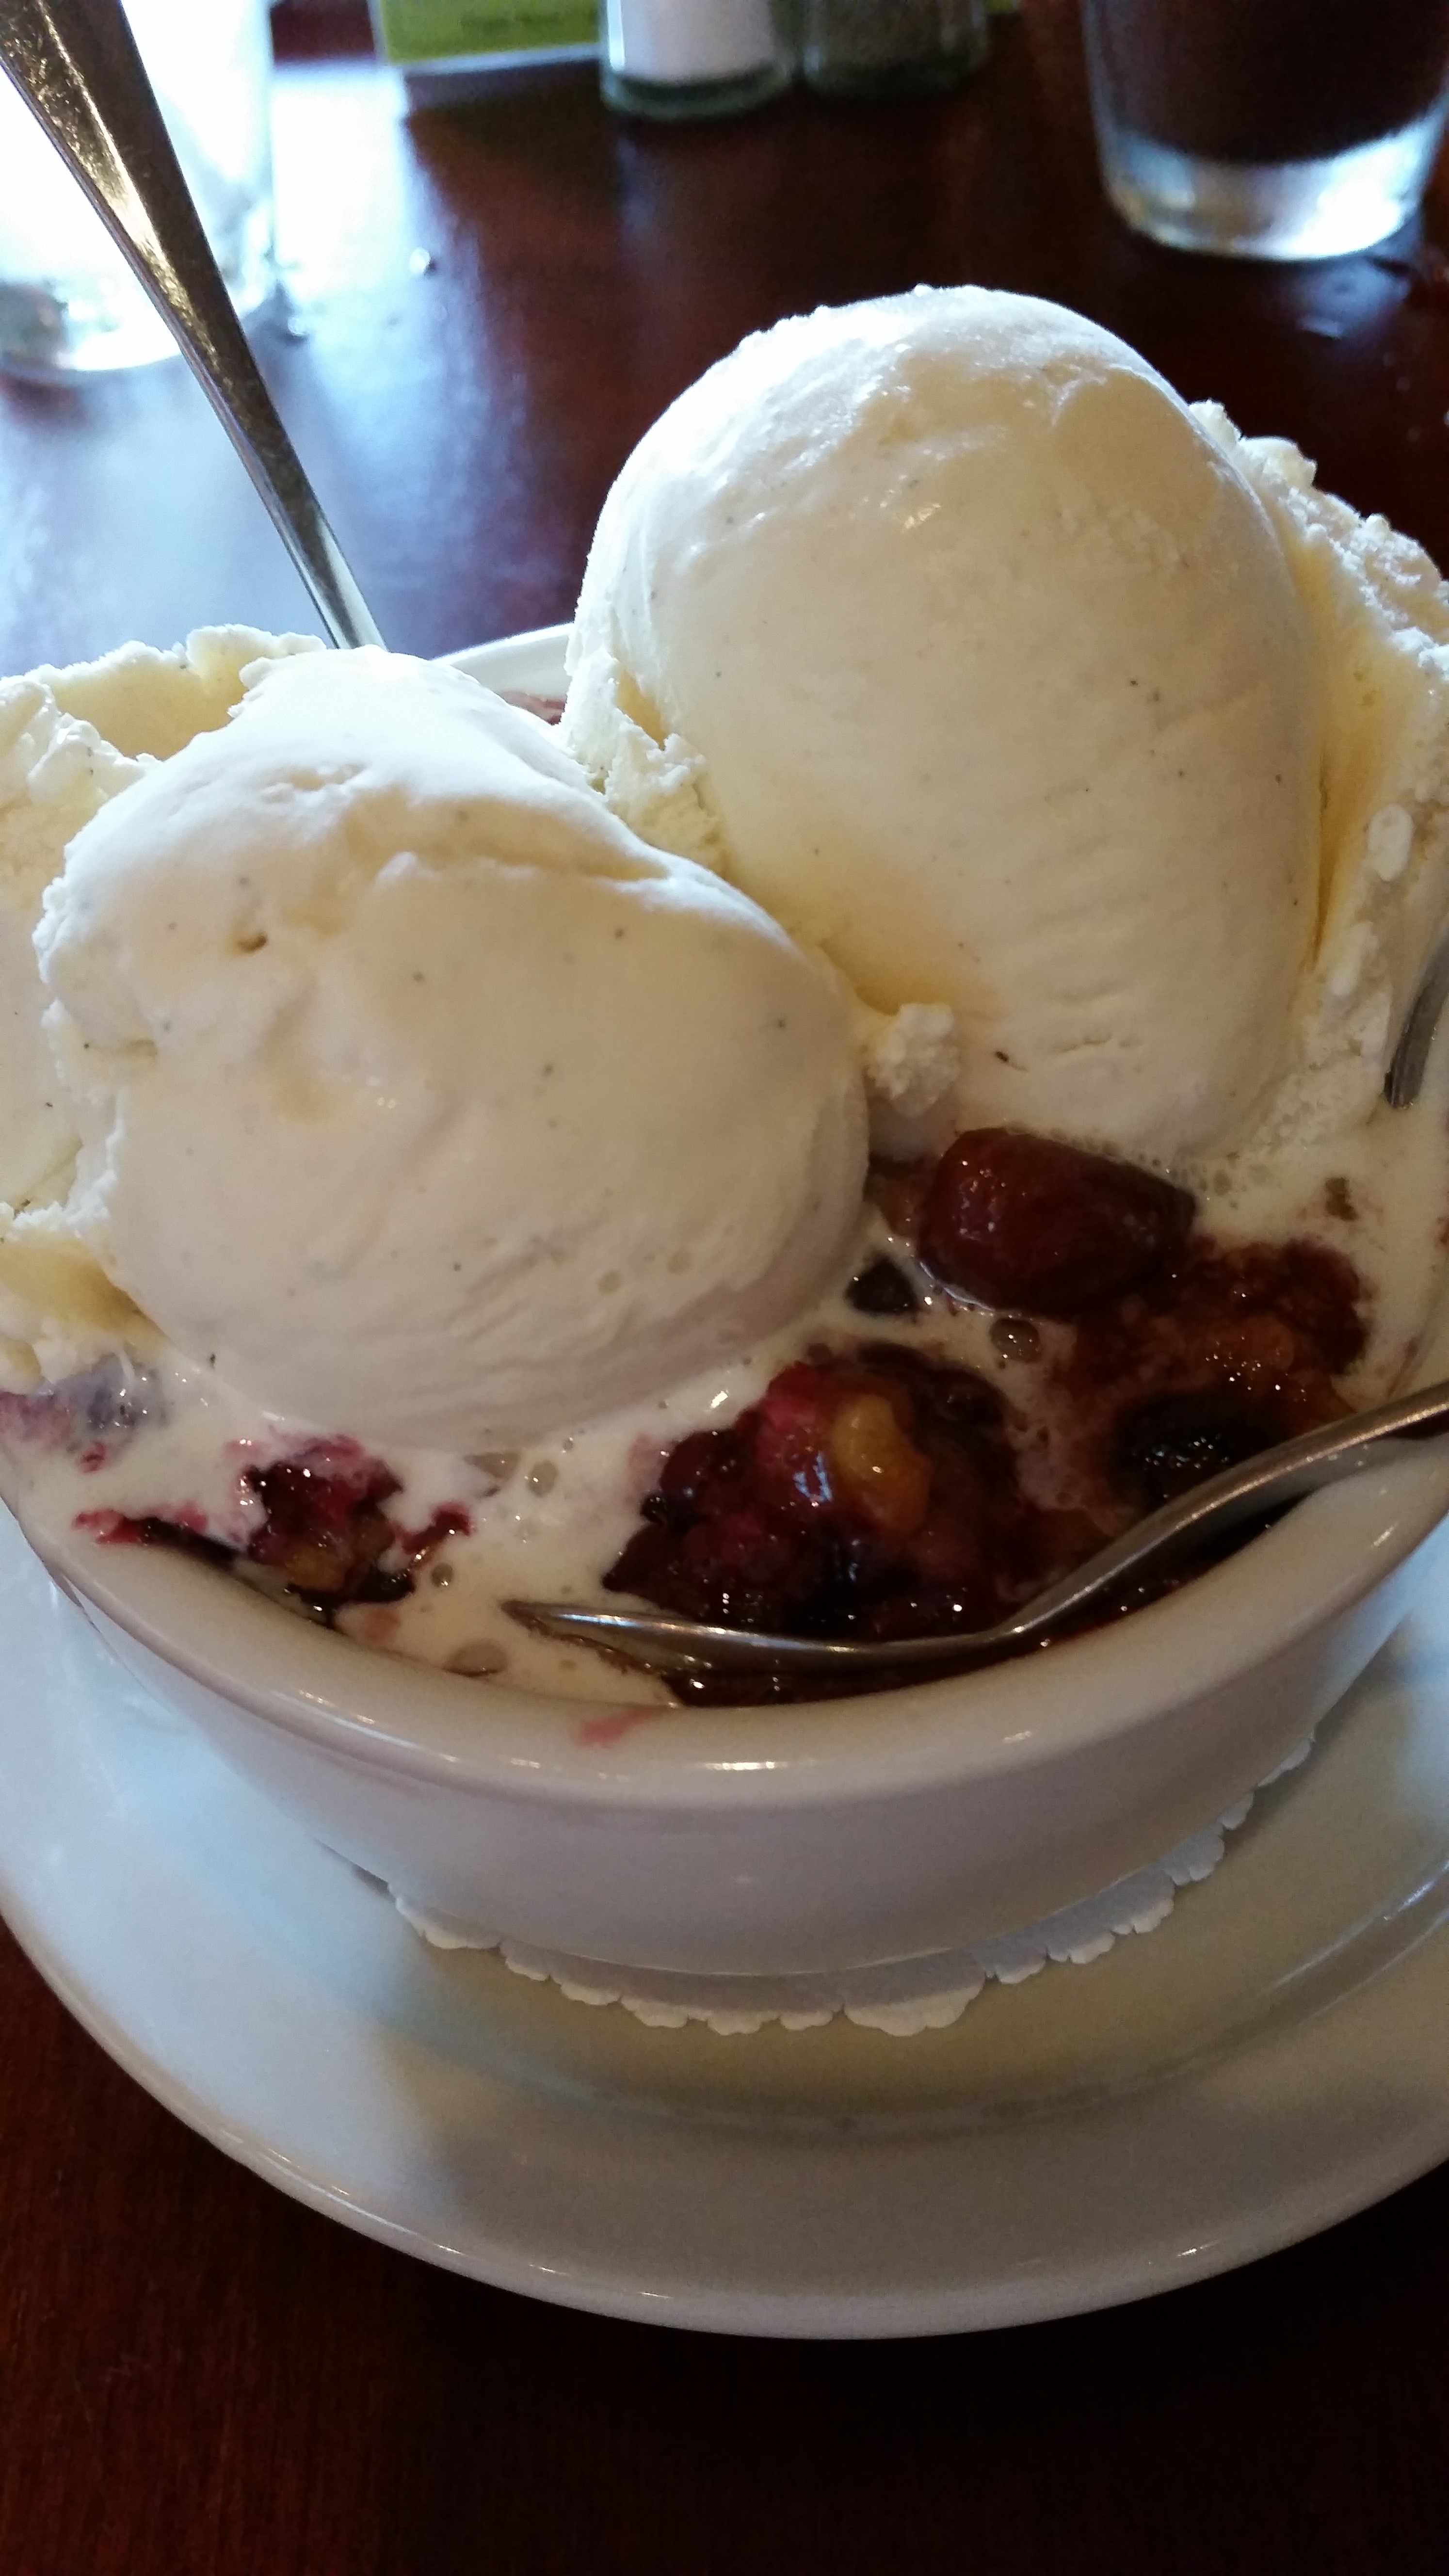
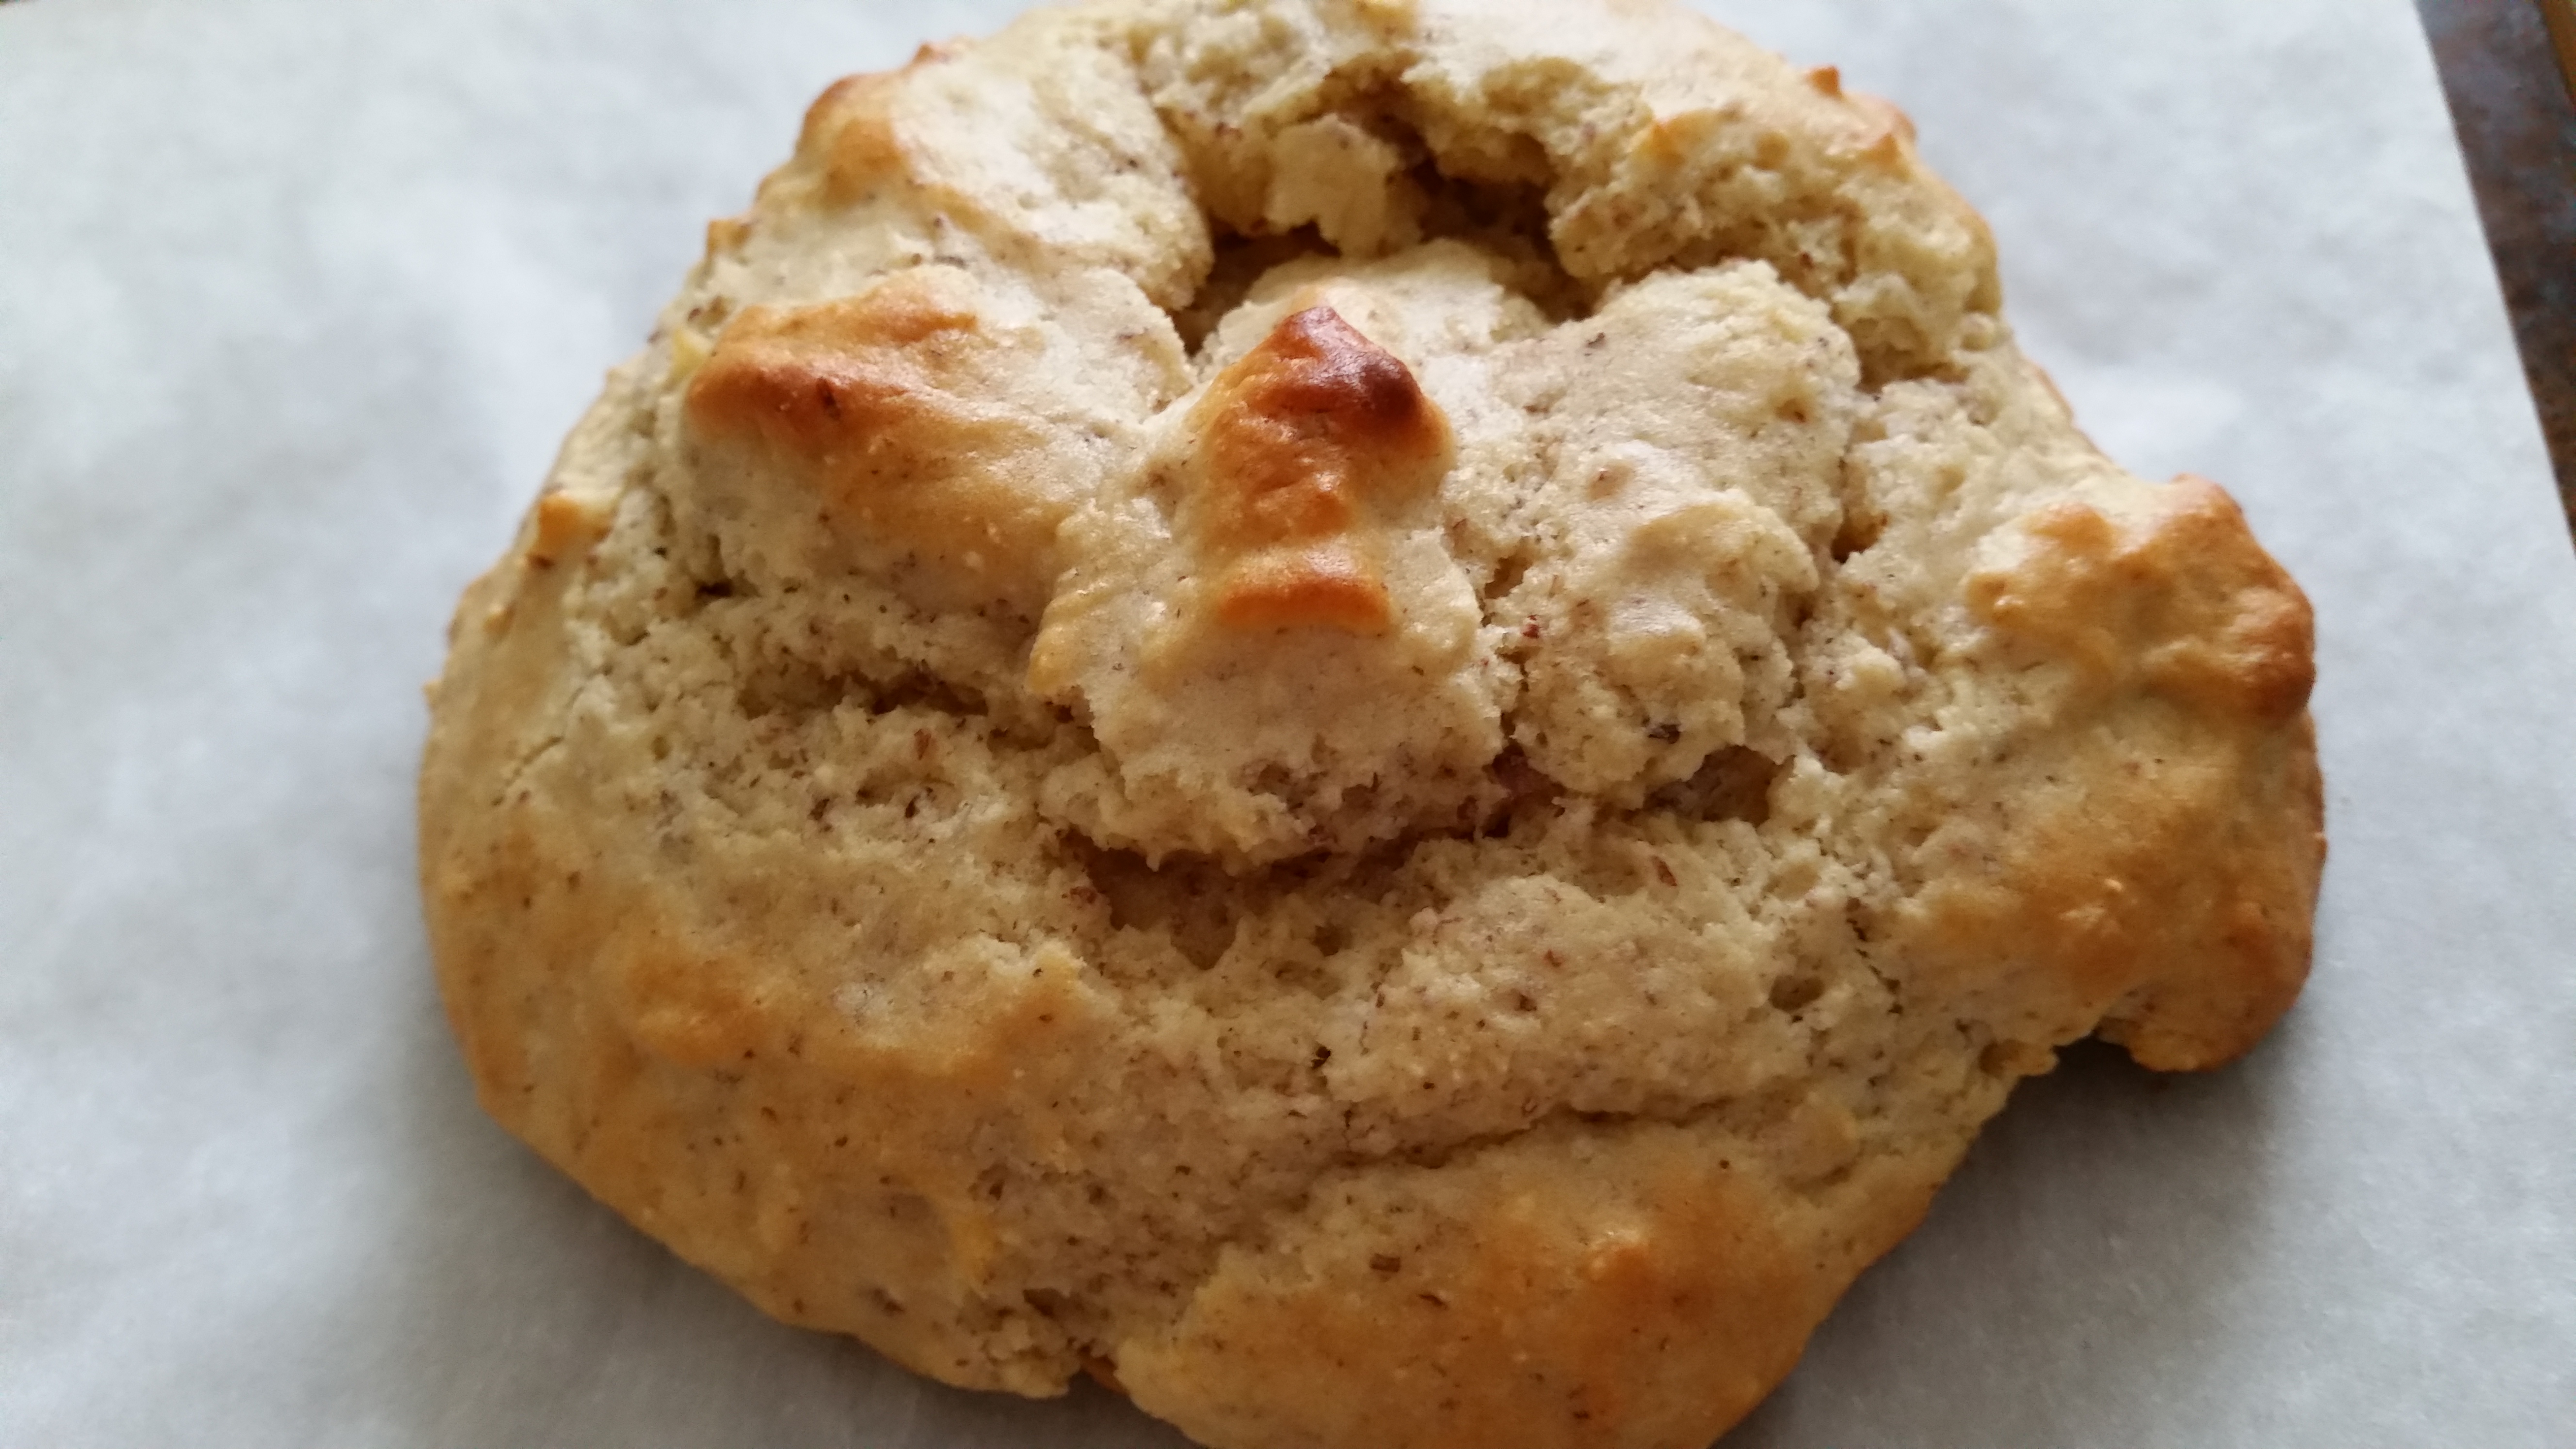
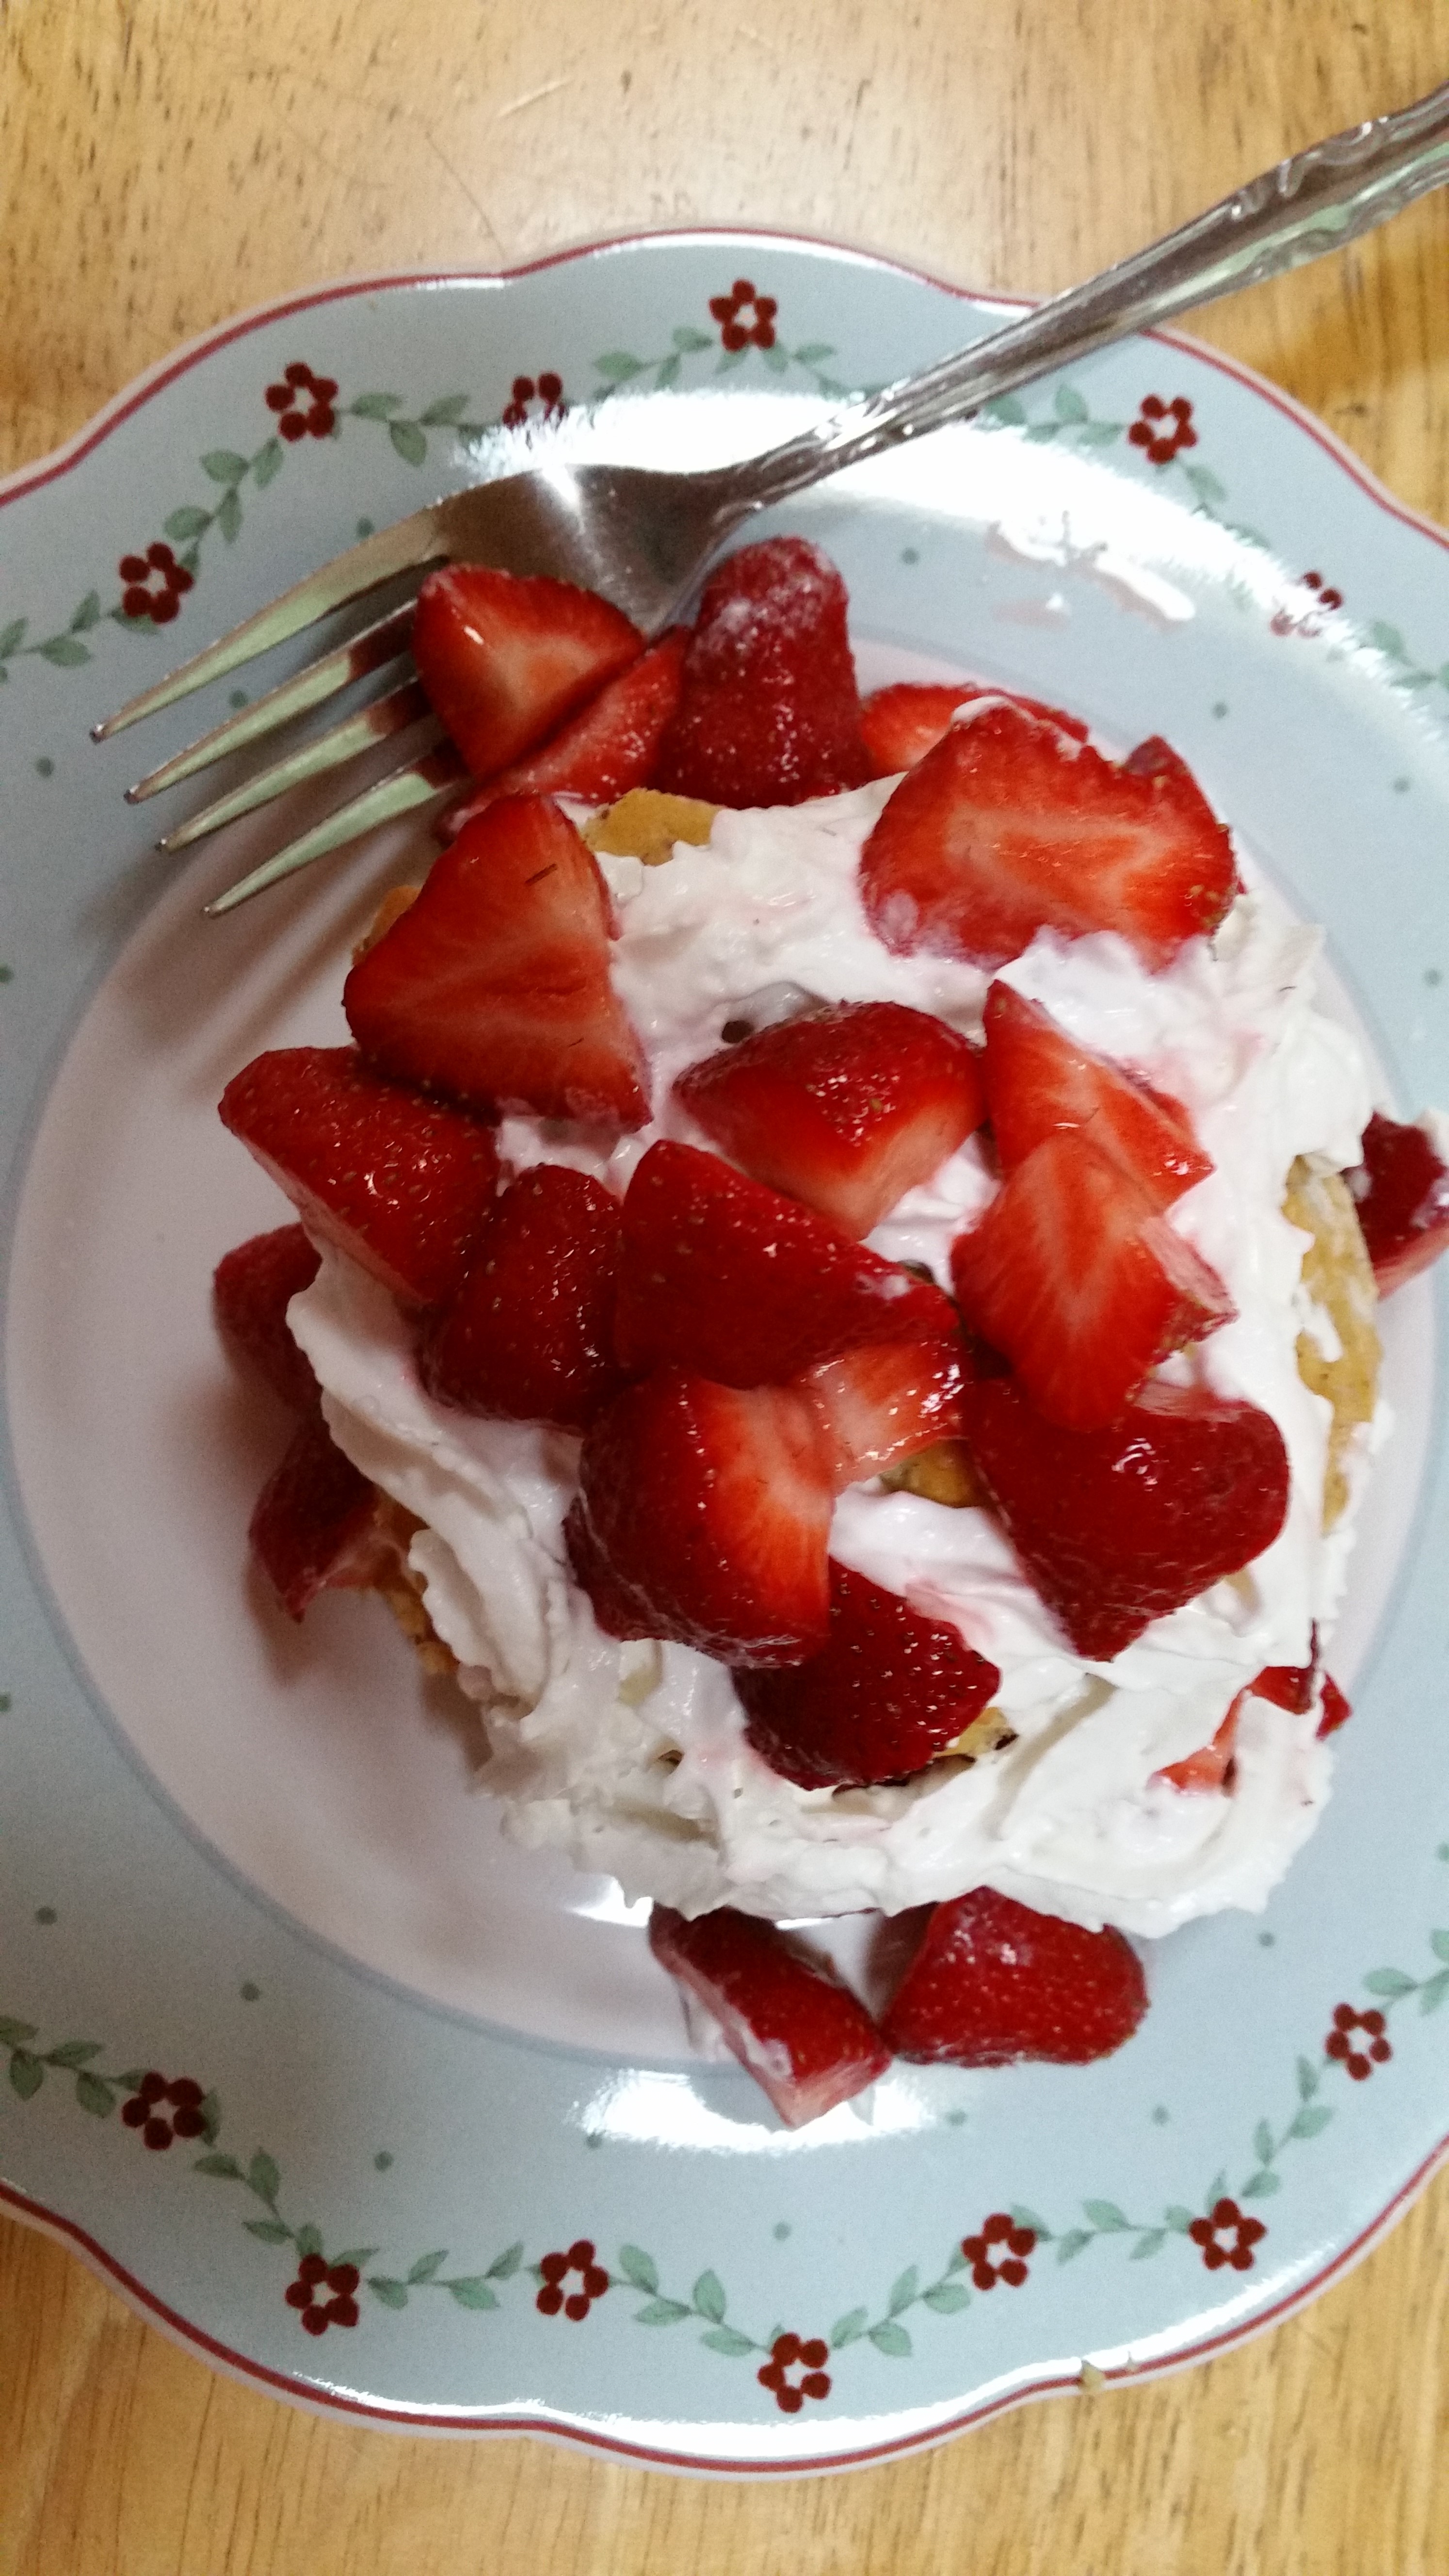
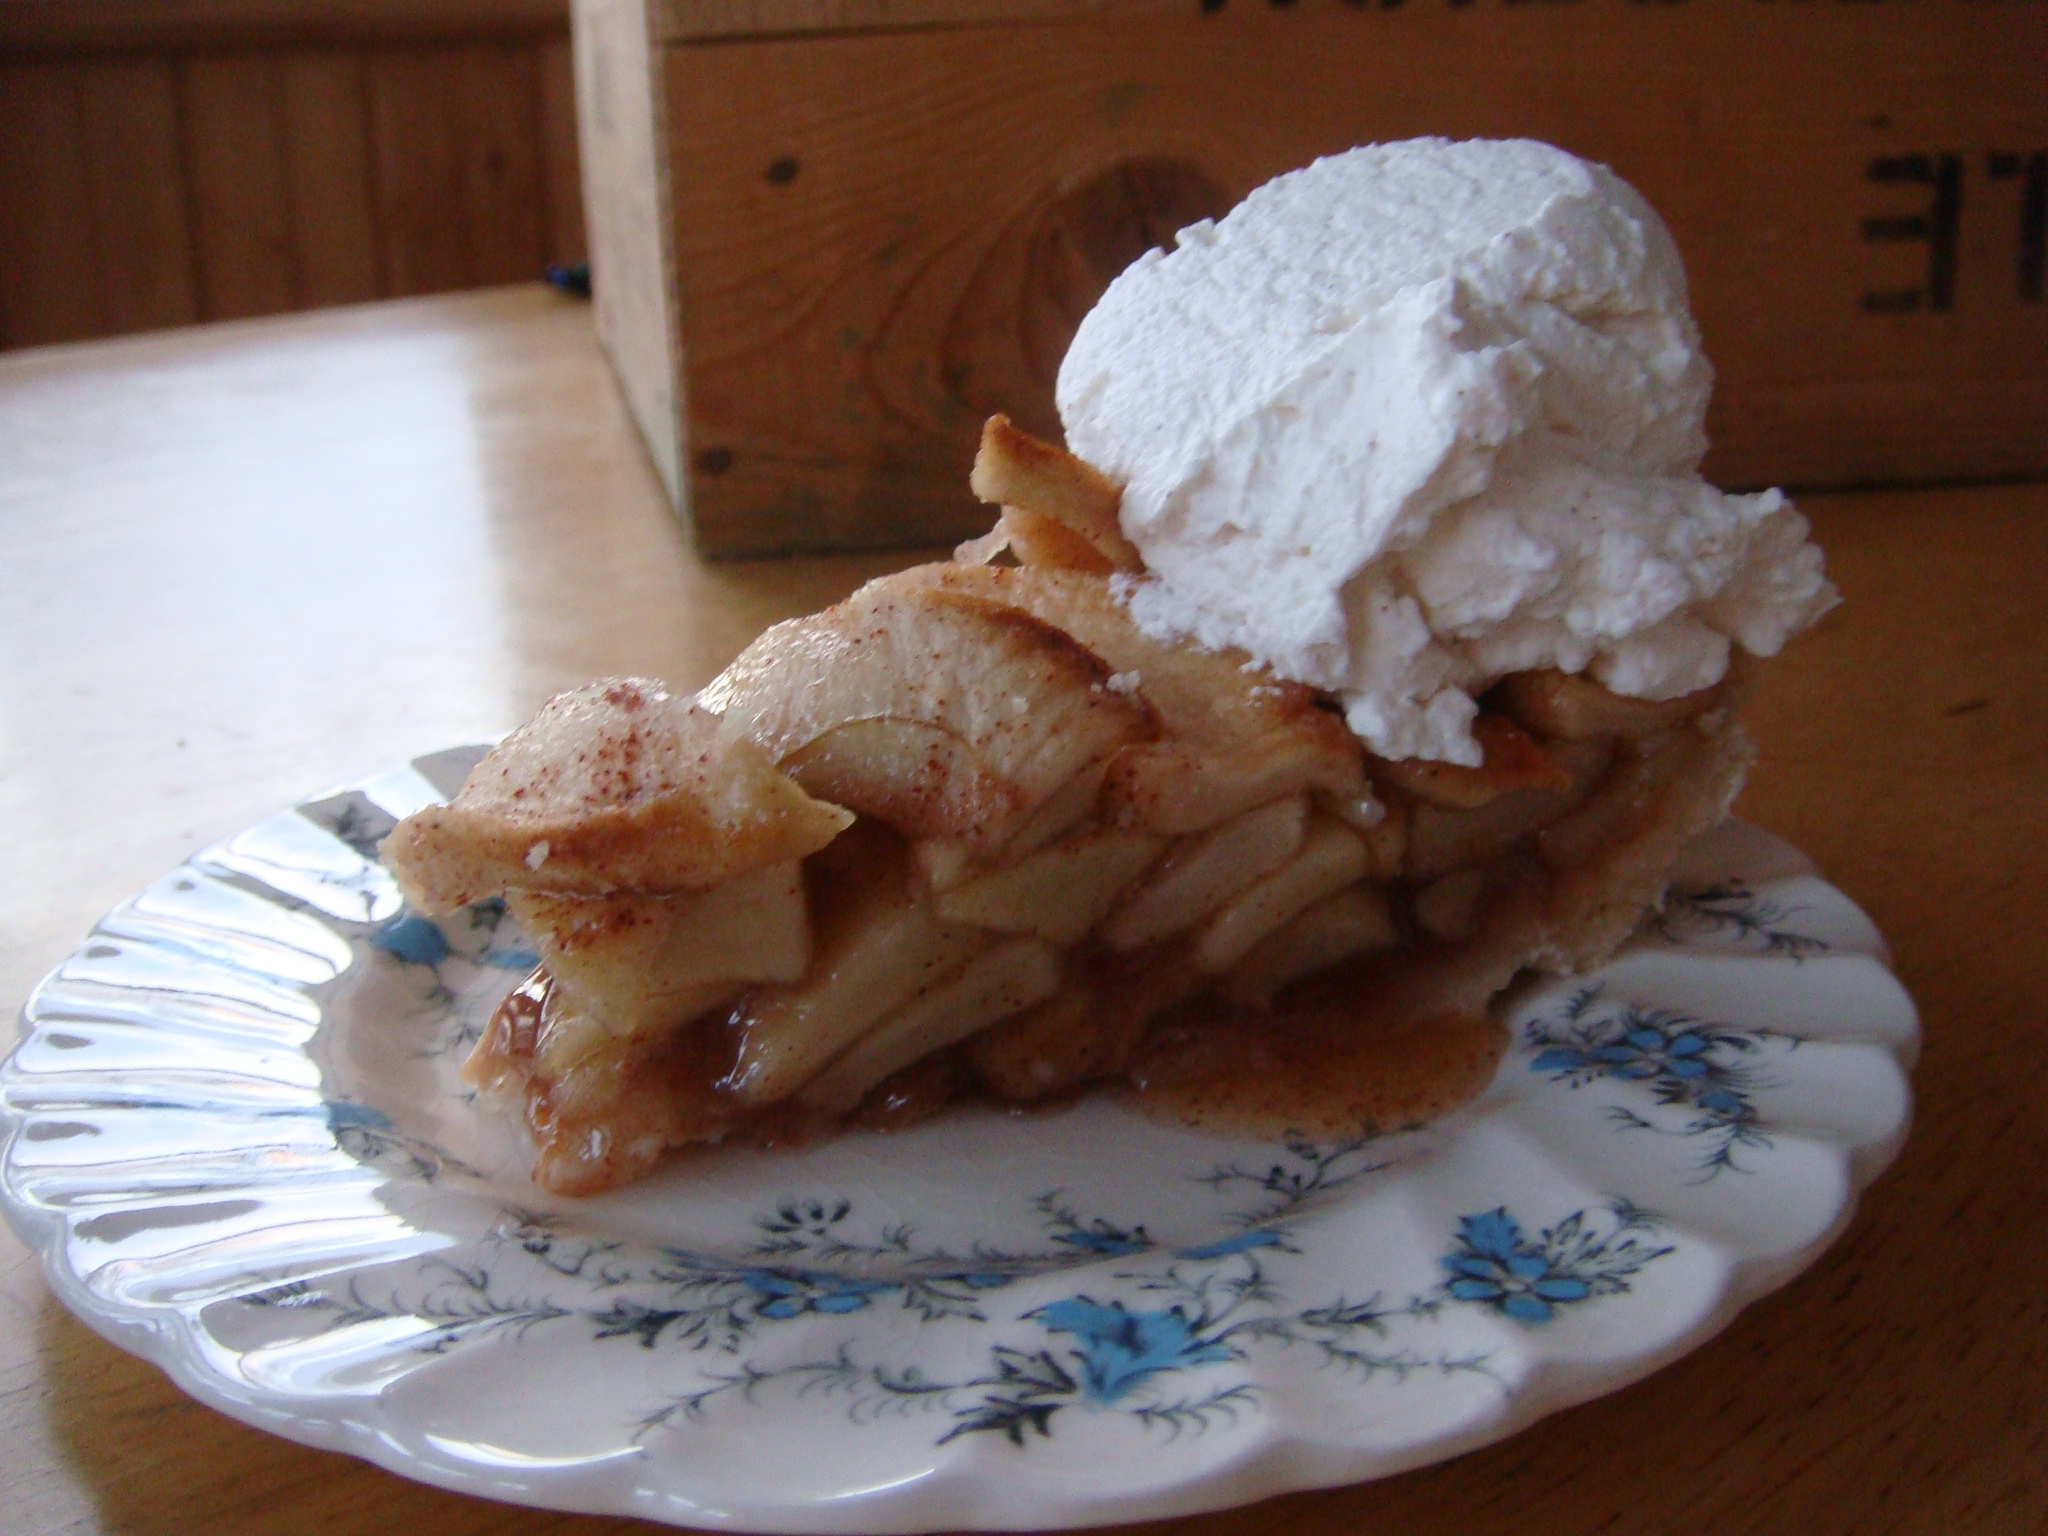
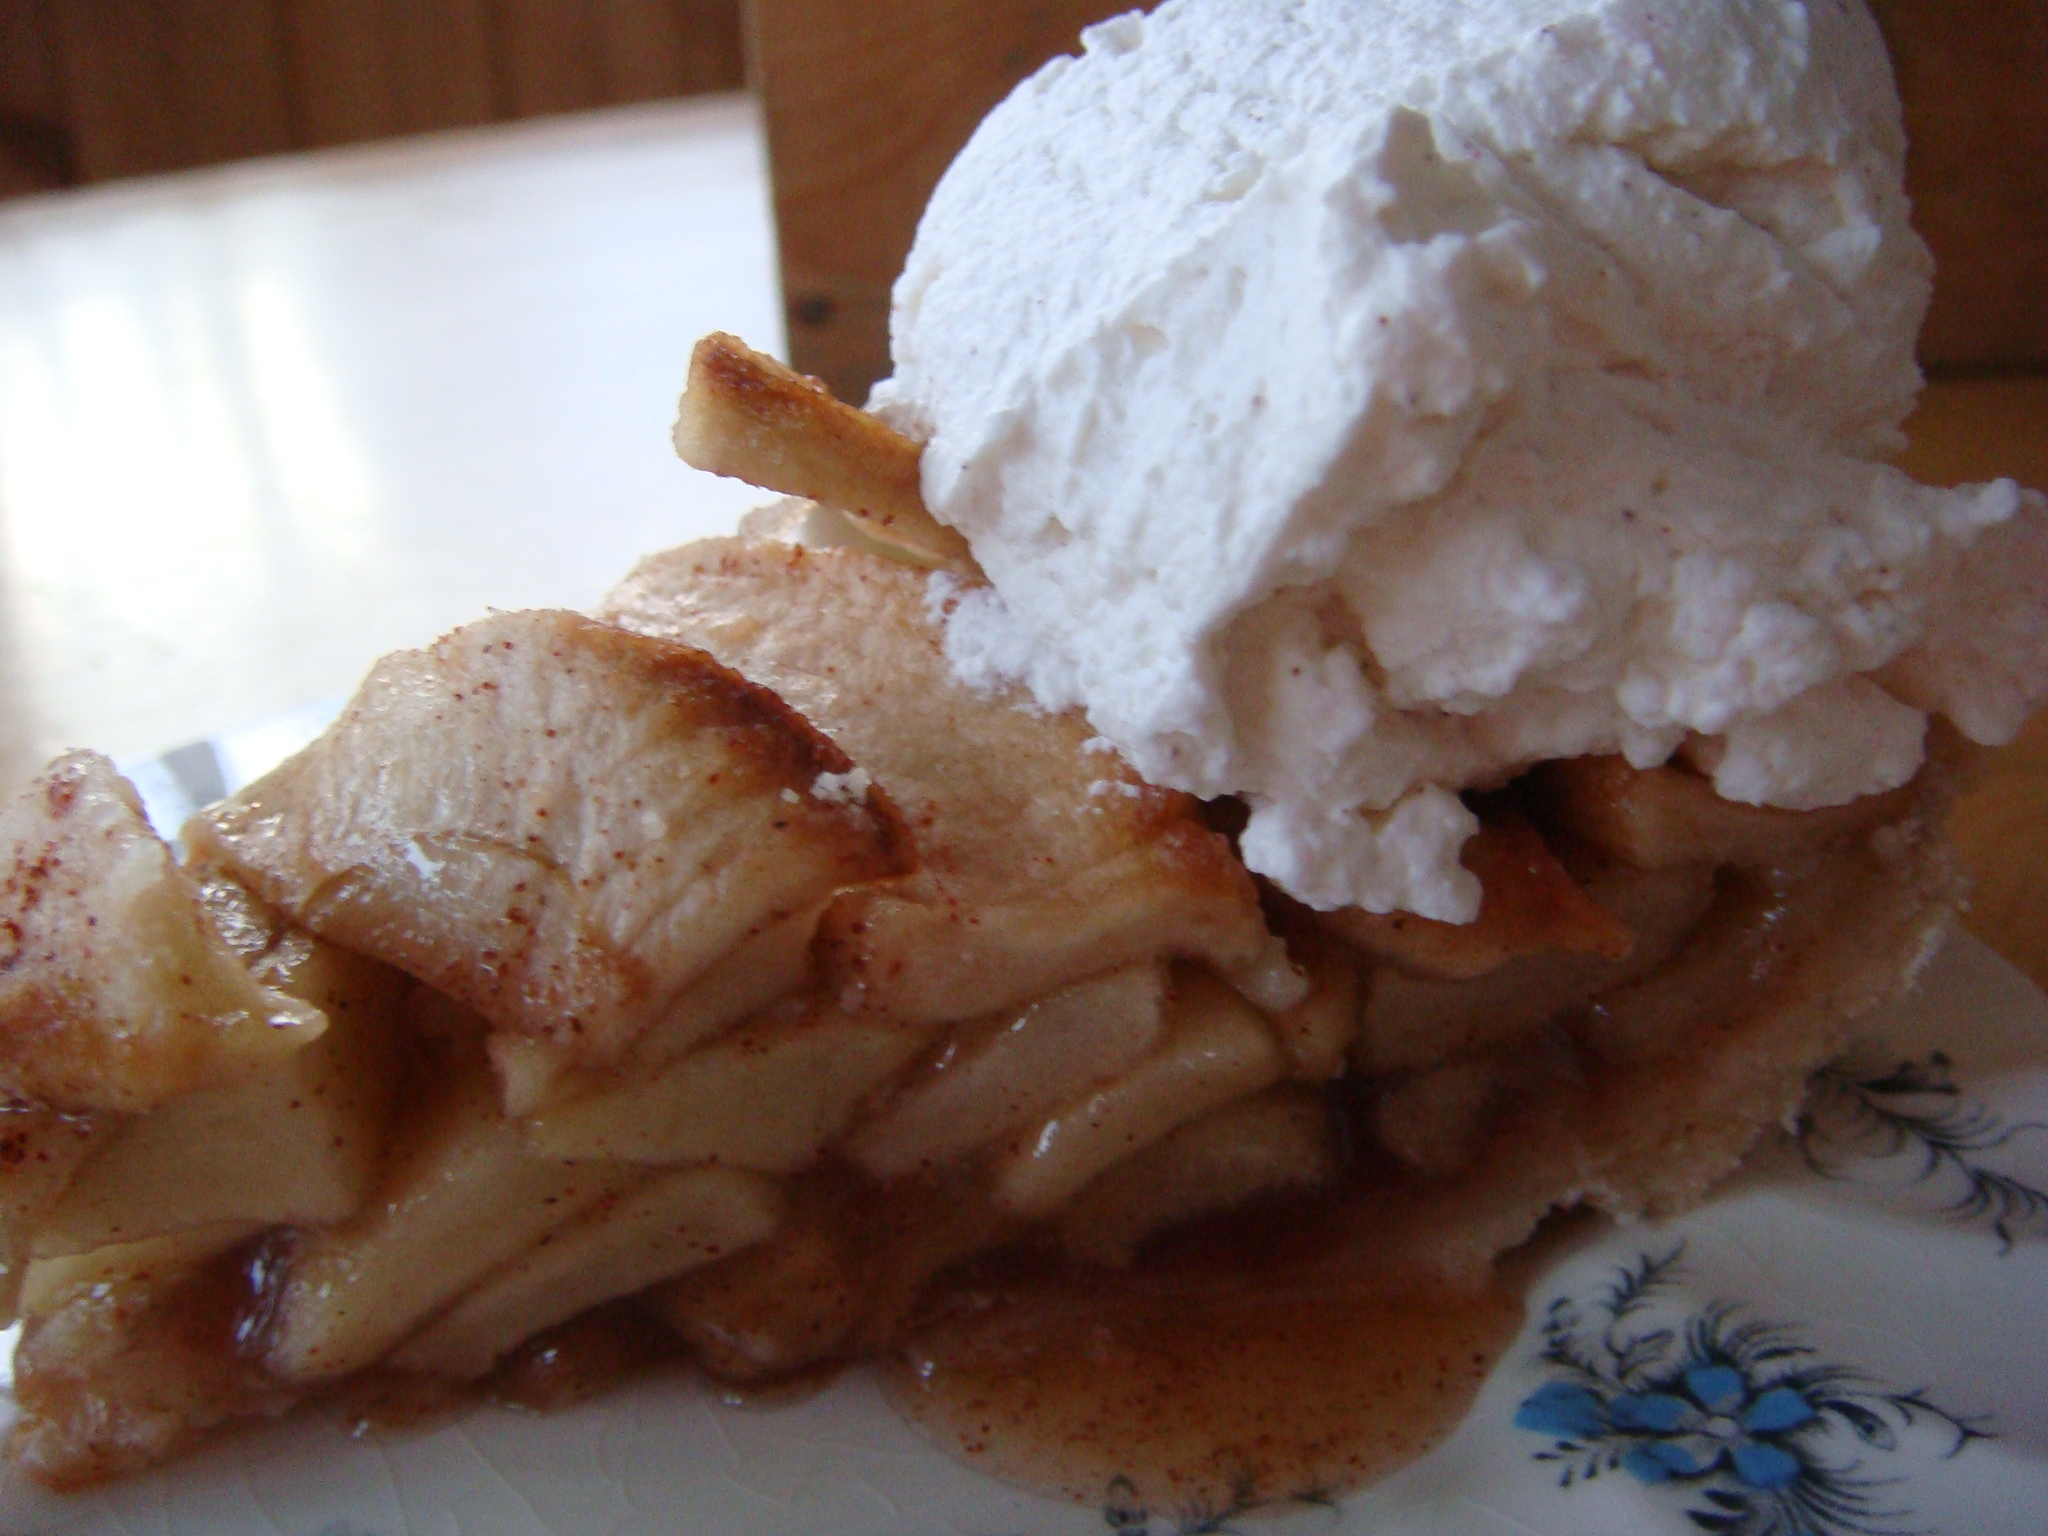
We were so full after our dinners, but managed to share the Three-Berry Cobbler with house made ice cream….gluten-free of course!

20150729_190519

It was simply delicious!

Since we rarely ever find an establishment that has ALL gluten-free desserts, we decided to take home the other selections….it’s so nice to have a refrigerator in the hotel room!

And when you are on vacation…dessert is breakfast!

So here are the other desserts….

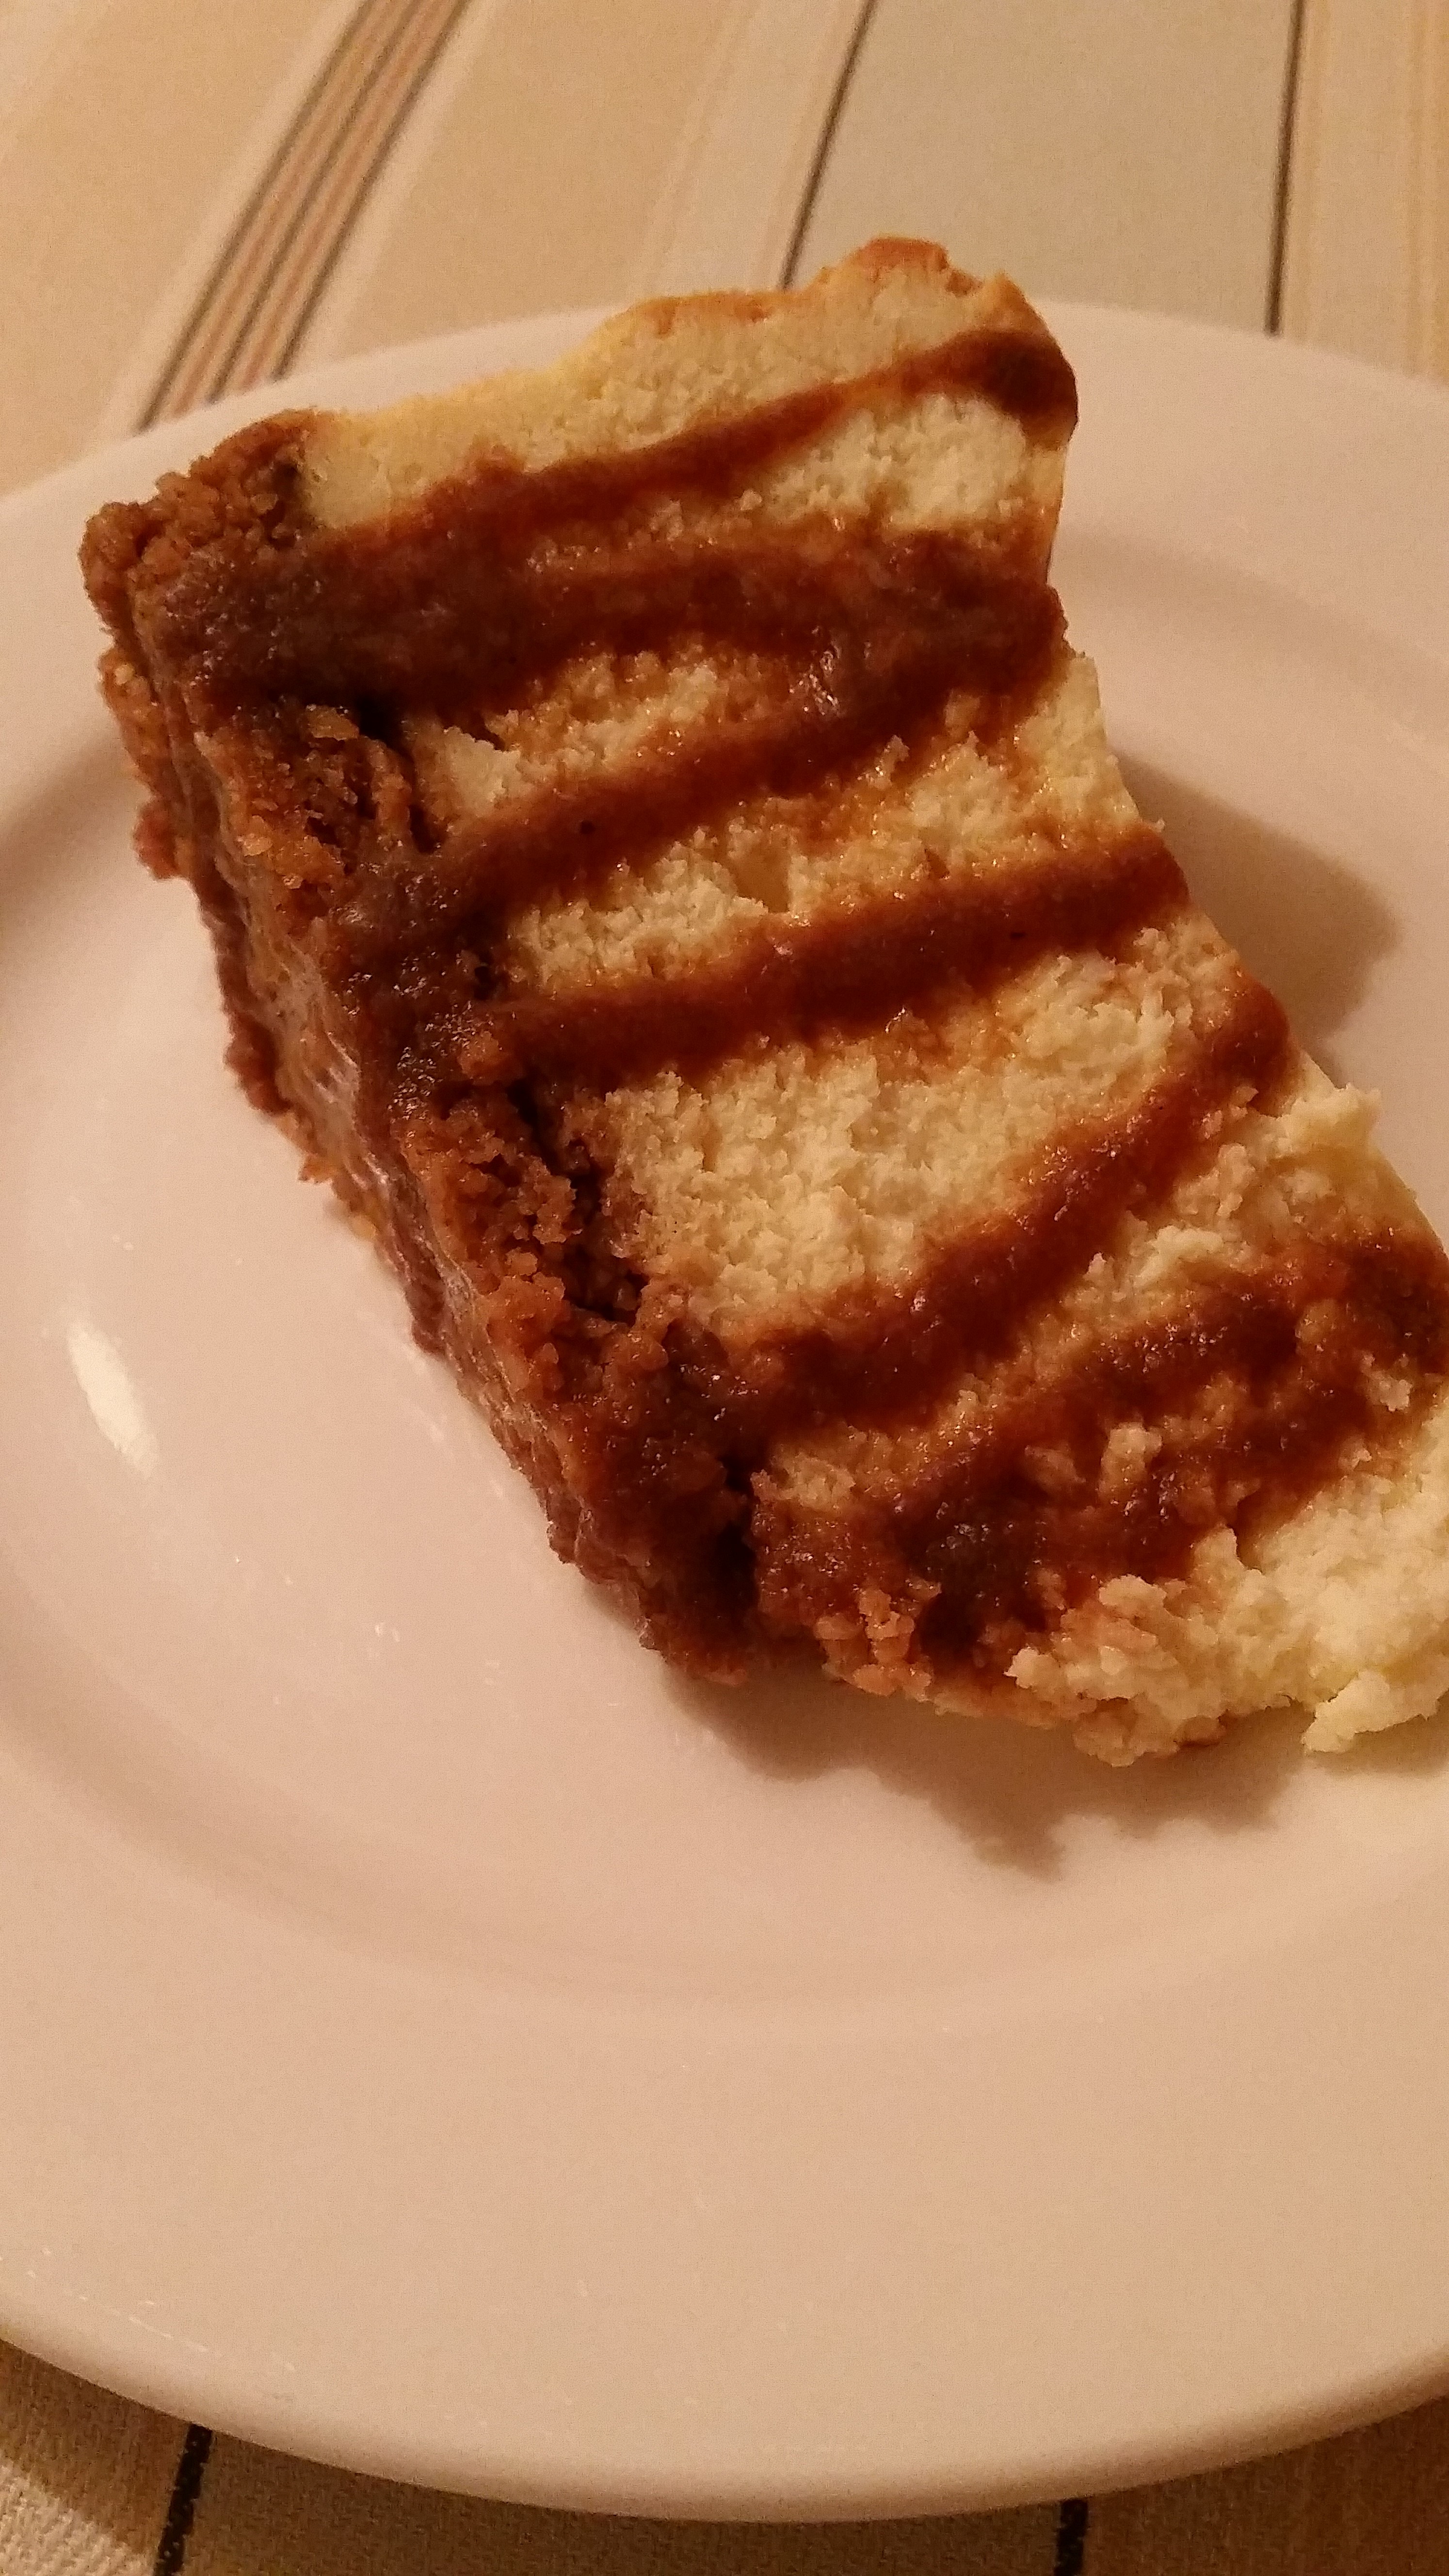
A delicious Cheesecake….so creamy on an oatmeal walnut crust…we chose the caramel drizzle!

20150729_220755

Spring Carrot Cake…moist and delicious with cinnamon and walnuts, this cake had a house made lemon cream cheese frosting! Yum!

20150729_220855

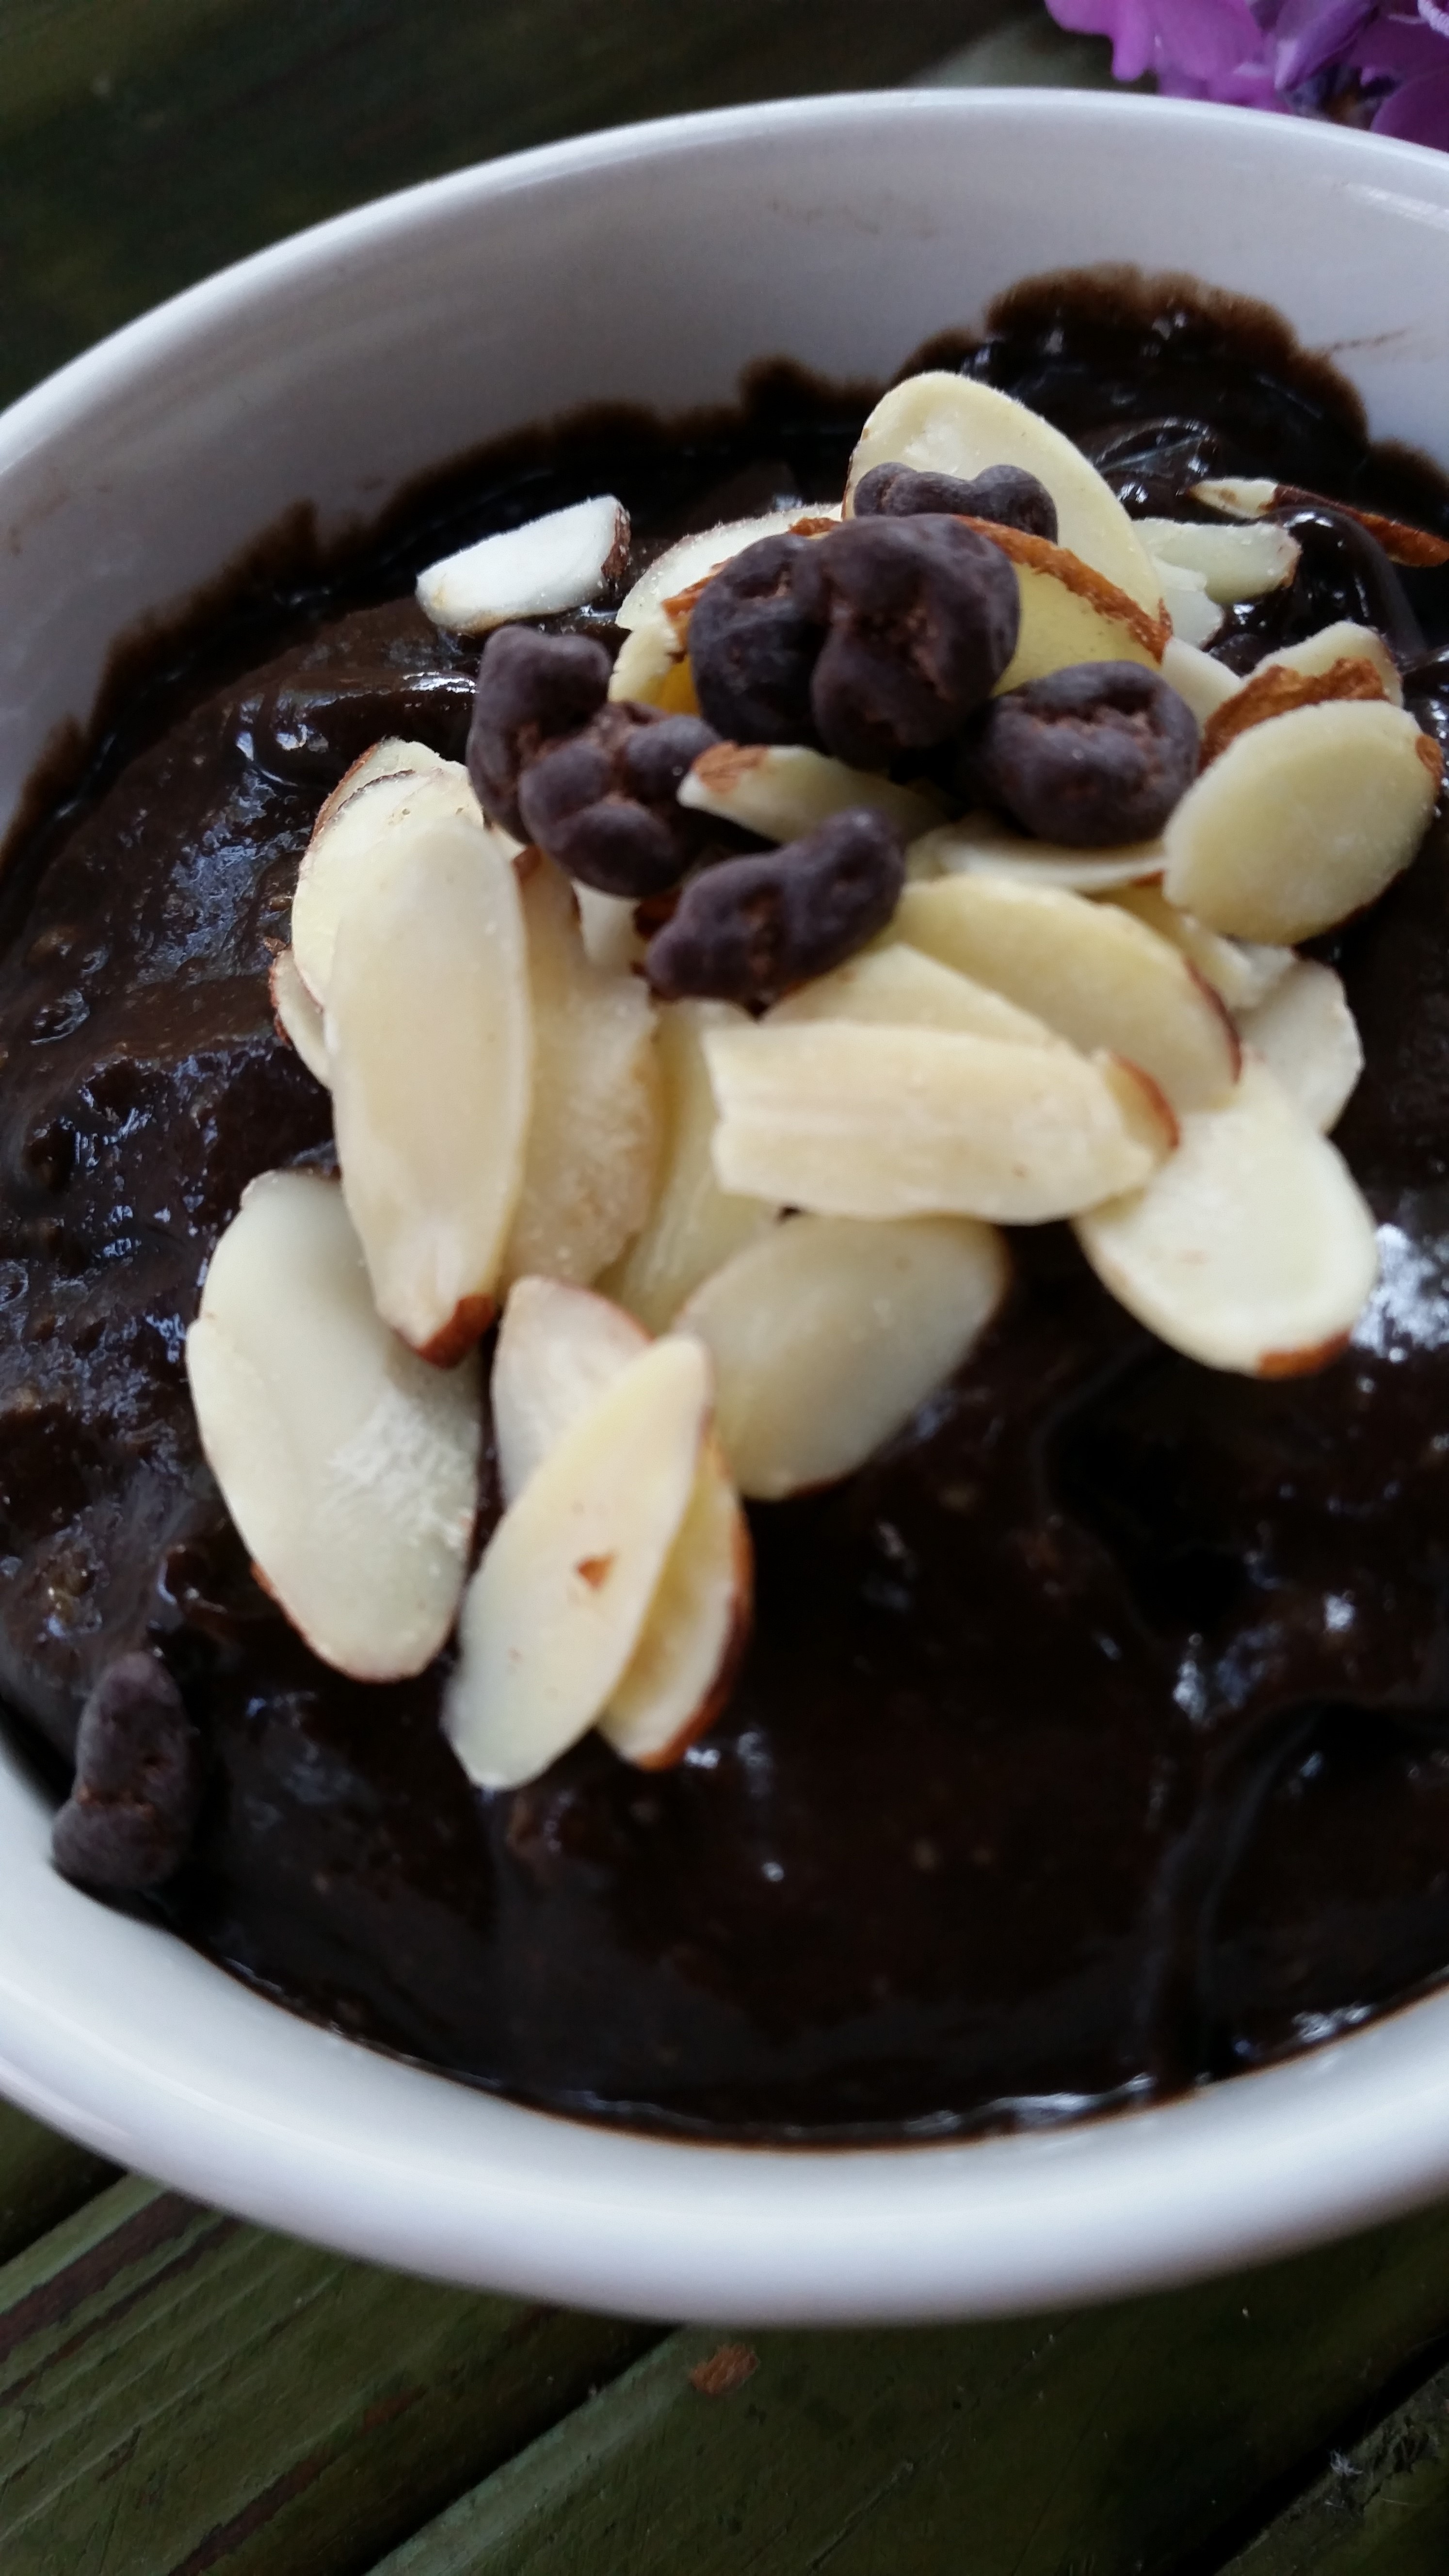
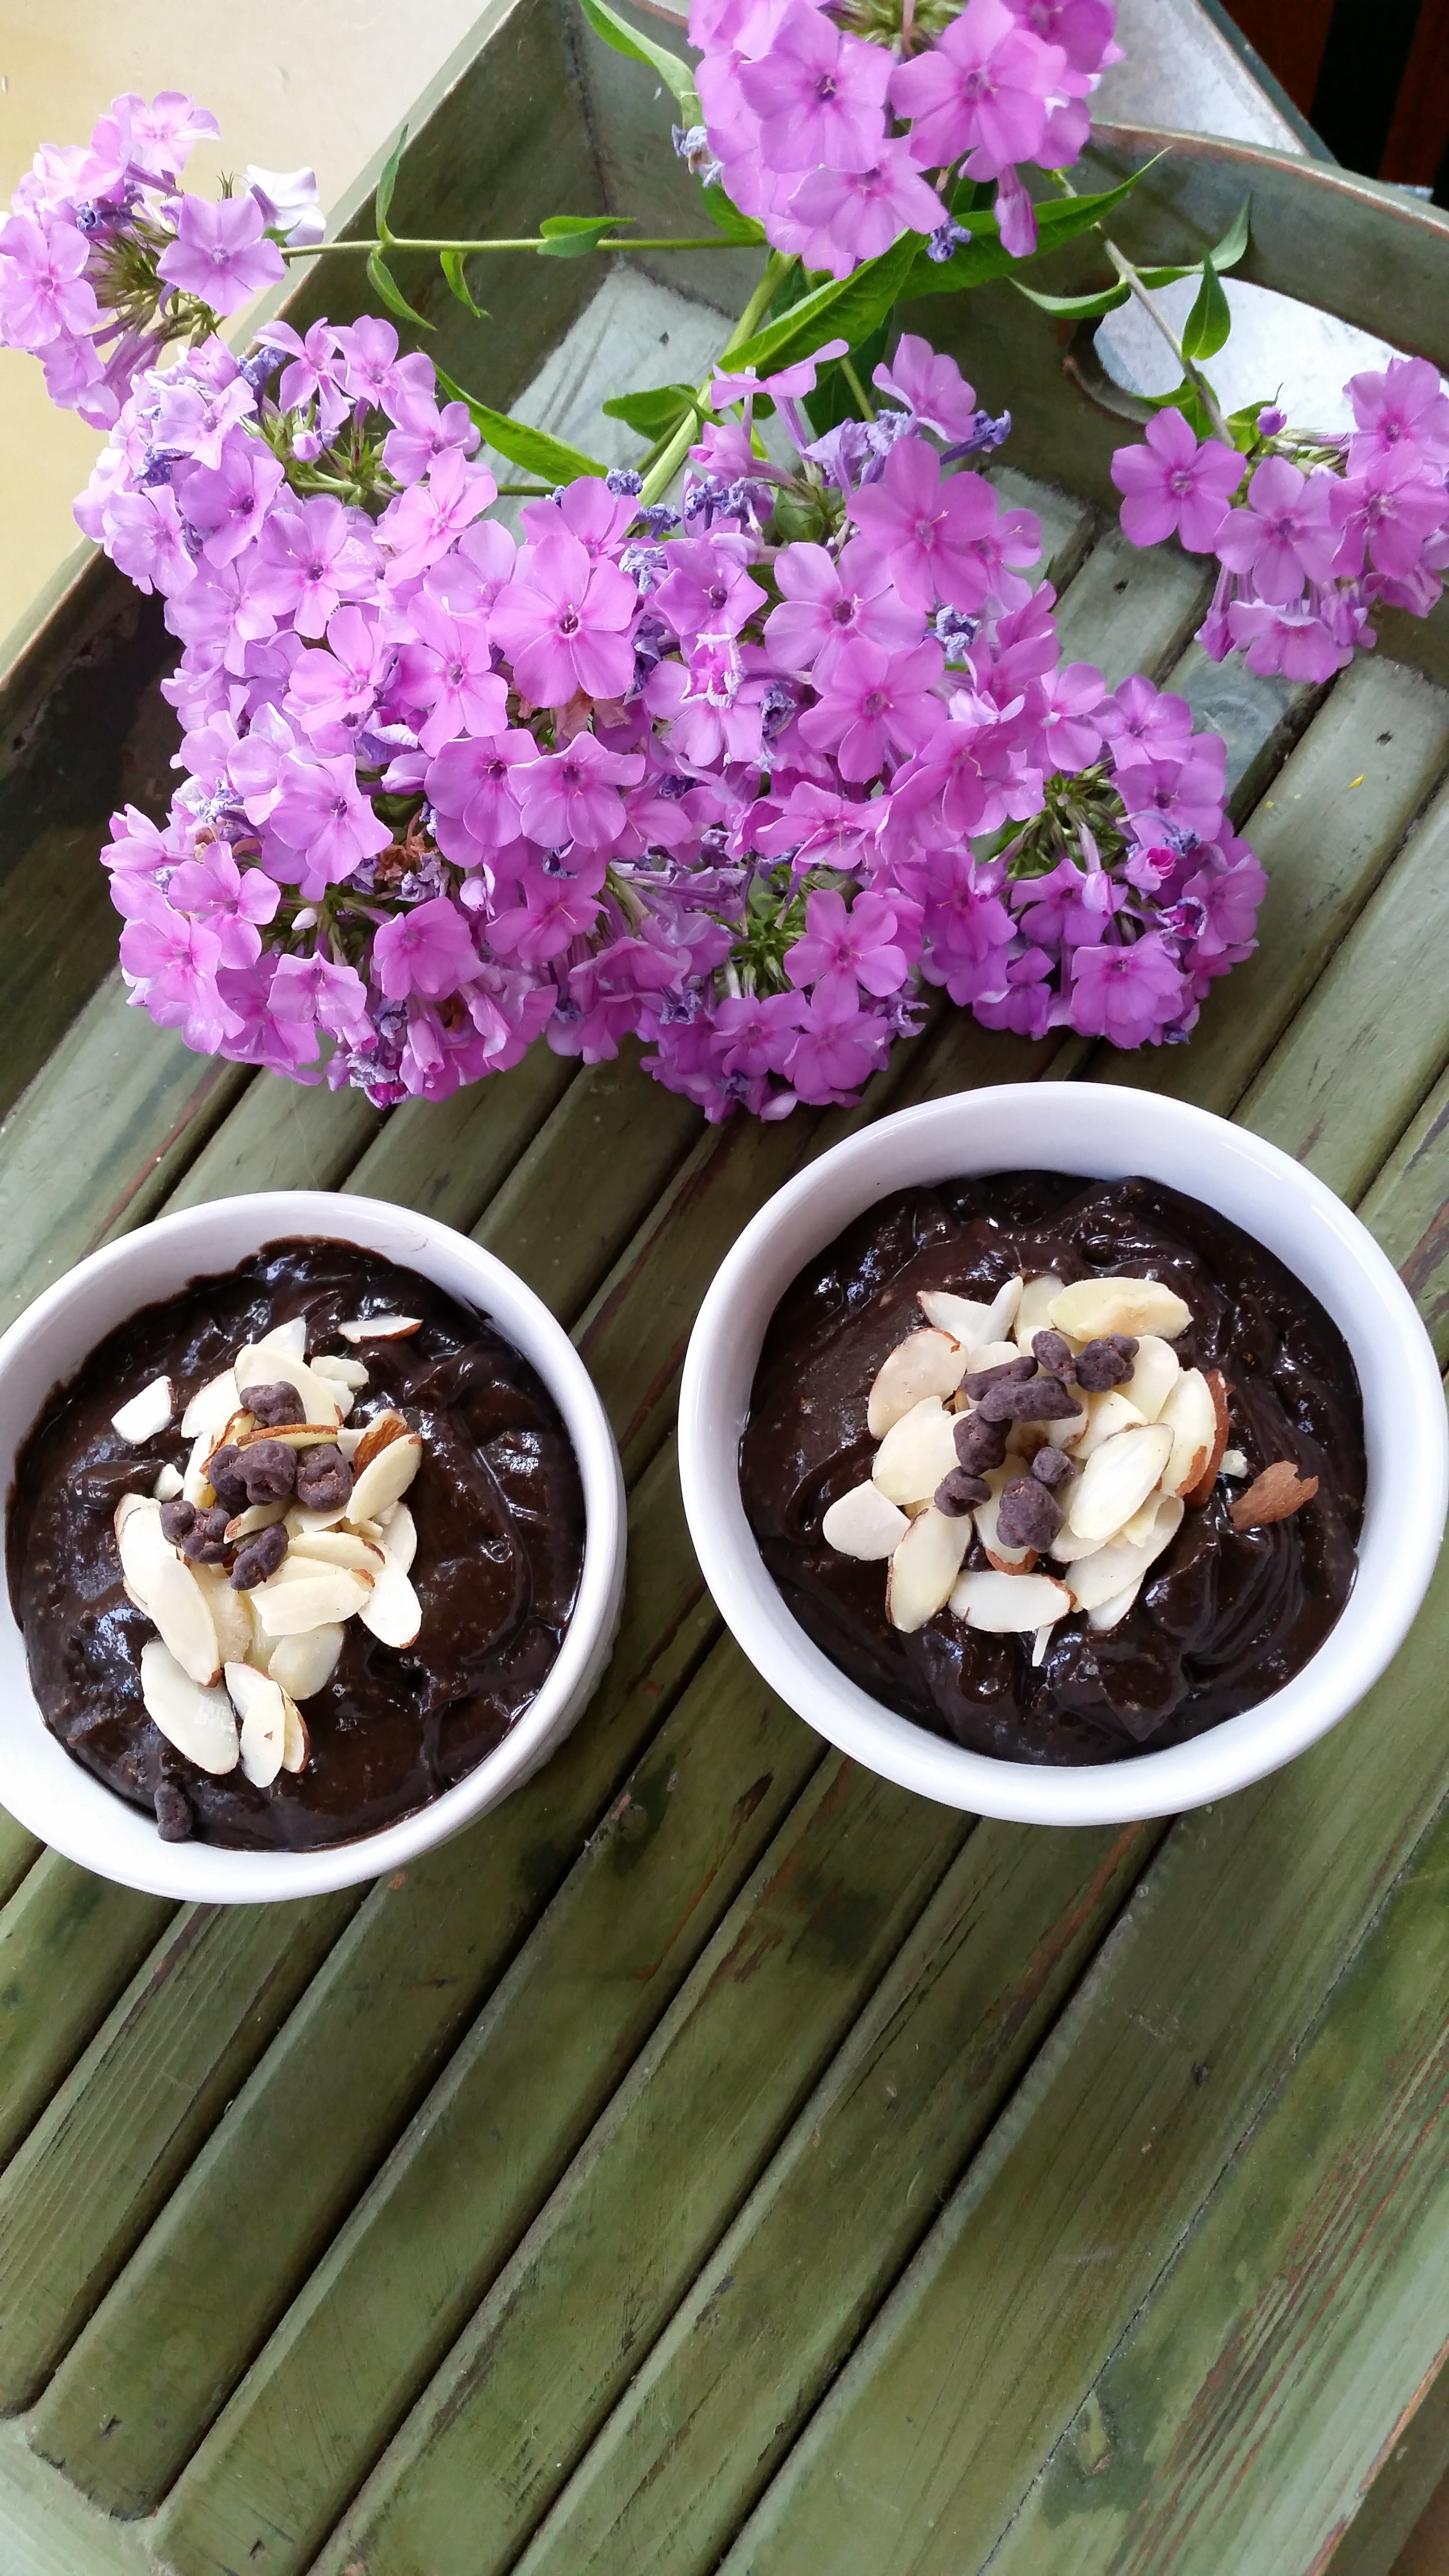
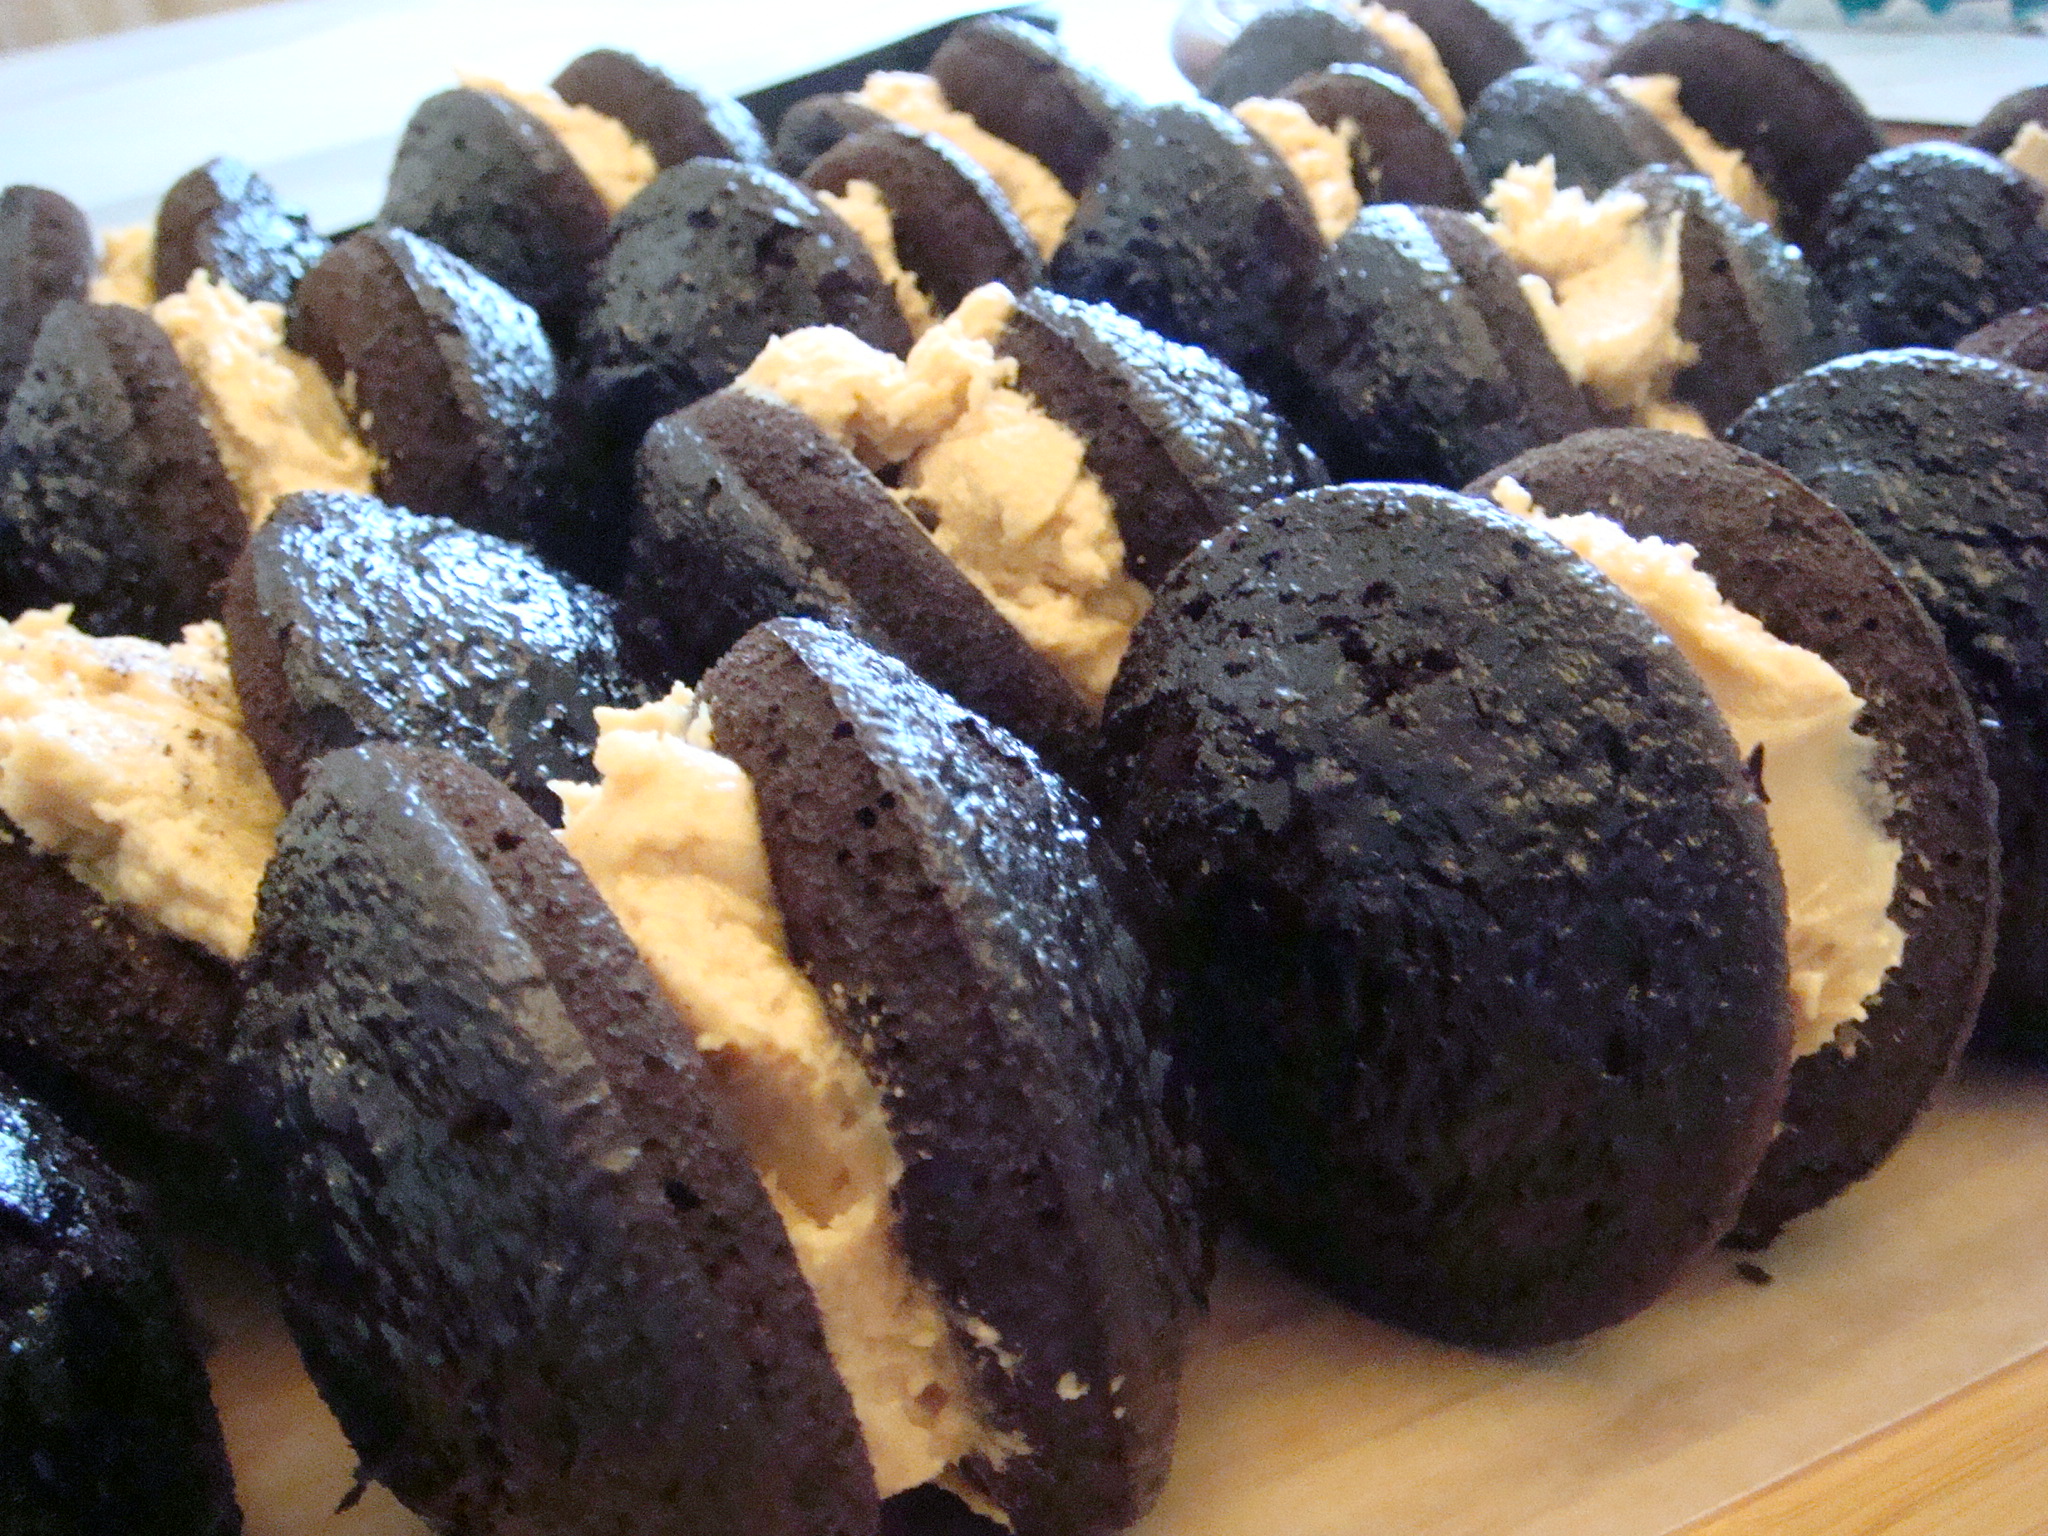
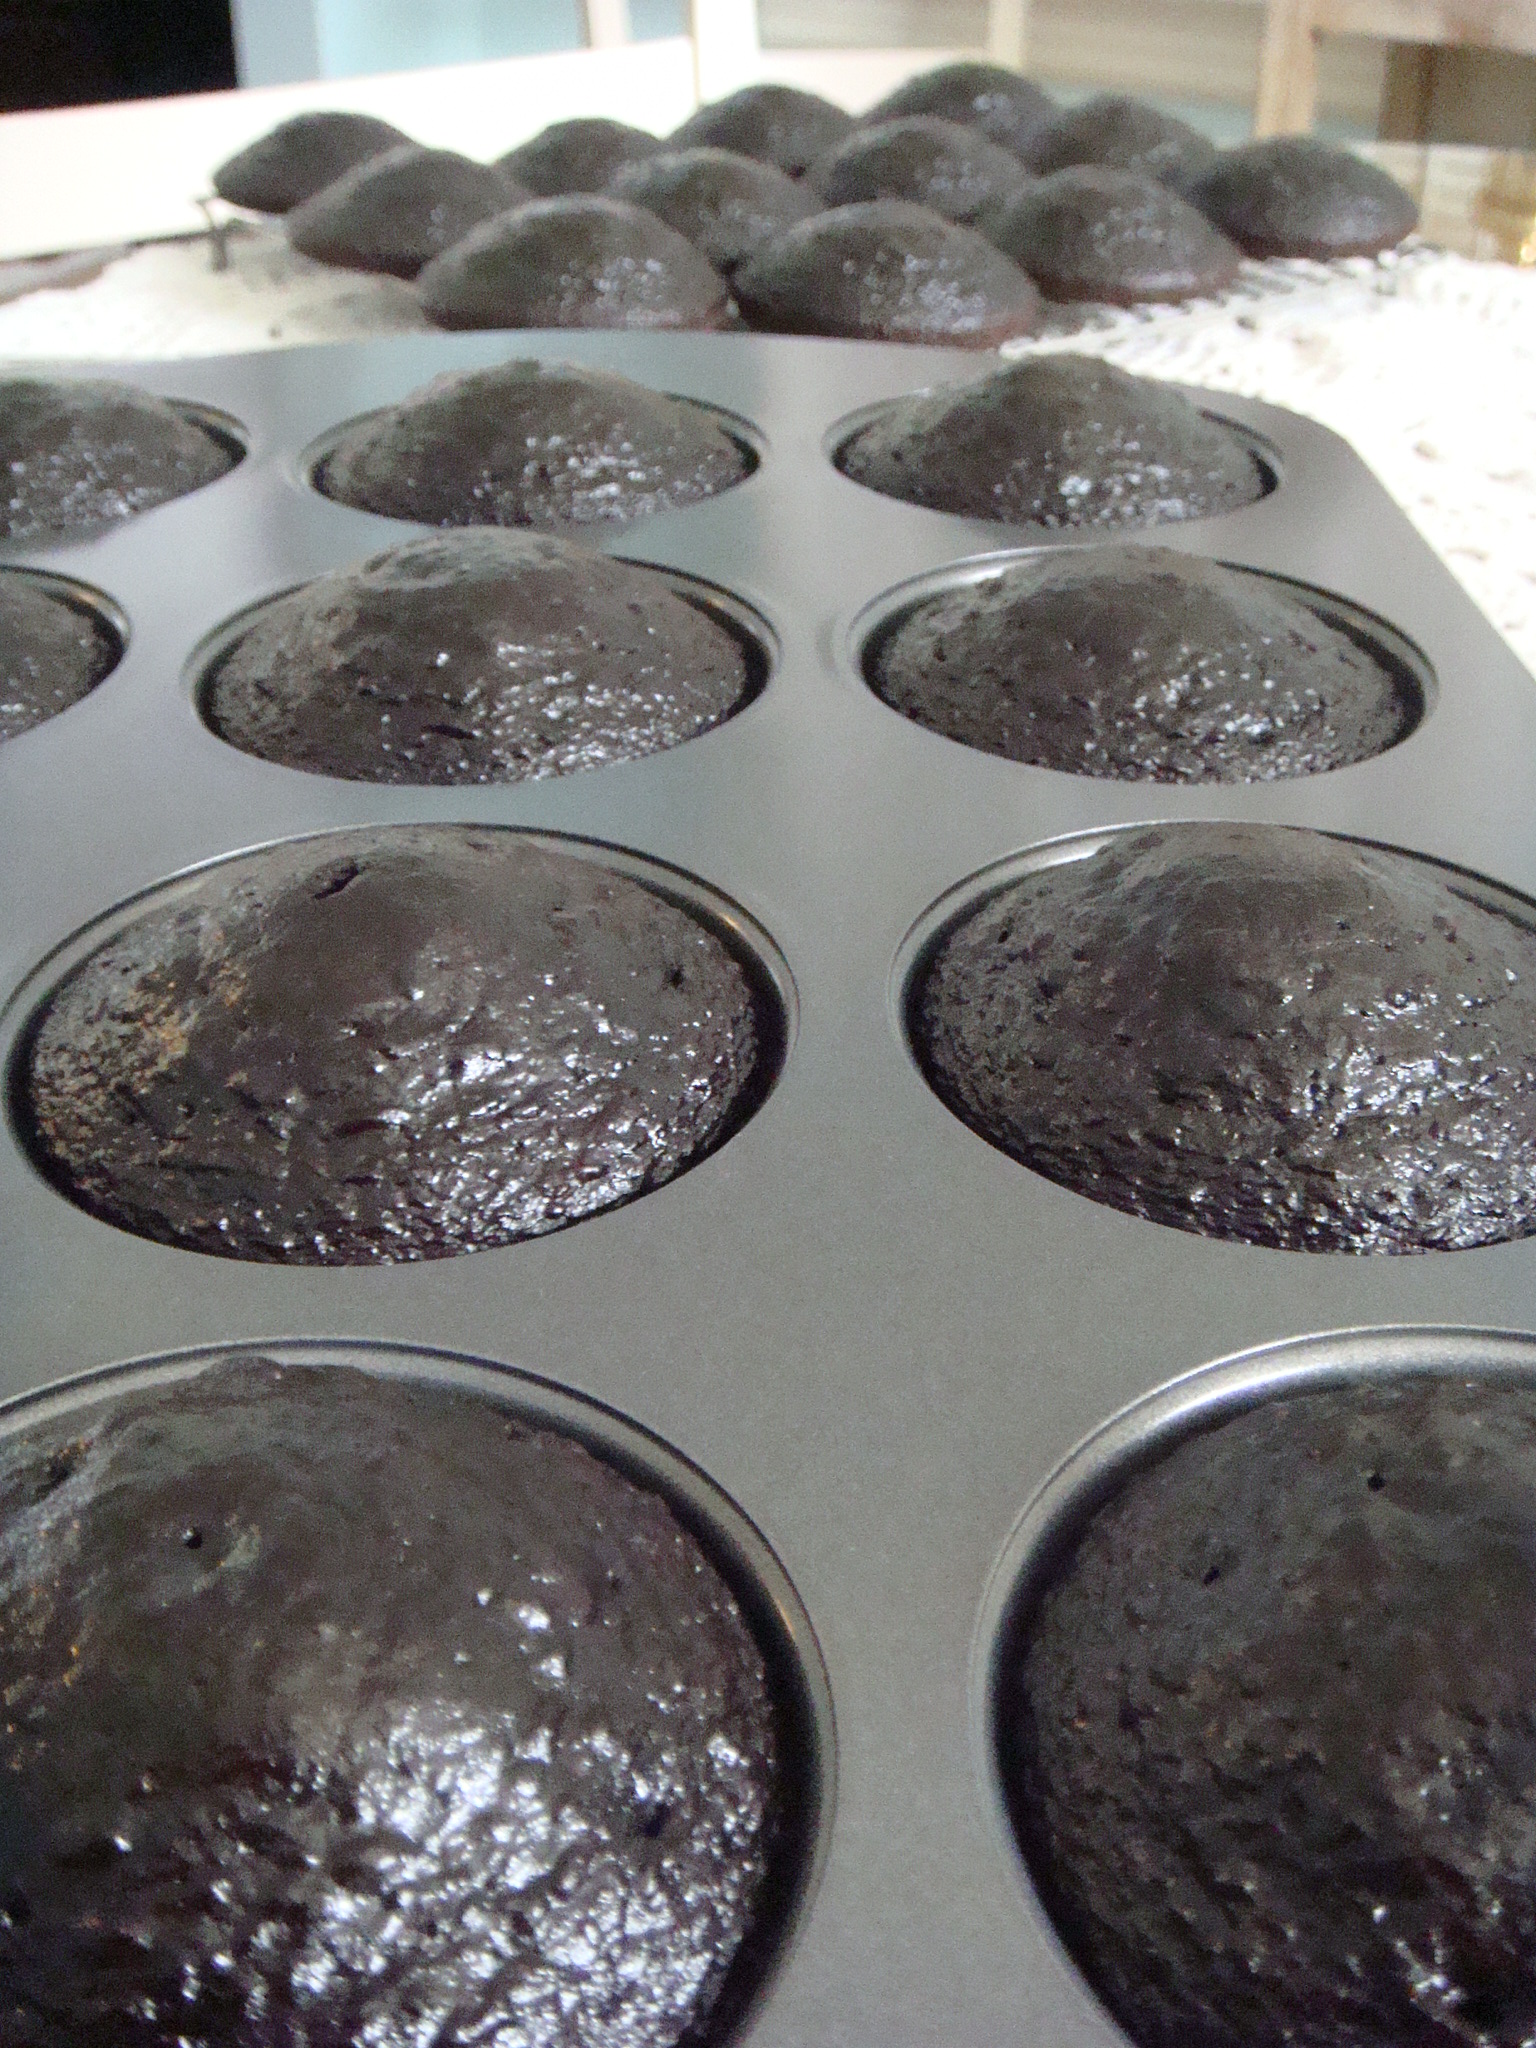
Chocolate Truffle Cake…a decadent two-layer cacao (dark chocolate) beet cake with cacao avocado truffle icing. Just the right amount of sweetness and definitely chocolatey!

20150729_220650

We ended the evening with some sangria on the porch of the Bedford Springs Omni just chatting and reminiscing about vacationing together!

20150729_204516

Lunch at the Bedford Springs Omni was great, too!

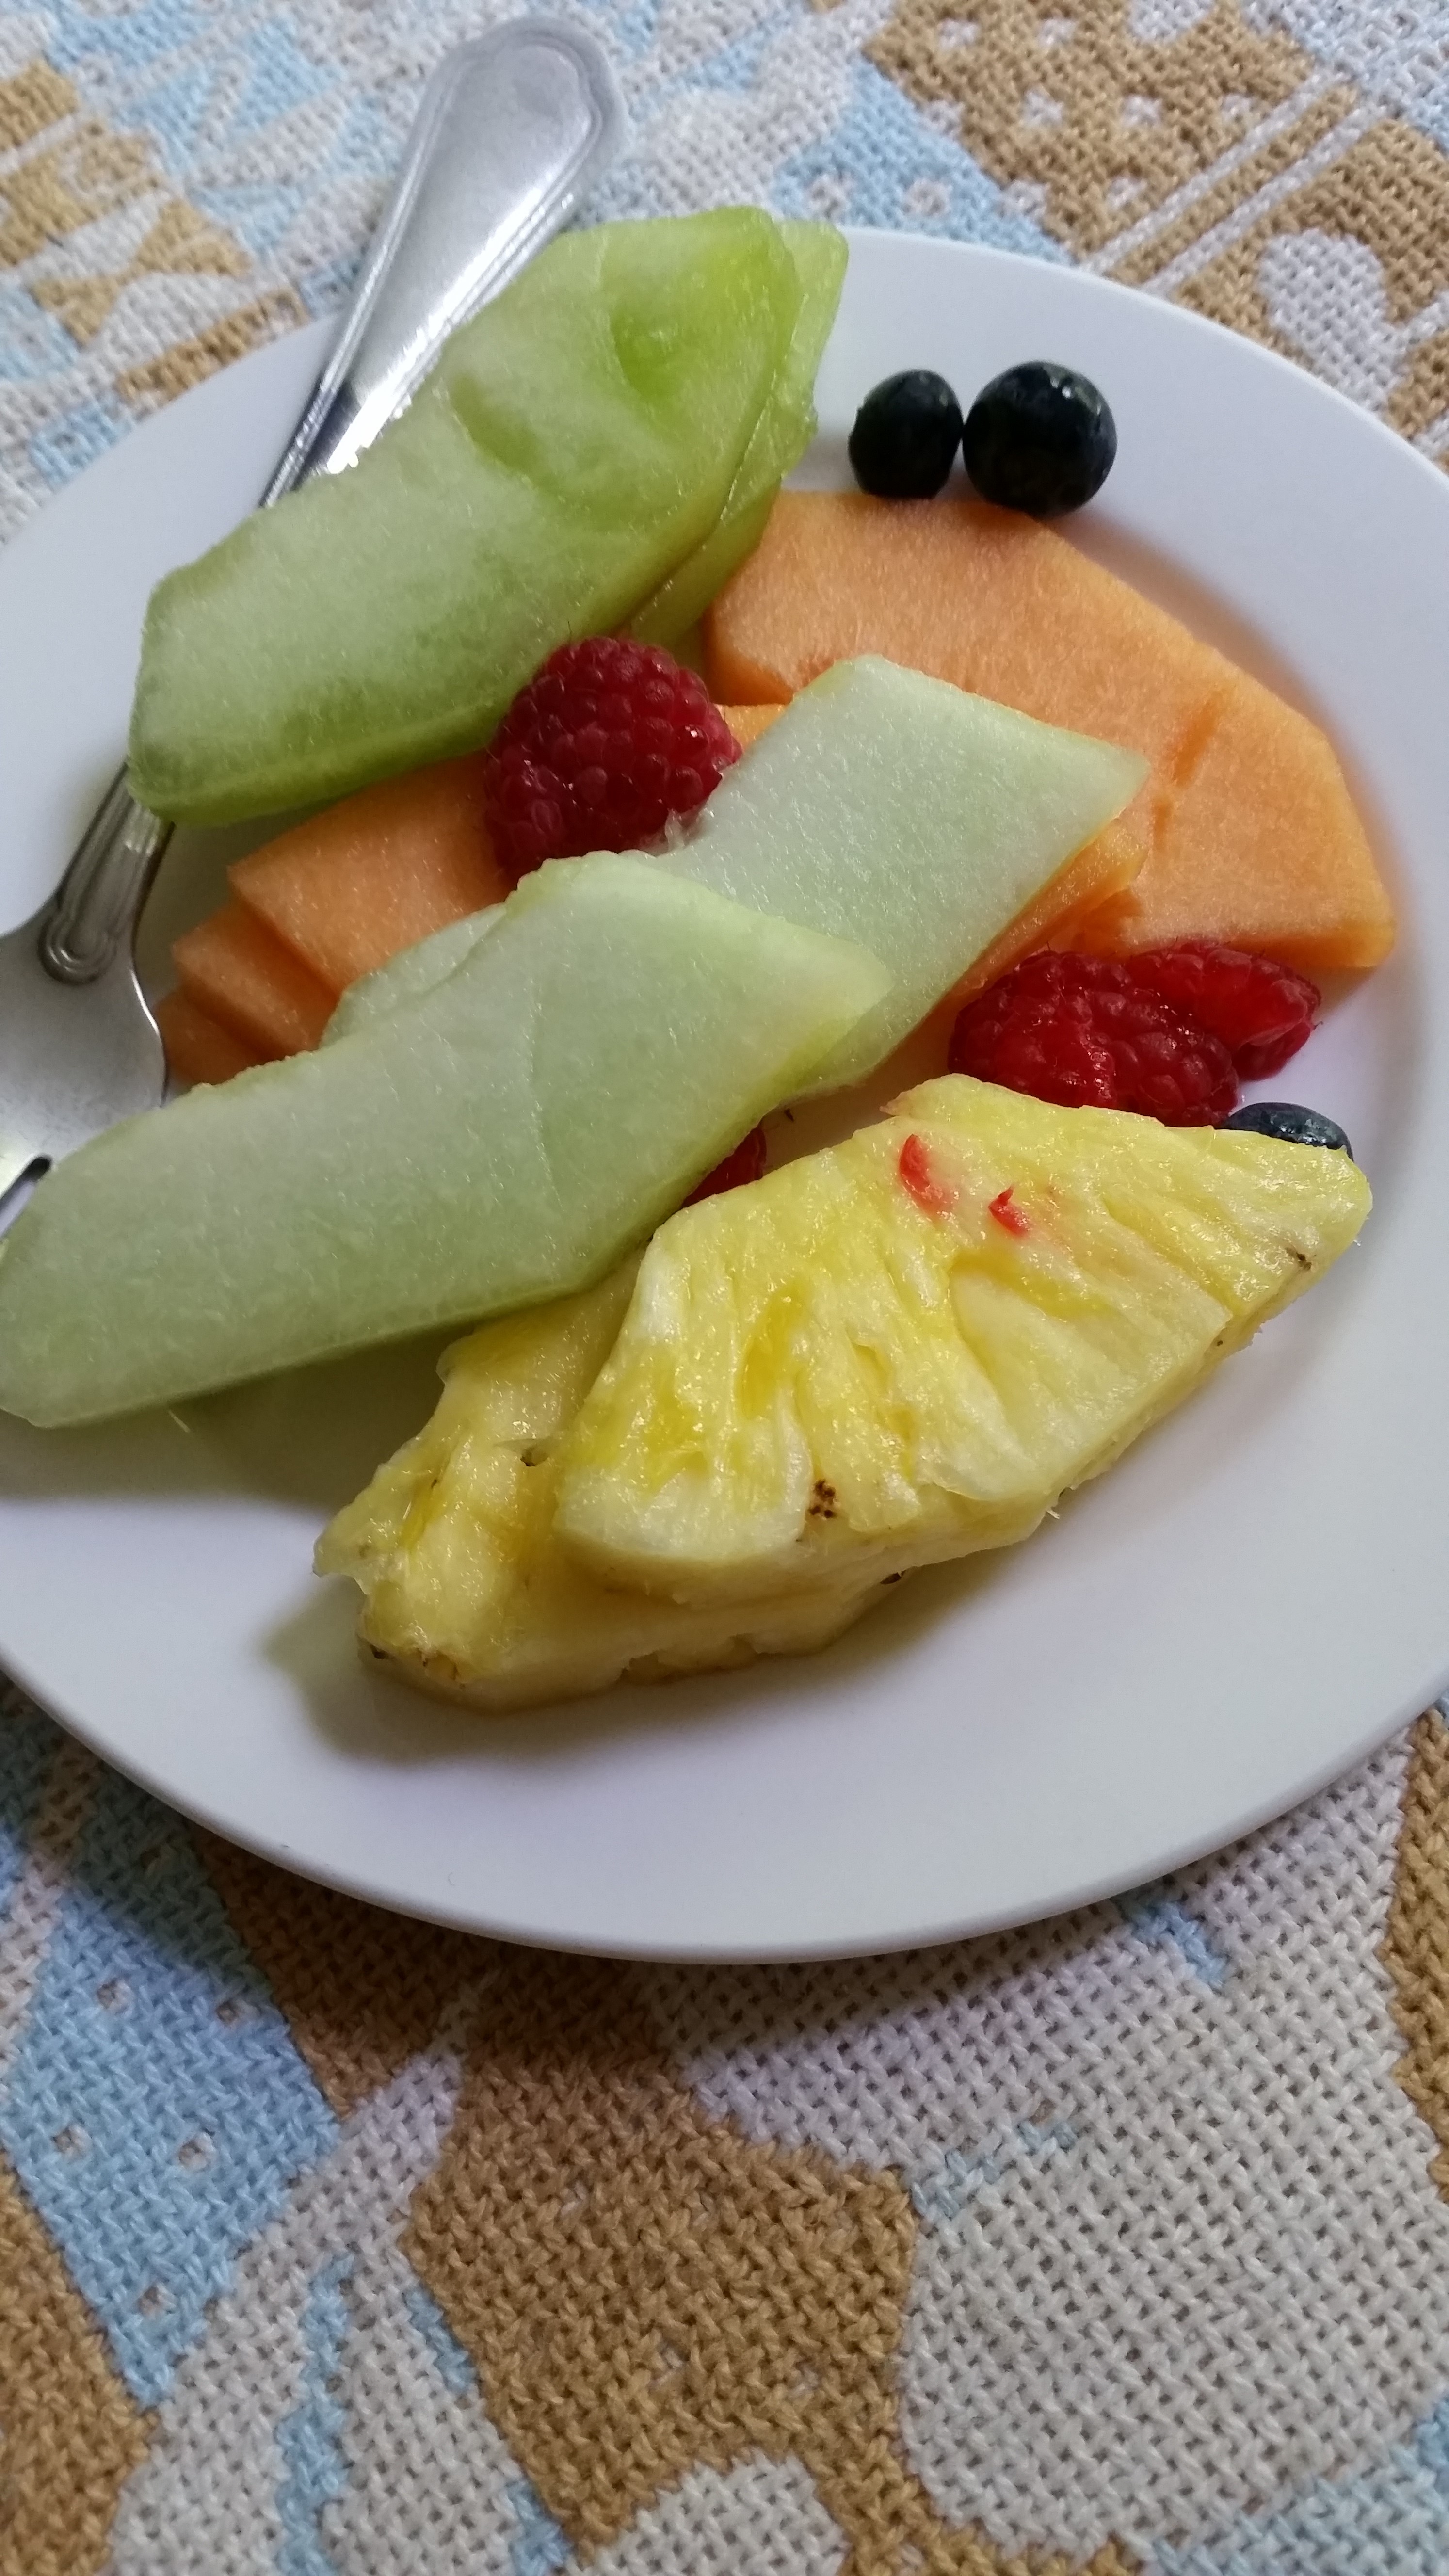
Cheese plates, fruit plates to start!

20150729_092910

20150729_104548

A gluten-free Rachel sandwich (which is a variation on a Reuben) with turkey, and coleslaw along with some gluten-free veggie pizza hit the spot!

20150728_131435

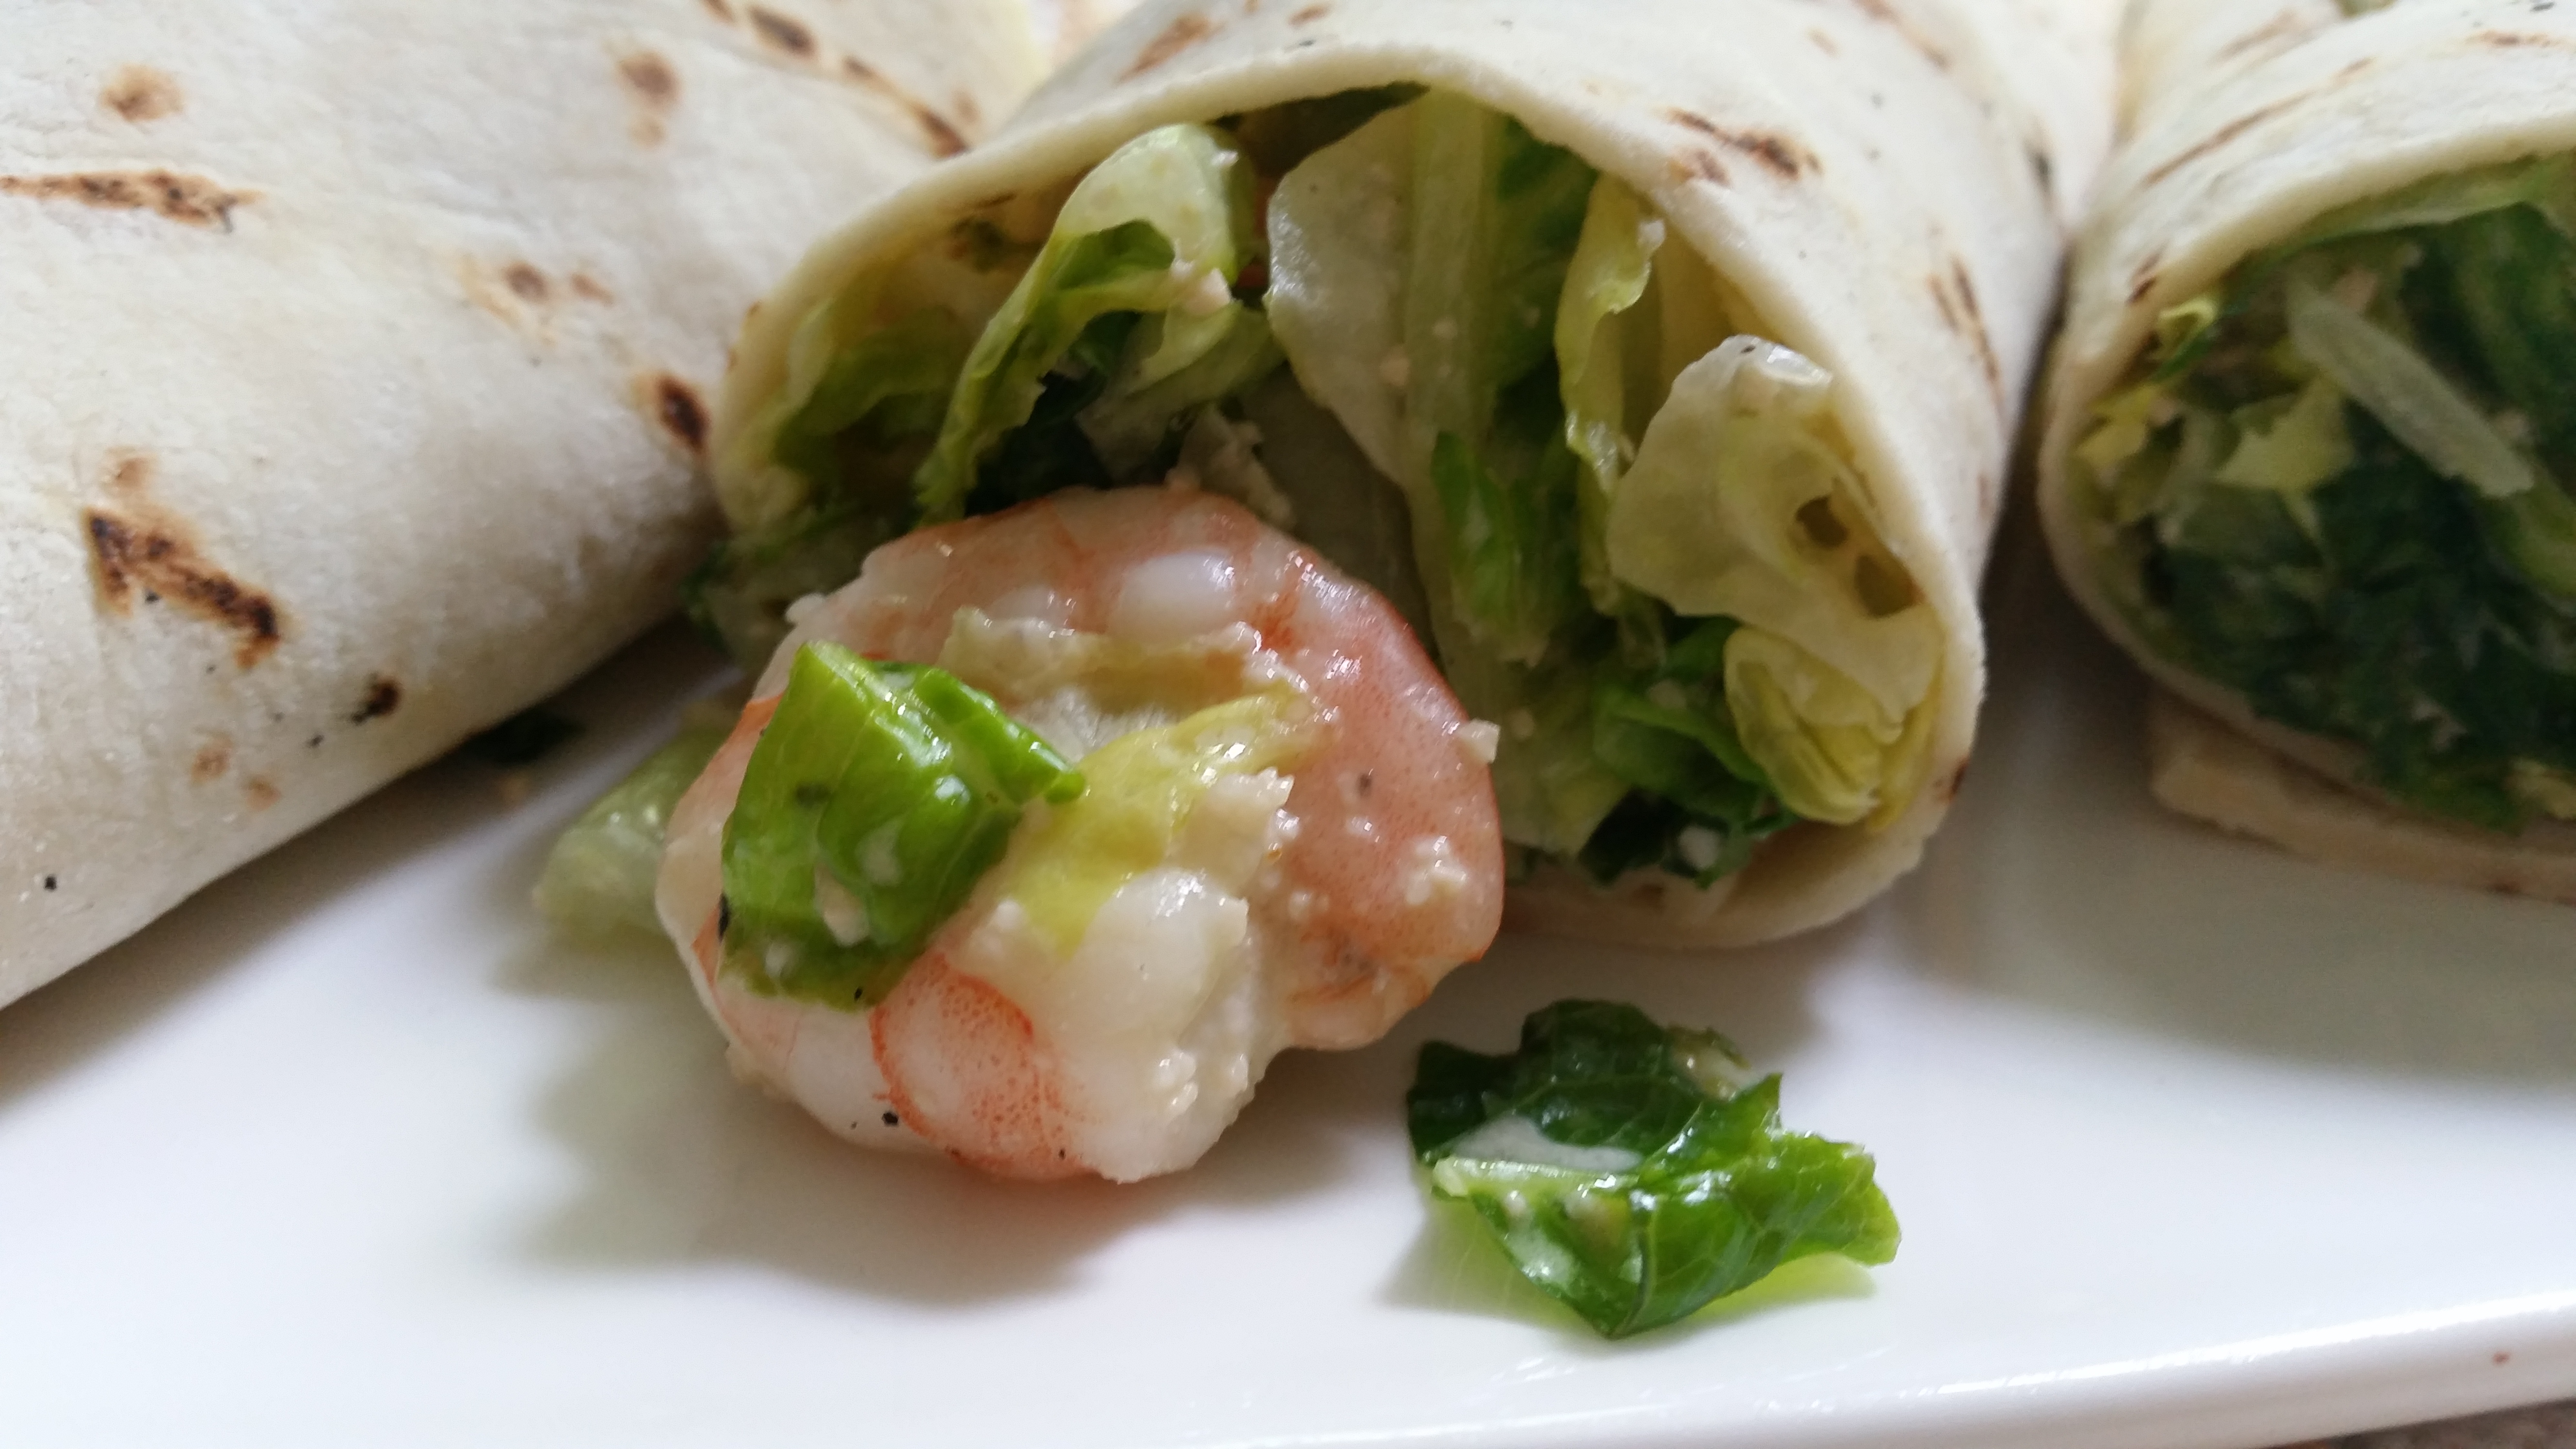
And here are some gluten-free shrimp rolls that were so good! The rolls were accompanied by a ham, cheese, and pea salad that is a local favorite. Not one of ours though…sorry!

20150729_122538

20150729_122634

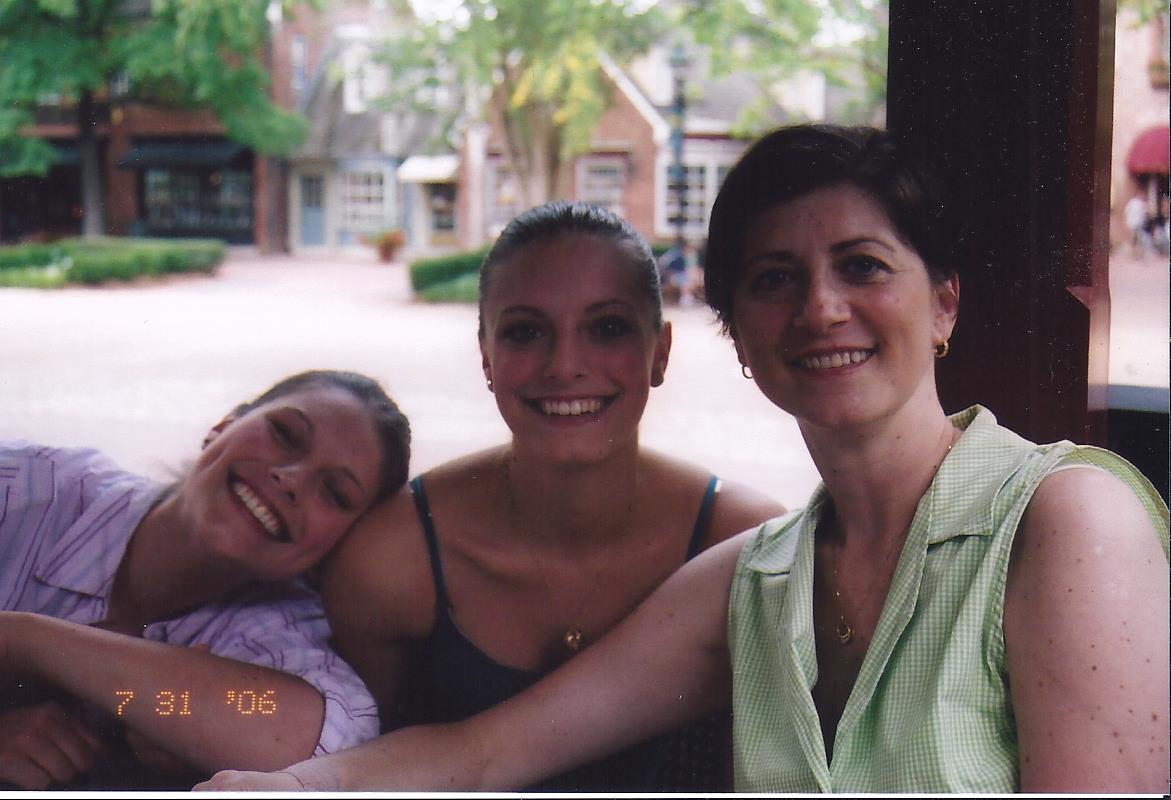
SO happy that we were able to spend a little time together!

Monica says:

While Daria couldn’t continue on the way with us to Greensburg to attend the Pittsburgh Steelers Training Camp, we really wish she could have, because she missed some GREAT gluten-free food!

On the evening of our first day there, we found a great little place called Noviello’s Sunset Café. What a fabulous Italian restaurant!

As soon as we walked in and smelled the Italian sauce, we knew we were in for a treat!

Since most Italian restaurants serve bread and dipping oil immediately upon ordering, I was so happy when our waiter brought me this little veggie plate! He even apologized that they didn’t have any gluten-free bread and hoped that this would make up for it!

20150730_184944

The house salad featured red beets, fresh grated mozzarella, and a house dressing that was a white wine concoction. Very good!

20150730_185023

I ordered the polenta with marinara sauce and it may have been the fluffiest polenta I ever ate! It seriously melted in my mouth!

Add your grated cheese and that’s it!

20150730_185915

Heaven!

The best was yet to come!

While we were eating the evening before at Noviello’s a gentleman at the next table was talking about being gluten-free….well, one thing led to another and he suggested a pizza place for me to try!

Before we went to the Steelers’ Friday Night Lights practice in LaTrobe, we found Little E’s Pizzeria…and my day was made!

I had to take a picture of the window….so exciting!

20150731_145605

Organic and gluten-free selections were so numerous I couldn’t even believe it!

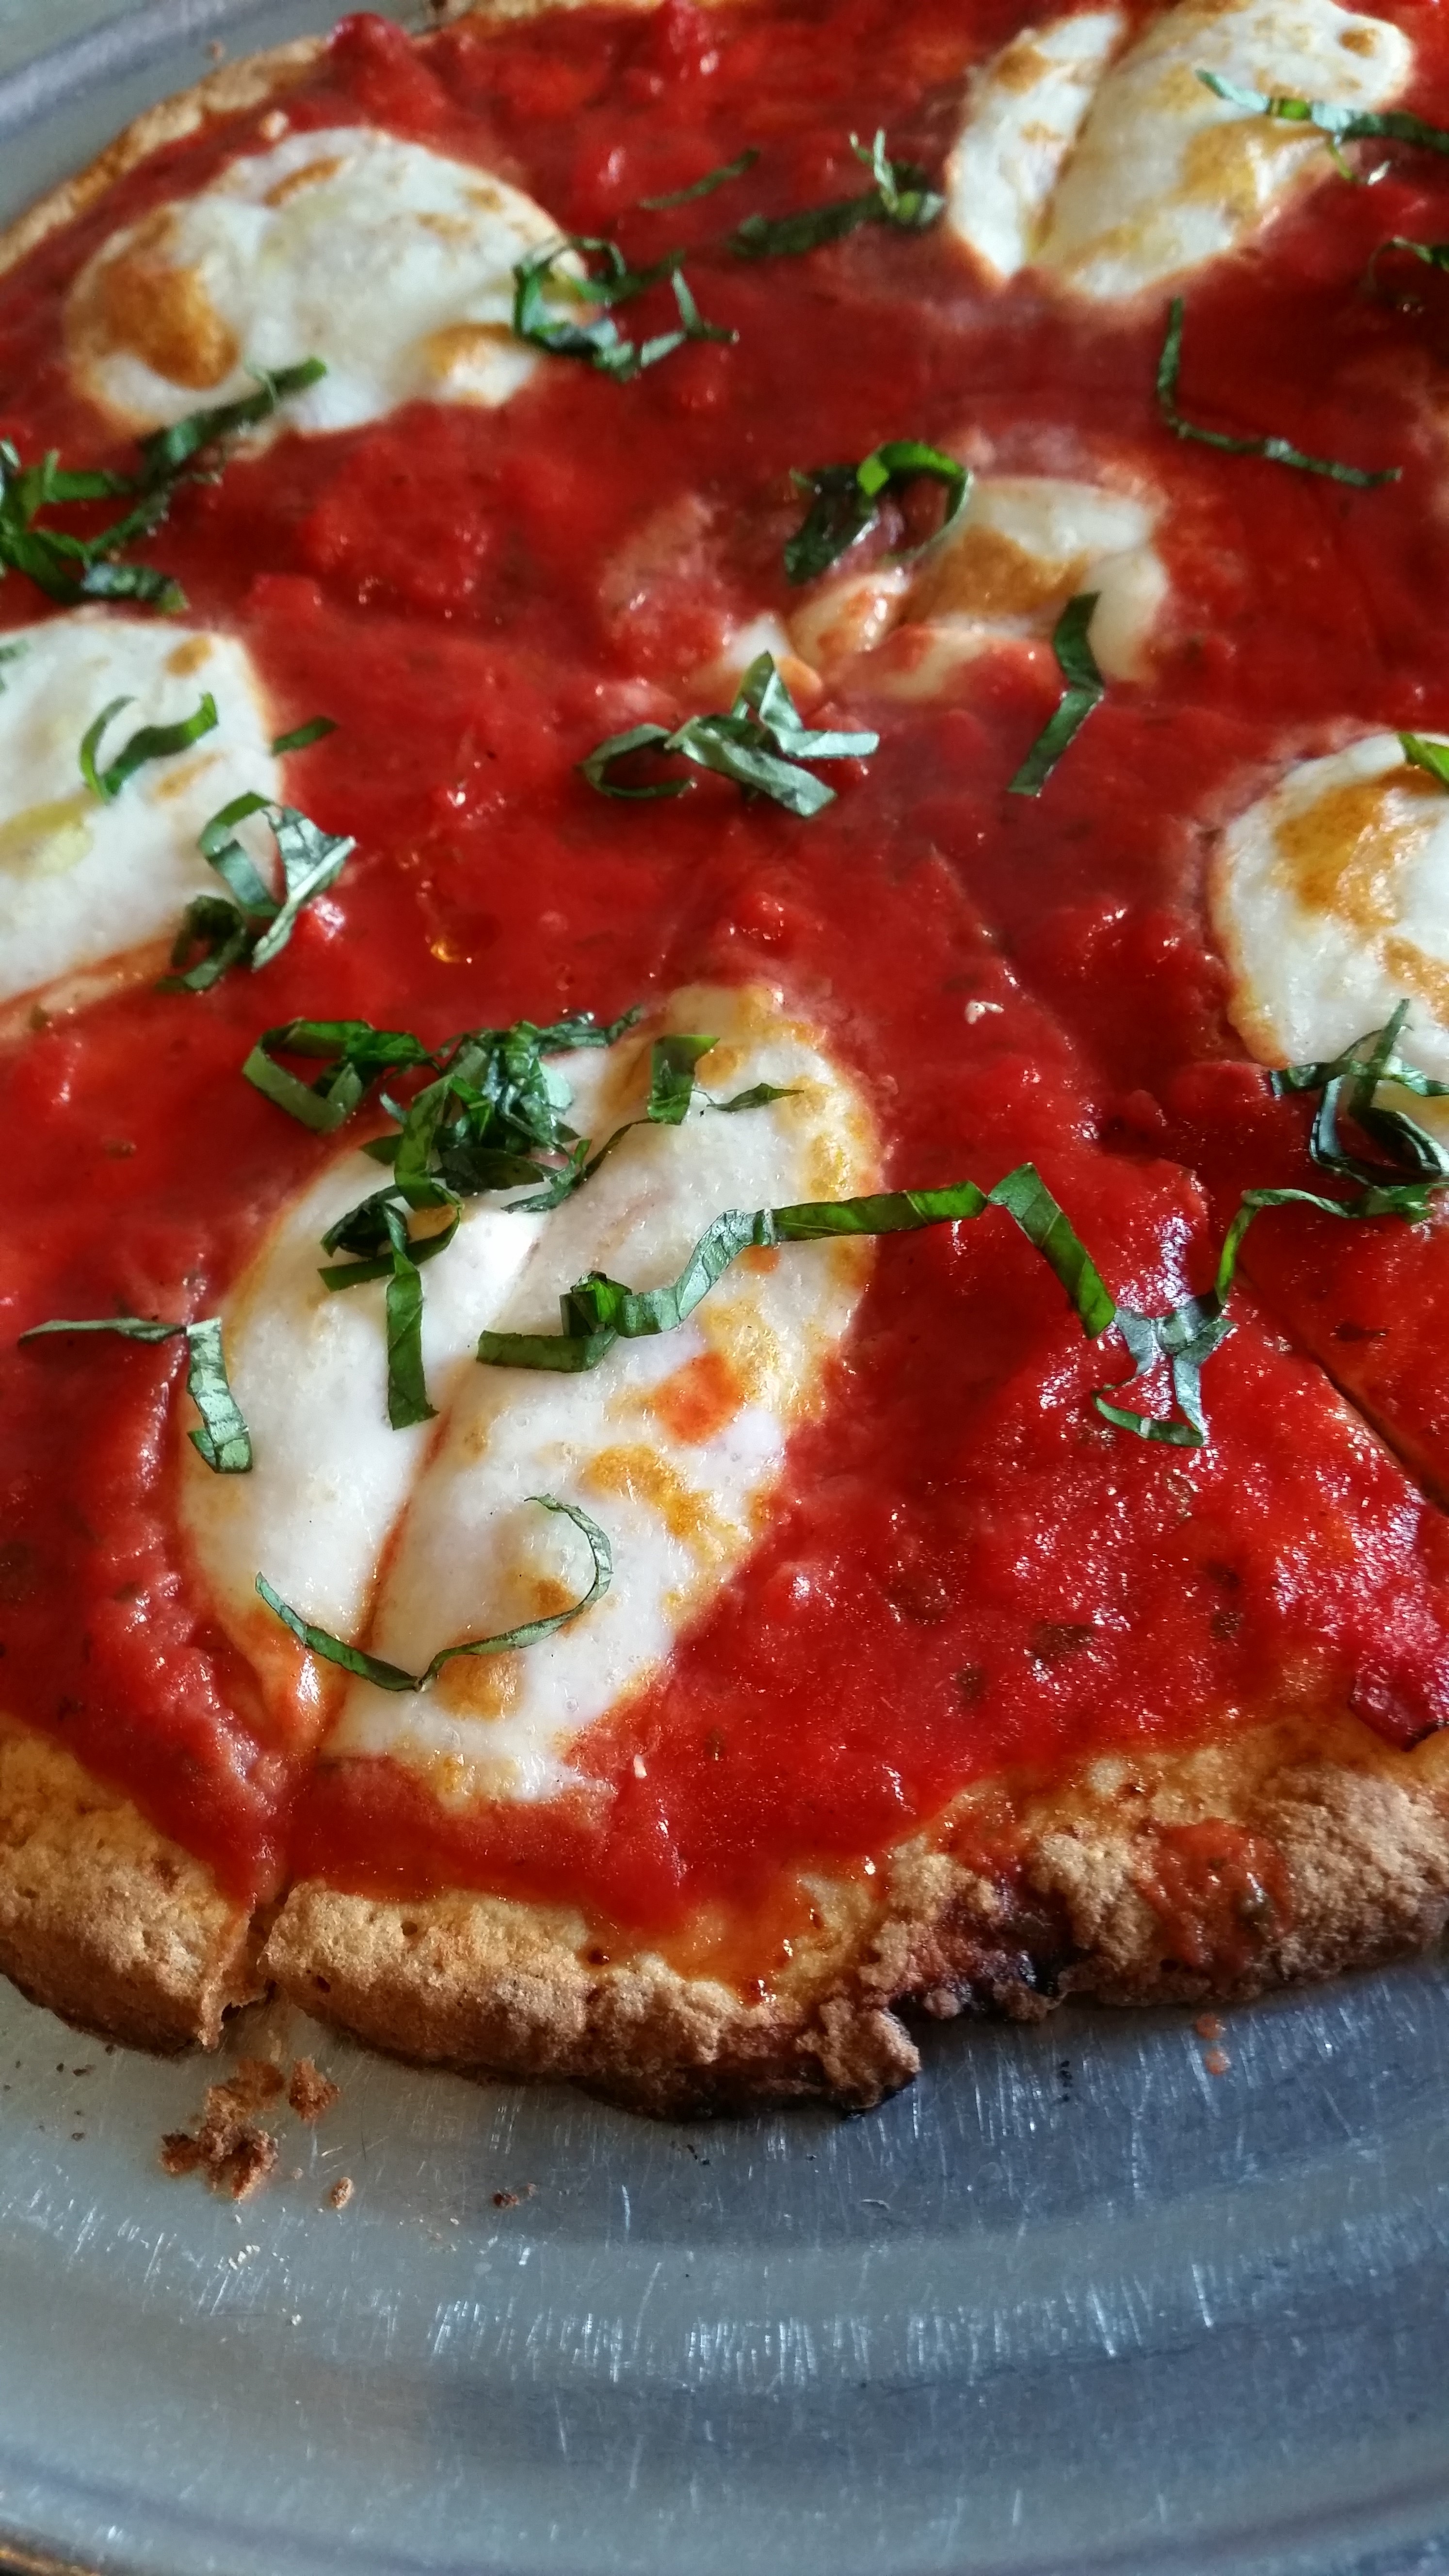
I settled on a Margherita pizza with red pizza sauce, fresh mozzarella, drizzled with extra virgin oil and fresh basil. Lewie decided on a gluten-free meatball hoagie that was made with homemade grass-fed Texas Longhorn meatballs, provolone cheese and red sauce.

We were so shocked and delighted that the meatballs were gluten-free!!

While we waited for our selections to be made, we had some Woodchuck Amber on tap….the flavor was so much crisper than the bottled!

The meatball hoagie came out first…two huge pieces and with extra dipping sauce! Can you see the steam from the sauce?

20150731_152735

Such great flavor in the meatballs and the bread…oh, the bread!
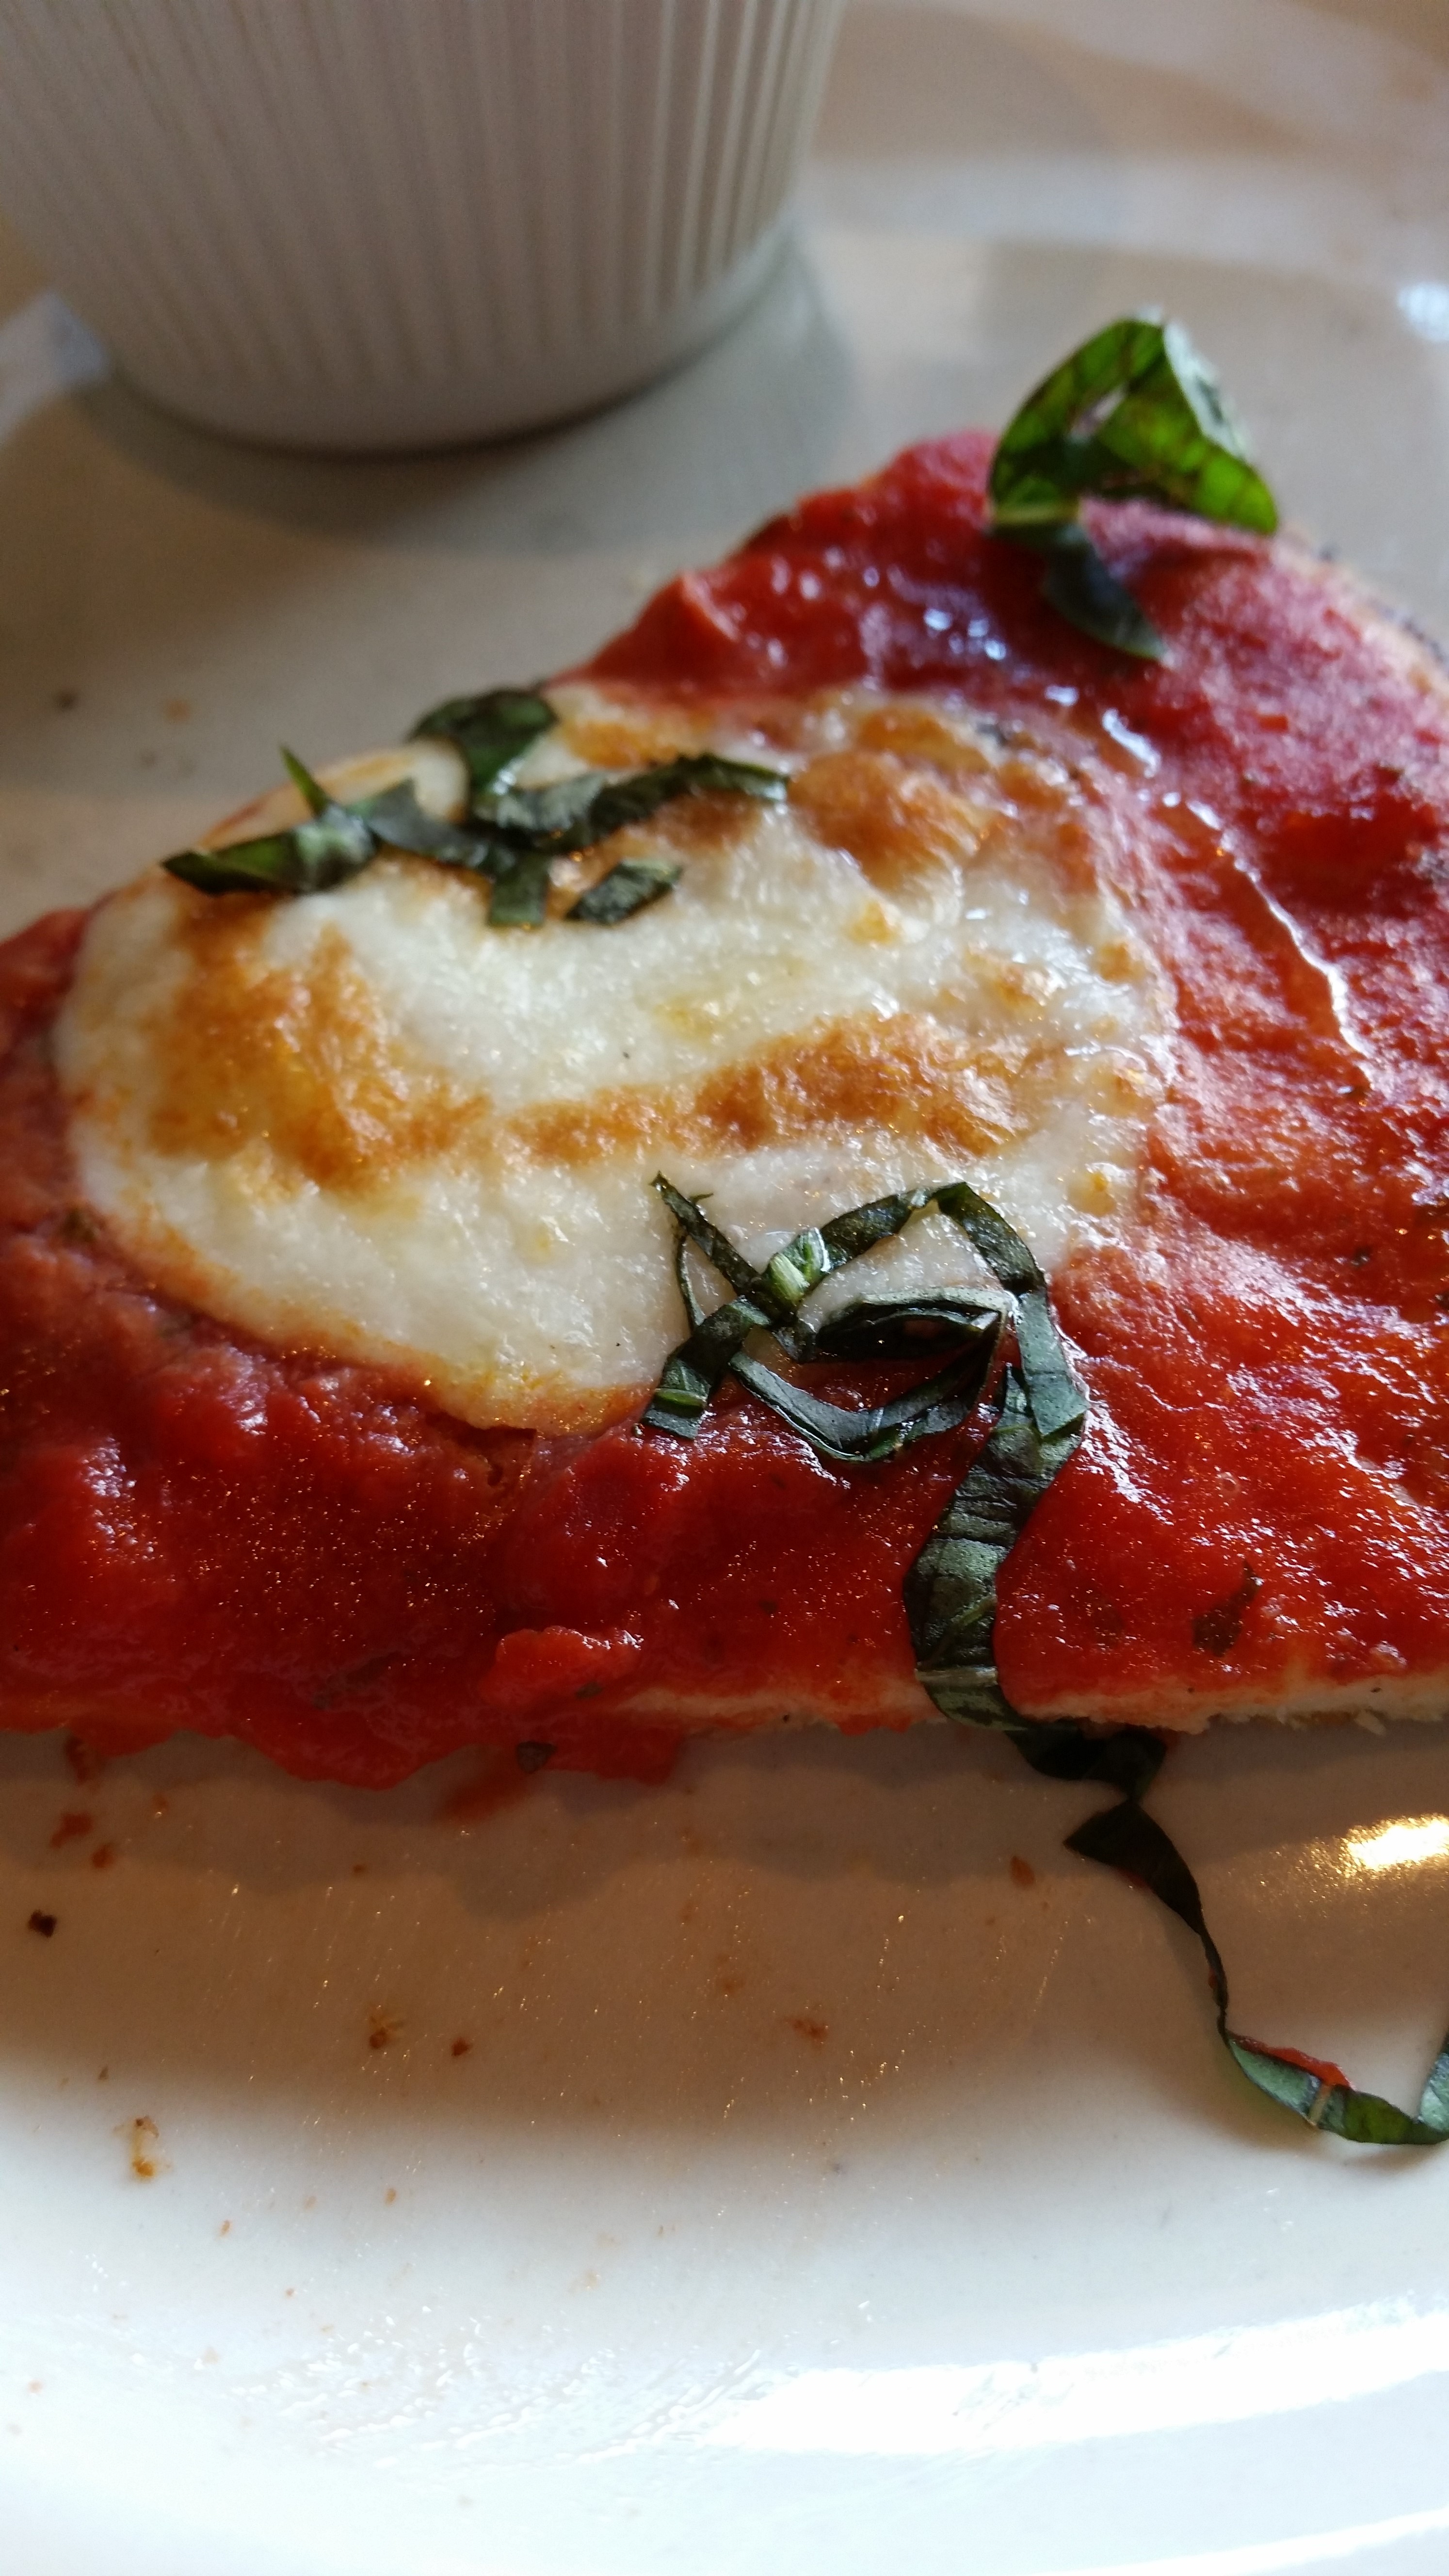
20150731_152753


20150731_152848

And now the pizza!

I think this pizza was the best gluten-free pizza I ever had! (even though I raved about the one in Rome!)

20150731_152906

The crust was herbed and so incredible!

20150731_152912

I wondered if the pizza crust and the hoagie bread were made on site. So I asked!

20150731_153415

Our server told us that they bought the gluten-free items from a place called Herbalicious in Mt. Pleasant…

we will be  looking into their products!

20150731_153726

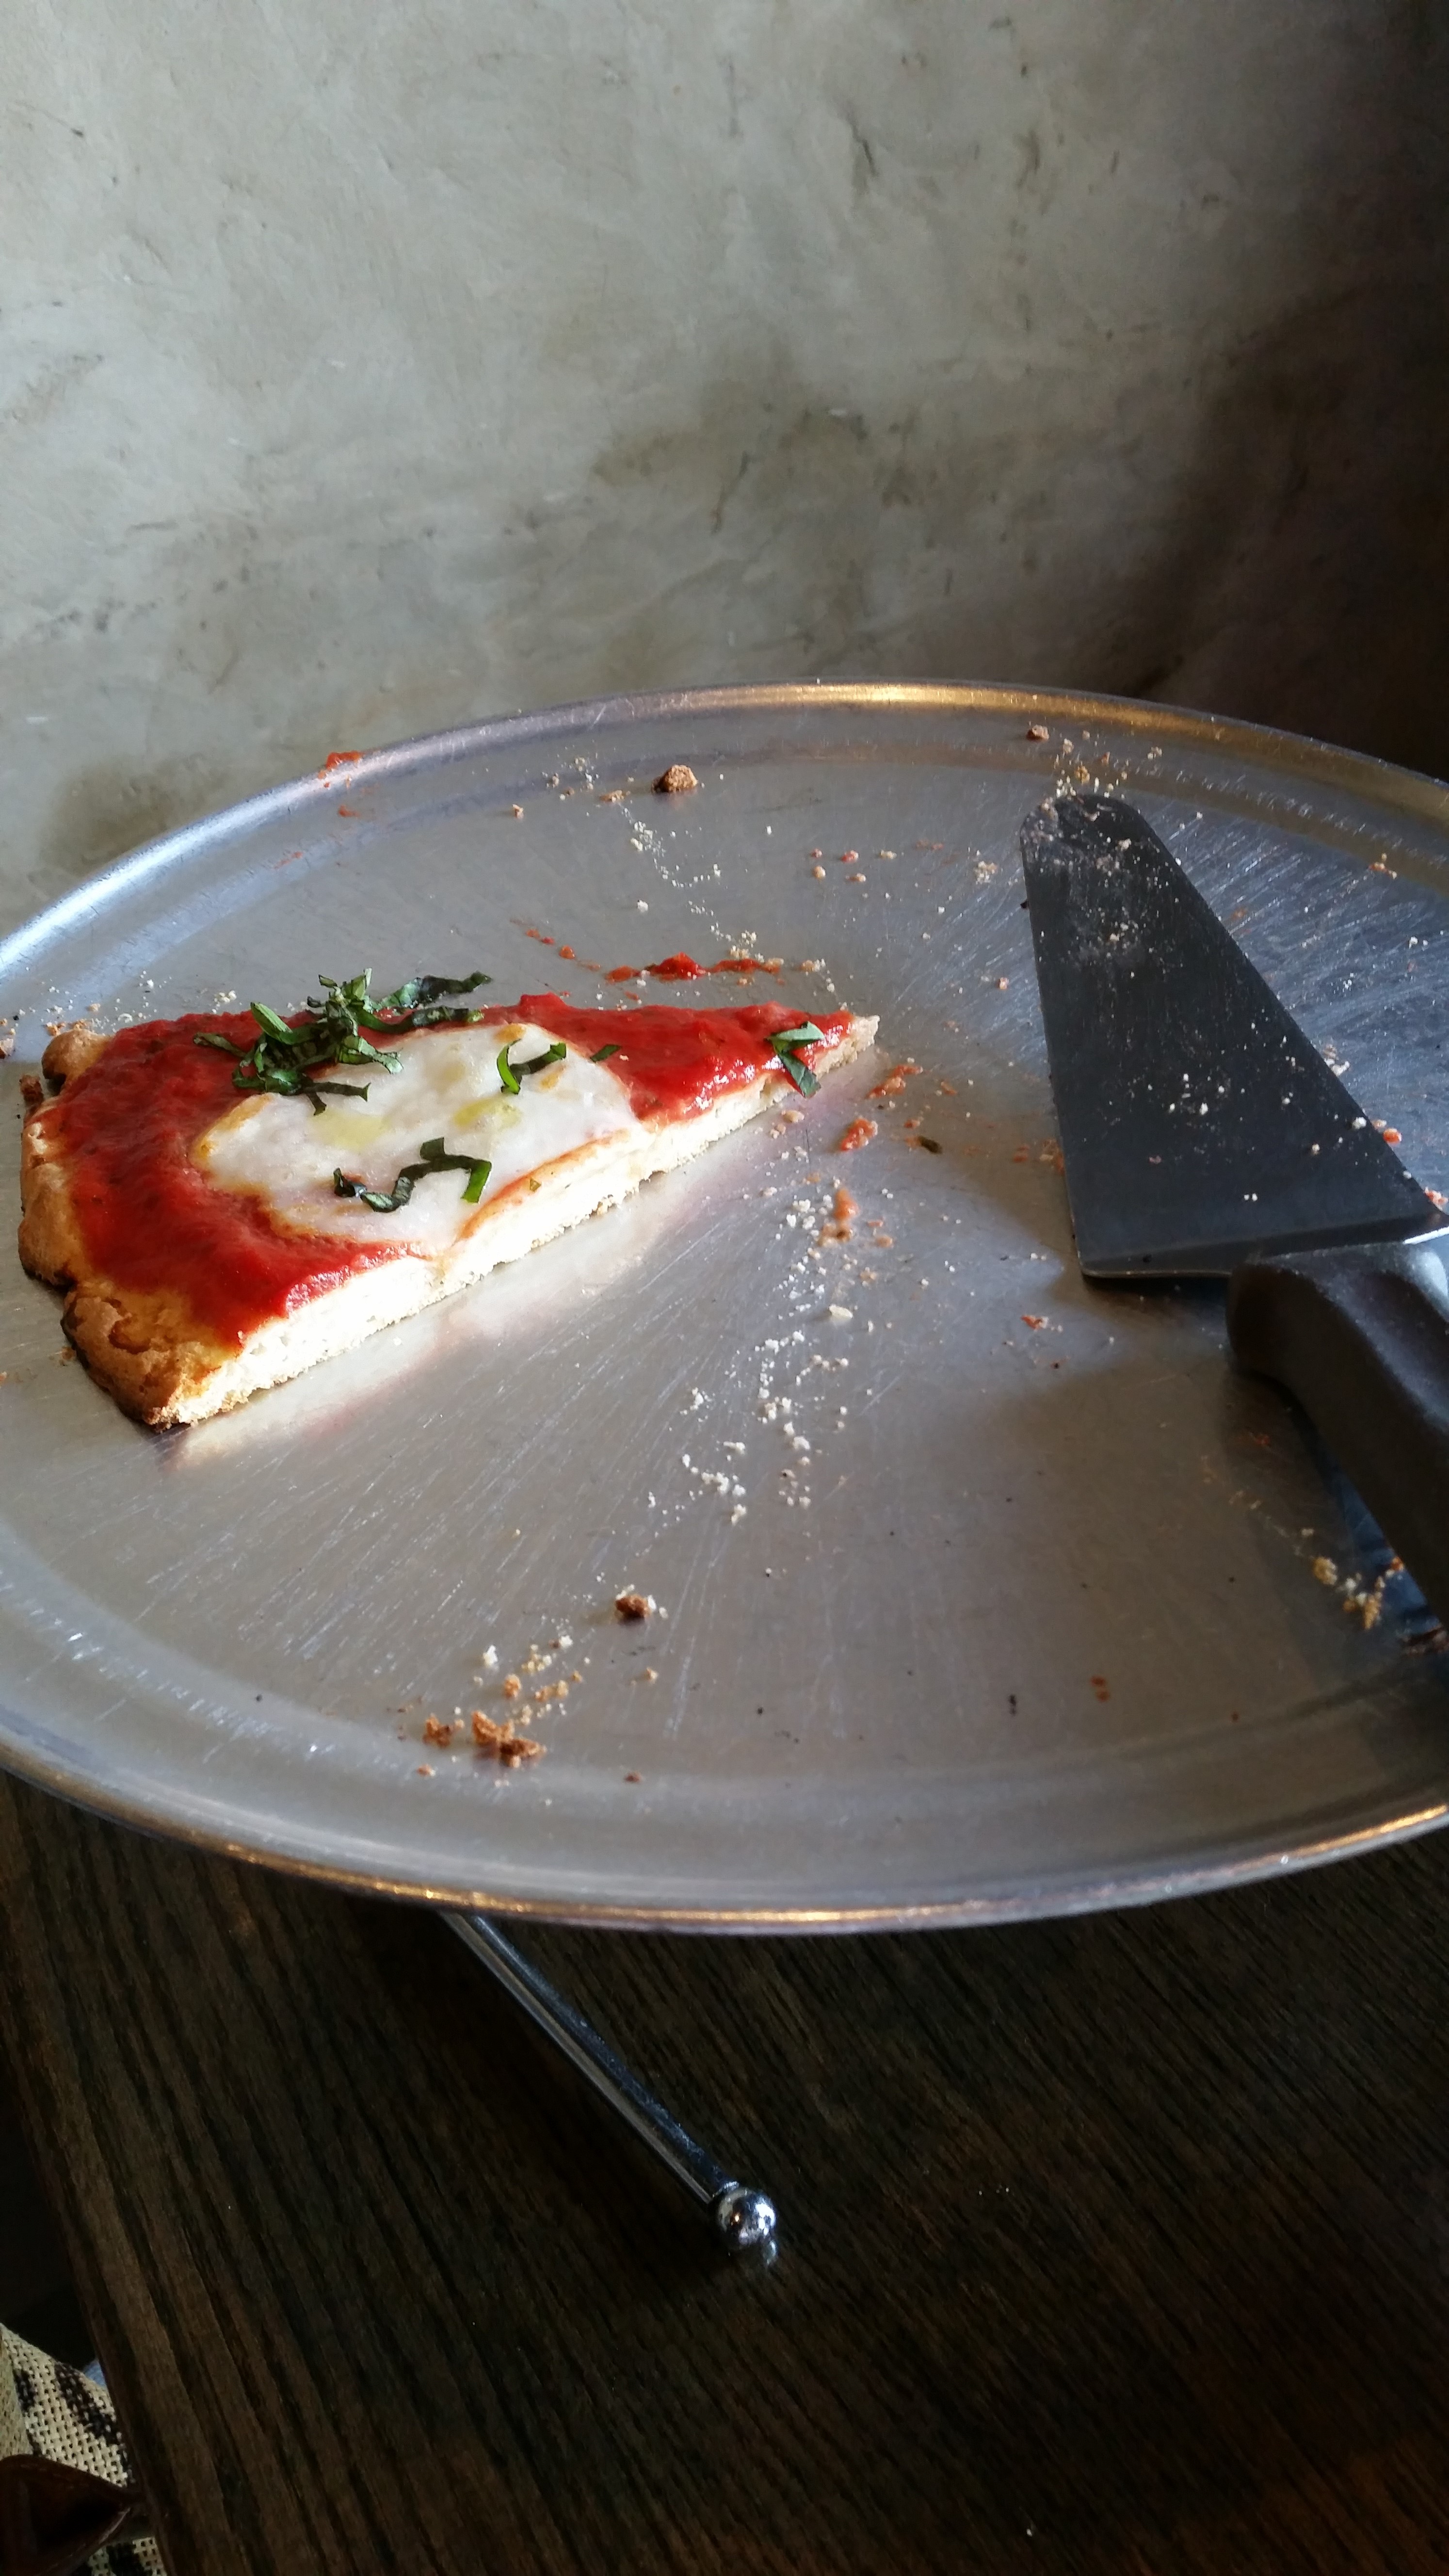
Do you think we enjoyed our pizza?

20150731_154317

20150731_154618

All I kept saying to Lewie was “I wish Daria was here!” and “I wish these people would come to eastern PA!”

Our evening ended with Lewie seeing his favorite Pittsburgh Steelers and a beautiful “blue” moon to boot!

20150731_202546

DSC_0982

A great trip and tons of great gluten-free food!

© 2015, Monica & Daria of glutenfreedoubletalk

To see our gluten-free adventure in Bedford in 2014 link to:

https://glutenfreedoubletalk.com/2014/08/09/a-lovely-little-place-called-bedford/


Summer means strawberries!

Monica says:

One of our favorite summer pastimes when Daria and Claudia got out of school was to go picking our own strawberries at a nearby farm!

20150619_133400

We made it an annual expedition and made sure that we had our containers ready, the correct clothing on, (including our hats), wore sunblock…the works!

It was so hard not to eat the berries while picking them! I remember when each of the girls had braces and I warned them that if they ate any while picking, the farmer would have to weigh them, too! Too funny!

Besides just stuffing our faces with fresh strawberries, our favorite thing to make with our “strawberry haul,” was strawberry pie! It became a birthday tradition for many years, as we three girls are Junebabies!

Picking these little powerhouses of Vitamin C was always so much fun! Since the girls have been living on their own for many years, we have not been able to resurrect this tradition!

That’s why I was so happy when my nieces, Dawn (mom) and Emily (daughter) expressed an interest in going to pick strawberries this year! I was ready to go!

11048717_10203909930939809_7630594314618837166_n

We set out at 7:30 am ready to beat the heat and drove to a great little farm with our bowls and containers (I washed and saved all of my plastic containers from purchasing blueberries, strawberries, raspberries, and blackberries in the supermarket). We were pumped and ready to get started!

20150616_103619

The farmer pointed out a field (WAY across from the stand) that he claimed was ripe and ready to be picked…

we looked at each other and agreed to make the trek!

And boy, was it worth it!

Within 45 minutes, we had picked our little hands off!

11412131_10203909931139814_8447801325464340590_n


11403245_10203909930699803_8180117301863877010_n

And just in the right amount of time because it started to get super-hot and humid! Our trip home was sweet-smelling!

20150616_091912

Now to decide what to make with all of this yummy goodness!

While pie was tempting, I decided to make strawberry shortcake. And I was thinking about using a prepared mix to hasten the baking process (since the strawberries were so ripe and needed to be eaten).

I also wanted to limit the sugar content in the shortcakes and let the strawberries shine! So here is what I came up with!


20150618_191435

GF Strawberry Shortcakes

Ingredients

3 cups Pamela’s Gluten Free Baking & Pancake Mix (plus a little more if it’s too runny!)

¼ cup sugar

1/3 cup cold butter

¾ cup milk of your choice (we used Lactaid milk)

3 eggs, beaten

¾ teaspoon vanilla

4 cups (1 quart) fresh strawberries, sliced

¾ cup heavy whipping cream, whipped


Directions

Preheat oven to 400°F.

Prepare cookie sheet with parchment paper.

In medium bowl, combine Pamela’s Gluten Free Baking & Pancake Mix with ¼ cup of sugar. Cut in cold butter with pastry blender or fork.

Beat eggs. Add to mixture. Stir in milk and vanilla. Using an ice cream scoop, drop 2 scoops per shortcake onto cookie sheet.*

20150618_160924

Bake 10 to 12 minutes or until light golden brown.

20150618_160939

Cool 5 minutes.

With serrated knife, split the shortcakes and put whipped cream and a layer of strawberries on each stacked piece.

20150618_191443

Yield: 8 shortcakes

* We made 5 large shortcakes (2 scoops) and 6 small  shortcakes (1 scoop).

NOTE: No sugar was added to the strawberries to enhance the flavor;

they were plenty sweet on their own!

© 2015, Monica & Daria of glutenfreedoubletalk

whisks

20150618_191455

Strawberries have amazing health benefits! They contain wonderful antioxidants that boost your immunity and can aid in the prevention of cancer and cataracts. These little wonders also help reduce the appearance of wrinkles, as they help in the production of collagen!

For more information and reasons to eat strawberries, go to Best Health Magazine online.

20150618_191419

My main reason for eating strawberries is the taste! And I am so grateful to have all of the great health benefits, too!

So if you are looking for a fun way to spend a morning, go strawberry picking!

And then have a very berry day!


© 2015, Monica of glutenfreedoubletalk

The perfect pound cake!

Monica says:

Mother’s Day is coming up this weekend and when I think of my Mom, I recall her either baking or sewing…..and did I mention that she was great at both?

Well, she was!

Me and Mommy

 That’s me and my Mom circa 1961

This brilliant seamstress could sew anything….from curtains to fully-lined coats; she did it all. Having four daughters to keep clothed, she was forever in her “sewing room” cutting, pinning, and stitching. She was so talented that she could make a dress without a pattern…all you had to do was describe it to her and off she went.

One of my biggest regrets in life is not making the time to learn to sew when she wanted to teach me. Being the youngest of the crew, I was not interested in learning anything so domesticated…and because I went to Catholic school for 12 years, we did not have Home Economics class, so I slipped through the cracks!

When I did try my hand at sewing many years later, I basically taught myself and with some help from my oldest sister, I was able to make some simple curtains, pillows, and what I call “nonsense” items….but never took on a clothing project!

If only we could have do-overs!!

Baking on the other hand, was something that I was interested in, and I did get bake with my Mom. She spent countless hours in the kitchen making braided bread, cookies, nut rolls, and more! Our home always smelled incredible and was always so clean and tidy.

She had a talent for making food into beautiful presentations and just enjoyed making people happy, as do I. She loved to “fuss around” and make life a little grander and I know that I definitely inherited this from her!

As you can imagine, my Mom’s baking was legendary in our church parish and school. The nuns who taught at our parish school LOVED her cookies and bread, and looked forward to them on holidays and special occasions. One time I remember the nuns were concerned because my Mom hadn’t sent them any baked goods, so they asked my sisters and me if our Mom was sick. Yes, she actually was! So they sent special prayers up to heaven to get her well quickly so they could enjoy her goodies again….it’s funny how you remember the simple things!

We lost my Mom in 1997 and consequently, she wasn’t alive when Daria and I were diagnosed with celiac disease, but I know she would have tried to adapt many of her recipes to be gluten-free…she was just like that!

In the recipe that follows, we combined our favorite spice, cinnamon, with organic coconut palm sugar (the secret ingredient), to make the streusel, that flavors and creates a beautiful look to this classic pound cake…and of course, we added baby pecans to give us a bit of protein. You can use walnuts or almonds if you prefer.

DSC06433

Anyway, this post is for my Mom and Daria’s “Grammy”….

a perfect gluten-free pound cake inspired by a wonderful woman!

DSC06438

Cinnamon Swirl Gluten-free Vanilla Pound Cake

Dry ingredients for Cake:

2 cups King Arthur Gluten Free Flour or flour blend of your choice

¾ tsp xanthan gum

2 tsp baking powder

¾ tsp baking soda

1 tsp Egg Replacer

1 cup sugar

Wet Ingredients for Cake:

½ cup or 1 stick softened butter

1 cup sour cream

1 tsp vanilla

3 eggs

Streusel Topping:

3 T Organic Coconut Palm Sugar

1 tsp cinnamon

1 cup chopped pecans

1 T softened butter

Directions:

Preheat oven to 350˚ and grease a loaf pan (9” x 5”) and dust with gluten-free flour.

Whisk flour, xanthan gum, baking powder, baking soda, and Egg Replacer. Set aside.

Beat sugar and butter until fluffy and light.

Now add dry ingredients to the sugar mixture and beat until just blended. Beat in sour cream and vanilla until smooth.

Add eggs, one at a time, and beat the mixture one more time!

Spoon half of the batter into a prepared pan. Mix together the streusel ingredients and spread half over the batter.

Now spoon on the remaining batter and top with the rest of the streusel.

Use a knife to swirl the streusel through the unbaked cake.

Bake for about 55 minutes OR until a tester comes out clean. (We always use a tester!)

DSC06436

Cool for 10 minutes before turning out of the pan to cool completely on a wire rack.

One large loaf yields 10-12 servings.

© 2015, Monica & Daria of glutenfreedoubletalk    whisks

DSC06440

DSC06442

The cake can be served as is or with ice cream or whipping cream…any way… it is delicious!

DSC06443

So, if you are able to spend a little time with your mom on this special Sunday, enjoy every minute.

A very Happy Mother’s Day to all of you that are moms and moms-to-be!

Special blessings to my niece Amanda and hubby Gary, who just had a little one on April 28th….welcome to the crazy family, beautiful baby Audrey!

11203102_846033902110657_8434260817480262888_n

Big sister Gracie is more than excited to share with you!

054

These are my two blessings, Claudia and Daria….love them with all my heart!

Girls and me W'burg VA 2006

This picture was taken in Williamsburg, VA, when Daria was on her pastry externship

from the Culinary Institute of America.

And last, but certainly not least, a Happy Mother’s Day in heaven, Mom! xos

© 2015, Monica of glutenfreedoubletalk

Get your apple pie on!

Monica says:

Nothing tops off a meal like a piece of pie.

Truth be told, I prefer pie to any other dessert…I just love the crust and fillings and the fact that pie can be served à la mode ….it doesn’t get better!

DSC05703

So when I looked in my refrigerator’s fruit bin and realized that I had way too many Granny Smith apples, I decided to take care of the problem.

My solution?

Bake an easy apple pie!

This recipe calls for a bottom crust only so you can make your pie crust from scratch or buy a ready-made one! Your choice!

We previously posted a recipe for a gluten-free pie crust so if you want the recipe go to our post on this blog, “It’s National Quiche Lorraine Day!” which includes “Mom’s Water Whip Pie Crust”   

And now time to make your tummy happy!

DSC05694

Open-faced Apple Pie

Preheat oven to 375˚ and prepare a gluten-free pie crust for the bottom of your pie.

Ingredients:

6 large Granny Smith apples, cut into 1/8” slices

¼ cup light brown sugar

2 T granulated sugar

sprinkle of Turbinado sugar

2 T Arrowroot starch

1 fresh lemon, zested

1 T fresh lemon juice

2 T orange juice

1 tsp cinnamon

¼ tsp nutmeg

2 T melted butter

1 pie crust (bottom only)

Directions:

Once you’ve made your pie crust and placed it in the pie plate, cut your apples and set aside.

Next, combine the light brown sugar, granulated sugar, Turbinado sugar, Arrowroot starch, zest of one lemon, lemon juice, orange juice, cinnamon and nutmeg in a large bowl. Mix well. Add apples to coat and let rest for 10-20 minutes, stirring at least 2 times.

Once the apples have become coated, place the mixture into the crust. Pour the melted butter evenly over the top.

Place the pie pan on a rimmed baking sheet.

Bake 20 minutes @ 375˚ and then reduce the temperature to 350˚. Continue baking until apples are tender, about 45-50 minutes or so.

Cool on a wire rack.

DSC05695

Serve with whipped cream or ice cream….whatever your little heart desires!

DSC05704

Just enjoy!

© 2015, Monica of glutenfreedoubletalk   whisks


Nothing beats a Pennsylvania Whoopie Pie!

Monica says:

Spring has sprung and it’s my sister Dina’s birthday!

Time to party!

Since we all have grown children, my sisters and I have time now to get together and celebrate each other’s big day. It has really become a great bonding experience for us, not to mention the great food that accompanies the celebration!

This year all I can think of is chocolate!

So I was reminded of a segment on our local television station many years ago, where a talented local chef was featured baking a gluten-free cake.

I sat there riveted with pen and paper in hand, writing down her recipe to try and replicate it someday.

Well, this talented young woman, Jen Yemola, went on to become one of the final three contestants in the 2007 Hell’s Kitchen competition with Chef Ramsey!

Here is a link to an interview that I found online regarding her experiences on the show…

http://www.fansofrealitytv.com/forums/official-articles/66324-hells-kitchen-3-interview-jen-i-wasn-t-going-anybody-s-doormat.html

I’ve made this cake several times over the years, and one time in particular stands out….this creation was brought to school with me for a birthday celebration and one of my carpool buddies, upon tasting it said, “Is it bad manners to want to lick the plate after eating this?”

For Dina’s birthday, I decided to make whoopie pies (since I bought the pans a while ago) and I wanted to make a peanut butter filling for them….we all LOVE the combination of chocolate and peanut butter in our family!

DSC06356

DSC06358

So without further ado….here is the recipe I transcribed!

Thank you, Jen!

Gluten Free Chocolate Whoopie Pies or Cake

Dry Ingredients

1 ½ cups sorghum flour

1 ½ cups tapioca flour

1 cup Dutch cocoa (I used Hershey’s Special Dark Cocoa)

2 tsp baking soda

1 tsp xanthan gum

1 ½ tsp salt

2 cups brown sugar

Wet Ingredients

2 large eggs

1 cup 1% milk (I used Silk Light Vanilla Soy Milk)

2 tsp vanilla

2/3 cup veggie oil

1 ½ cups HOT coffee (I used instant dark roast)

Directions

Thoroughly mix all dry ingredients together. (If using a stand mixer, mix with paddle attachment at speed 2).

Now whisk together the eggs and milk in a separate bowl. Add in vanilla and veggie oil and whisk again.

Slowly add the wet mixture into the dry.

Let the mix get a little tough and then SLOWLY add in the 1 ½ cups of HOT coffee until well combined.

Using whoopie pie pans, fill each one 2/3 of the way (mine are Wilton and didn’t need to be sprayed with Pam!).

Bake @ 325˚ for 10 minutes, turning the pans around after 5 minutes.

Cool on wire rack and remove from pans after 5 minutes.

DSC06350

DSC06351

Yield: 14 whoopie pies or 28 individual cakes; can be made in a 9” x 13” pan as well (use parchment paper sprayed with non-stick spray).

© Recipe by Jen Yemola of Jentastic Sweets

We were pleasantly surprised this year by the addition of our sweet Ava (granddaughter of my sister Lucia) and her hubby, Neil, who joined in the celebration!

DSC06361

DSC06365

And did I mention that Dina received a whoopie cushion to keep with the theme of the party?

Yes, we love to have fun!!

Hope you try this moist, rich, decadent recipe…it’s a keeper!!

© 2015, Monica of glutenfreedoubletalk

Celiac Awareness in an unlikely place!

Monica says:

When my friends, Carmine and Francine, invited me to their antique store, The Shop 2, to be the featured guest in celebration of Hazleton’s Second Friday, I was a little hesitant at first. I said, “Let me think it over.”

I was hoping that my partner, Daria (my daughter), might be able to join me in this adventure, but just having started as the Executive Pastry Chef at The Mill in Hershey, I knew it was a longshot!

“Oh, Mom, just do it and have fun!” was her response. So I thought, “Why not?”

“Yes, I’ll do it!” was my response to Carmine. She wasted no time in letting the association who coordinates Hazleton’s Second Friday about my visit, and the next thing I know, I am speaking with Jill Whalen from our local newspaper! Here is the result of my phone interview!

Alright…now to decide on which gluten-free goodies I will make for the open house.

It’s fall and what do most people crave in the fall? Pumpkin? Chocolate (that’s a given)? Apples?

Of course….all three!

So I immediately go on a hunt for recipes….if you’ve read any of our previous posts on this blog, you will remember that I am a recipe addict! I have tons of recipes written down on paper, too many cookbooks to name, and a recipe file on my computer.

Pumpkin, pumpkin, pumpkin….how about a great pumpkin bread?

I look over a few recipes and then consult with Daria and viola! A pumpkin bread recipe is born!

DSC04940 _2


DSC04957

Gluten-Free Pumpkin Bread

2 ½ cups brown rice flour

½ cup arrowroot starch

5 tsp pumpkin pie spice

2 tsp baking soda

1 ½ tsp salt

1 tsp xanthan gum

4 large eggs

1 cup veggie oil

½ cup fresh orange juice

2 ½ cups granulated sugar

1 can pure pumpkin (15 oz.)

1 cup dried cranberries (we like Trader Joe’s brand)


Preheat your oven to 350˚F. Grease with shortening and flour with brown rice flour, two 9 x 5 inch loaf pans, OR one 9 x 5 and 4 small loaf pans (which I did).

Whisk all of the dry ingredients together. In another bowl mix eggs, oil, and orange juice. Then add the sugar and pure pumpkin. Blend on medium-high if using a stand mixer or handheld mixer until thoroughly combined.

Now add dry to the pumpkin mixture. Mix until well combined.

Stir in the dried cranberries if you are adding them.

Bake for 45 minutes to one hour. Watch the small pans if you are using them! You may need to adjust the time.

Cool for at least 10 minutes in pans before attempting to remove them. Let the breads cool completely on wire racks.

© 2014, Monica & Daria of glutenfreedoubletalk    whisks


Chocolate, chocolate, chocolate….how about a no-bake recipe?

Daria’s friend Amanda visited with us a while ago and brought with her some delightful no-bake chocolate balls. So thanks to Amanda from Michigan for this recipe!

DSC04940

Chocolate Orange Balls

1 cup Almonds

1 cup Pecans

Pinch of salt

1/3 cup honey

3 T cocoa powder

½ tsp vanilla extract

½ cup shredded sweetened coconut

½ cup chocolate chips

Zest of 2 oranges

Extra crushed pecans (about 1 cup)


Using a food processor, pulse almonds and pecans until finely chopped.

Add salt, honey, cocoa, vanilla, shredded coconut, chocolate chips and zest.

Process until well combined.

Roll chocolate mixture into 1” balls. Roll each ball in crushed pecans.

© 2011, Amanda Schmidt

DSC04956

Notes from Monica for chocolate balls:

I used Hershey’s Special Dark Cocoa Powder and Ghirardelli semi-sweet chocolate chips.

Rolling the balls is super messy…. and you lose too much of the dough, because it’s so sticky! I ended up forming balls with my fingertips. Much better!

I made this recipe twice…did not double it initially due to the size of my food processor. In total the 2 recipes yielded a little over 7 dozen balls.


Apples, apples, apples…apple pound cake, anyone?

A great gluten-free blog that we follow is Gluten Free on a Shoestring. The author of this blog, Nicole, has written a few cookbooks, in addition to her blog. We have found them to be wonderful additions to our gluten-free library!

DSC04944


DSC04946

These apple pound cakes are her recipe. She calls them Starbucks-Style Gluten Free Apple Pound Cakes. The batter is delightful….with the addition of the cinnamon, it took everything in me not to just eat it! Oh my goodness…these little cakes came out great!

DSC04955


Last but not least, I wanted to have a vegetable dish for our gluten-free celebration and decided on a Black Bean Salsa. It’s easy and has a great flavor profile!

DSC04958

Black Bean Salsa

2 cans black beans, washed and drained

I bag frozen sweet white corn, thawed

1 large can diced tomatoes, drained

3 green onions (scallions), diced (also dice the stems)

½ green pepper, seeded and diced

½ red pepper, seeded and diced

½ yellow pepper, seeded and diced

2 cups fresh, chopped tomatoes

Red wine vinegar to taste (about ¼ to ½ cup)

1 fresh lemon, juiced

Dried cilantro (1-2 tsp)

Garlic powder to taste

Cayenne pepper to taste

Dash of cumin


Combine all ingredients in a large bowl. Season the black bean salsa to your taste. Serve with gluten-free corn chips or any of your choice! I served Garden of Eatin’ Organic Tortilla Chips.

DSC04959

© 2014, Monica of glutenfreedoubletalk

All in all, we had a great little spread of gluten-free goodies for our guests! Yes?

DSC04960

I can’t tell you how excited I was to meet so many people last evening who are fellow celiac disease sufferers. Many told me of their struggles and triumphs with this autoimmune disease while others who were just diagnosed, were looking for some guidance.

While I had my blog up and running during the open house, I also prepared some handouts and had many posters scattered throughout the store, regarding celiac disease and gluten sensitivity.

DSC04954


DSC04953


DSC04952

If anyone would like any of the information I shared, just email me @ glutenfreedoubletalk@gmail.com, or comment here; I would be happy to share!

Thanks to The Shop 2 for helping to spread celiac awareness! You two are the best!

DSC04951

Hoping everyone got something out of the experience! I know I came home happy!

DSC04962

© 2014, Monica of glutenfreedoubletalk