Who doesn’t love polenta?

Monica says:

Hello friends!

I know that I have been missing in action for quite some time now, and I apologize! Life gets in the way, but today I am here to share a yummy dinner that I recently made.

Normally I don’t watch daytime television, but since being diagnosed with Hashimoto’s thyroiditis, my energy level hasn’t been the greatest! But I am making time for self-care and that’s all you can ask for, right?

Anyway, since I am a fan of ABC’s The Chew, I was watching one day and my mouth began to water!

Michael Symon, the program’s resident Iron Chef, was making an Italian dish that I swore I could smell right through the television….anyone else out there know what I mean?

It’s called Polenta with Sausage Ragu and Fresh Mozzarella and it is so yummy!

Since we are fortunate to have an Italian grocer in our community and the proprietor makes the sausage fresh every Tuesday, I just had to try this recipe!

The only thing I did not follow in this recipe was to use a Dutch Oven…I used a nice fry pan with a lid and it worked just fine.  And of course, I used Bob’s Red Mill Gluten Free Polenta!

Here are some of my pictures as I cooked my way through the recipe!


What could go better with a great glass of wine?

My husband and I thoroughly enjoyed this meal and I will definitely make this again!

This recipe is a KEEPER!

Hope you get a chance to try it and special thanks to Michael Symon (my favorite Iron Chef)!

© 2018, Monica of glutenfreedoubletalk


Chicken and Broccoli Casserole…..gluten free style!

Monica and Daria say:

Everyone has a few meals from their childhood (or from their early motherhood days) that invoke strong feelings of comfort. And while most of the meals for us involve our Italian heritage, there is one chicken dish that brings back many wonderful memories!

That dish was actually shared with me (Monica) by our neighbor and wonderful friend, Carmine. I was talking with her about trying to get the girls to eat more veggies and she remembered that her Aunt Sarah had a casserole that might do the trick!

So, I looked over the recipe and decided to give it a try…..what could I lose?

Well, as luck would have it, we all thought it was a winner and I made it several times over our girls’ growing up. Broccoli became a new favorite and everyone was happy!

Until our diagnosis with celiac disease, that is…we haven’t eaten this casserole for over 14 years!

That is, until now.

We had misplaced the recipe, so we reached out to Carmine recently and asked her if she still had it. It took her a few days to locate it, but lo and behold, she told me she had found it! She was so excited that she even gave me the original recipe, in her aunt’s handwriting, and copied it for herself.

Now to make it gluten-free!

The one ingredient we remembered before seeing the recipe again was Cream of Chicken soup by Campbell’s and we were leery about being able to substitute it with something similar. But we did (even though we don’t normally buy prepared soups) and now we would like to share our version of this 1980s classic casserole.

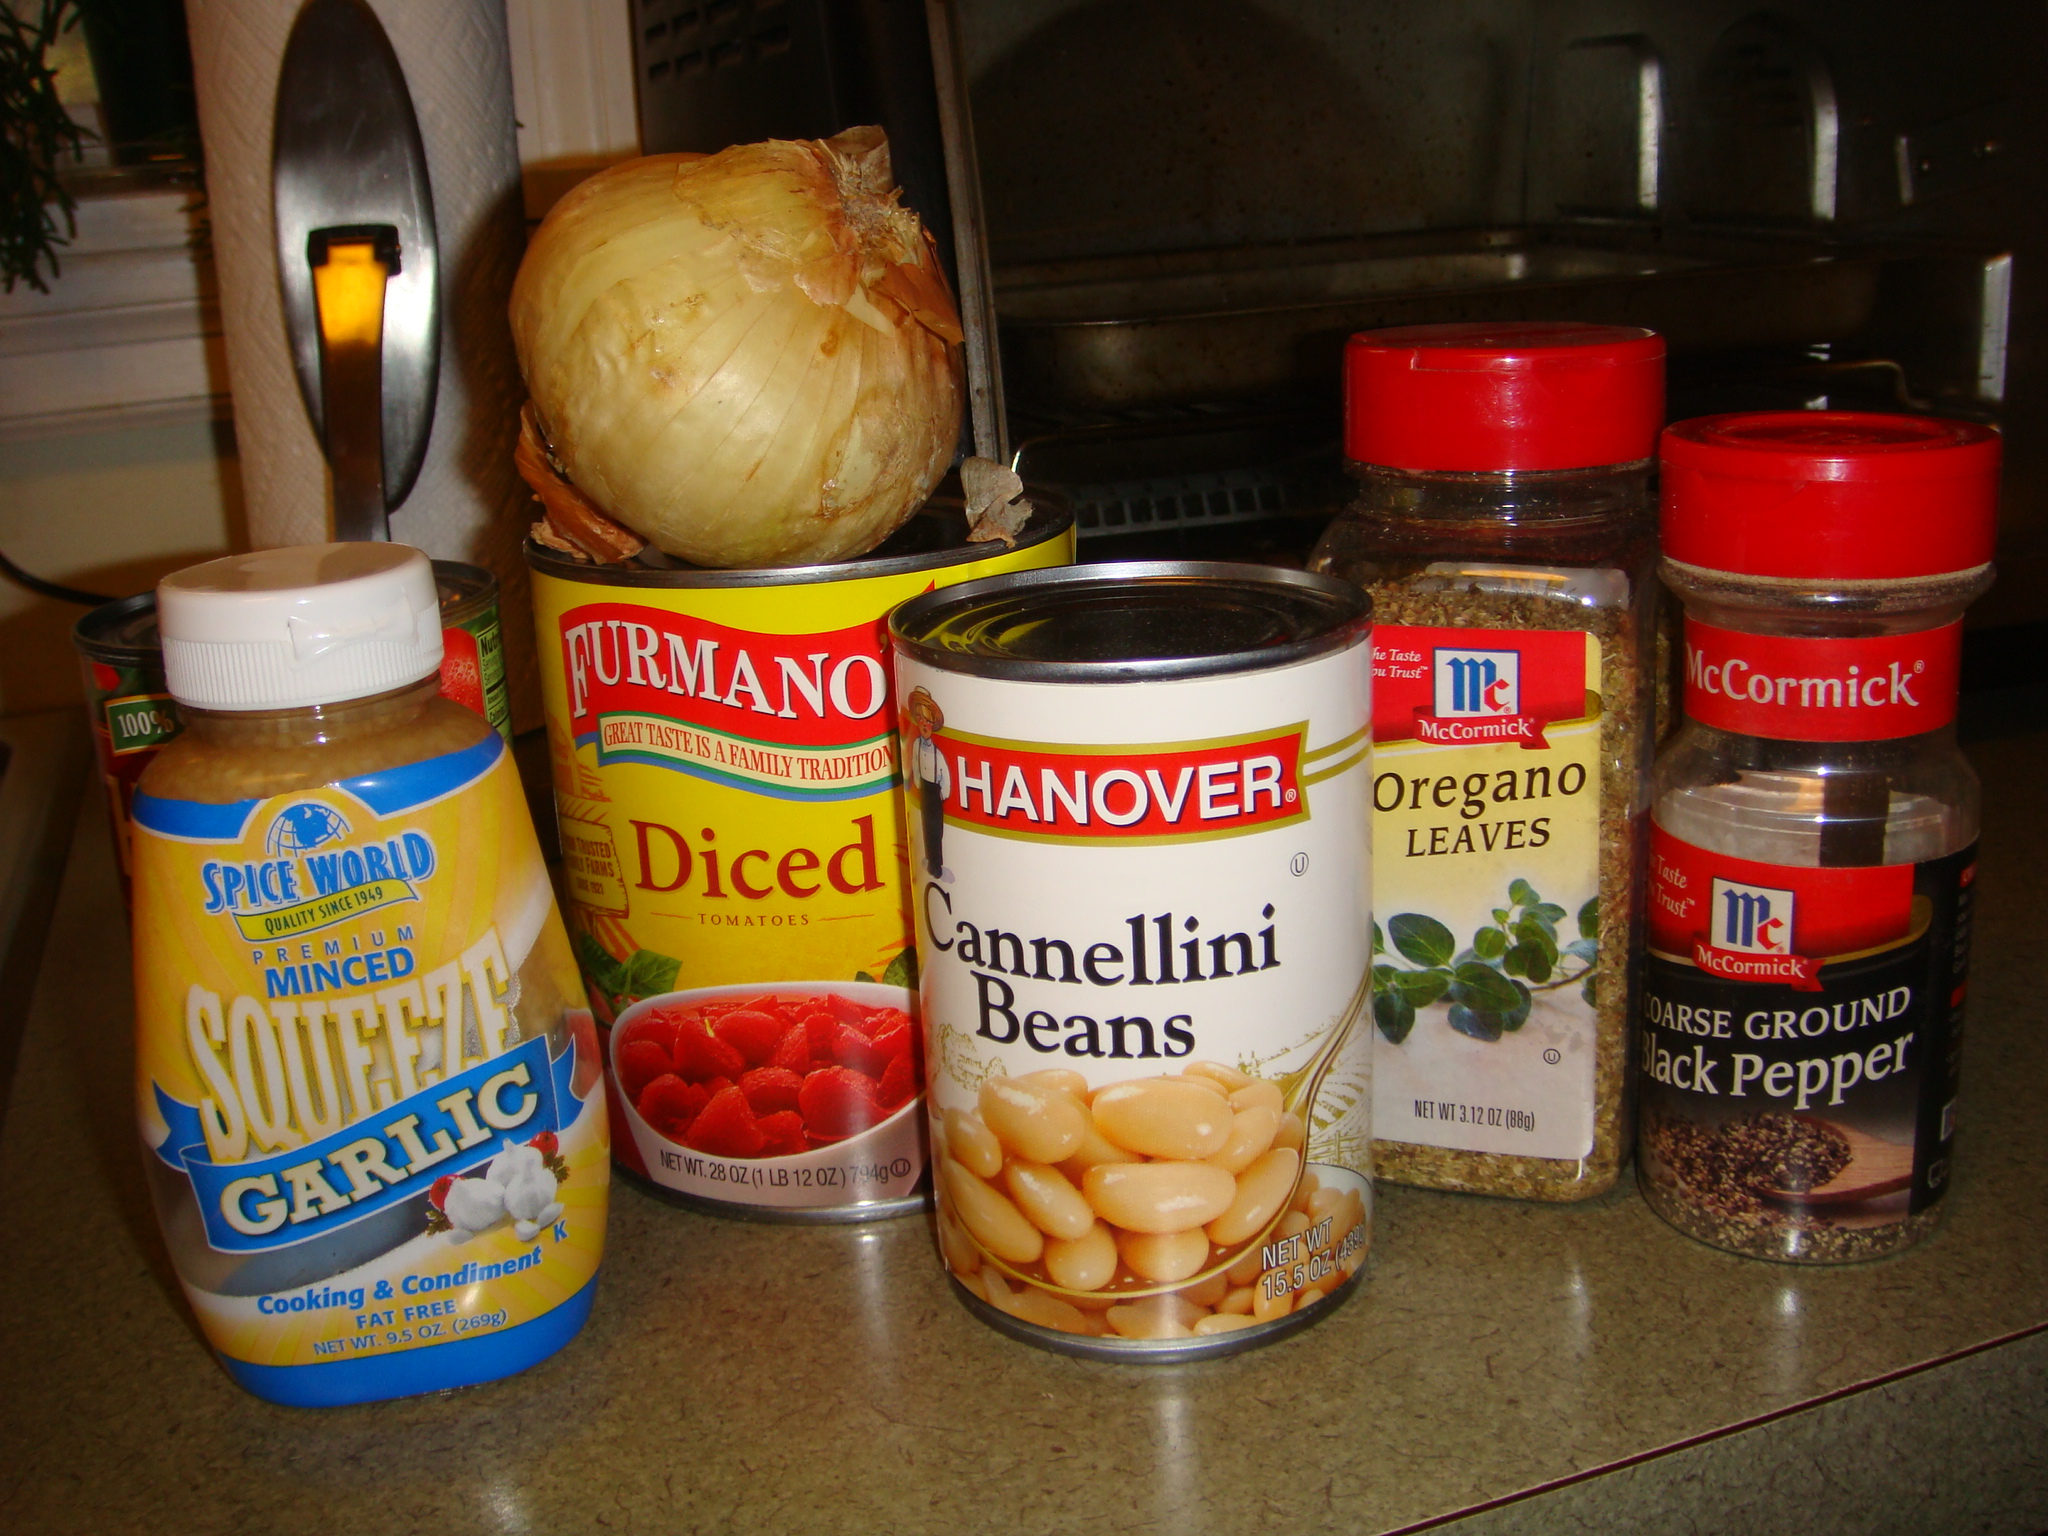
We have placed the original ingredients in parentheses after our GF ingredients, just for comparison.

Our goal here today was to make it as fresh as possible, rather than rely on shelf-ready food. And of course, it had to taste how we remembered it did!

It was a winner, again….14 years later!

20170127_180113

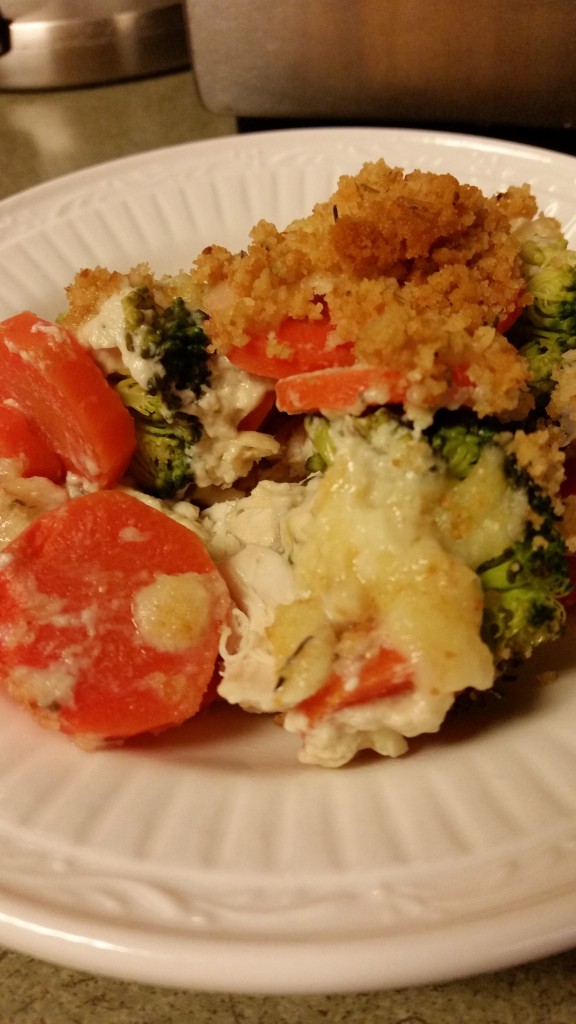
GF Chicken and Broccoli Casserole

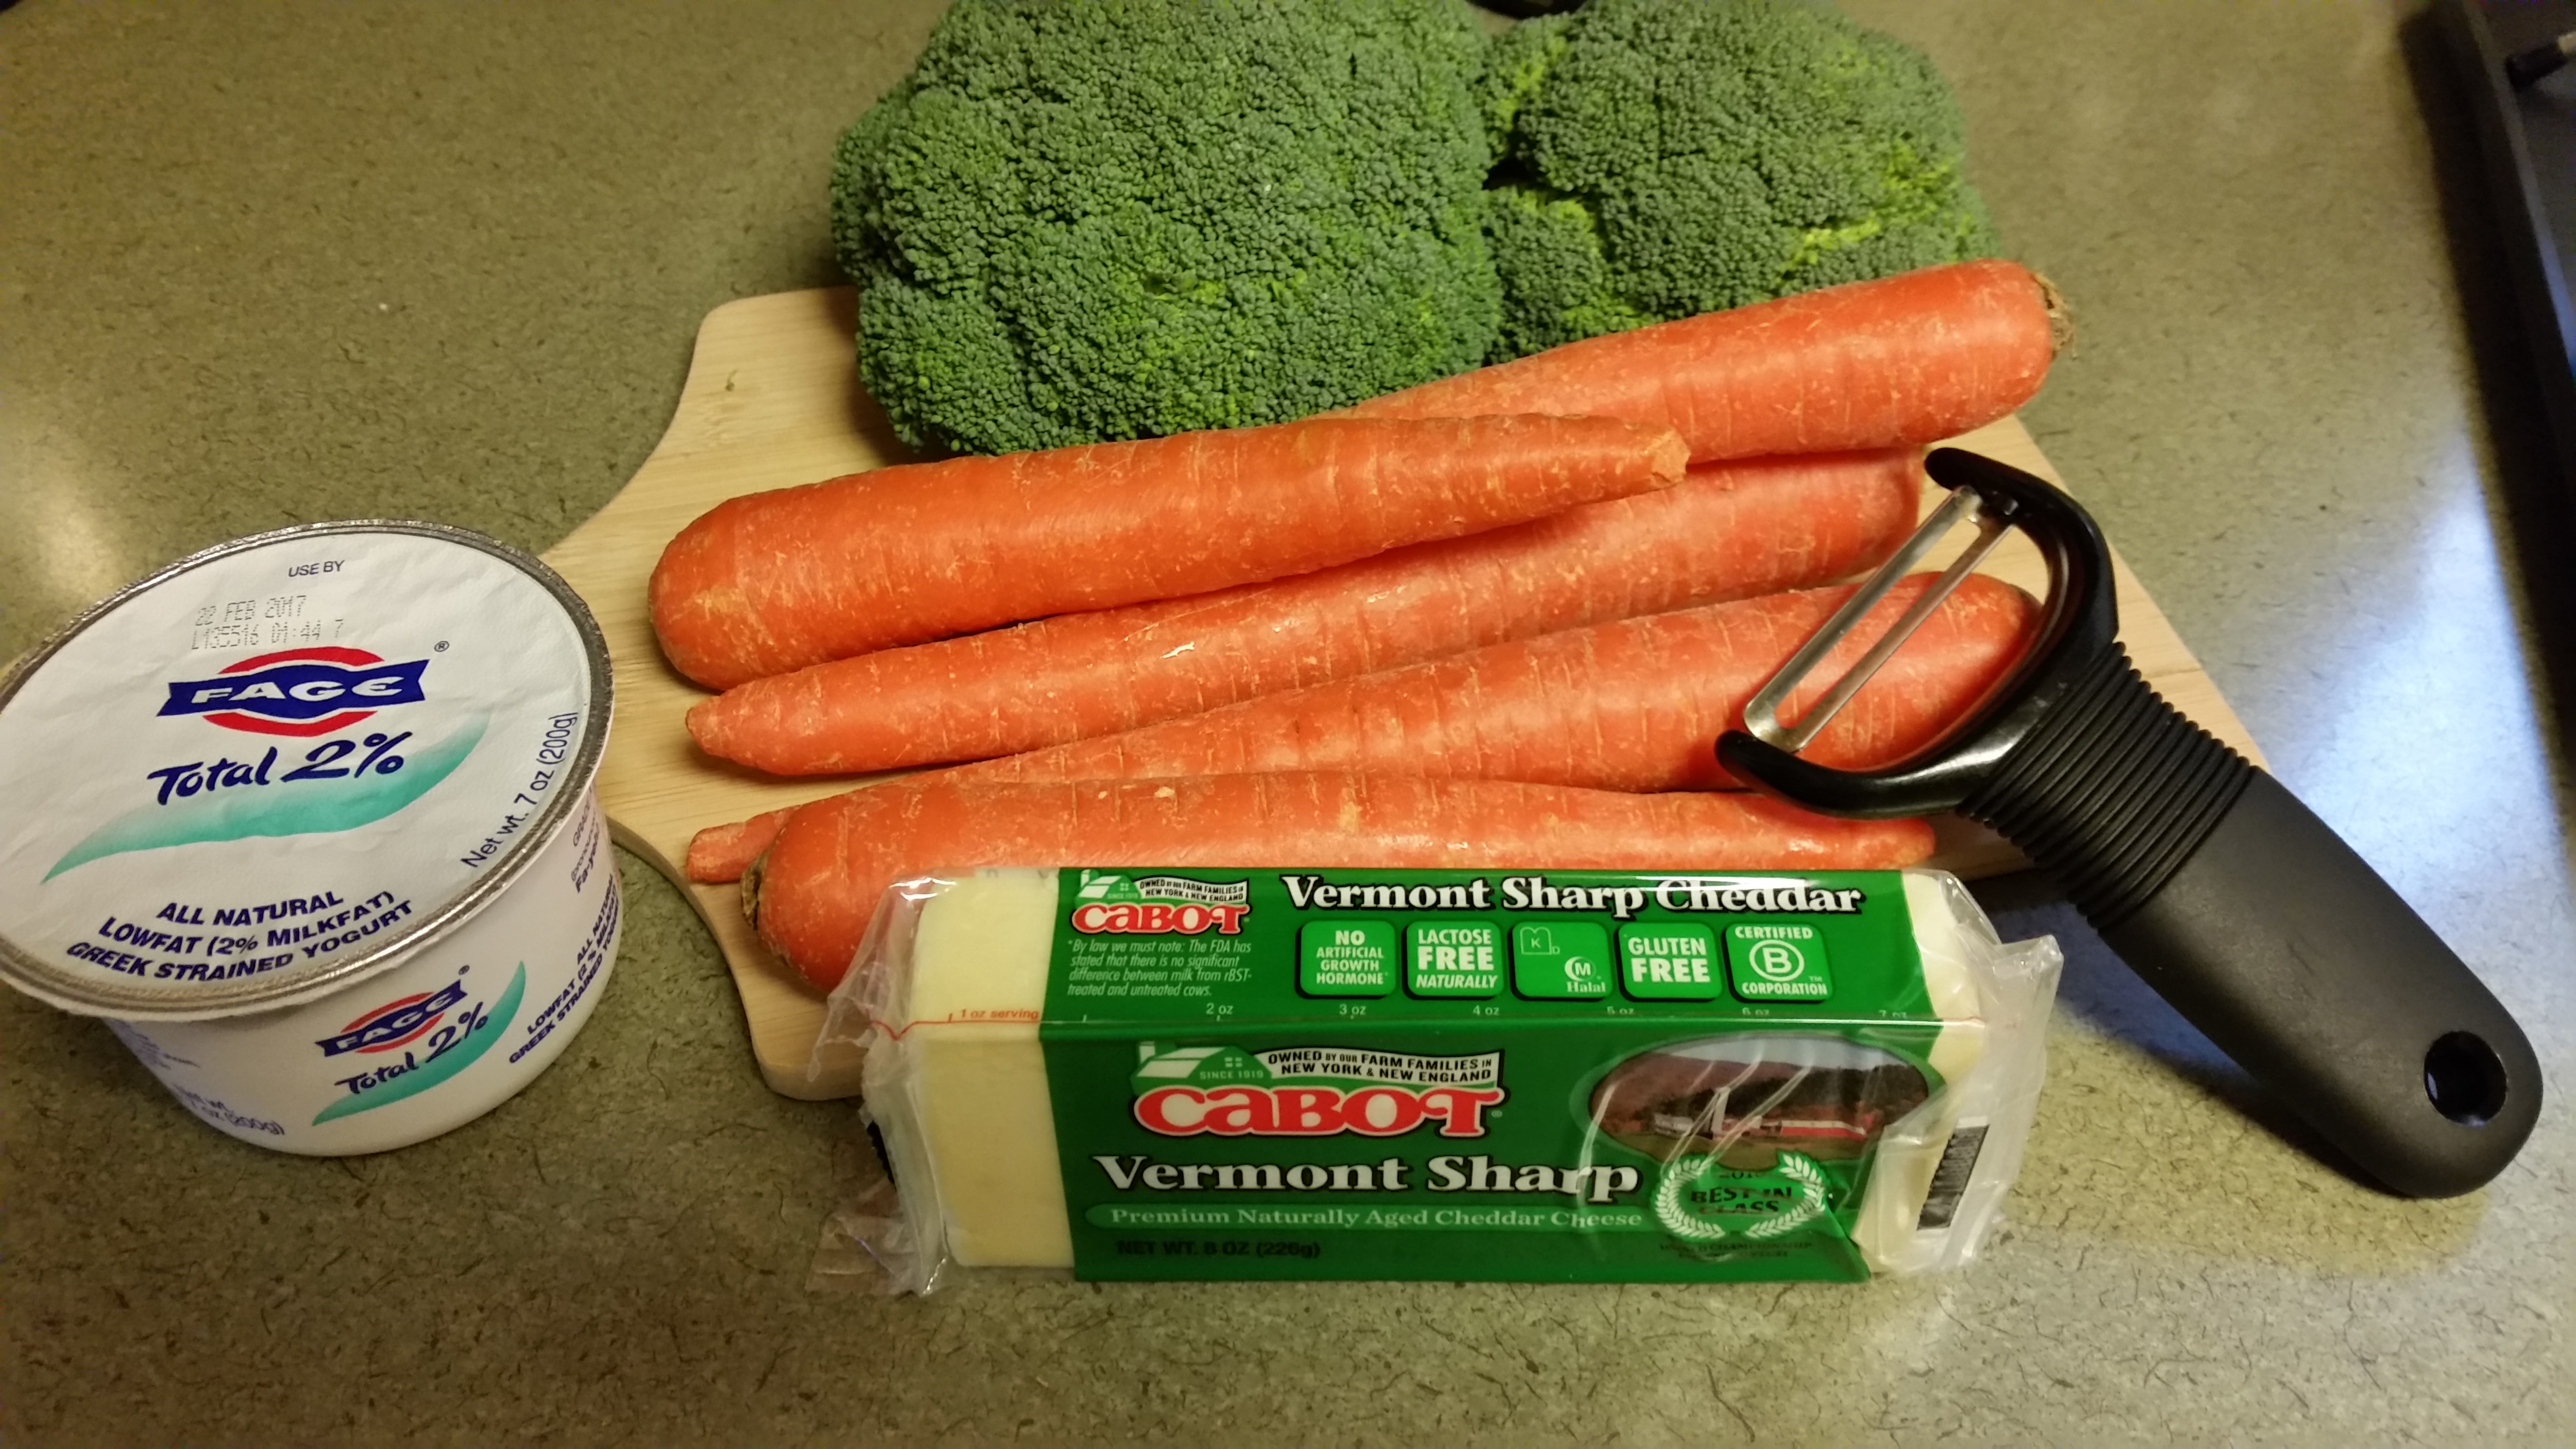
2 fresh organic broccoli crowns (2 10 oz packages of frozen broccoli)

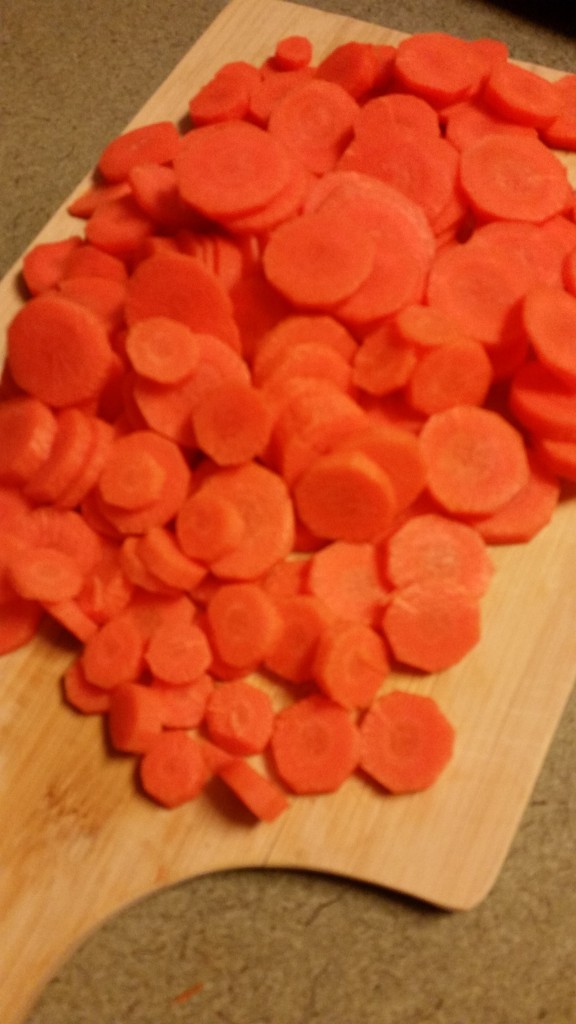
5 large organic carrots, peeled and cut into rounds (2 10 oz packages of frozen carrots)

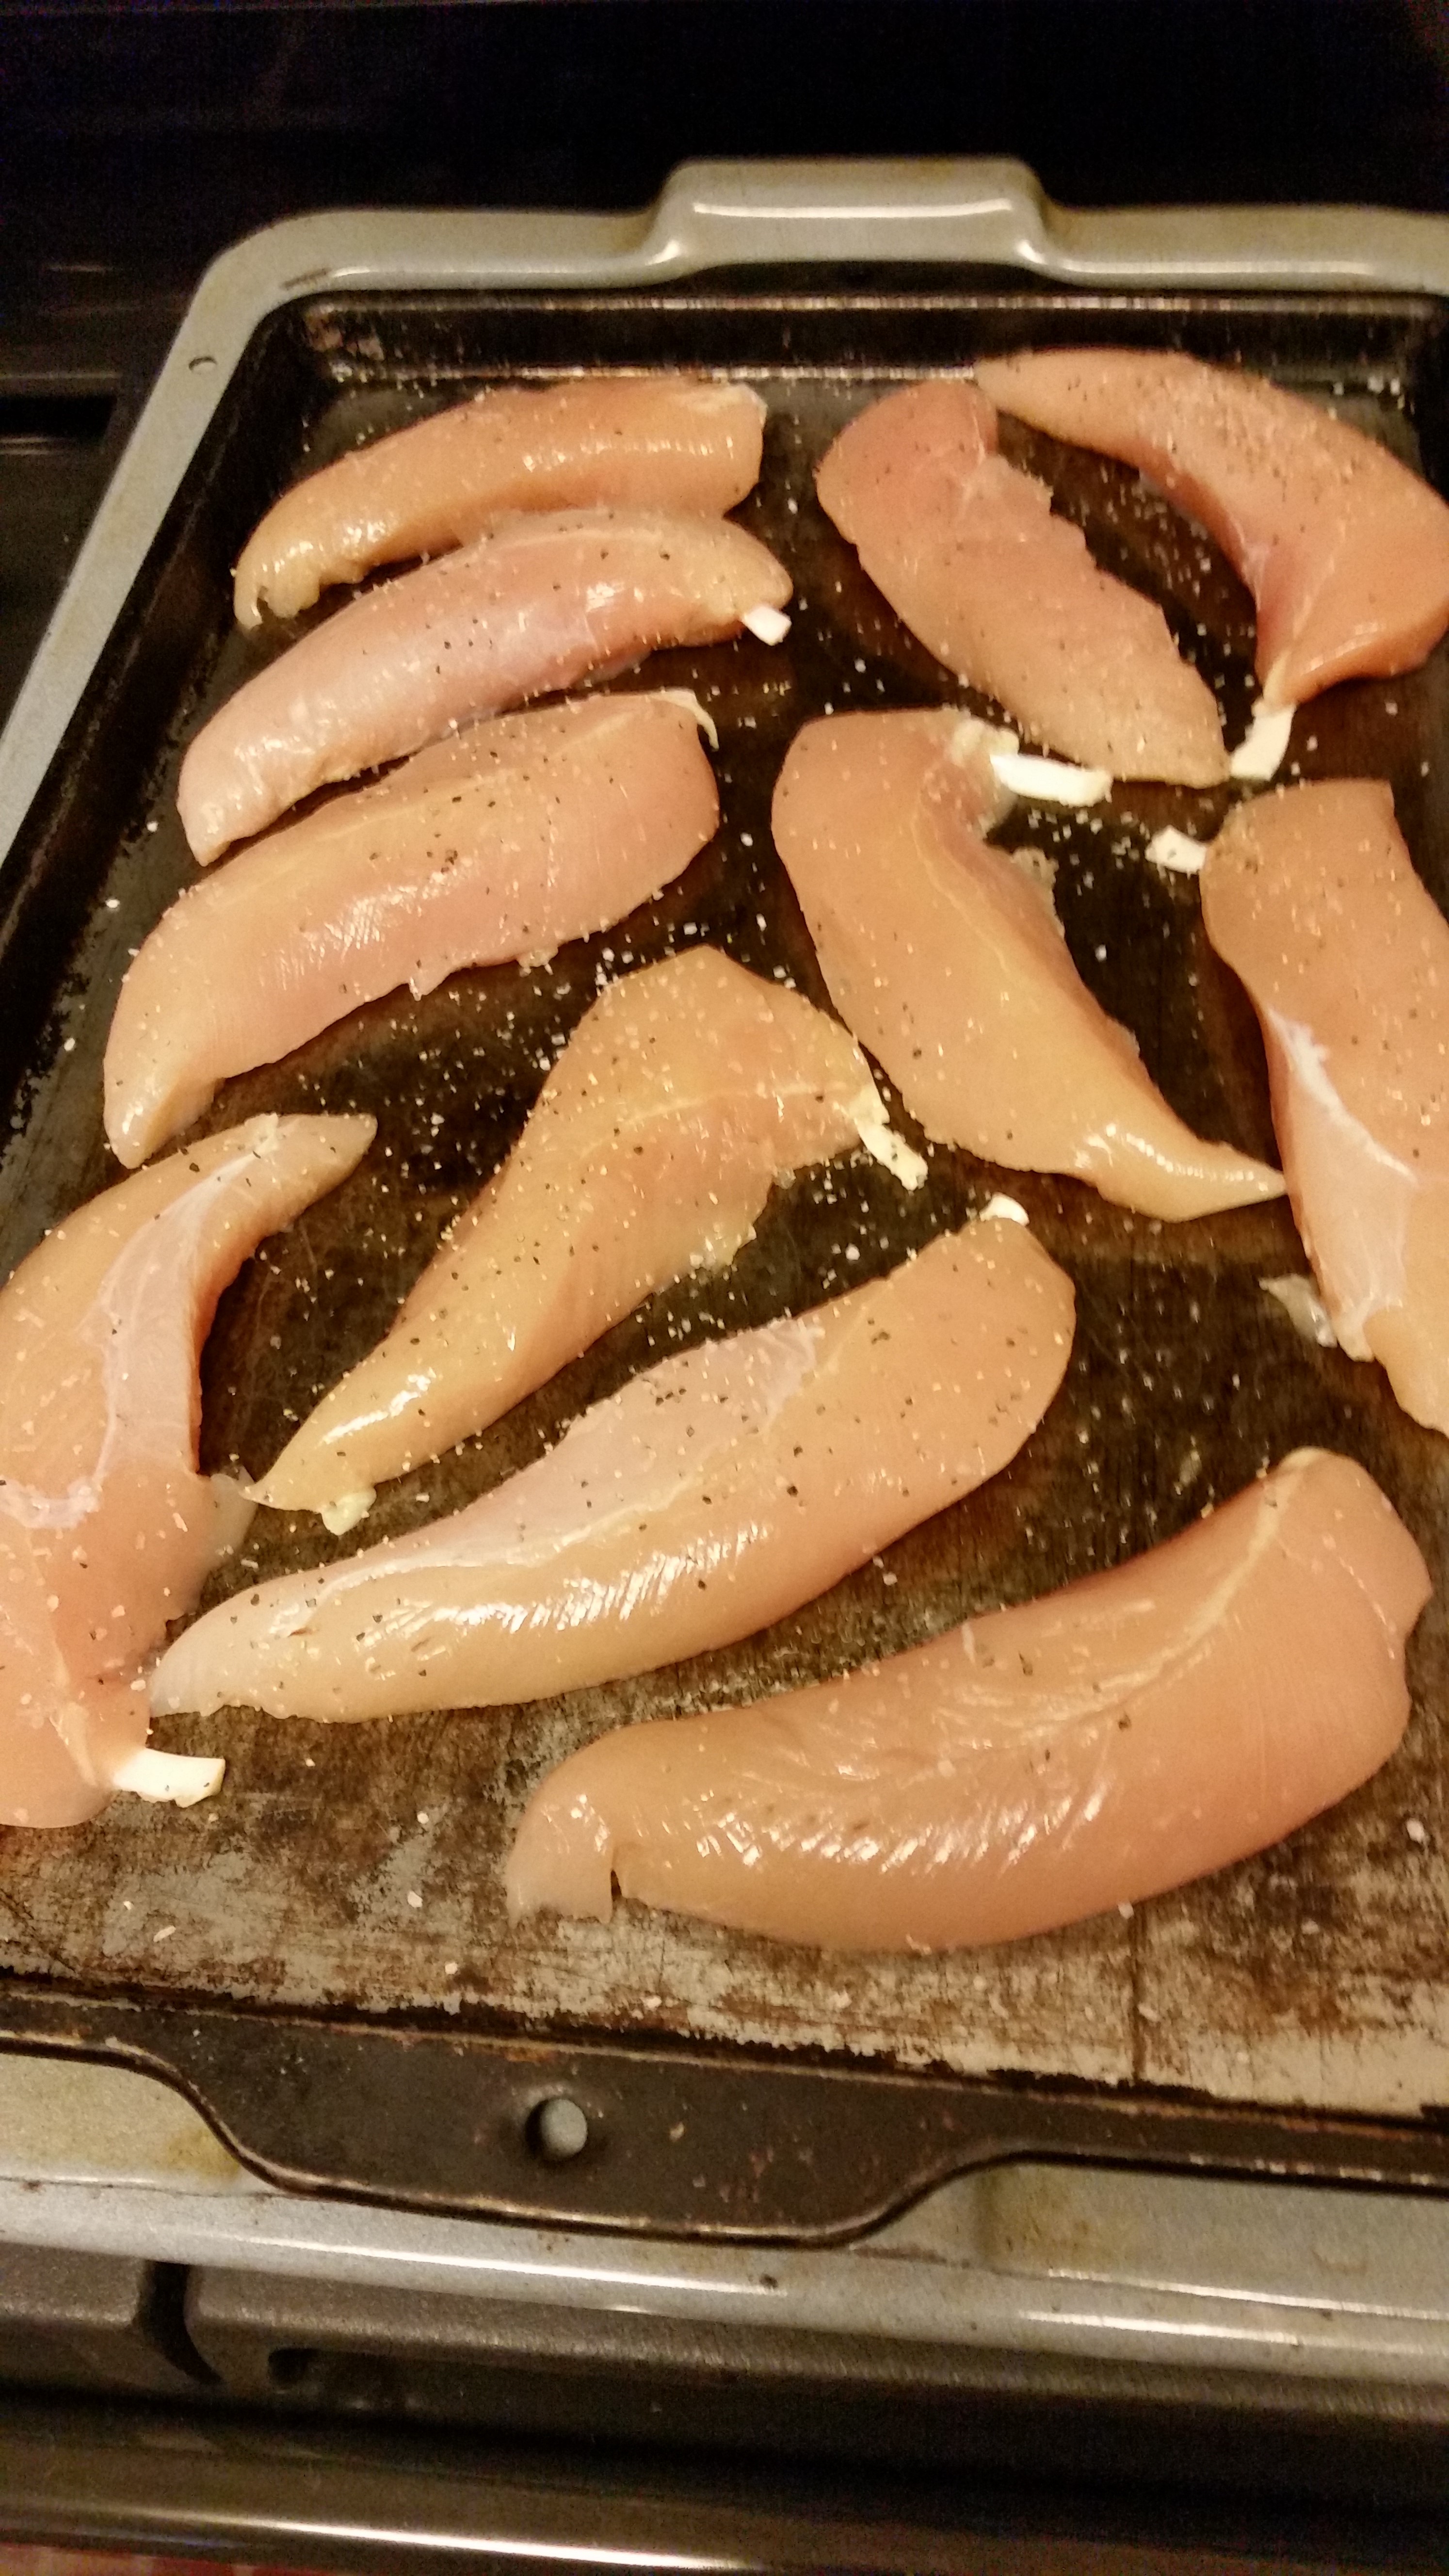
12-14 organic chicken tenders (3 cups cooked and cubed chicken)

10 oz organic sharp cheddar cheese, shredded (10 oz sharp cheddar cheese, shredded)

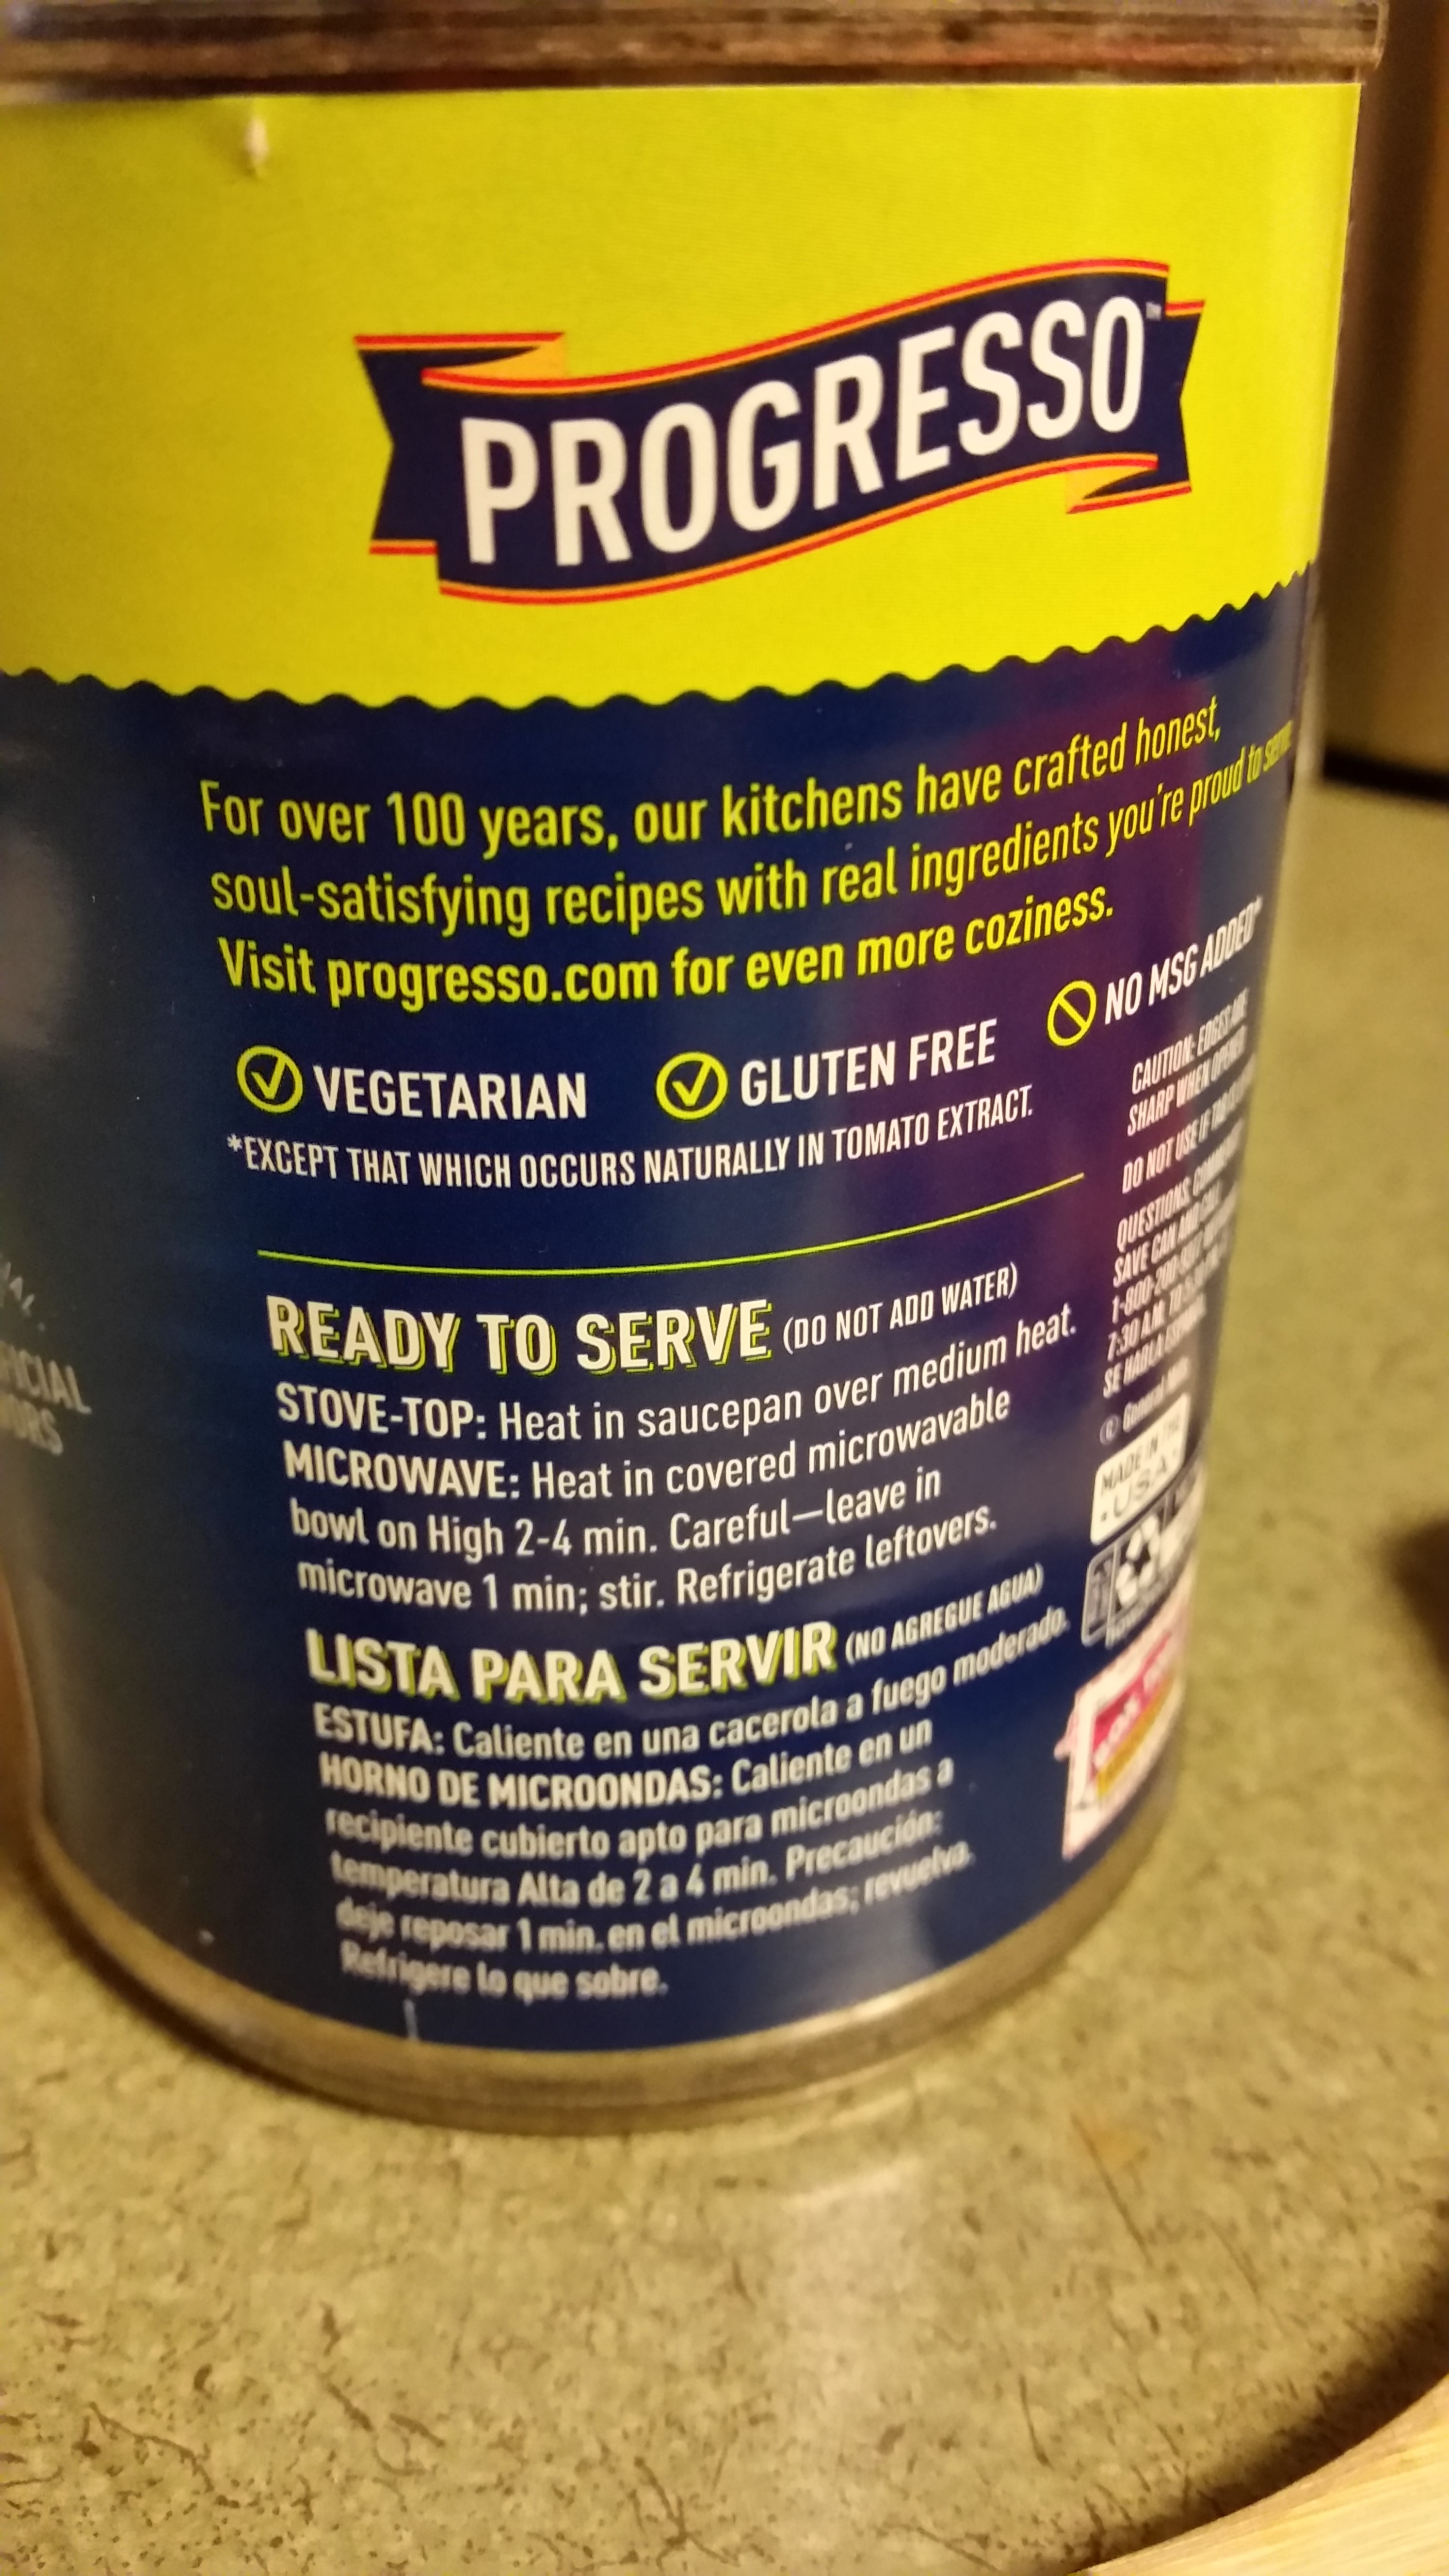
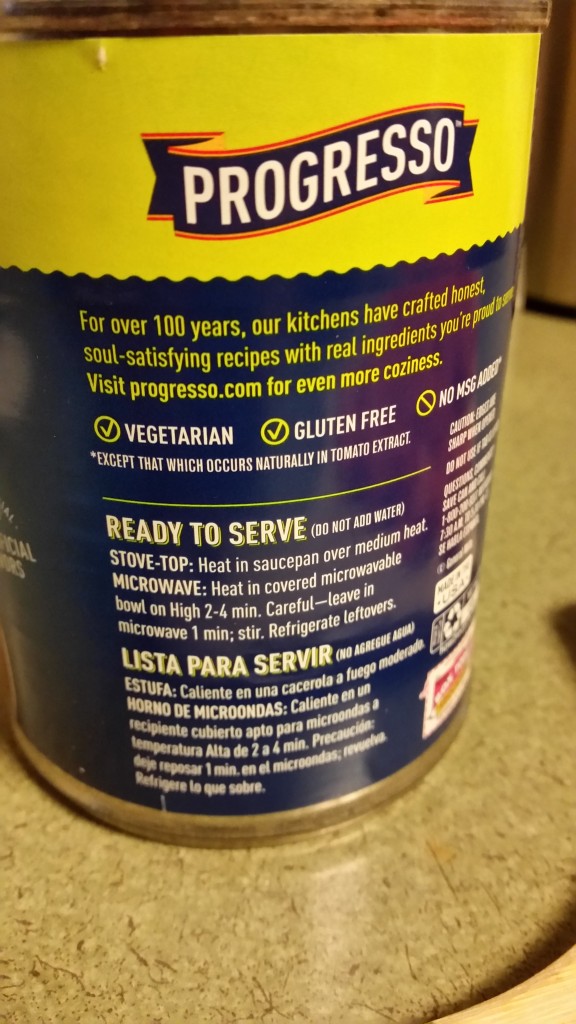
1 large can of Progresso Cream of Mushroom Soup, labeled GF, undiluted (2 cans of Cream of Chicken soup, undiluted)

½ cup Fage Greek yogurt (½ cup mayonnaise with celery powder)

2 T fresh squeezed lemon juice (2 T lemon juice)

Curry powder

3 T melted butter (same….who can improve on butter??)

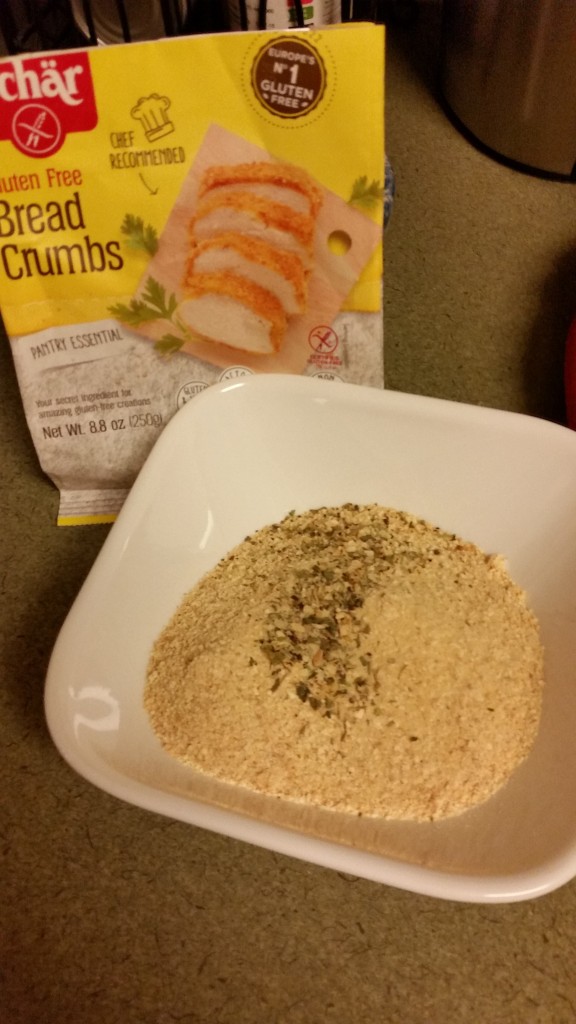
1 cup Schaar breadcrumbs seasoned with garlic powder, basil, oregano, Romano cheese (1 cup Italian breadcrumbs)

Directions:

Steam the broccoli and carrots until fork tender but still somewhat firm.

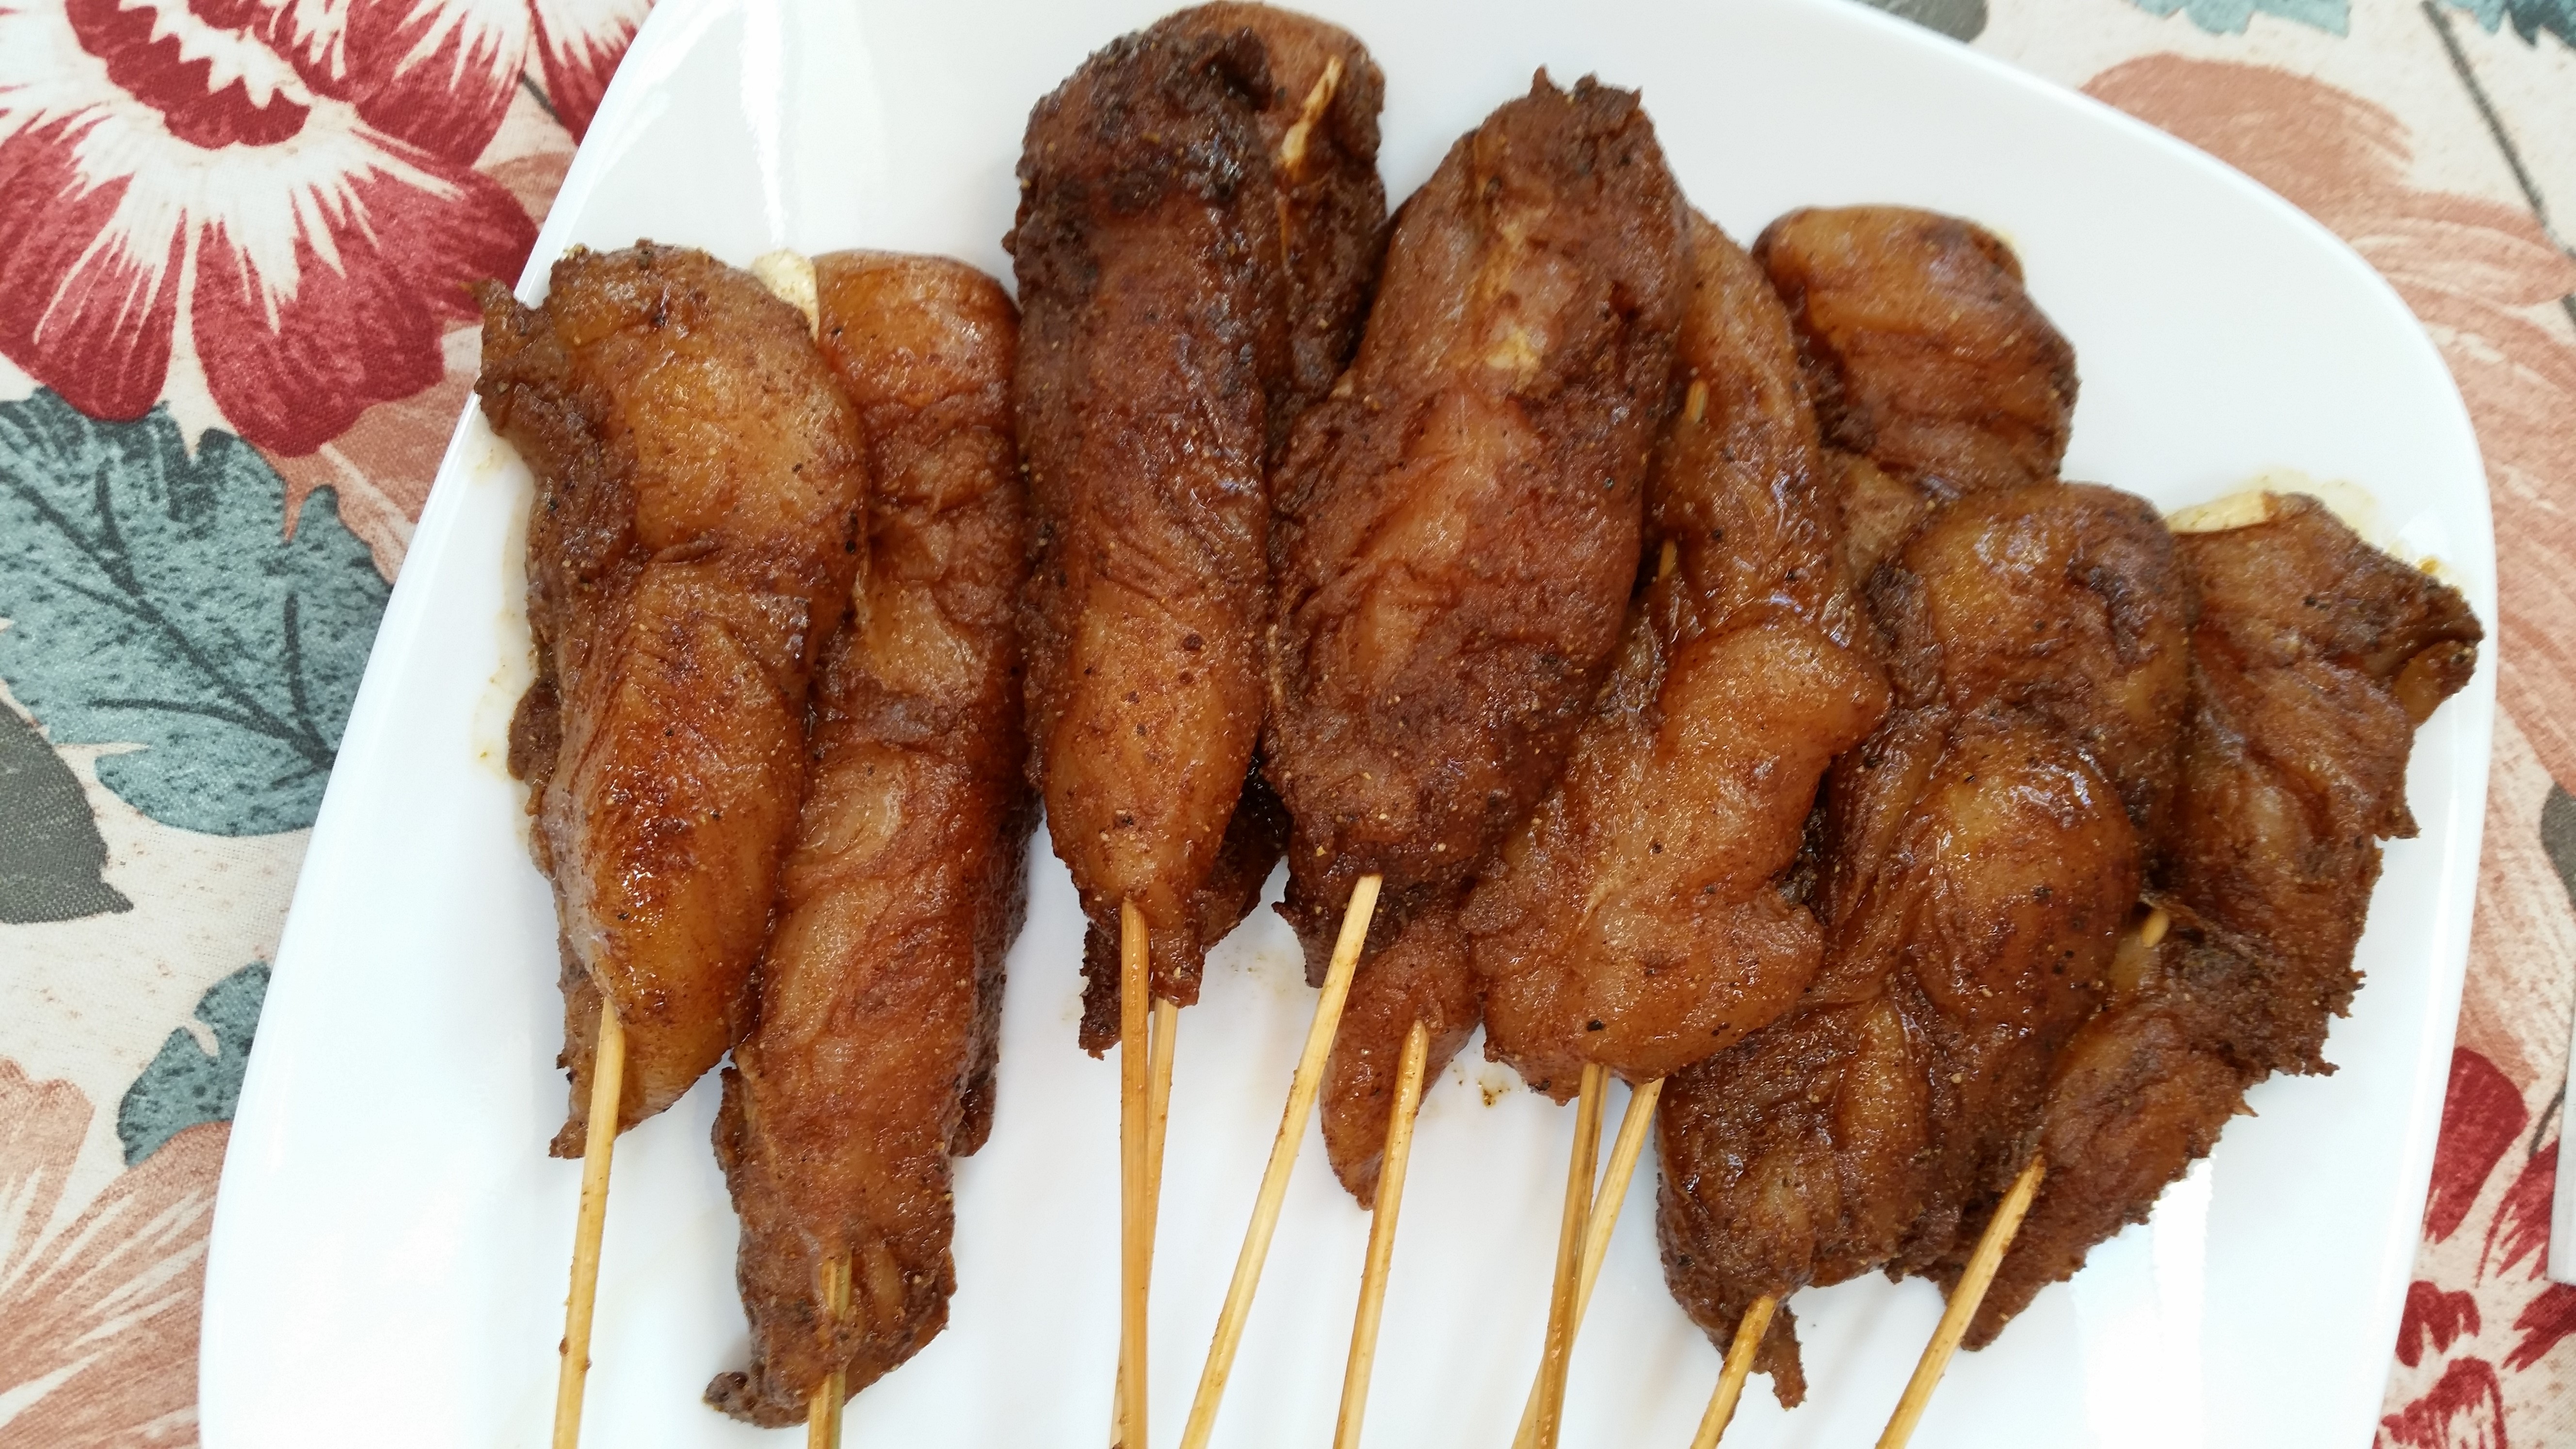
Meanwhile, bake the chicken tenders at 350˚ for about 20 minutes.

Cool the chicken when done and then shred.

Spray a 9” x 13” glass pan with cooking spray.

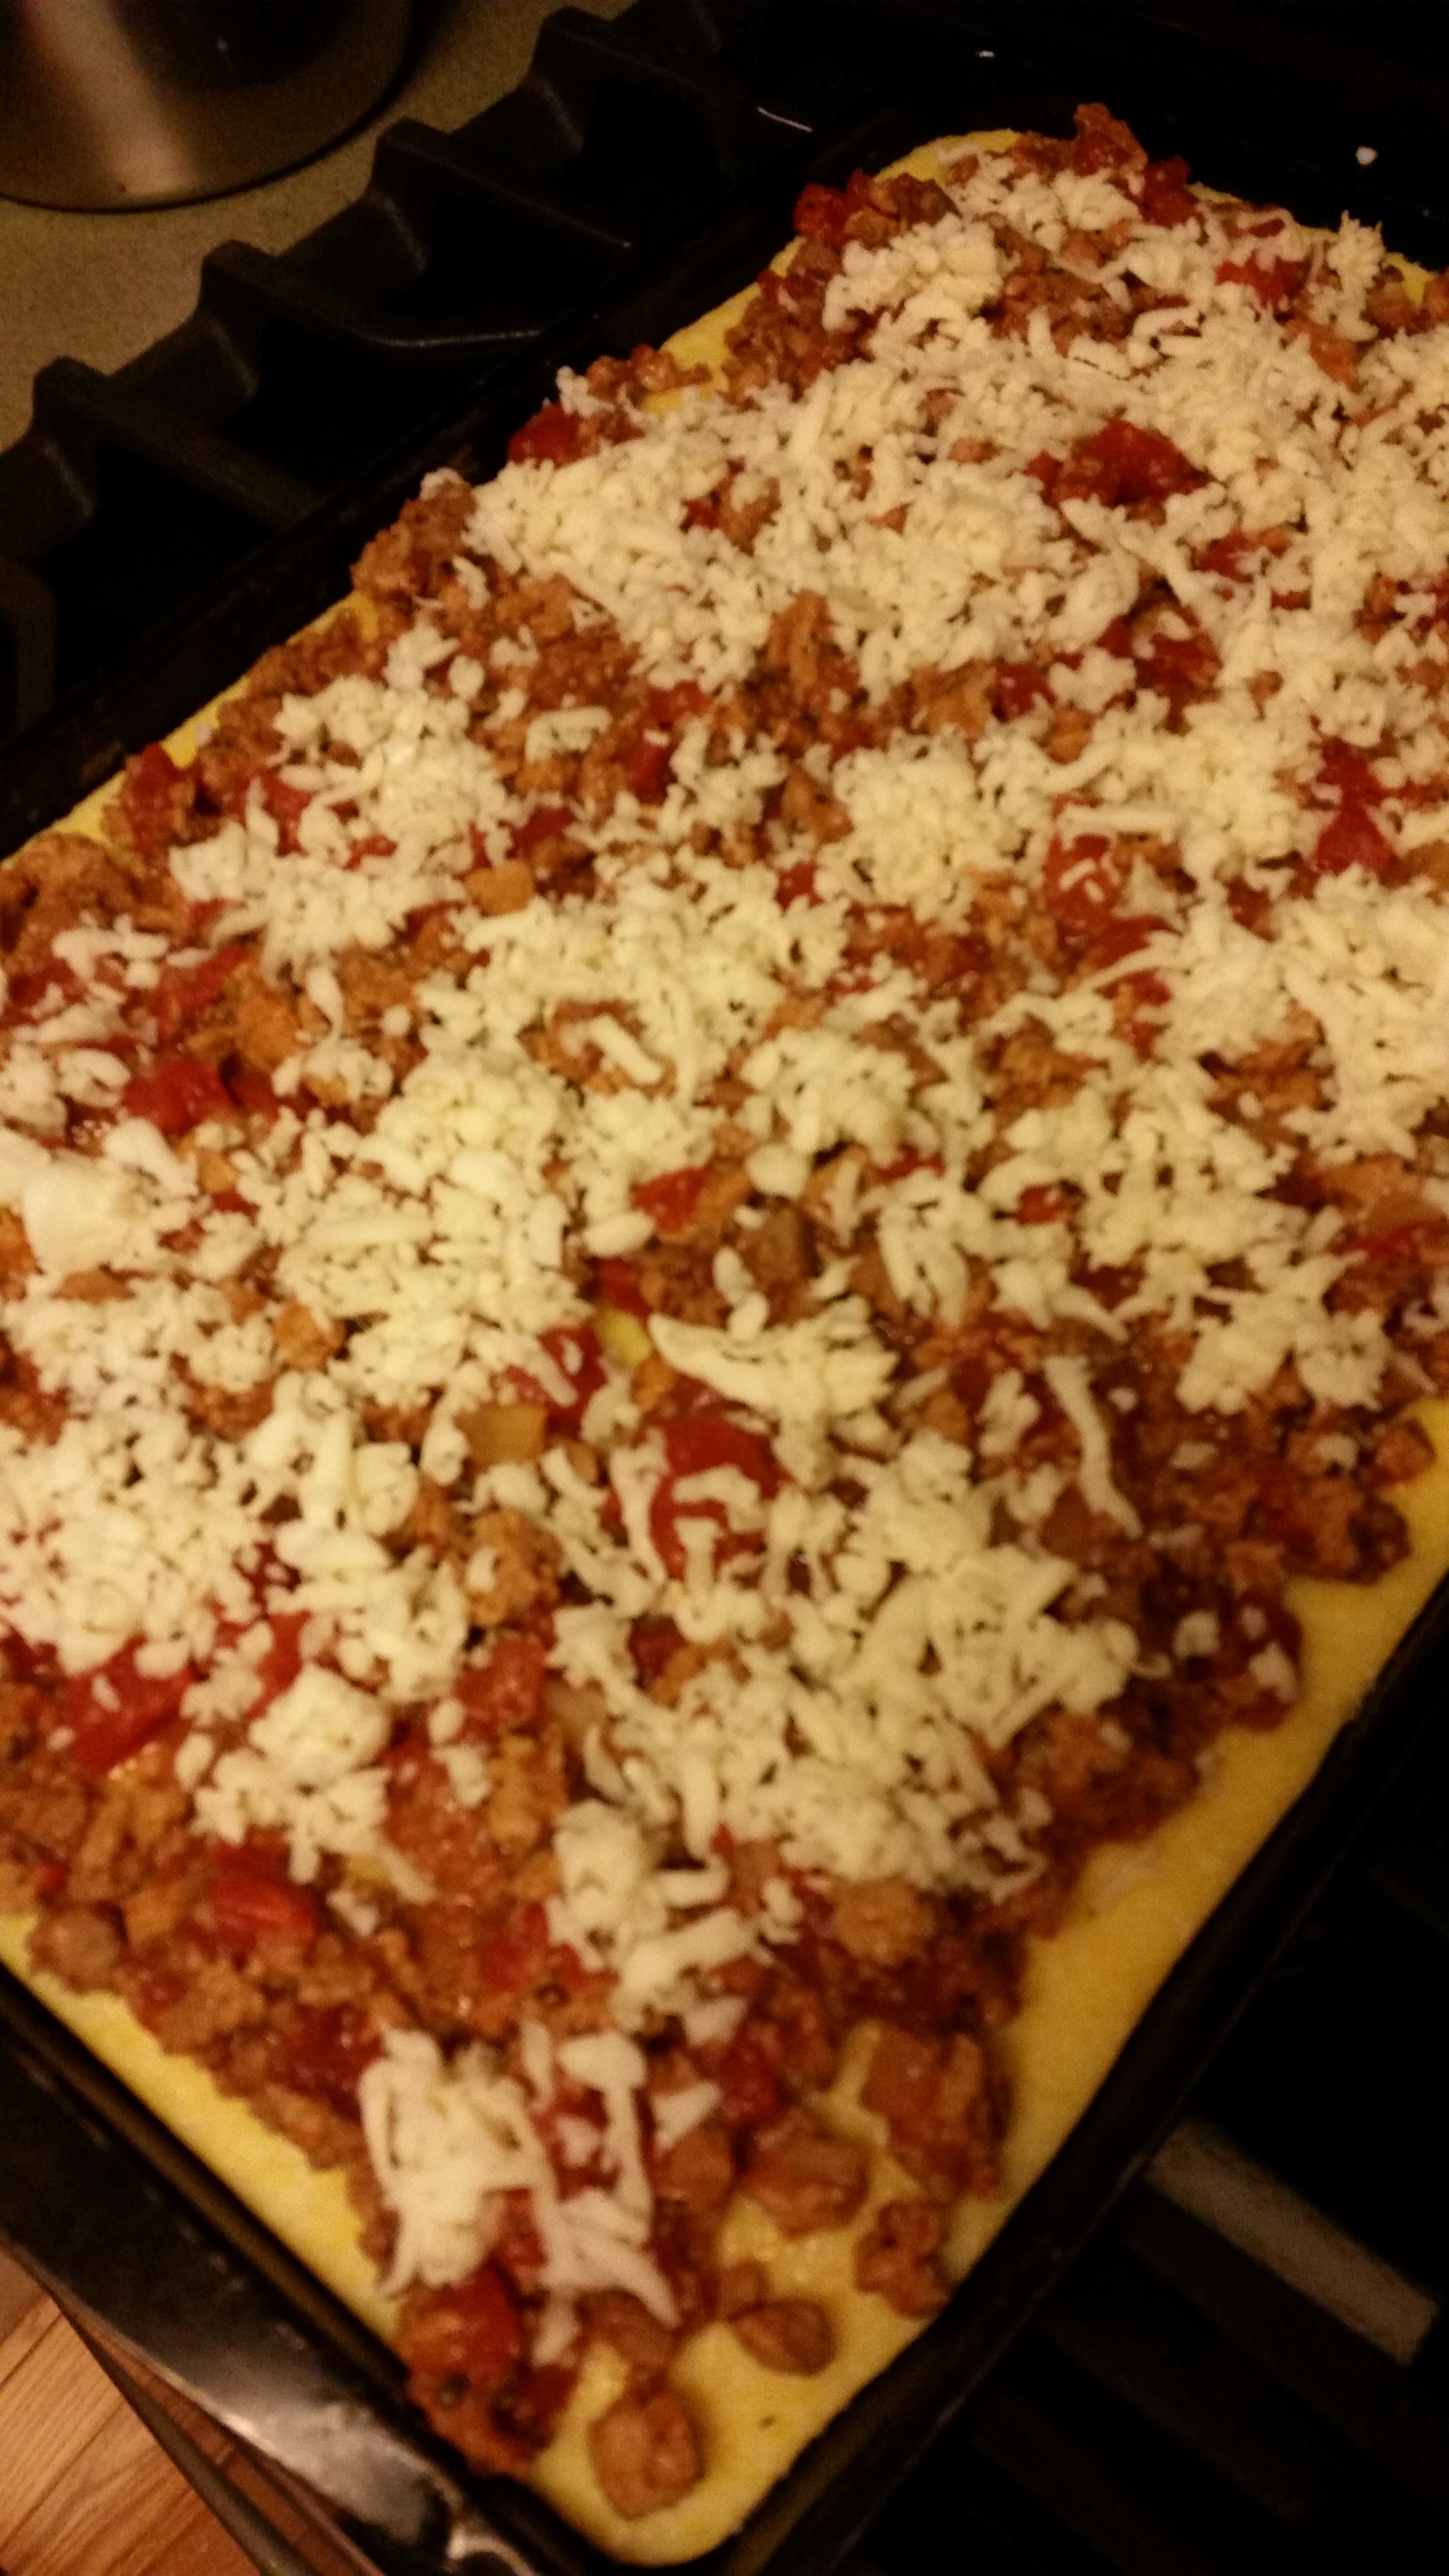
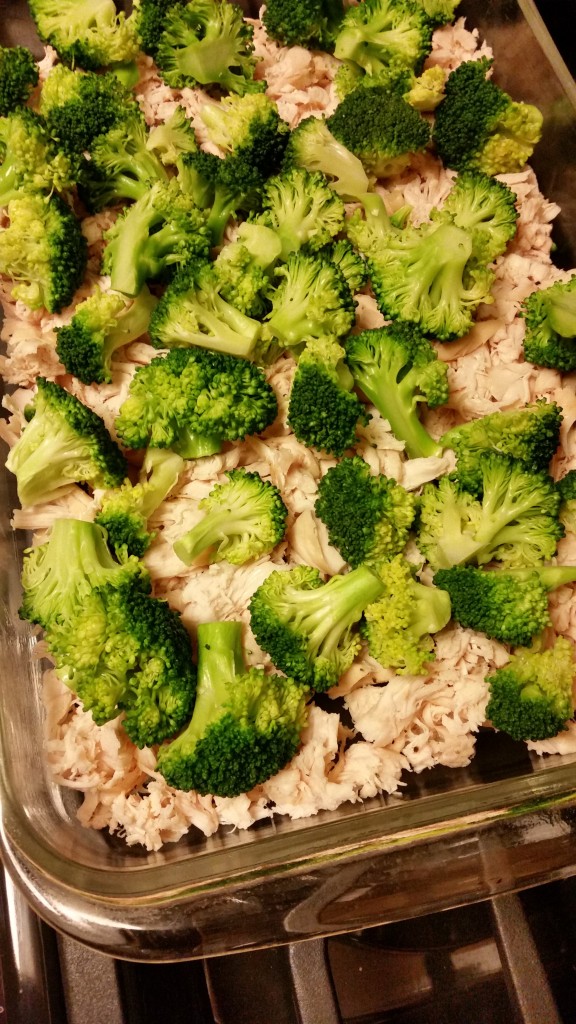
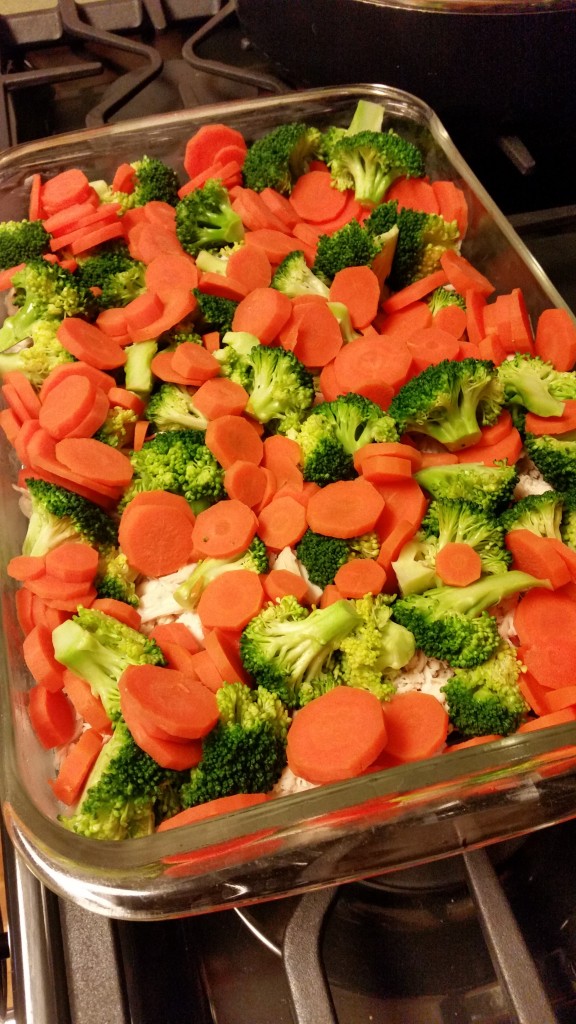
Spread the chicken on the bottom of the dish and layer the veggies on top.

Combine the undiluted soup with the yogurt, lemon juice and sprinkle of curry powder.

Spread this mixture over the layers of veggies and chicken.

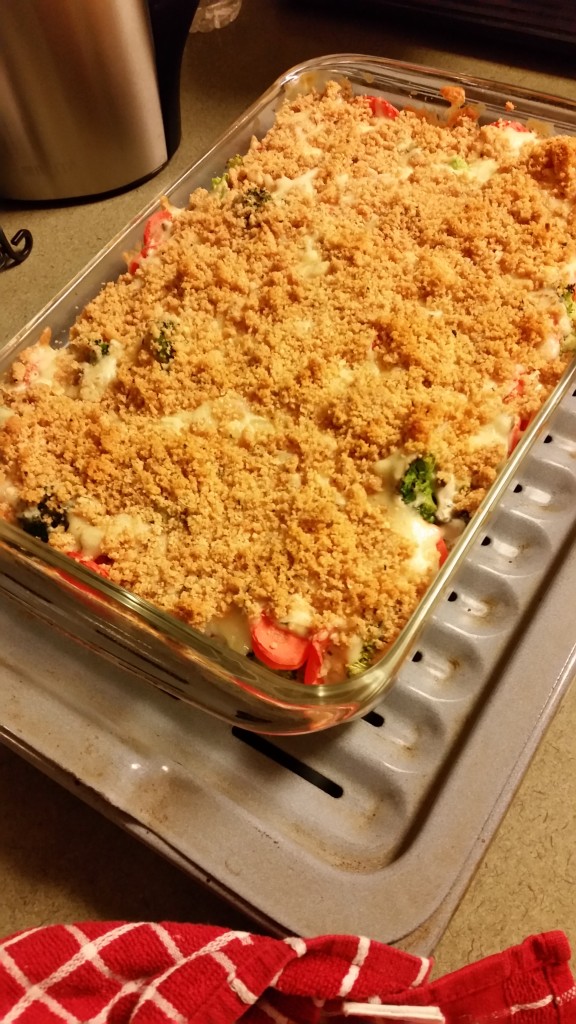
Place the shredded cheddar cheese on top.

Melt the butter in the microwave and mix with the breadcrumbs. Spread on top of the casserole.

Bake at 350˚ for about a half hour or until the top begins to brown nicely.


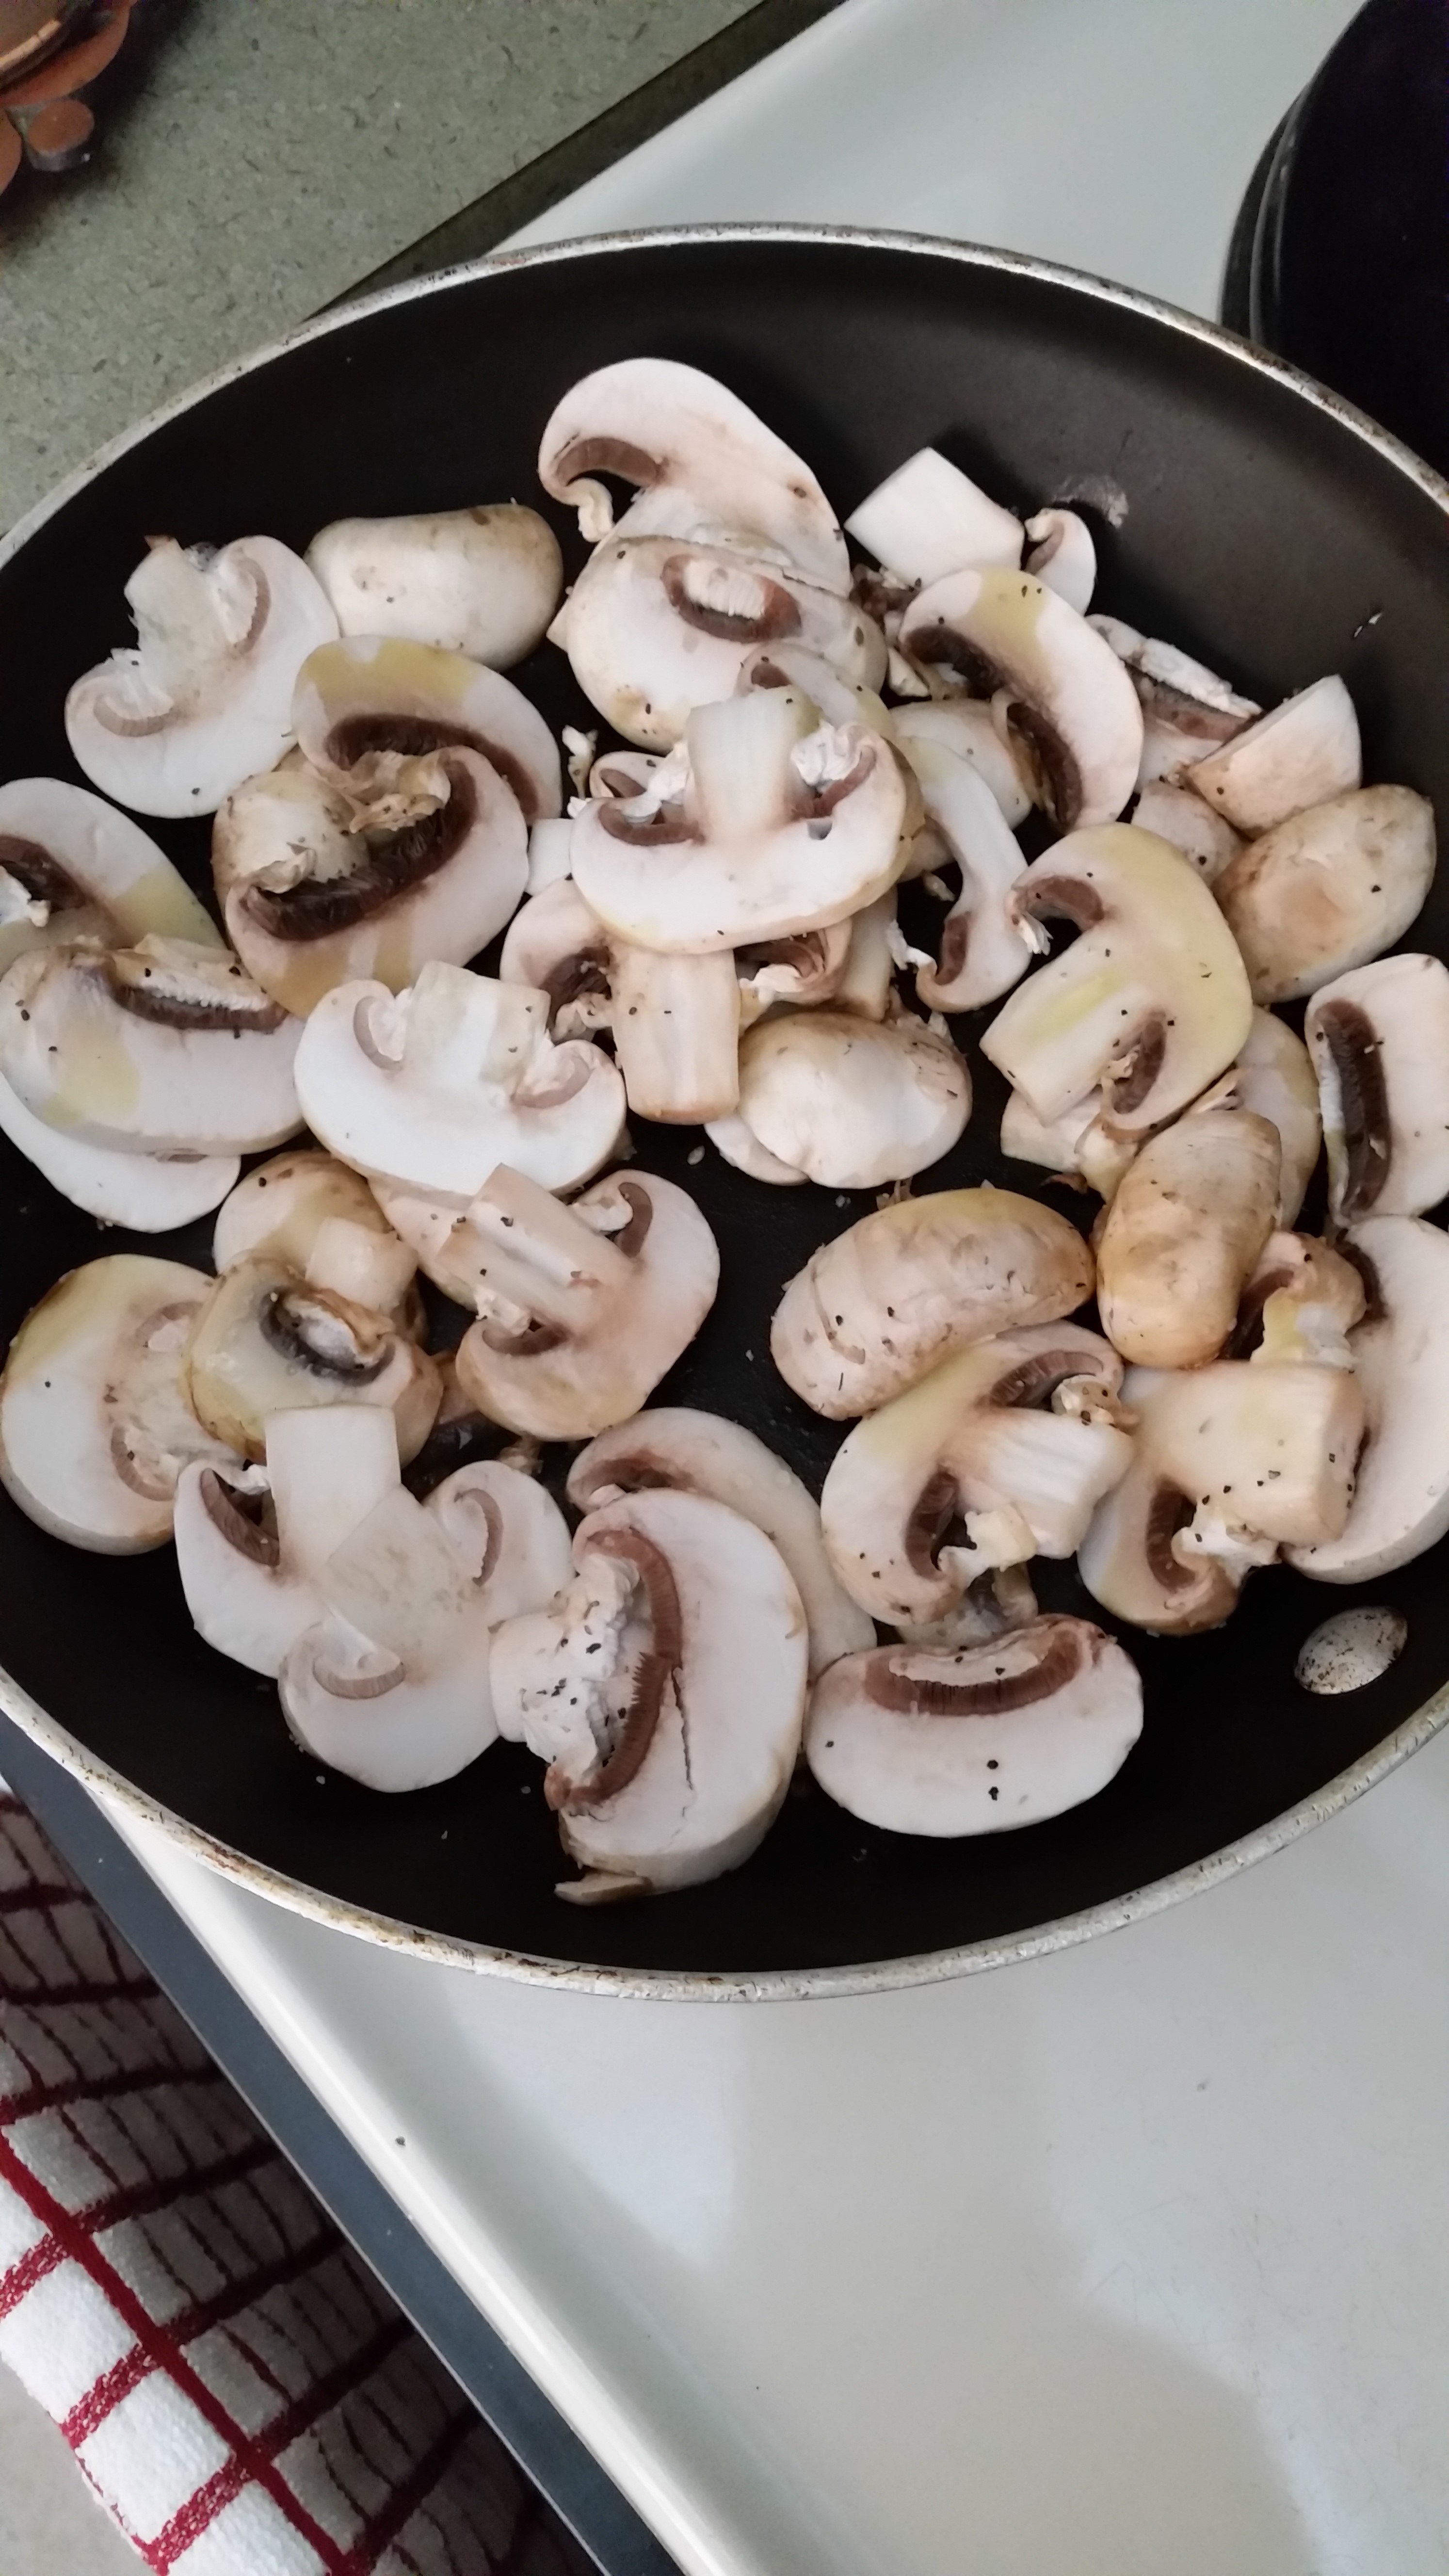
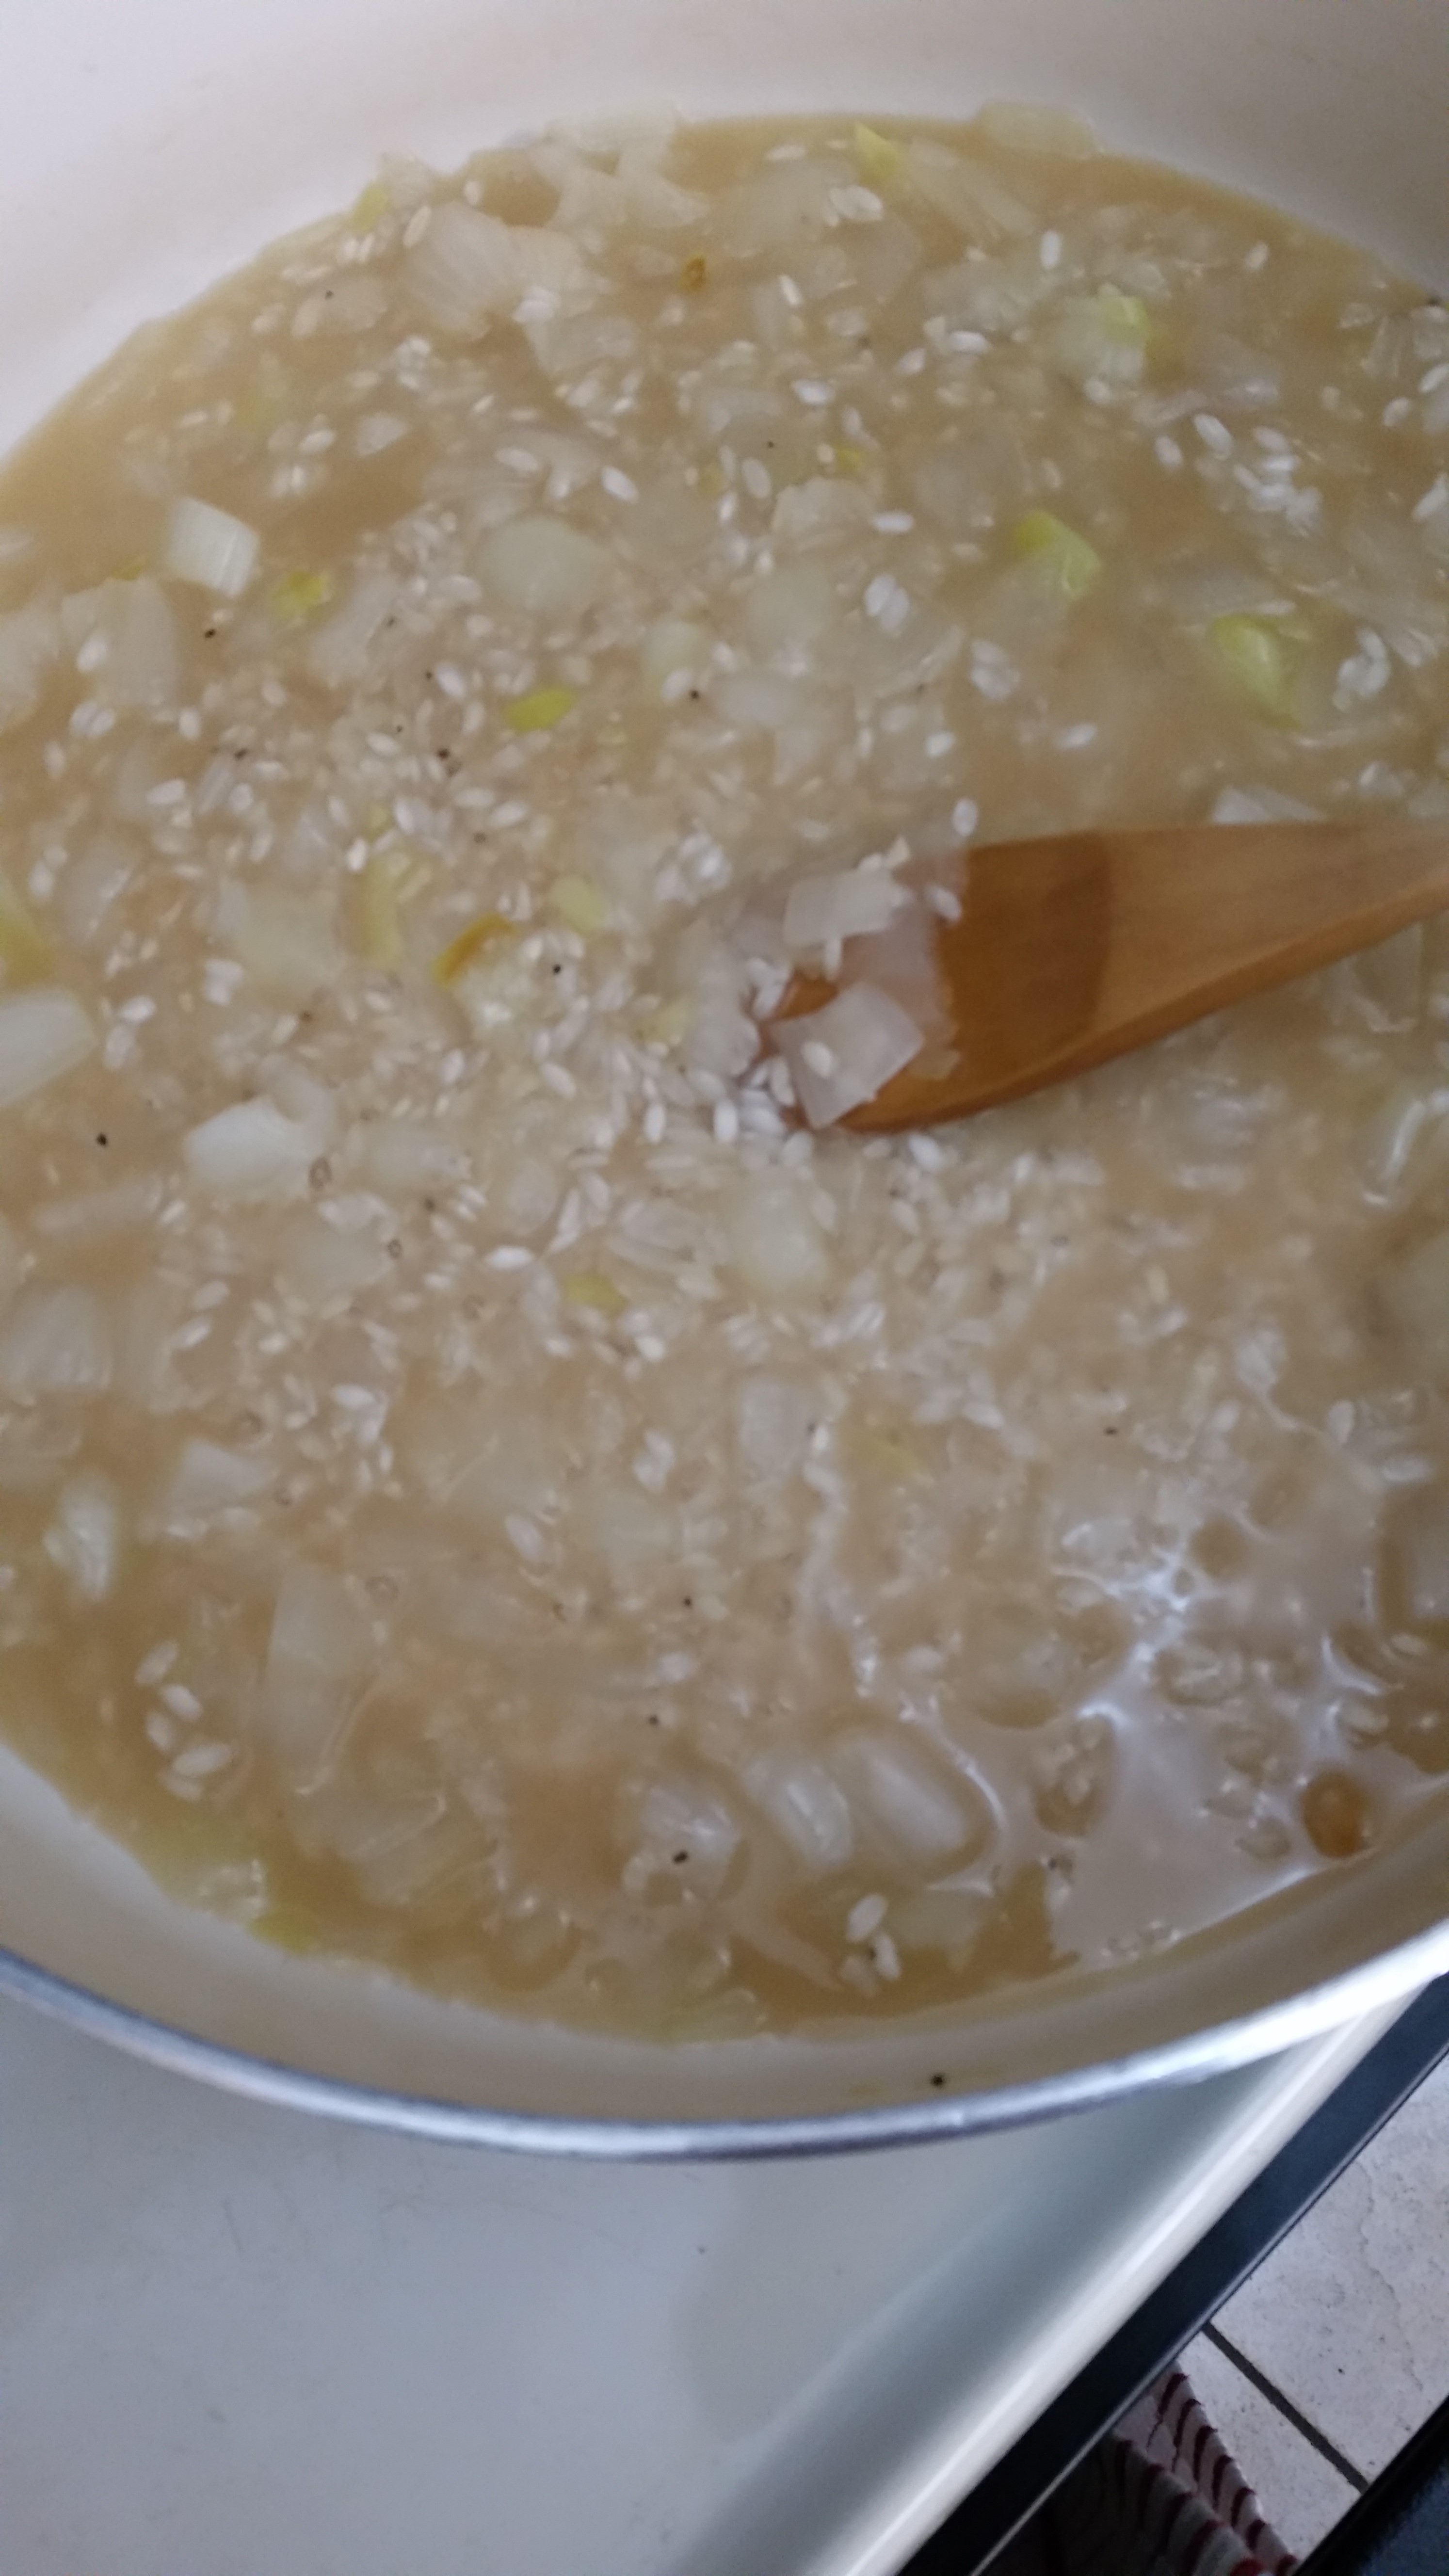
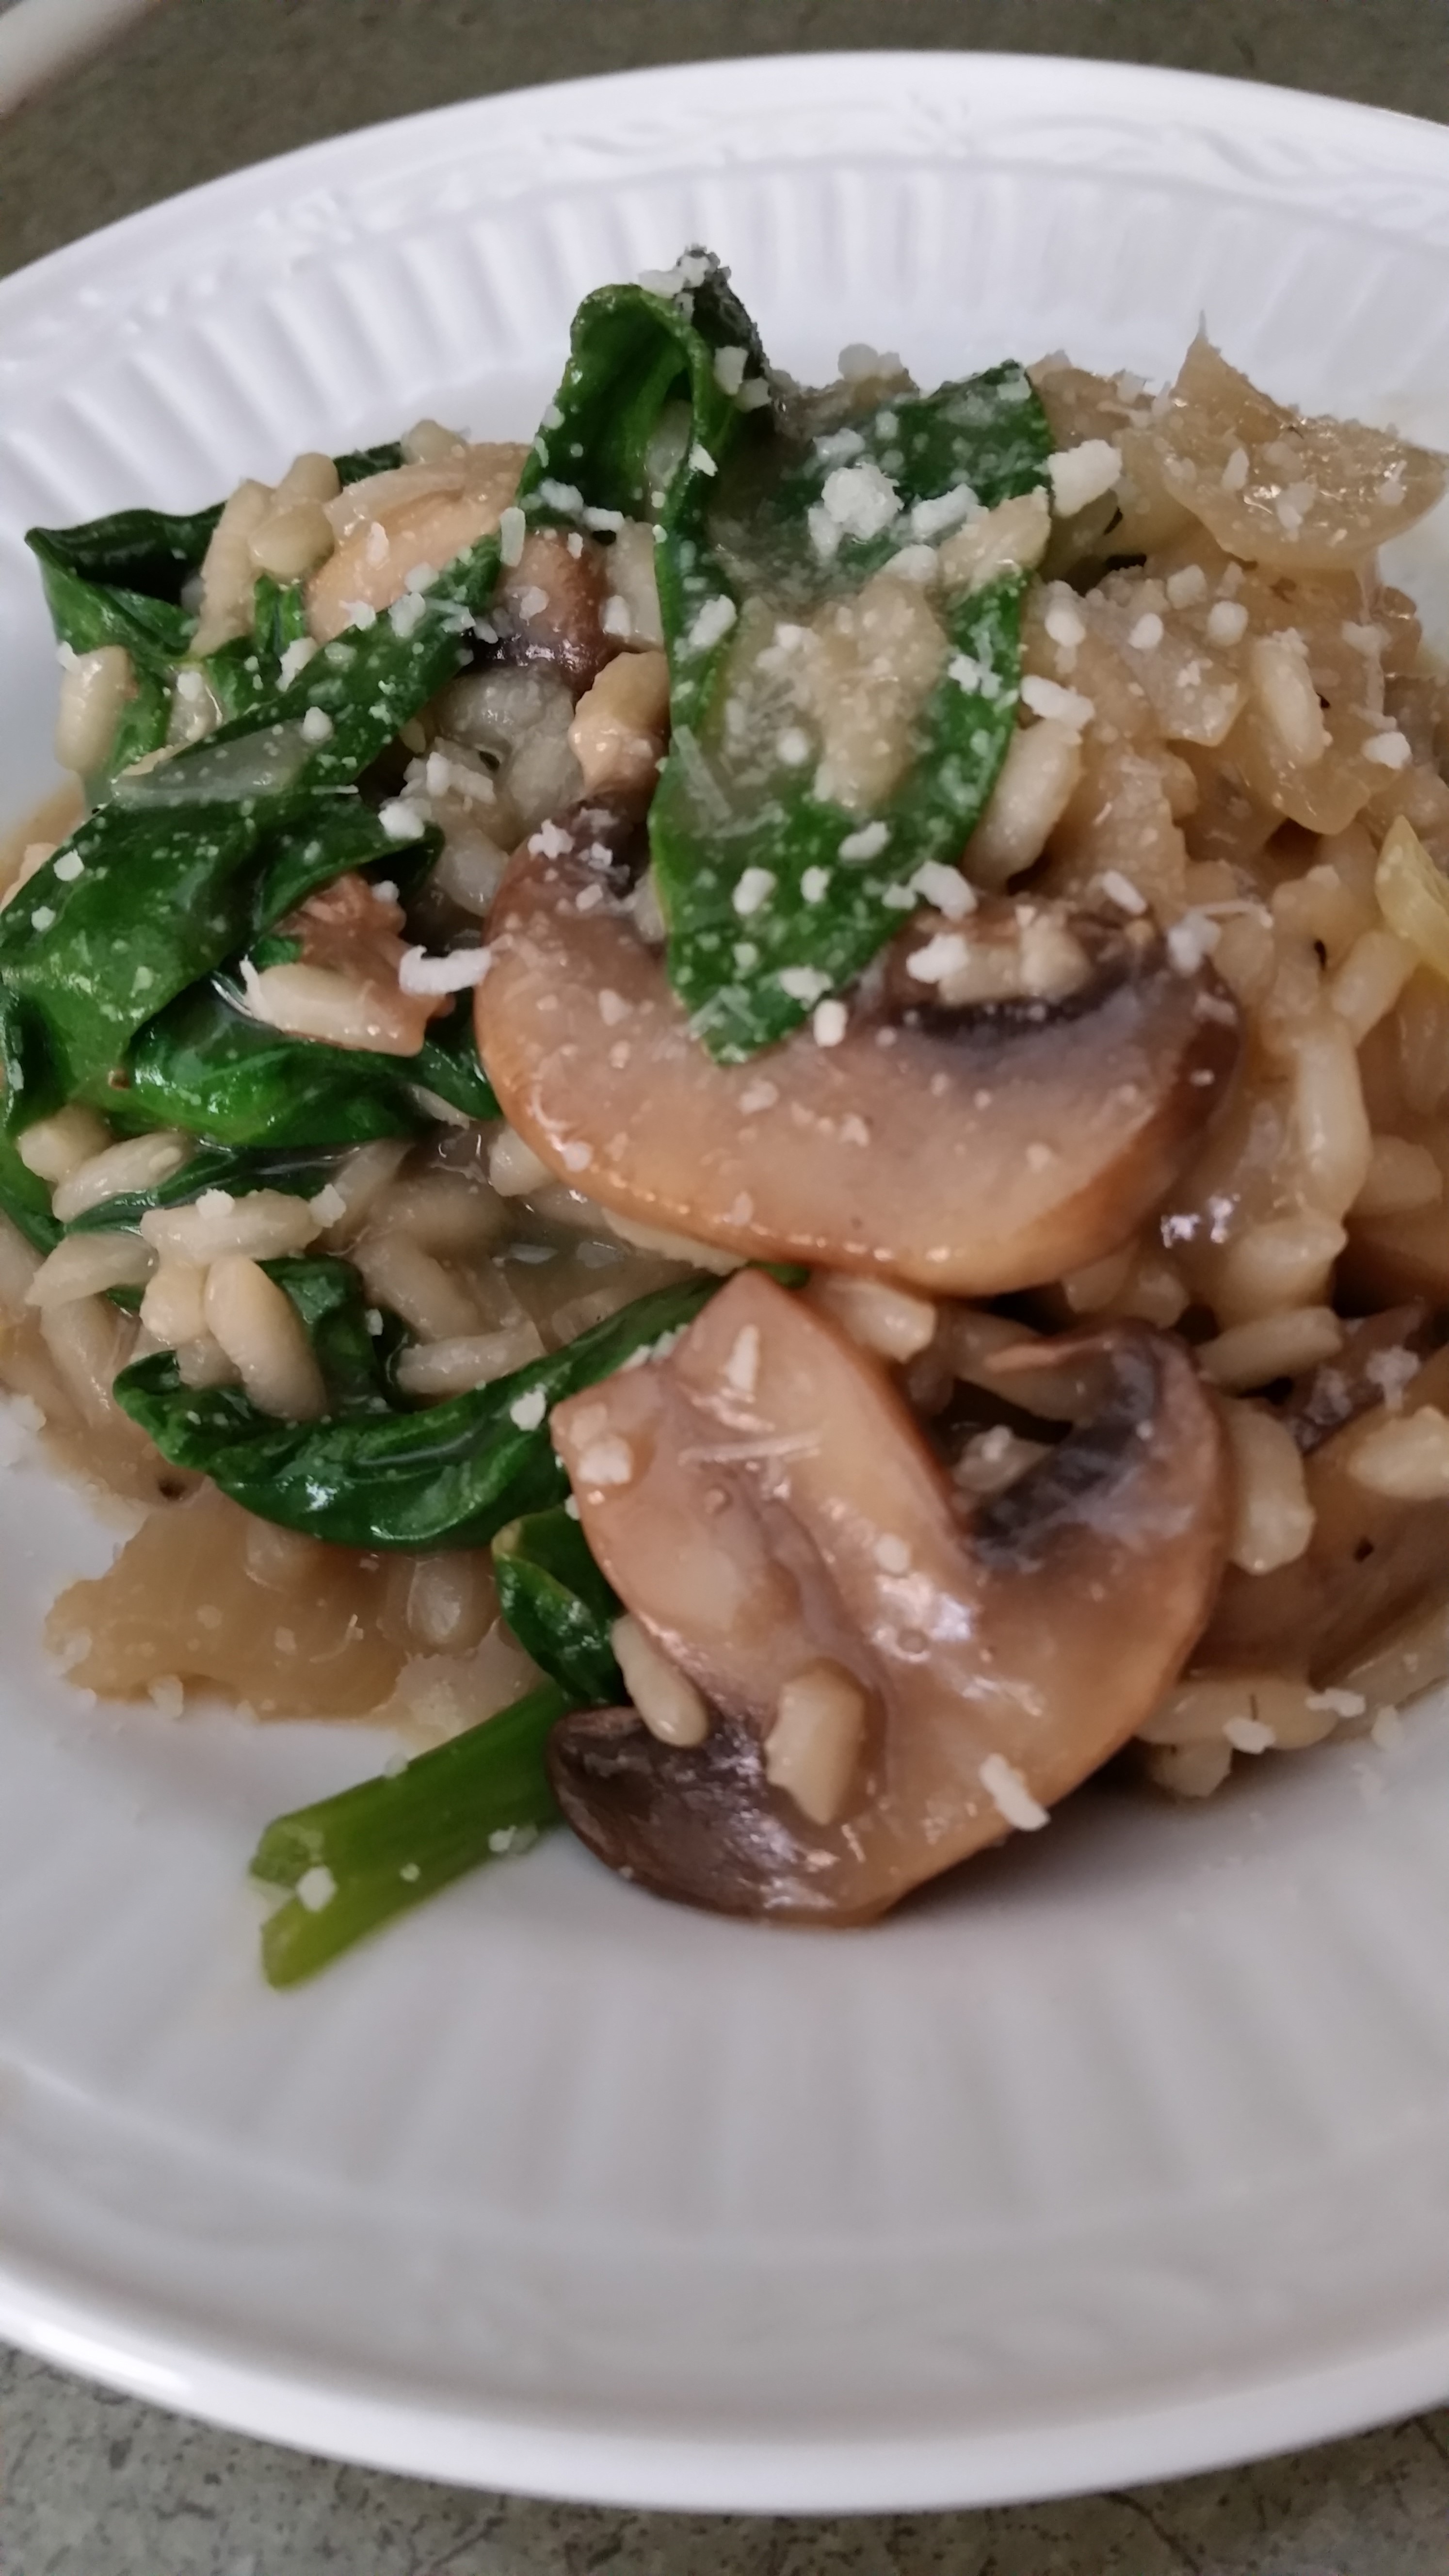
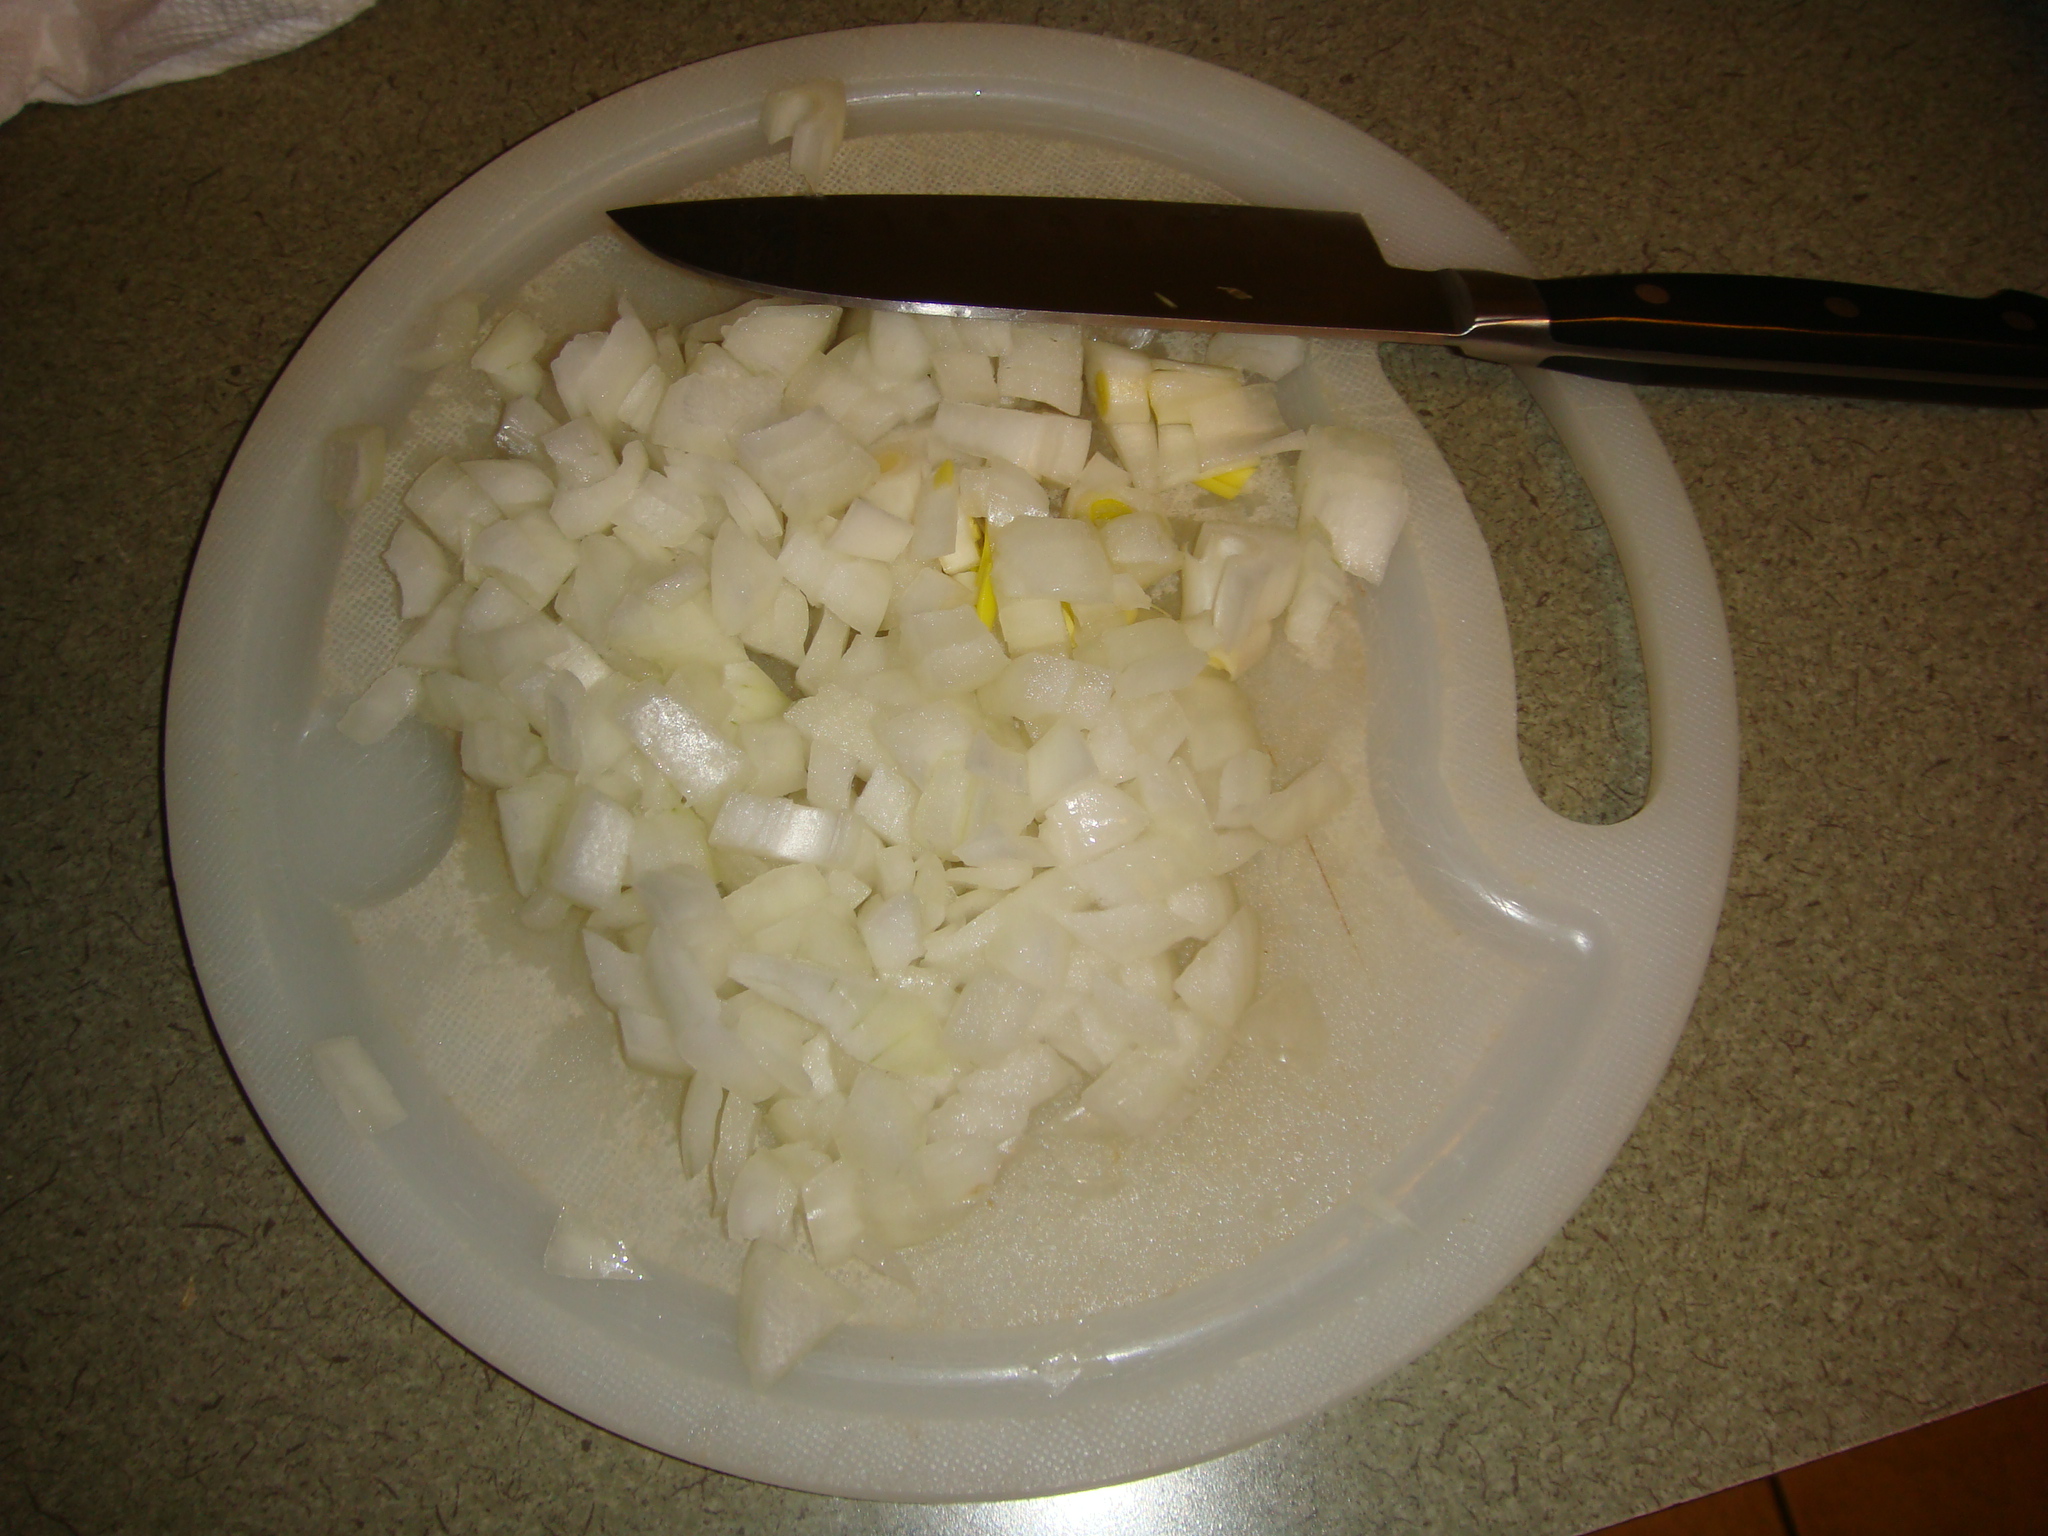
And now, the process via photos!

We are both very visual people and love to include step-by-step pictures!

20170127_153527


20170127_160148


20170127_153306


20170127_160211


20170127_162241


20170127_162503


20170127_164905


20170127_172319


20170127_180107


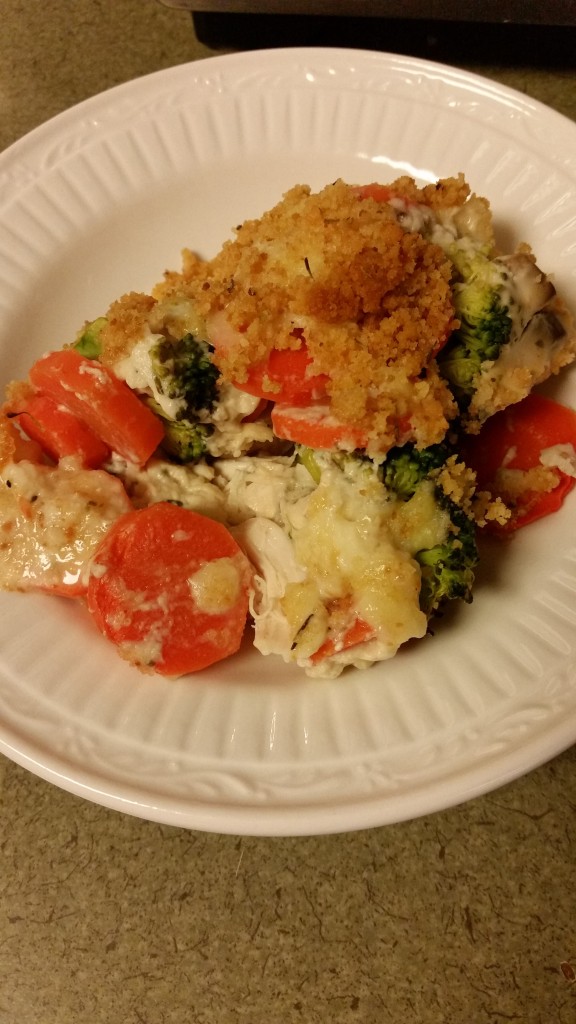
Oh how exciting this recipe conversion was…..hope you consider trying this easy and delicious casserole!

And by the way, it can be made ahead of time, refrigerated, and baked the next day!

Happy cooking!


© 2017, Monica & Daria of glutenfreedoubletalk   whisks 


Meatless Monday….any day of the week!

Monica says:

I woke up and I was craving risotto!

No kidding….couldn’t  stop thinking about it! Talk about strong Italian roots!

So I decided to scan the web and look for a recipe that included spinach. It was a must-have ingredient for me!

Lo and behold after a short while scanning recipes, I found it!

Woman’s Day never lets me down! LOVE their site and especially the recipes!

Here is what presented itself to me and I ran to the grocery store to fulfill the ingredient list. Such simple ingredients and so wholesome!

You gotta try this simple recipe!

Risotto with Scallions, Mushrooms, and Spinach

Upon reading the recipe, I did things in a little different sequence and chose to add ½ cup of veggie stock at a time, rather than all at once….the risotto came super creamy! If you have the extra time, in my humble opinion, it’s worth the effort!

Let the cooking begin!

Sauté the mushrooms in olive oil until they are happy!

20160419_150856

Now sauté the onions and garlic…smells amazing!

20160419_151615

Add the Arborio rice and then the white wine…oh yum!

20160419_152137

Start adding the veggie stock a little at a time and stir often….the consistency will be smooth as silk!

20160419_152542

Don’t these mushrooms look ready to jump in the risotto?

20160419_152623

Incorporate the mushrooms into the risotto…it’s almost done!

20160419_154859

Now let’s wilt the fresh organic baby spinach and pack in the vitamins!

20160419_154929

Looks amazing, huh?

20160419_155124

Plate and add a little Romano cheese…oh dear!

20160419_155315

Oh…forgot to add the scallions that I cut!

20160419_155507

They really add to the flavor profile…bon appetit!

© 2016, Monica of glutenfreedoubletalk


Stuffed peppers….gluten-free stlye!

Monica says:

One of my favorite veggies is the pepper!

Or is it a fruit?

Technically, it is a fruit since it has seeds, but in a culinary sense, it is a vegetable since it is used for its savory taste.

Either way you look at it, peppers are a favorite!

When I am preparing a veggie tray I make sure that I represent all colors of peppers, but when I select peppers to stuff, I inevitably pick the red variety. Of course, red peppers are just green peppers at their ripest, and I guess that’s what I am drawn to…the sweet, yummy flavor!

This recipe entails a minimal amount of prep and you will be delighted with the results…I hope!

The most important part of the prep is choosing beautiful, flat-bottomed, red peppers.

They need to be able to stand in the baking dish without too much wobbling!

20151102_152152

So that’s your first assignment….the rest is easy!

Stuffed Red Peppers

4 red peppers; top cut off only, seeds removed, washed, and drained

Turkey Filling

1 lb ground turkey

½ cup of gluten-free oatmeal

1 egg

1 scallion, chopped

2 cloves garlic, minced

1 heaping T grated Romano cheese

½ cup of canned crushed tomatoes

Dash of salt and pepper

Topping for peppers

1 ½ to 2 cups of canned crushed tomatoes

Seasoned with a dash of dried basil, salt and pepper, and garlic powder


First, wash the red peppers. Remove the tops only with a knife, and remove seeds.

Turn upside down on cutting board or paper toweling to drain.

20151102_152812

Meanwhile, make your turkey filling by combining all ingredients listed above.

20151102_162102

Fill each pepper cavity with the turkey filling and place in a baking dish that will hold them tightly.

This helps them stay upright against each other.

20151102_162538

In a small bowl, combine the crushed tomatoes with the seasonings, mix, and pour over the peppers.

20151102_162738

Bake at 350 for approximately 40-50 minutes.

If you can insert a knife into the pepper with little resistance, they are good to go!

If you like the peppers softer, add a few minutes…you just don’t want to dry out the turkey filling!

20151102_173807

Serve with a sprinkle of Romano cheese on top and a side salad!

20151102_173853

Easy and delicious!

Enjoy!

© 2015, Monica of glutenfreedoubletalk  whisks


Acorn squash with a gluten-free twist!

Monica and Daria say:

If any of you are regulars on Facebook, you may have seen a post for a delicious way to make acorn squash.

The stuffing looked amazing and had sausage and lots of gooey cheese in it.

While we are sure that it tasted as good as it looked, we decided to make a vegetarian and

gluten-free (of course) stuffing for our acorn squash.

20151029_165705

After washing and removing the seeds from our squashes, we roasted them with a little olive oil and pumpkin pie spices.

What an aroma! The whole kitchen was happy!

20151029_155208


20151029_155637


20151029_160338


While the squash was roasting, we chose our ingredients for the stuffing.

20151029_160816


What would be a better base for a stuffing than some yummy quinoa?

Yes, quinoa it would be!

And what delectable food ingredients can we add to the base?

How about our favorite Honeycrisp apples for crunch…

some scallions for savory flavor…

fresh parsley to make it vibrant…

chopped walnuts for extra protein…

dried cranberries for a wee bit of sweetness…

and lemon zest to pump it up!


Here is the step-by-step recipe for you!

Acorn Squash with Quinoa Stuffing

Ingredients:

2 acorn squashes

Olive oil

Pumpkin pie spice

1 cup quinoa

1 Honeycrisp apple, chopped

2-3 scallions, diced

Handful of fresh parsley, chopped

Handful of chopped walnuts

Handful of dried cranberries

1 whole lemon, plus zest

2 T sunflower oil

Salt and pepper


Directions:

Cut 2 acorn squashes in half; remove seeds.

Drizzle each piece with olive oil.

Sprinkle with pumpkin pie spice.

Bake in a 400 degree oven for 40 minutes.

Meanwhile, cook quinoa according to package directions. Place one cup dry quinoa into 2 cups of water, bring to a boil and then simmer for 20 minutes.

While quinoa is cooking, chop the Honeycrisp apple into bite-size pieces. Dice scallions and chop fresh parsley. Chop a handful of walnuts. Set aside in a bowl.

Now add a handful of dried cranberries to the bowl.

20151029_162541

When quinoa is done, remove from the pot and spread on a cookie sheet to cool slightly.

Make the dressing with the juice of one whole lemon, add some zest from the lemon and combine with sunflower oil. Add salt and pepper to taste.

Now assemble the dish by placing squash onto each plate and fill the cavity of each squash half with the quinoa stuffing.

whisks     © 2015, Monica & Daria of glutenfreedoubletalk


Note:   We started out with three acorn squashes and when we cut into them, we ended up with only two! Make sure you look at them carefully when purchasing them!


20151029_165645

You will have more stuffing than you need but guess what?

It’s a great lunch for tomorrow, without the squash!

20151029_165633

This dinner was not very labor intensive and it was delightful!

Enjoy as much squash as you can while it’s at its best!

Happy roasting!

© 2015, Monica & Daria of glutenfreedoubletalk


Let’s get heart healthy!

Monica and Daria say:

World Heart Day will be celebrated on Tuesday!

Since you may know that heart disease and stroke are the leading cause of death worldwide, it’s important to reduce our risk for these cardiovascular diseases by making some lifestyle changes.

Why not start with the food you consume?

When you think of a traditional American cookout, what foods do you see?

Hamburgers, hotdogs, sausage patties,….well, while we love all of those foods, too, we feel the need to elevate our nutrition a bit while grilling!

So, at our cookout today, we decided to select a lean protein and surround it with some heart friendly veggies!

20150805_172749

Our choice was organic, free-range, hormone and antibiotic free chicken!

The vitamin B6, found in chicken, is particularly helpful to your heart. Research has shown that B6 fights cardiovascular disease by lowering levels of homocysteine, an amino acid in the blood that is affected by diet. Homocysteine is understood to cause damage to the inner linings of arteries and in turn, promotes blood clots.

We are so lucky that we have a local farmer nearby who provides us with this wonderful protein that contains essential nutrients and vitamins.

We chose to cut the chicken into tenders to make it easy to thread onto our skewers. And of course, the grill time is reduced as well.

20150805_165856


20150805_170630


It’s nearing the end of grilling season, but we can still get our hands on some delicious corn on the cob. A great source of soluble fiber, corn provides heart healthy benefits. It binds with cholesterol and carries it out of your system, which helps lower levels in your blood and reduces your risk of cardiovascular disease.

We brushed our cobs with organic coconut oil and grilled on low to medium heat, cooking 1 to 2 minutes on each side until slightly brown. Take it easy on the salt shaker….remember, you are trying to be heart healthy!!

Last, we have our dark leafy greens.

Statistics claim that only about one quarter of all adults consumes the recommended 3-4 servings of veggies per day!

The health benefits of eating your greens are well established. They are crucial to our heart health for countless reasons including their role in strengthening the immune system, improved blood circulation and purification, and lowering cholesterol.

We buy organic and like to include organic beets whenever we can. The cleaned whole beets are simply roasted in aluminum foil until tender, cooled, and then sliced to be placed onto the salad….so yummy!

This night our salad was sprinkled with a wee bit of feta cheese, which contains calcium that helps keep your bones strong, but remember that feta should be an occasional indulgence…not an everyday occurrence, since it is high in sodium!

Let’s pump up the greens and improve your health!


Here is the simple chicken recipe to get you grilling, too!

Moroccan-spiced chicken skewers

Ingredients:

2 tsp cinnamon

2 tsp smoked paprika

2 tsp ground cumin

2 tsp ground coriander

1 tsp kosher salt

½ tsp pepper

2 T olive oil

1 ½ pound of chicken tenders

Directions:

Put all spices into a Ziploc bag and shake until blended. Add olive oil and knead to blend.

Add chicken and knead to coat until blended again.

Place bamboo skewers into water to prepare for grilling.

Marinate for a few hours in refrigerator.

When ready to grill, thread each tender on a bamboo skewer.

Grill 4 minutes per side….yummy!

20150805_170454

Doesn’t this look so good?

20150805_172806

It really was a great meal to eat and to share, knowing that you were kind to your body, as well as those of your guests!

All organic and all gluten-free, of course!

Enjoy!

© 2015, Monica & Daria of glutenfreedoubletalk


It’s National Quiche Lorraine Day!

Oh thank you, French cuisine, for this versatile little dish (even though it originated in Germany)!

It seems that quiche gets a bad rap in mass media and I have no idea why. If it’s made correctly, the simple quiche stands shoulder to shoulder with some of the greatest cheese entrées. All you need is a good quiche and a good salad and viola…..dinner is done!

The best thing about quiche is its versatility! You can make it traditionally with sausage or bacon, or go all veggie (broccoli), or my favorite – crab quiche. It also can be made with or without a crust. For gluten-free eaters, not having to worry about making a crust, helps elevate its status considerably. Either way, crust or crustless, you have yourself a tasty meal!

Since my hubby loves to help in the kitchen (lucky person, I know), this quiche was made with a crust. The crust recipe is an old family favorite that he de-glutenized! It’s my Mom’s water whip pie crust and it never seems to fail….now the gluten-free variation is not easy to roll out, so he takes portions of it and makes flat pieces with his hands and pats it into the pie plate. Any way that works for you is fine….trial and error, my friends!

I almost always make my quiche without a crust because it’s quicker and does not flare my arthritis as much. I’ve also experimented with making individual baby quiches by using a mega muffin tin and this recipe yielded 8 and they baked for about 35 minutes. Again, whatever works for you!

DSC03906

Recipe for Quiche Lorraine (or variation)

4 eggs

1 ½ cups evaporated milk

1 T gluten-free all-purpose flour

½ tsp salt

¼ tsp pepper

¼ tsp nutmeg

1 medium onion, cut in eighths

1 ½ cups Swiss Cheese, cubed

1 pound pork sausage, crisply fried and crumbled OR ¾ pound sliced bacon, crisply fried and crumbled OR filling of choice (broccoli, veggie medley, fresh crabmeat)

I  9” unbaked pie shell (optional if you are making a crustless quiche)

Preheat oven to 375˚F. In a blender or Cuisinart put eggs, evaporated milk, flour, salt, pepper and nutmeg. Cover and process until well blended. Stop and add onion pieces and cubed Swiss cheese. Cover and process on Grind for 3 cycles.

Sprinkle your filling of choice in the bottom of unbaked shell or bare 9” pie plate (if you do not want to bake with a crust.) Pour egg mixture over filling. Sprinkle some nutmeg on top.

Bake for 35-45 minutes or until a knife inserted into the center comes out clean.

DSC03910

Mom’s Water Whip Pie Crust

¾ cup shortening

¼ cup boiling water

2 ¼ cups flour (GF version: can use all-purpose GF flour, or 2 cups all-purpose GF flour & ¼ soy flour*)

1 T milk (Lactaid if needed)

1 tsp salt

Whip shortening and water with a fork until smooth and creamy. Add milk, flour and salt. Work into a nice dough ball.

*soy flour gives it a darker hue with a hint of a nutty flavor


© 2014, Monica of glutenfreedoubletalk   whisks


The absolute best thing about Lewie’s making the pie crust is his making “lumpy cookies!”

DSC03912

If our girls were “helping” us bake when they were little and if we had some leftover dough, we would always fashion it into several cookies, sprinkled with sugar and cinnamon before baking them on a separate cookie sheet (and still do to this day).

My mom had started this tradition many years ago, when my three sisters and I were little girls.

The name “lumpy cookies” started with my sisters’ children and it has been passed on with the greatest fondness. Every one of the nieces and nephews know about “lumpy cookies”….they’re the best!

So the best advice when making quiche, go for the crust….because you’ll want “lumpy cookies” too!

Happy baking!

© 2014, Monica of glutenfreedoubletalk


One pot gluten-free turkey chili….Can you say easy?

Since Daria was driving up to visit yesterday, and I had a return visit with my doctor in Philly, we decided to have an easy supper last night. While we both like chili and it is super quick to make, we decided to elevate its health potential by using lean ground turkey instead of the classic ground chuck. Also, we aren’t fans of red kidney beans which are traditionally used in chili recipes, and being Italian, our choice of bean was clear….Cannellini! Yes, we are “bean eaters” and in Italian we are “mangiafagioli!”

One thing that Daria has taught me in the kitchen is to “mise en place,” a French term that means “putting in place.” We need to gather all of our ingredients BEFORE we get started preparing our meal or dessert making. It actually is the best idea! I cooked for so many years in a dither….opening cupboards here and there to grab some spice, oil, or other ingredient that needed to land in my bowl. Once you put this concept into practice, you’ll wonder how you ever put a meal together in the past!

Anyway, start gathering your items. You will need olive oil, fresh lean ground turkey, diced tomatoes, tomato sauce, one onion, Cannellini beans, garlic, and a myriad of spices!

DSC03948

Heat 1 ½ teaspoons of olive oil over medium heat in a large pan (that has a lid.)

Doesn’t it look like this oil made a funny face in the pan?

DSC03949

Place one pound ground turkey in pot, spread out evenly, and brown.

DSC03951

Meanwhile, chop your onion into bite-size pieces.

DSC03952

When turkey is completely browned, toss in chopped onion and cook until the onion is tender.

DSC03953

Meanwhile, rinse a 16 oz. can of Cannellini beans in a colander or strainer.

DSC03954

When turkey and onion are tender, pour one 16 oz. can of tomato sauce into the mixture and stir.

DSC03955

Next, mix in a 28 oz. can of diced tomatoes, 1 tablespoon minced garlic, and the rinsed Cannellini beans. Mix thoroughly.

DSC03956

You’re almost there!

Finally, add your spices…

½ tsp salt, ½ tsp ground black pepper,  ½ tsp dried oregano,  ½ tsp (or less if you are sensitive) ground cayenne pepper, 2 T chili powder, ½ tsp paprika, and ½ tsp cumin. Bring the chili to a boil and then lower the temperature to Low and cook covered for at least 30 minutes.

DSC03957

Now, what goes better with turkey chili than cornbread, so since we were on a time crunch, we cheated! We love Pamela’s Baking Mix and we wondered if there was a cornbread recipe on the bag. There wasn’t! So we went online to the Pamela’s site and viola!

Here is the recipe:

1 ¼ cup of Pamela’s Baking and Pancake Mix

1 cup fine yellow cornmeal

1/3 cup sugar or honey

½ tsp salt

2 eggs, beaten

2 T melted butter

Mix all ingredients together and pour into a greased 8-inch square pan. Bake for 20-25 minutes @ 375°.

DSC03958

We thoroughly enjoyed our cooking together, baking together, and most of all, eating together!

DSC03961

Happy chili making!!


© 2014, Monica of glutenfreedoubletalk