Homemade hummus, if you please!

Monica says:

Hello friends! I’ve missed you!

You know how life gets in the way when you are planning things? Well, yes, that’s what happened to me over these past few months.

It’s been forever since my last post and I truly apologize. I hadn’t been feeling well and it turns out that I have thyroid issues. And it all makes sense to me now!

Health aside, my blogging partner, Daria, has started a new career teaching pastry arts full time and we are overjoyed for her! In addition, she launched her gluten-free baking business Batter. A Gluten Free Baking Co, LLC, and she’s been super busy selling her delightful gluten free goodies every Saturday in Hershey at the Farmers’ Market on Chocolate. Her dad and I are in awe of her talent and stamina!

Check out Daria’s business Facebook page @ https://www.facebook.com/Batter-A-Gluten-Free-Baking-Co-1739749562921022/?fref=ts

So today, I am going to keep it simple, okay?

My diet has gone almost 100% organic and luckily for me, Daria, has an organic veggie garden. Every time I see her she fills my arms and cooler with lots of wonderful veggies that help me cope with my aches and pains….she’s a great kid!

Since my refrigerator has housed 2 eggplants for a few days, I decided to make an eggplant hummus. I looked for a recipe that could guide me and I found one at epicurious.com.

They never fail me!

I looked it over and checked my pantry ingredients and I had everything except the chickpeas!

No problem….I had cannellini beans….it can be Italian eggplant hummus, right?

So I modified the recipe to fit my needs, as most people do, too!

It’s fun to make things your own!


Here is my version:

Ingredients:

2 medium sized organic eggplants

3 T olive oil (plus a little more)

1 can of cannellini beans, drained

2 T organic tahini paste (heaping)

1 ½ tsp of minced garlic

Bunch of fresh parsley

Dash of salt and pepper


How to:

Preheat oven to 350°F.

20160908_083134


Cut eggplants in half lengthwise. Make a crisscross pattern with a sharp knife, here and there, on the flesh.

Rub each cut side with a total of 1 1/2 tablespoons oil; sprinkle with salt.

Place eggplant on rimmed baking sheet, cut side down; bake until tender, about 1 hour.


20160908_121129

Cool and then scoop flesh (seeds and all) into food processor and discard eggplant skins.

20160908_121705

Add cannellini beans, remaining 1 1/2 tablespoons oil, lemon juice, tahini, fresh parsley and garlic; puree until mixture is almost smooth.

Transfer to bowl; swirl some additional olive oil on top before serving and add extra parsley if desired.

Taste and season the hummus with additional salt and pepper if desired.

You can serve the hummus in individual bowls with Lundberg Gluten Free Rice Chips, as pictured here!

20160908_122037


So simple, so nutritious, and so delicious! (this is my new mantra!)

Enjoy!

© 2016, Monica of glutenfreedoubletalk


Happy Trail Mix Day!

Monica and Daria say:

What can you do with a bunch of nuts, seeds, dried fruit, and chocolate (yes, most definitely, chocolate)?

You can make your own trail mix!

20150831_103438

We grabbed a variety of nuts that we always have on hand… ½ cup of each of walnuts, almonds, and pecans.

Then we added in ½ cup of pumpkin seeds, and ½ cup of sunflower seeds.

We LOVE dried cranberries so we put in ½ cup of those and topped it all off with ½ cup of Ghirardelli dark chocolate chips!

20150831_103407

What is easier and nutritious to boot?

It has a great combo of carbs and energy. Trail mix is THE snack for hiking, biking, and exploring!

20150831_103413

Trail mix is so versatile that your ingredients are only limited by your imagination! Some of our favorited additional ingredients include puffed rice cereal, M&Ms, pretzels, unsweetened coconut, or anything else that is trail mix worthy!

Just make sure that your ingredients are gluten-free, and you are set to go!

20150831_103459

And did you notice that our trail mix is in a collector Pyrex bowl? Just picked it up at our favorite antique shop, The Shop 2….check them out!

Have a great day…wherever your travels may take you!

Enjoy!

© 2015, Monica & Daria of glutenfreedoubletalk

Blend up some nutrition!

Monica says:

Smoothie recipes are everywhere! They are THE go-to breakfast or energizing snack in the afternoon!

If you have a blender, you can make virtually any smoothie!

Smoothies are quick and easy, help you get more fruits and veggies, and can sustain your energy for a longer time! And did I mention, FUN?

If I didn’t…FUN ranks right up there!

DSC06393

I LOVE listening to the whir of my HealthMaster™ blender (Montel Williams Living Well series)….yes, we got sucked into the infomercial and resisted, however, when we saw it at our local Boscov’s, we purchased it (and are happy to say it has been great)!

Anyway, the blender itself comes with a Smoothies and Power Drinks recipe manual and additional titles for making soups & sauces, appetizers & dressings, and desserts & ice cream, as well as an eating plan.

I’ve collected quite a few recipes into a “Smoothies” file, and I downloaded the Smoothies for Migraines ebook onto my Kindle, along with a few other titles.

When I first started blending my smoothies, I followed the recipes to the T.

Now, not so much!

It all depends what’s in the refrigerator and on the countertop….these ingredients will become my smoothie for the day!

A favorite of mine that I make fairly often is a nut and fruit smoothie.

DSC06392

This one was made with 1 cup of fresh blueberries, ¼ cup of natural peanut butter (no sugar added), 2 very ripe bananas, 2 T chia seeds, 2 cups of vanilla soy milk and 6 ice cubes.

The ripe bananas give this smoothie a sweet taste

and the blend of blueberries and peanut butter round it out!

DSC06391

Delightful!

So if you haven’t become part of the smoothie craze, I would suggest that you join us!

Easy, nutritious, and fun!!

What could be better?

Enjoy!

© 2015, Monica of glutenfreedoubletalk

Celiac Awareness in an unlikely place!

Monica says:

When my friends, Carmine and Francine, invited me to their antique store, The Shop 2, to be the featured guest in celebration of Hazleton’s Second Friday, I was a little hesitant at first. I said, “Let me think it over.”

I was hoping that my partner, Daria (my daughter), might be able to join me in this adventure, but just having started as the Executive Pastry Chef at The Mill in Hershey, I knew it was a longshot!

“Oh, Mom, just do it and have fun!” was her response. So I thought, “Why not?”

“Yes, I’ll do it!” was my response to Carmine. She wasted no time in letting the association who coordinates Hazleton’s Second Friday about my visit, and the next thing I know, I am speaking with Jill Whalen from our local newspaper! Here is the result of my phone interview!

Alright…now to decide on which gluten-free goodies I will make for the open house.

It’s fall and what do most people crave in the fall? Pumpkin? Chocolate (that’s a given)? Apples?

Of course….all three!

So I immediately go on a hunt for recipes….if you’ve read any of our previous posts on this blog, you will remember that I am a recipe addict! I have tons of recipes written down on paper, too many cookbooks to name, and a recipe file on my computer.

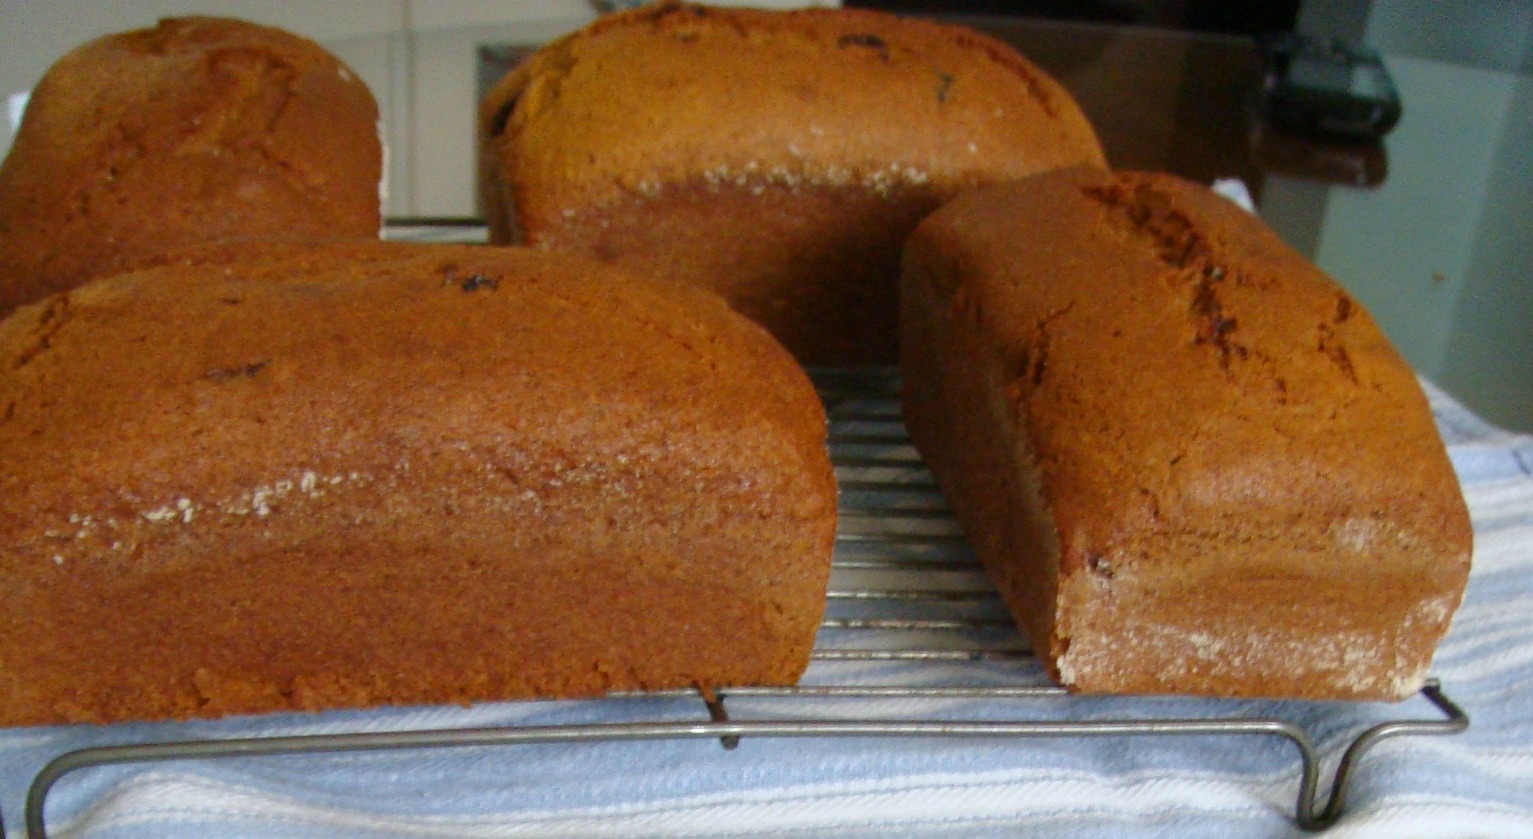
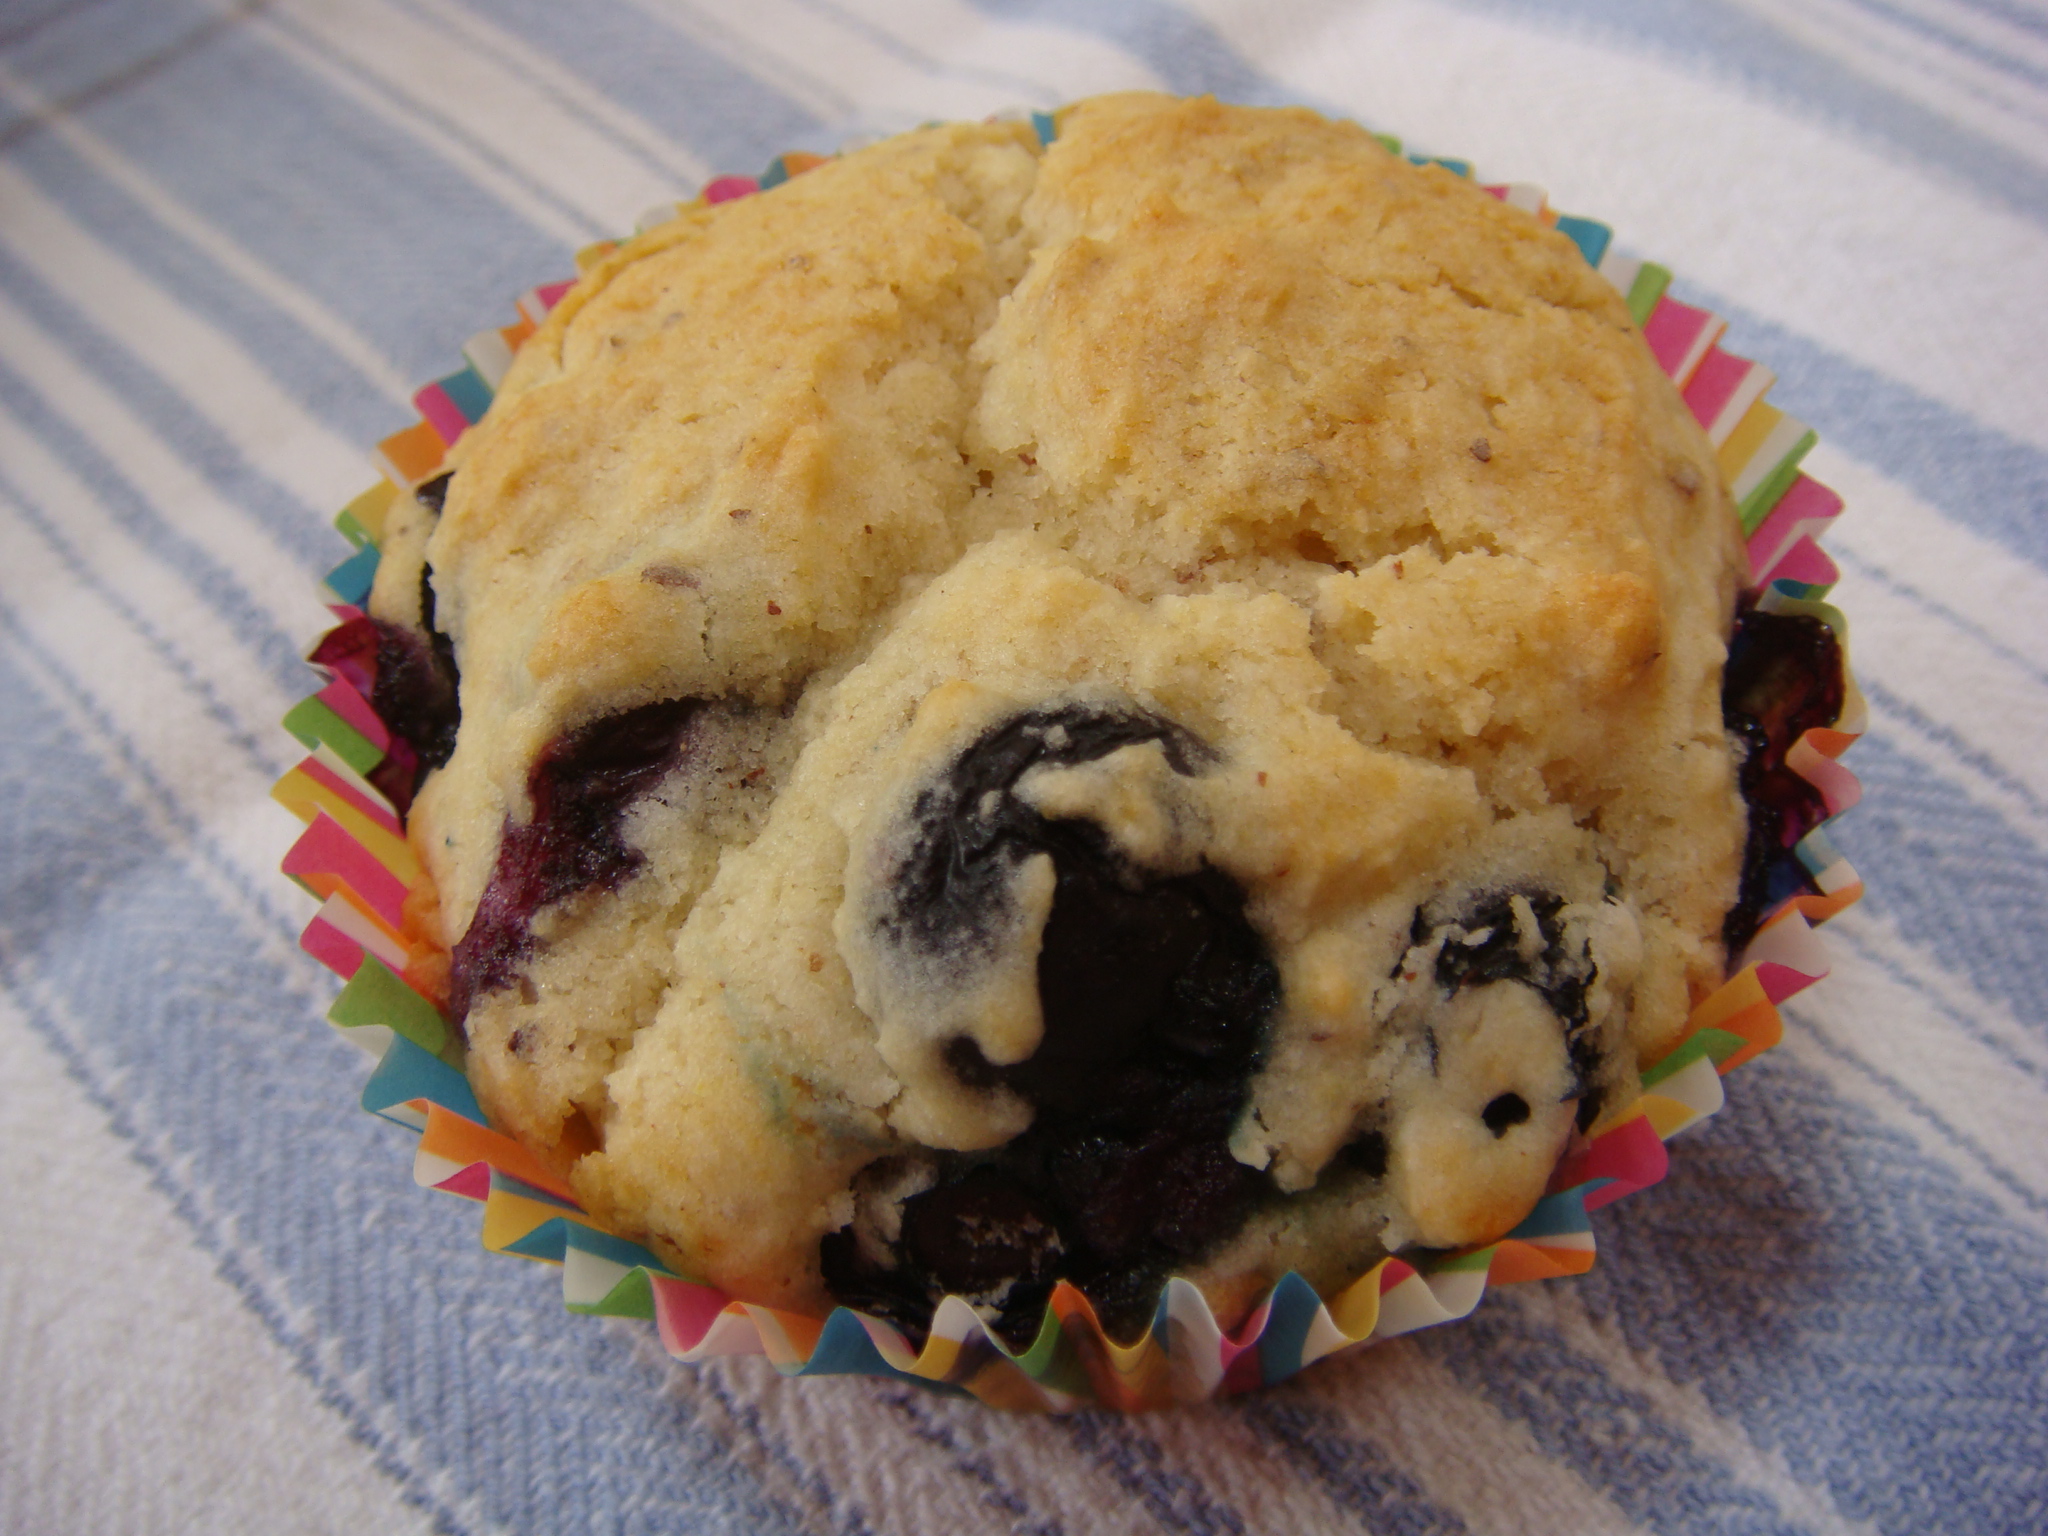
Pumpkin, pumpkin, pumpkin….how about a great pumpkin bread?

I look over a few recipes and then consult with Daria and viola! A pumpkin bread recipe is born!

DSC04940 _2


DSC04957

Gluten-Free Pumpkin Bread

2 ½ cups brown rice flour

½ cup arrowroot starch

5 tsp pumpkin pie spice

2 tsp baking soda

1 ½ tsp salt

1 tsp xanthan gum

4 large eggs

1 cup veggie oil

½ cup fresh orange juice

2 ½ cups granulated sugar

1 can pure pumpkin (15 oz.)

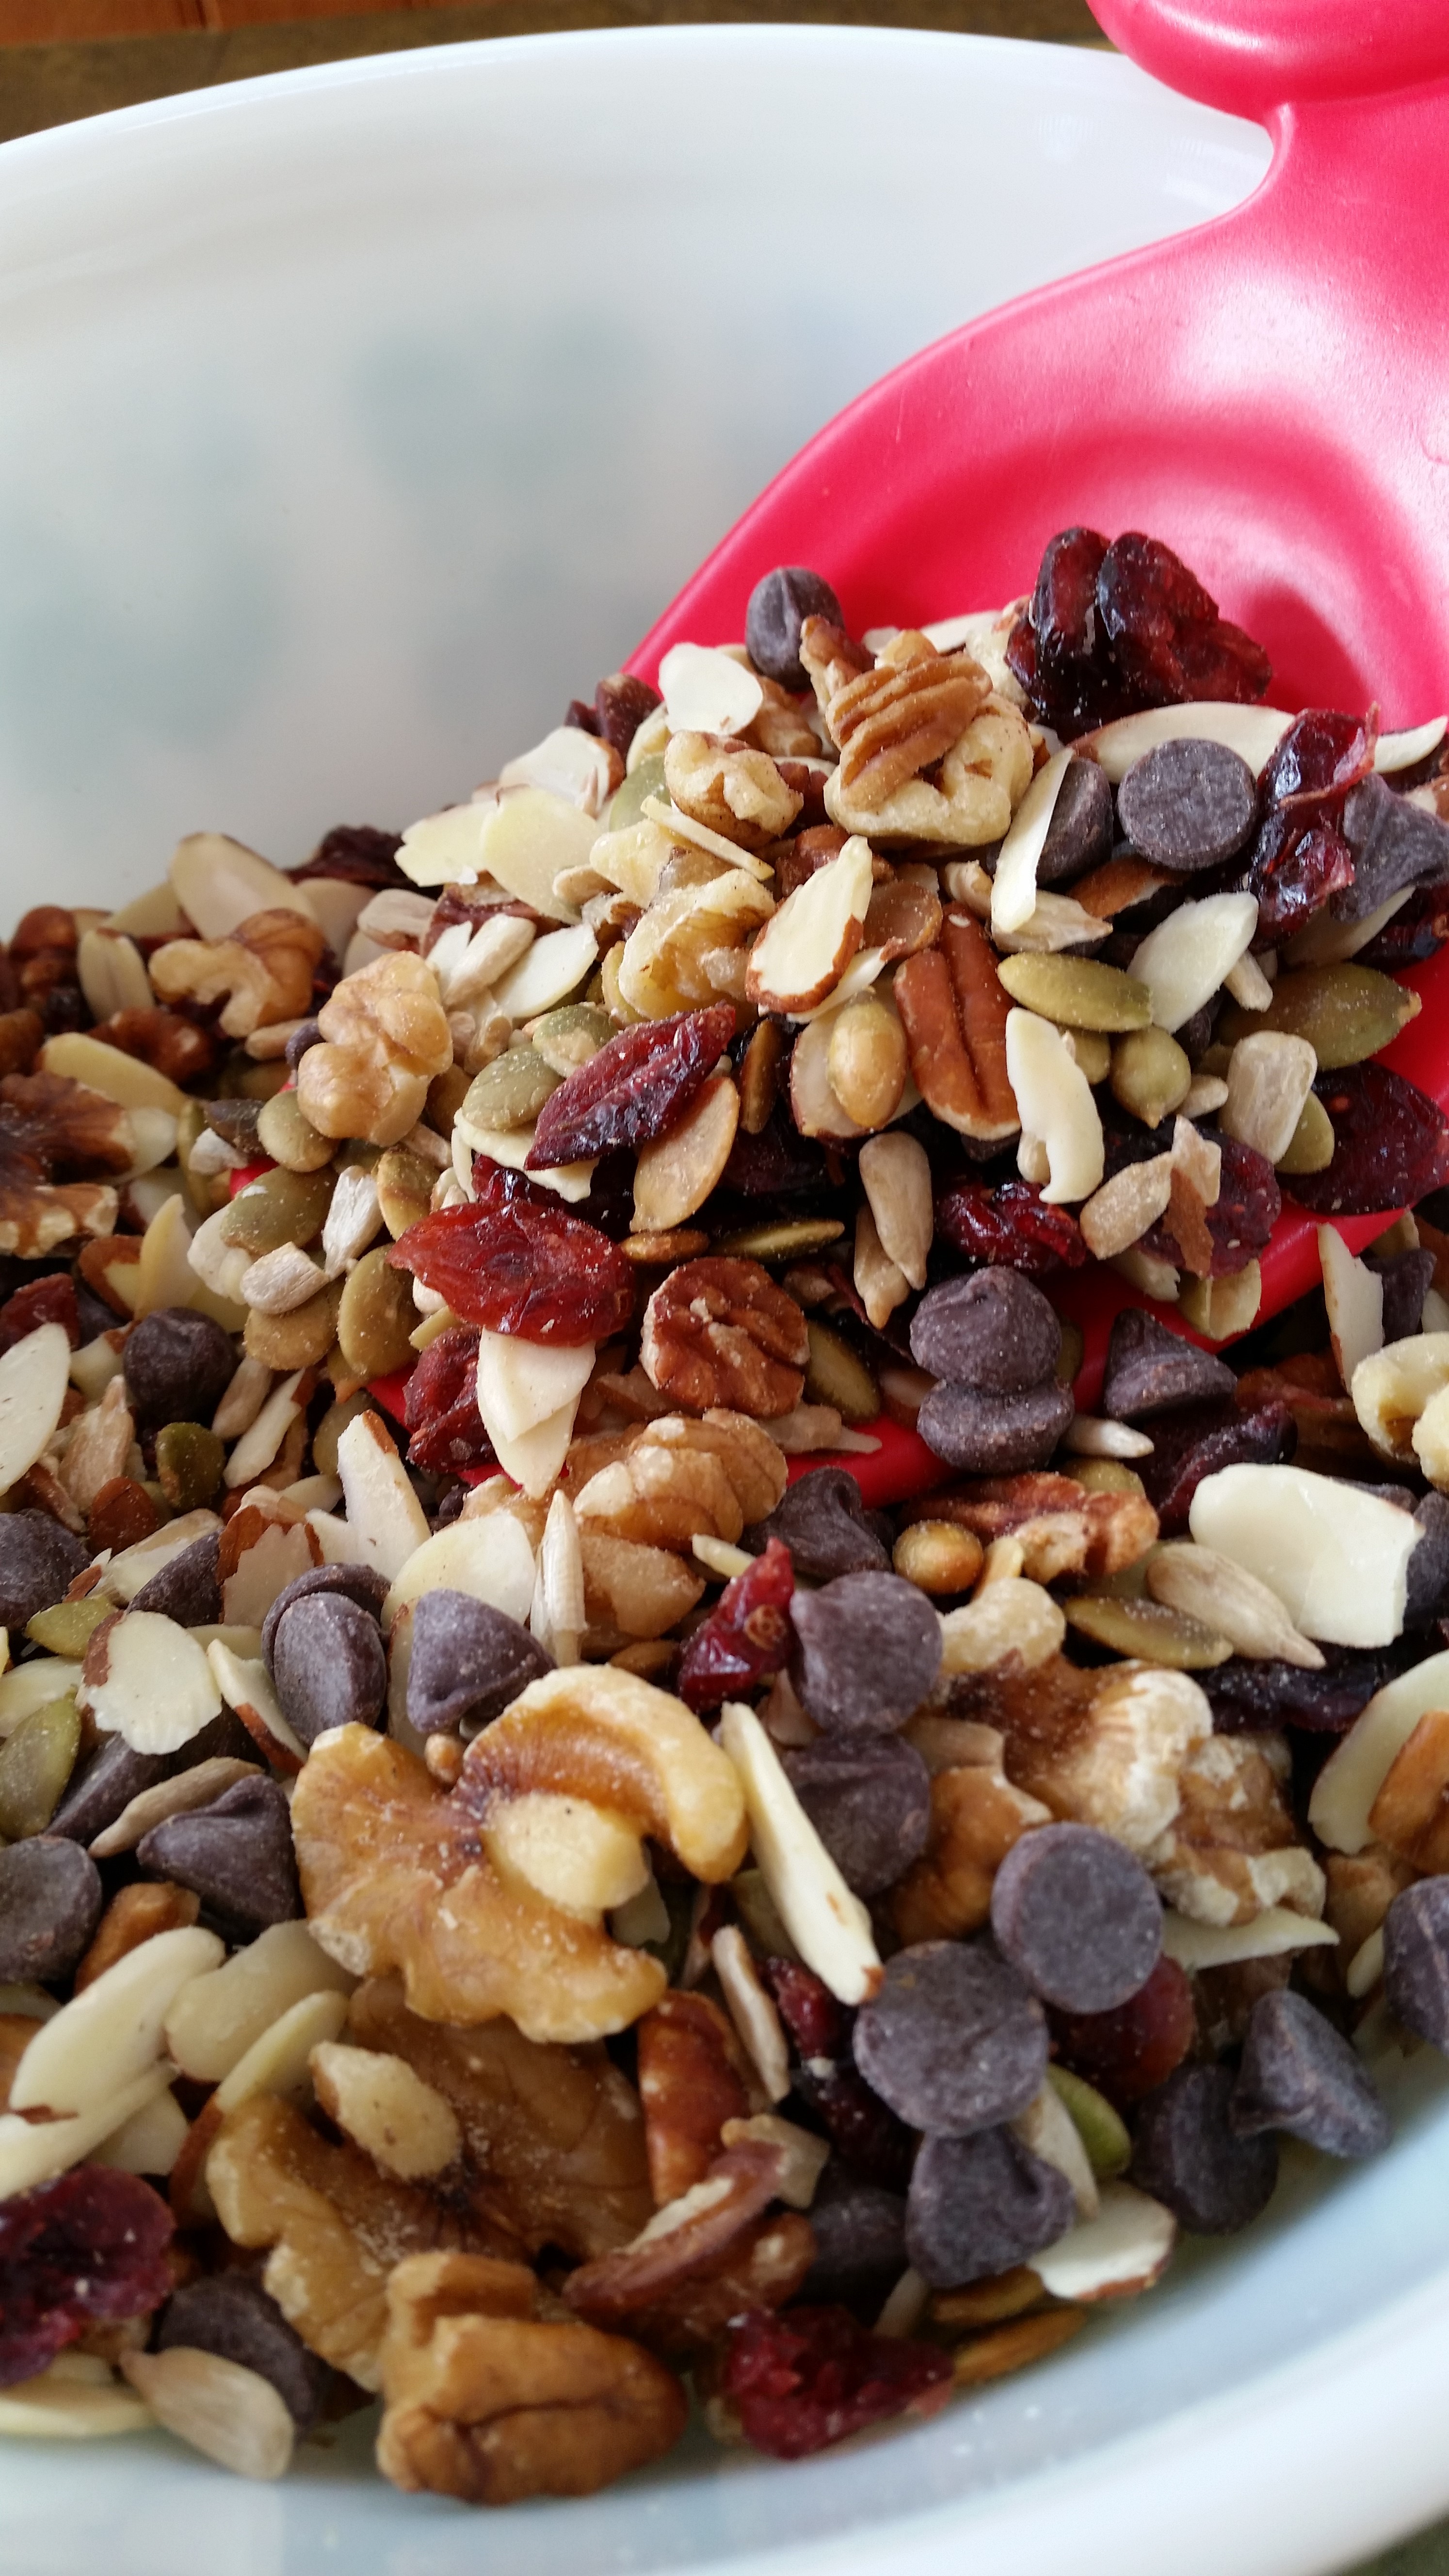
1 cup dried cranberries (we like Trader Joe’s brand)


Preheat your oven to 350˚F. Grease with shortening and flour with brown rice flour, two 9 x 5 inch loaf pans, OR one 9 x 5 and 4 small loaf pans (which I did).

Whisk all of the dry ingredients together. In another bowl mix eggs, oil, and orange juice. Then add the sugar and pure pumpkin. Blend on medium-high if using a stand mixer or handheld mixer until thoroughly combined.

Now add dry to the pumpkin mixture. Mix until well combined.

Stir in the dried cranberries if you are adding them.

Bake for 45 minutes to one hour. Watch the small pans if you are using them! You may need to adjust the time.

Cool for at least 10 minutes in pans before attempting to remove them. Let the breads cool completely on wire racks.

© 2014, Monica & Daria of glutenfreedoubletalk    whisks


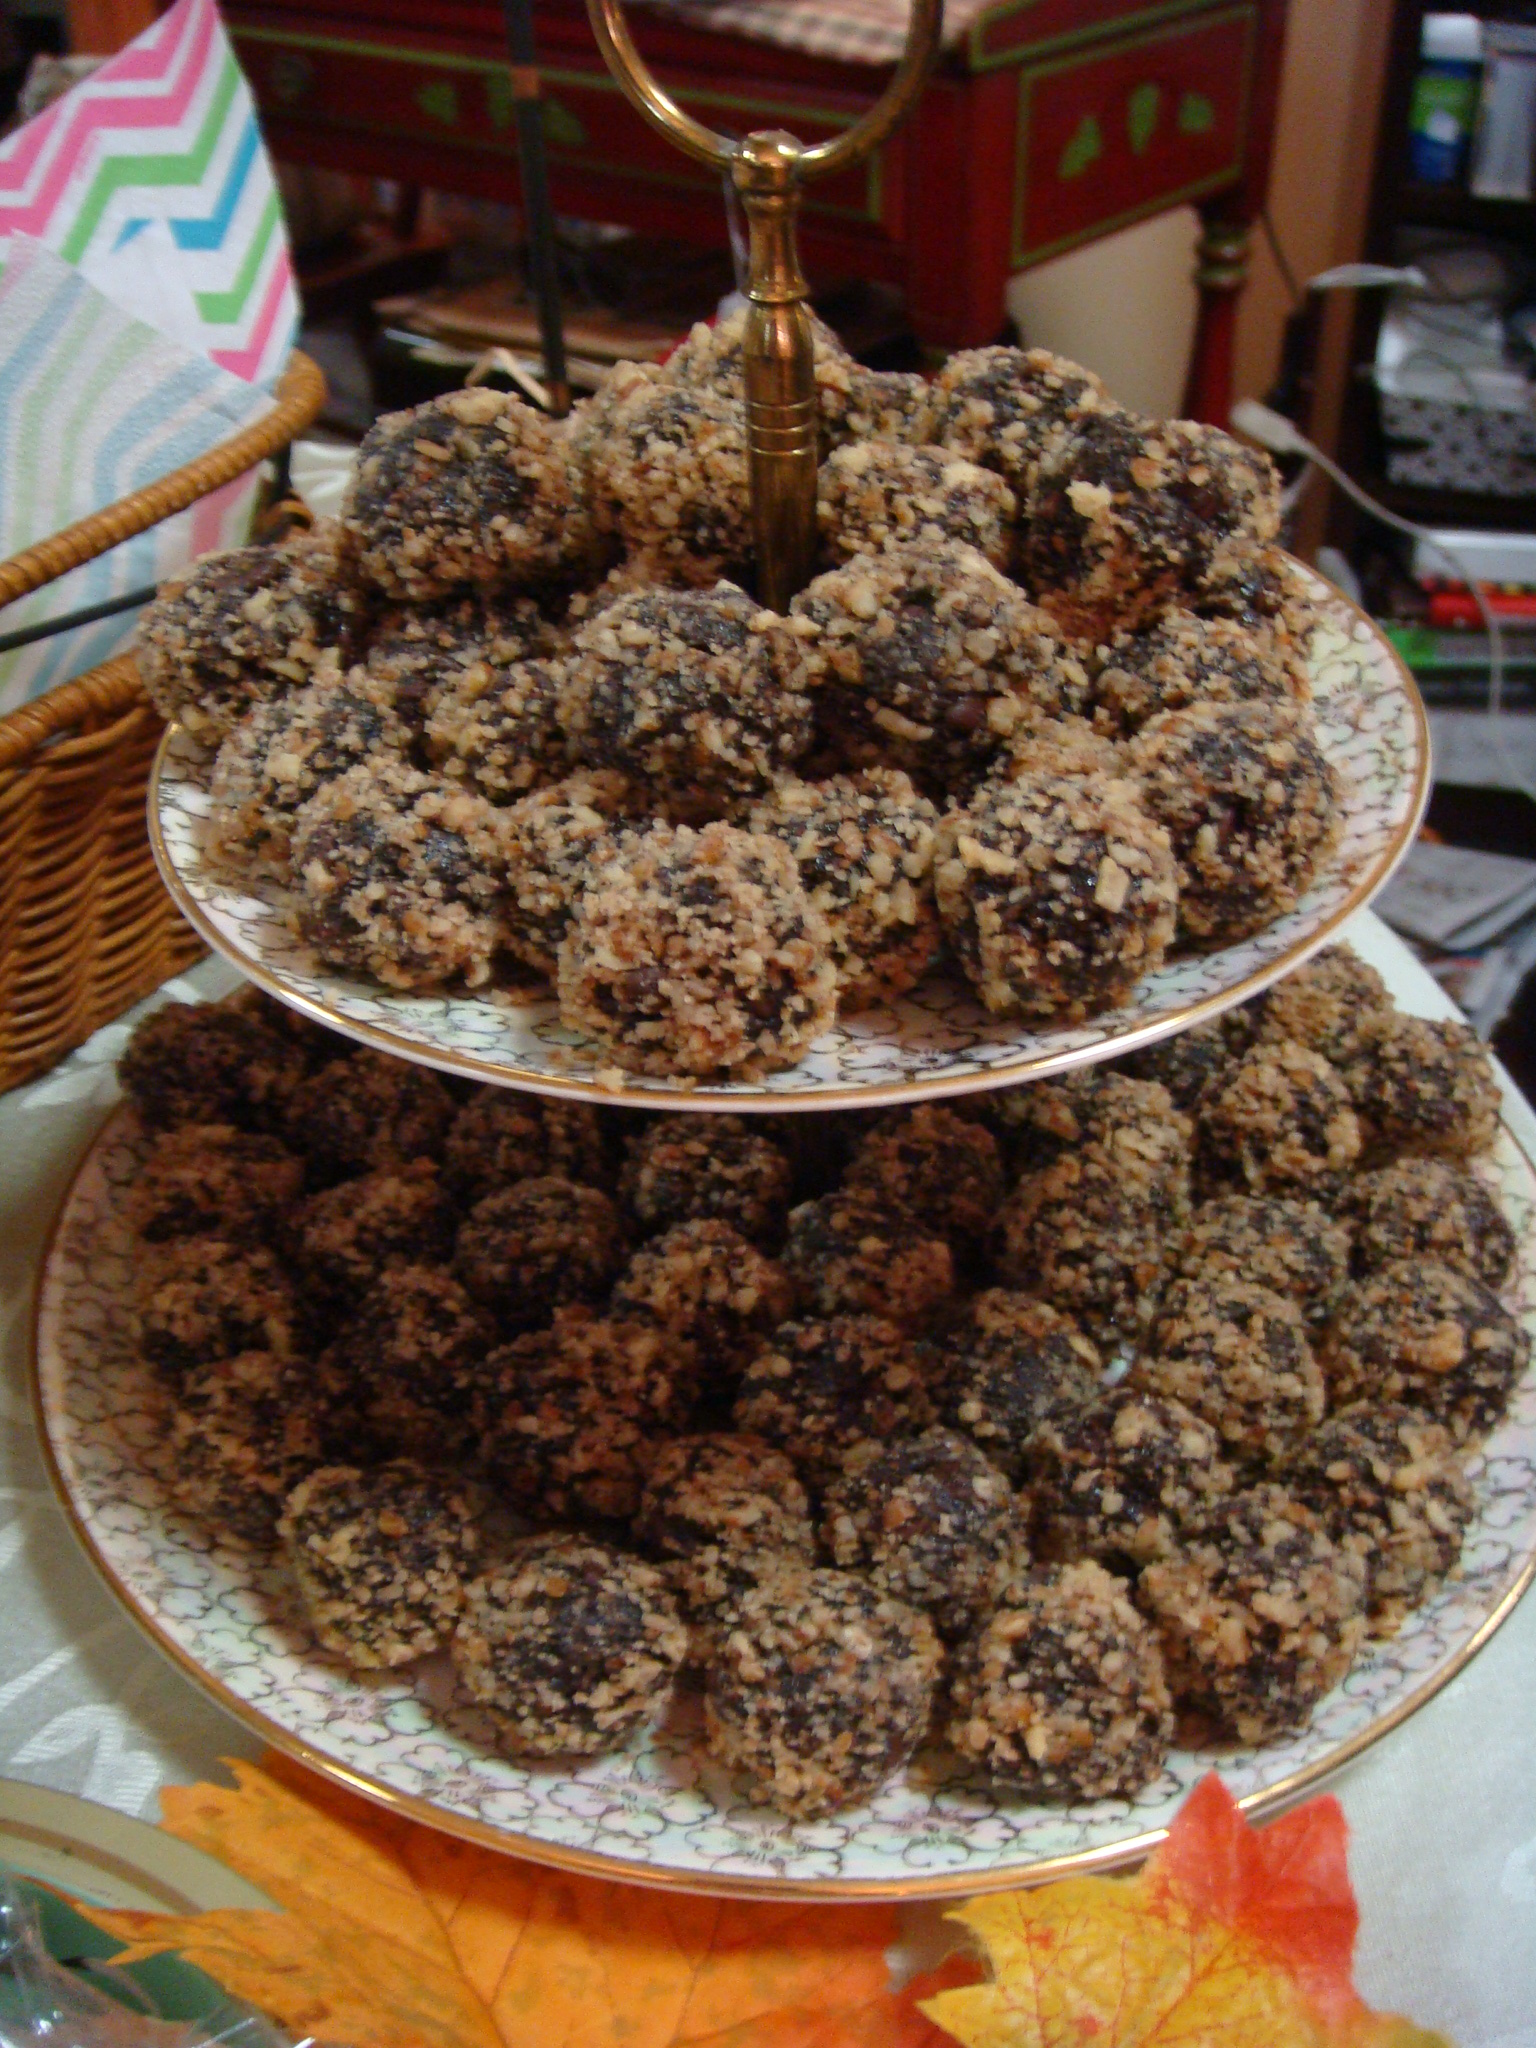
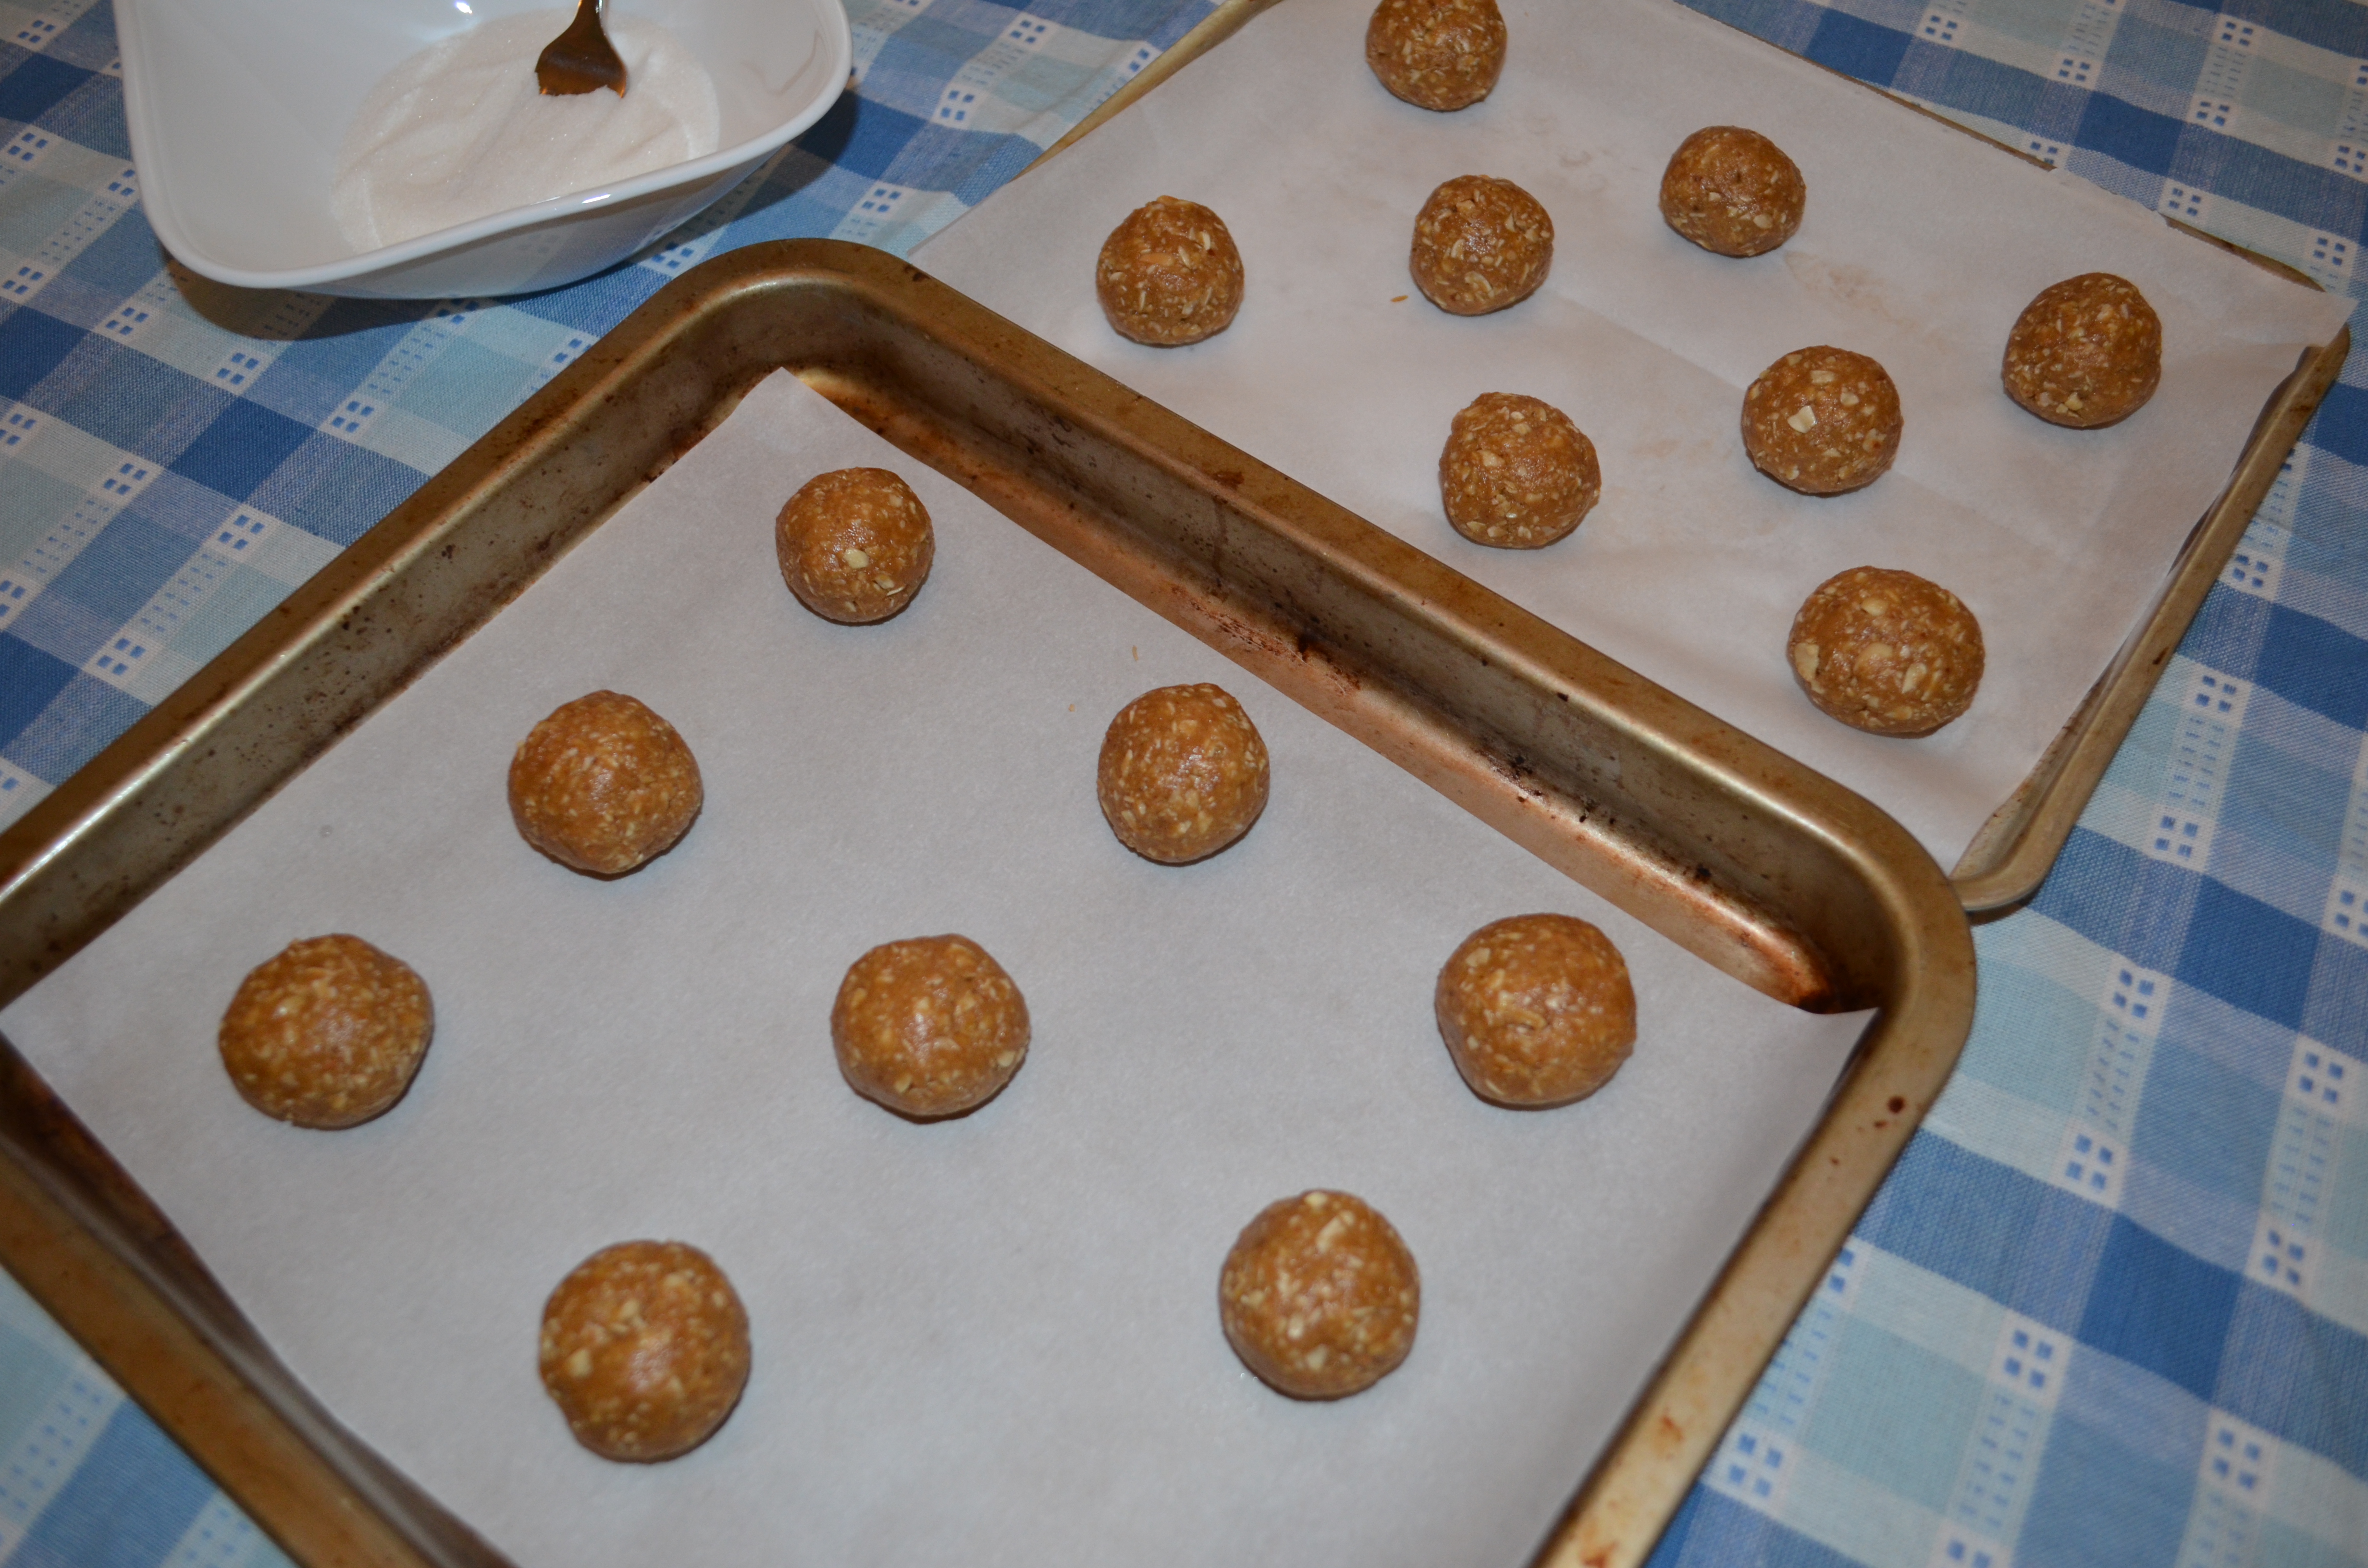
Chocolate, chocolate, chocolate….how about a no-bake recipe?

Daria’s friend Amanda visited with us a while ago and brought with her some delightful no-bake chocolate balls. So thanks to Amanda from Michigan for this recipe!

DSC04940

Chocolate Orange Balls

1 cup Almonds

1 cup Pecans

Pinch of salt

1/3 cup honey

3 T cocoa powder

½ tsp vanilla extract

½ cup shredded sweetened coconut

½ cup chocolate chips

Zest of 2 oranges

Extra crushed pecans (about 1 cup)


Using a food processor, pulse almonds and pecans until finely chopped.

Add salt, honey, cocoa, vanilla, shredded coconut, chocolate chips and zest.

Process until well combined.

Roll chocolate mixture into 1” balls. Roll each ball in crushed pecans.

© 2011, Amanda Schmidt

DSC04956

Notes from Monica for chocolate balls:

I used Hershey’s Special Dark Cocoa Powder and Ghirardelli semi-sweet chocolate chips.

Rolling the balls is super messy…. and you lose too much of the dough, because it’s so sticky! I ended up forming balls with my fingertips. Much better!

I made this recipe twice…did not double it initially due to the size of my food processor. In total the 2 recipes yielded a little over 7 dozen balls.


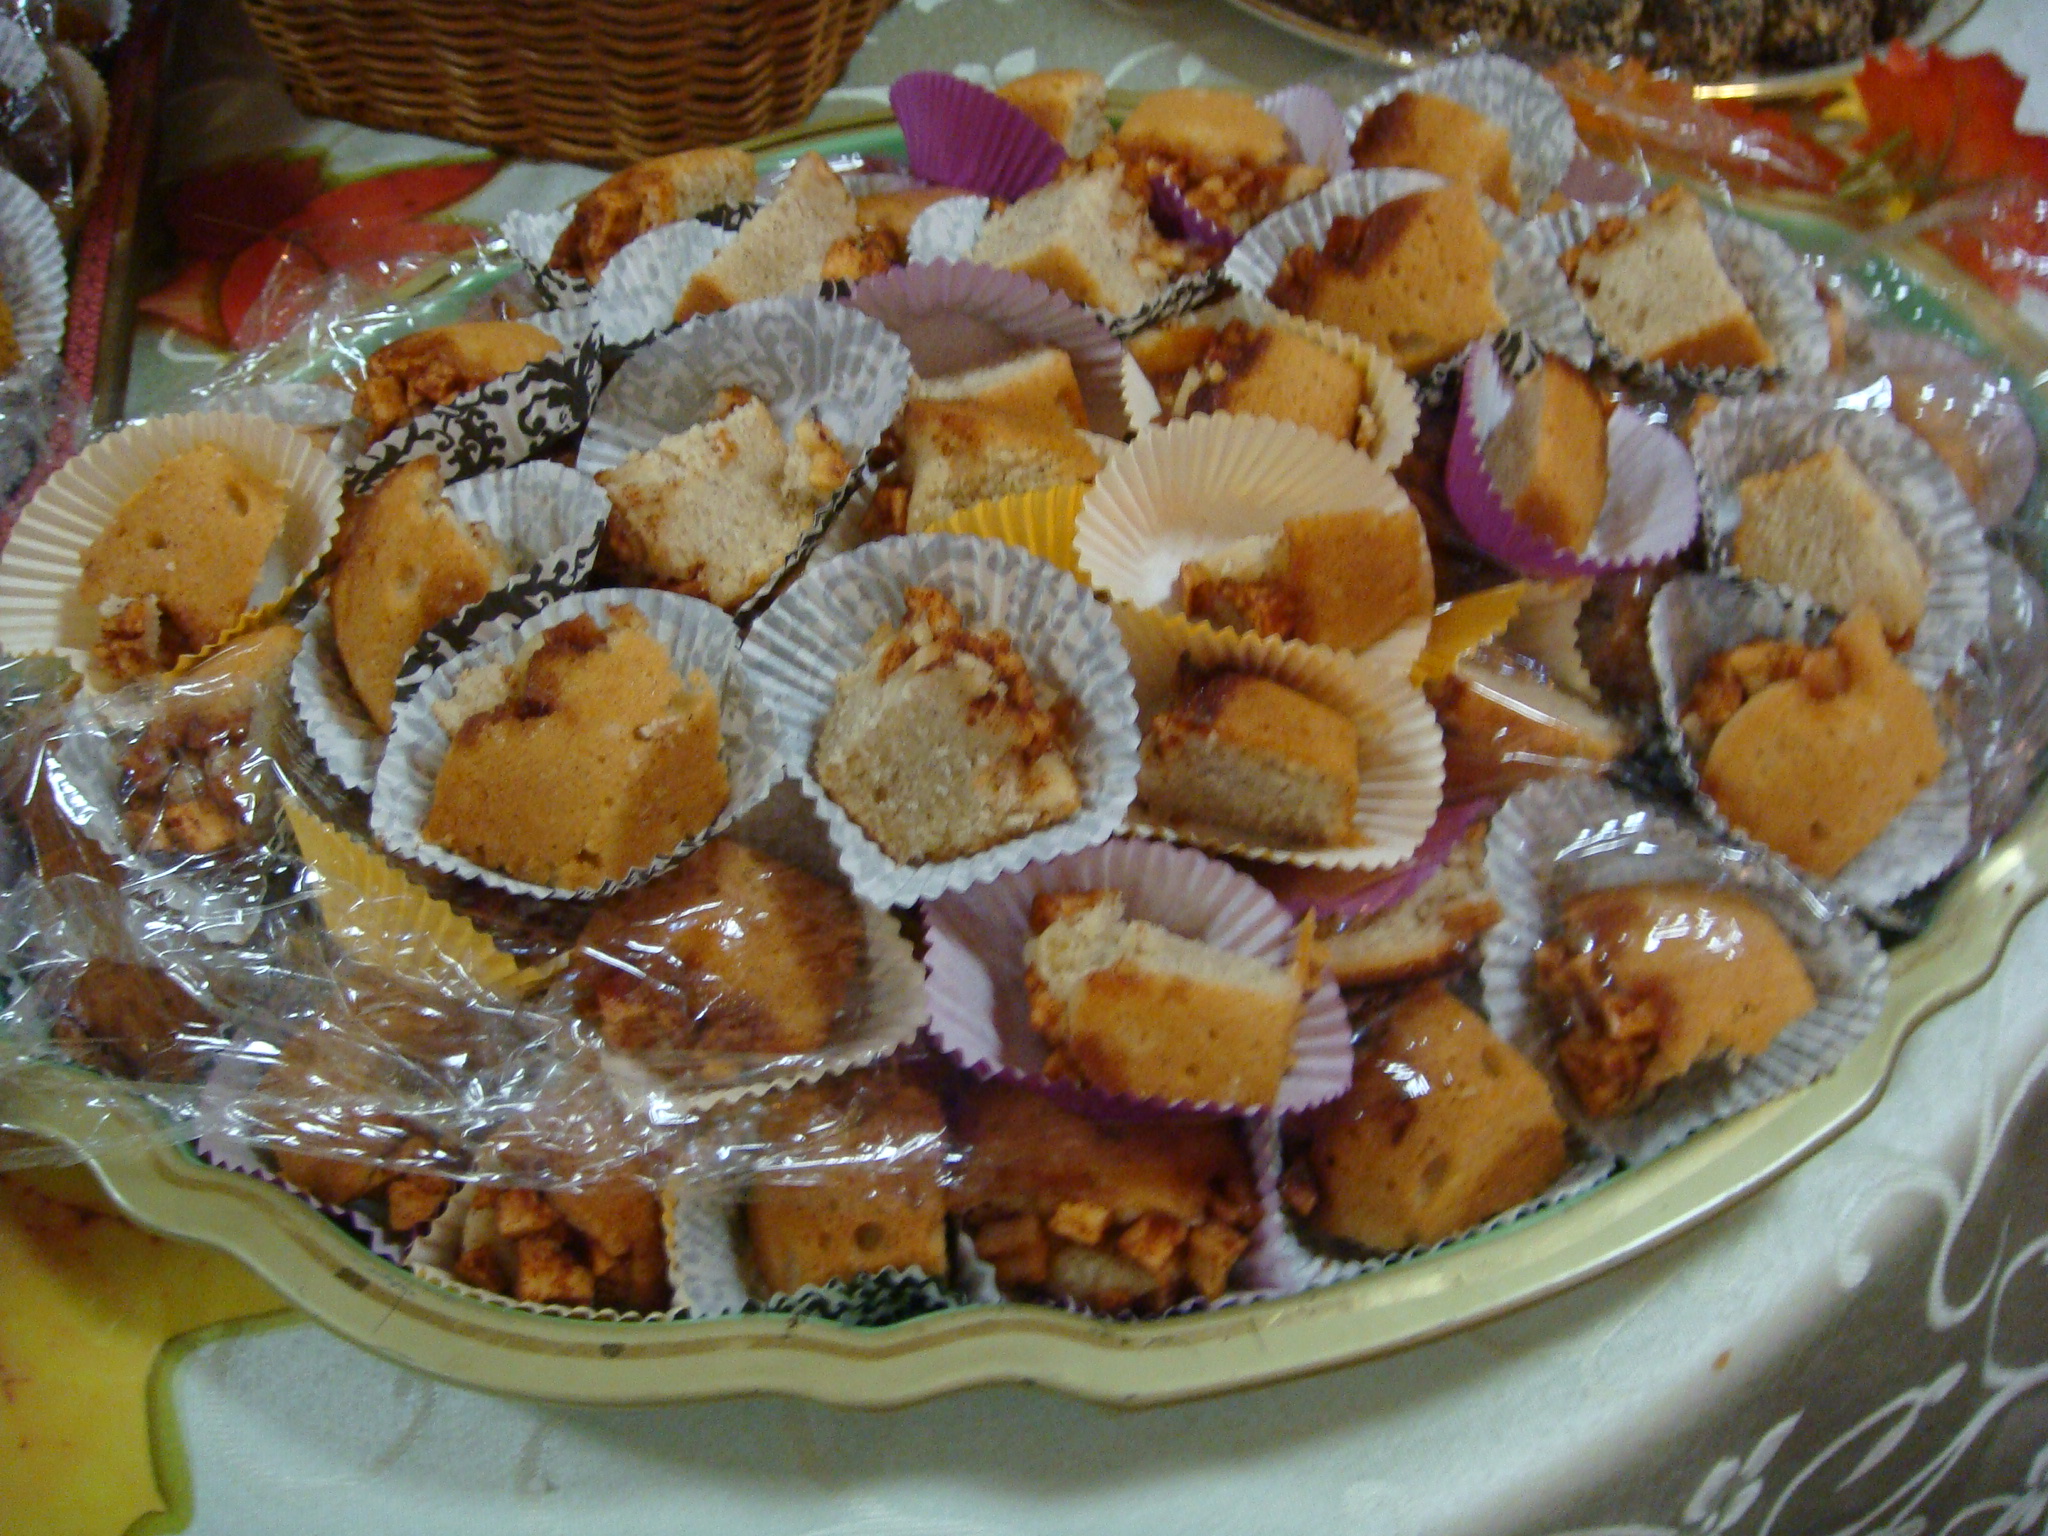
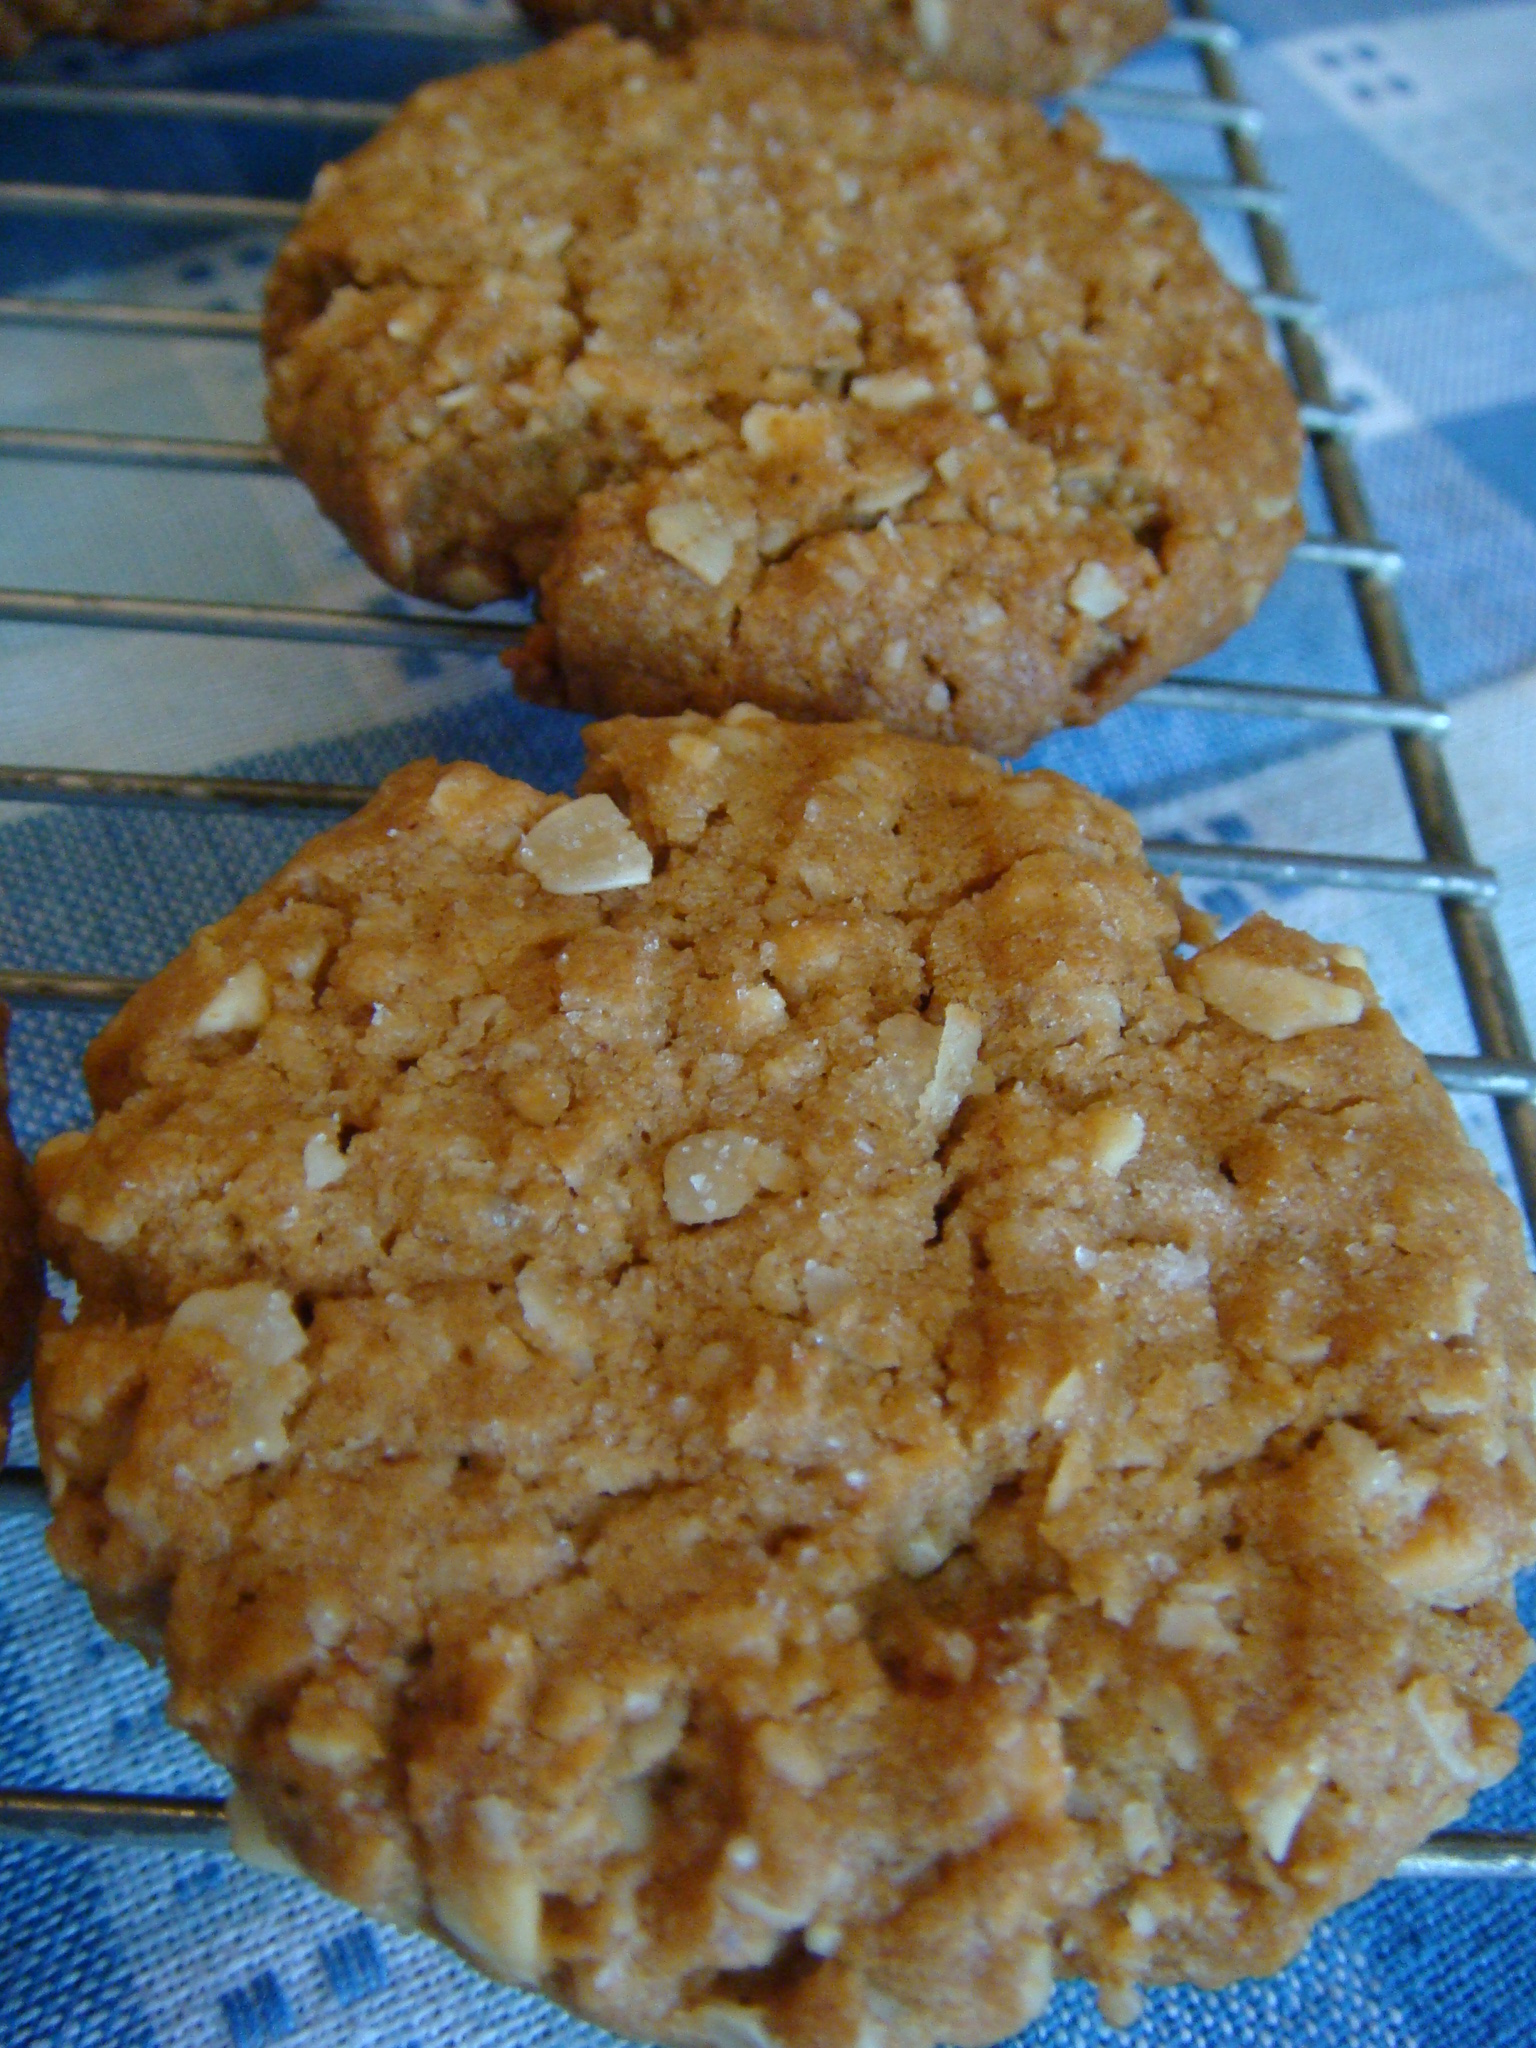
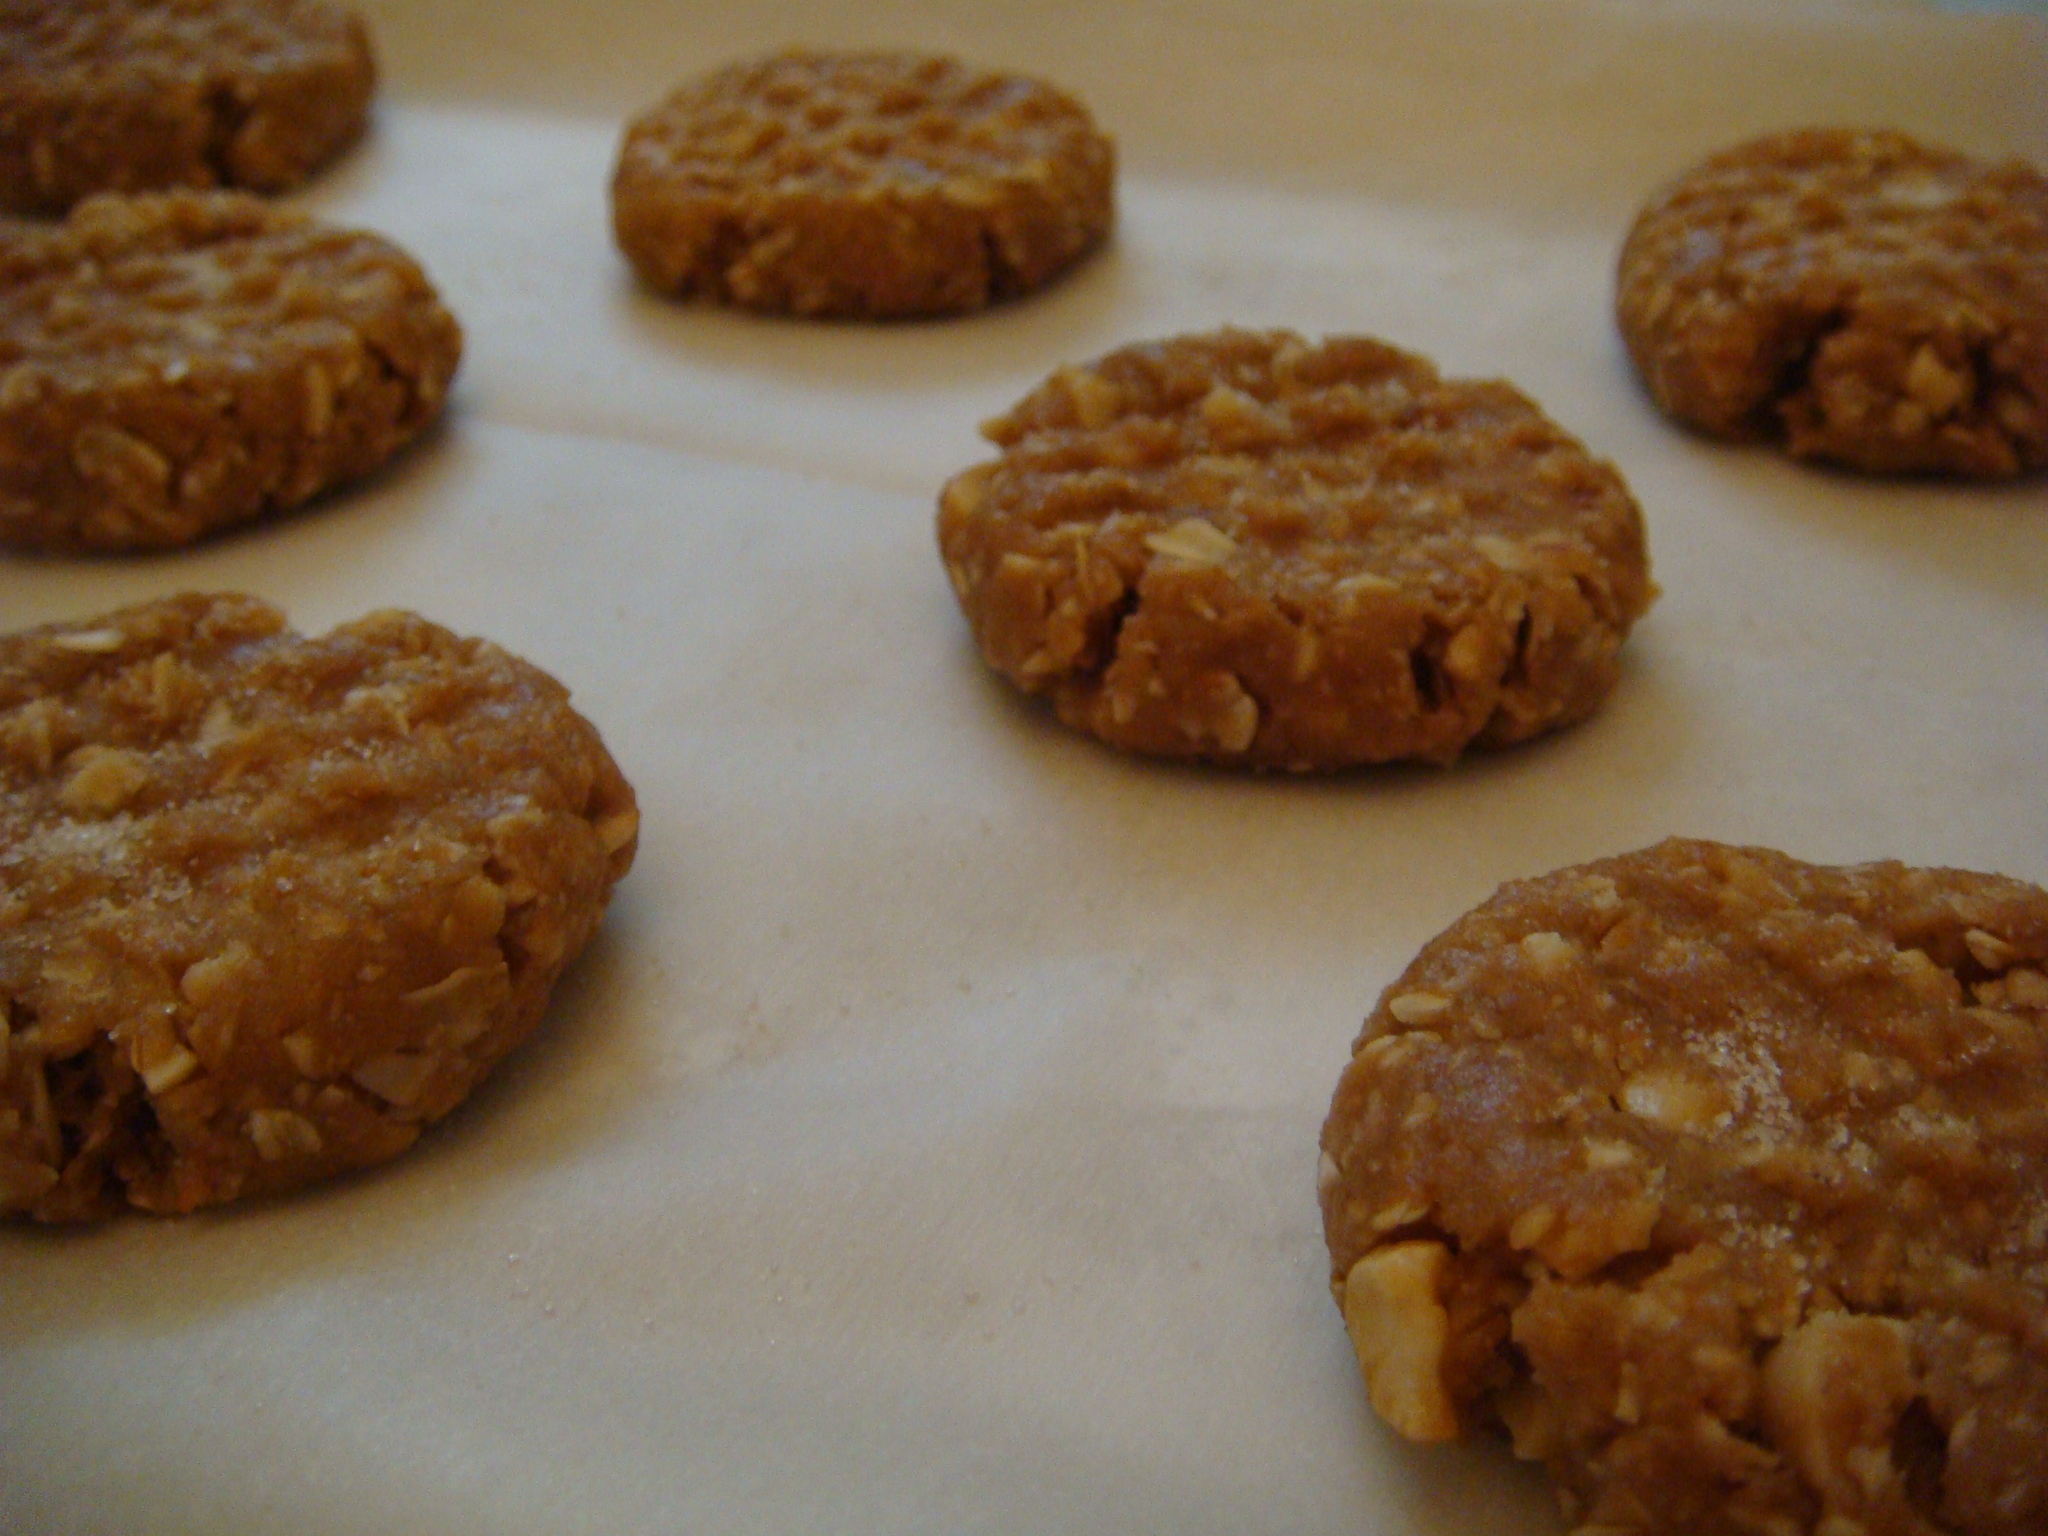
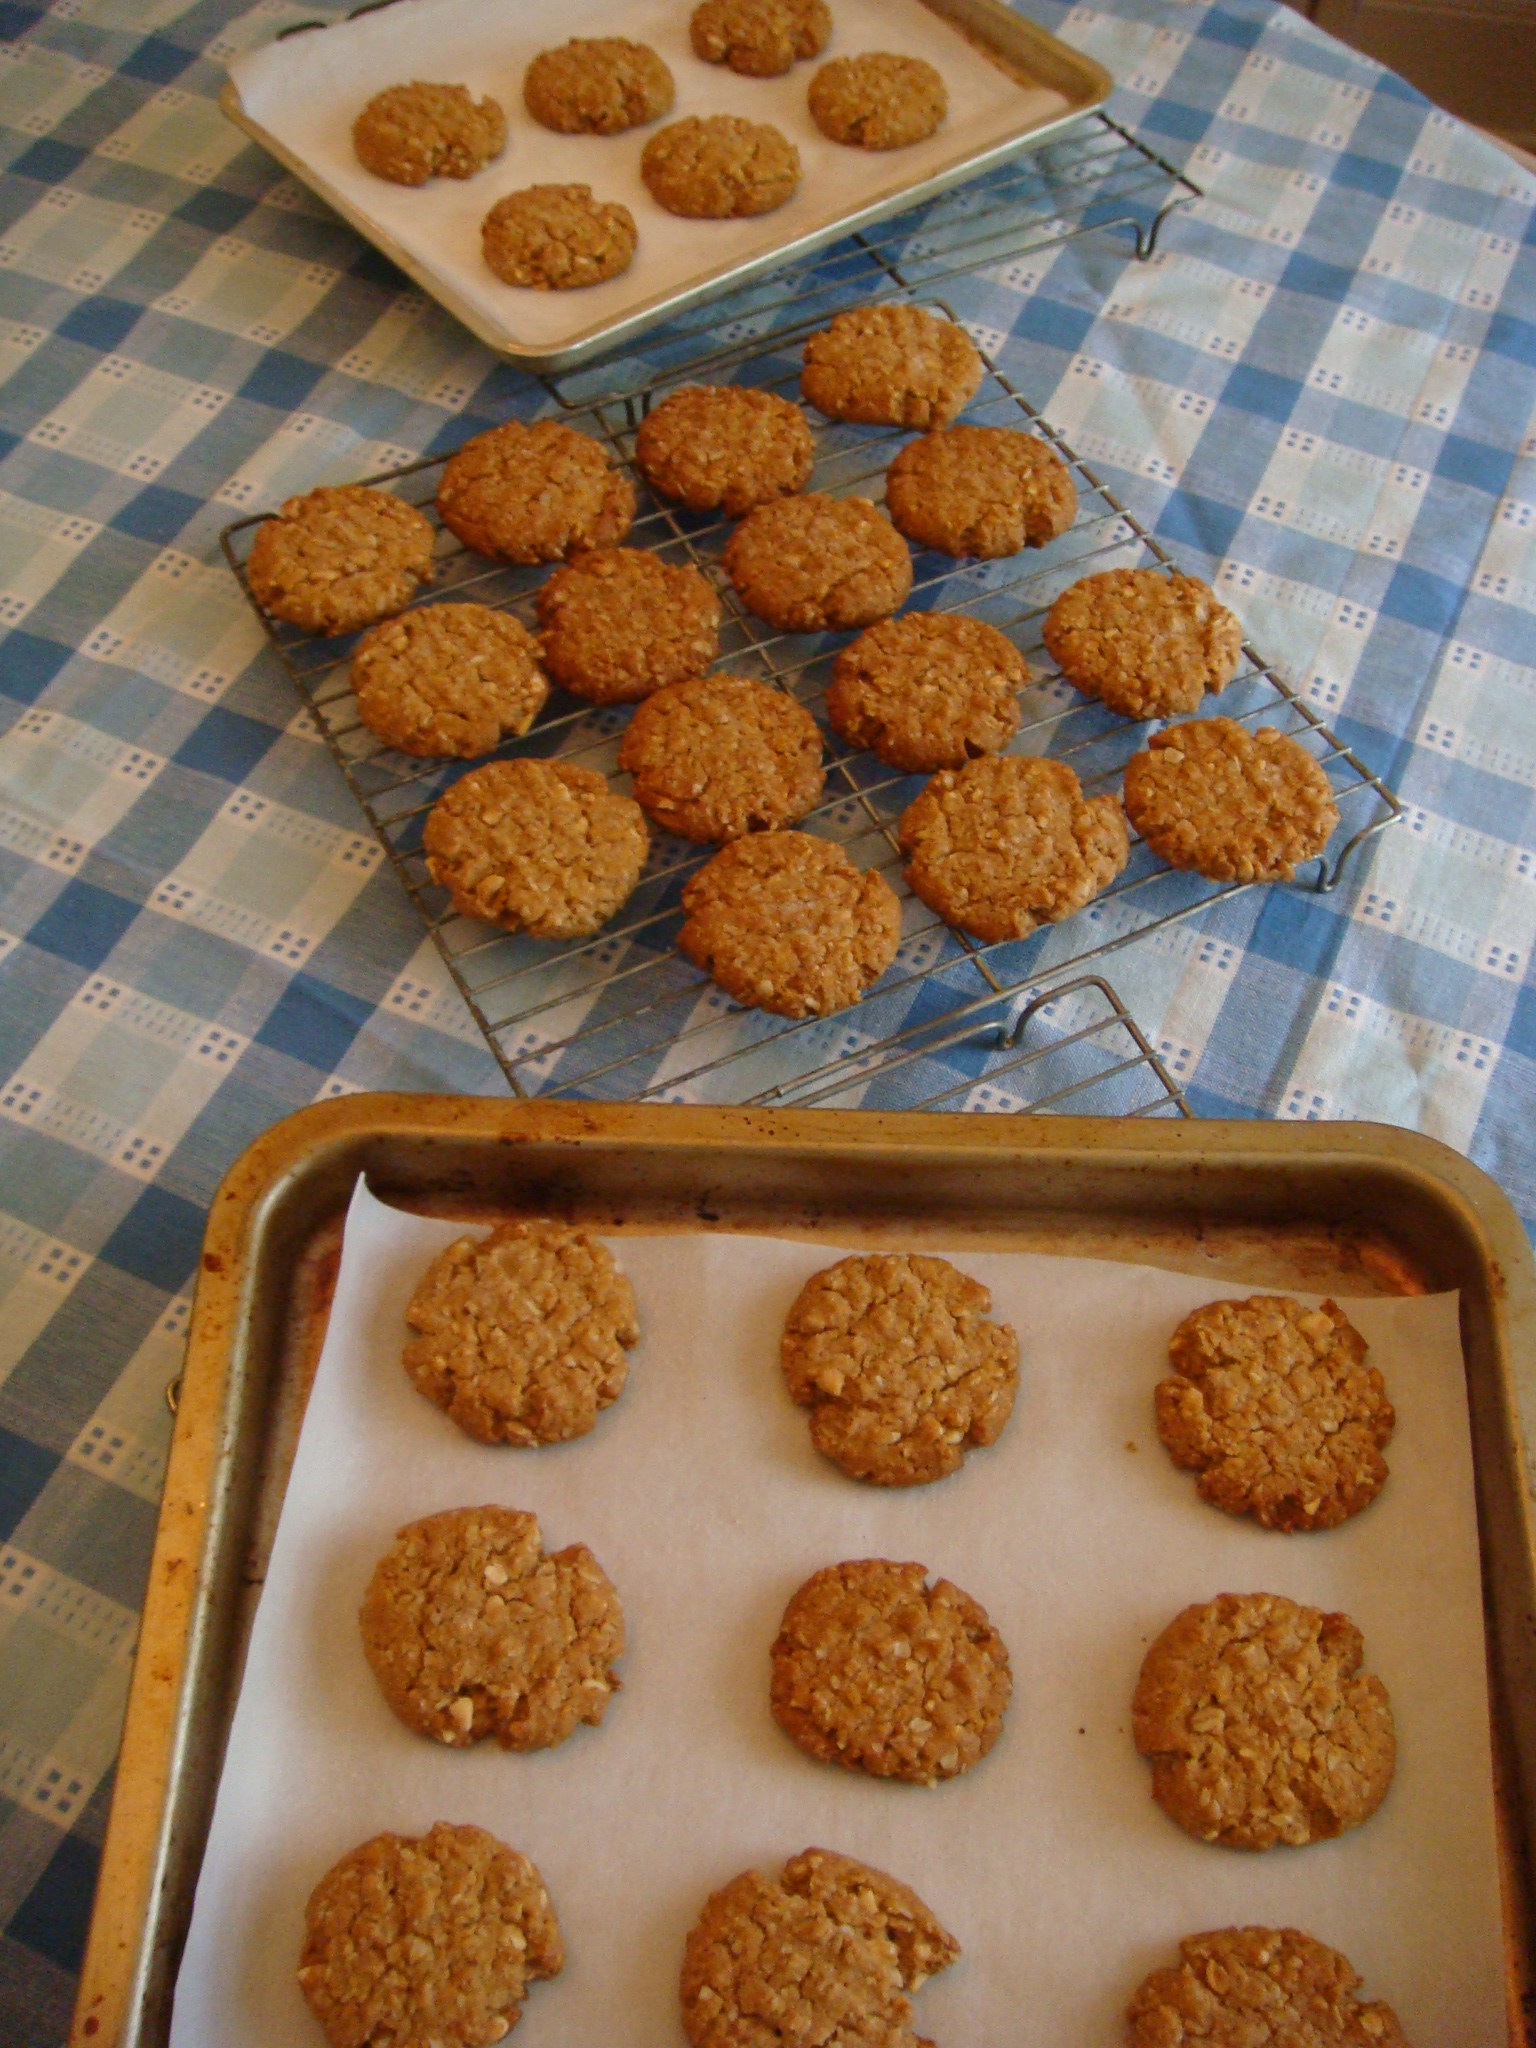
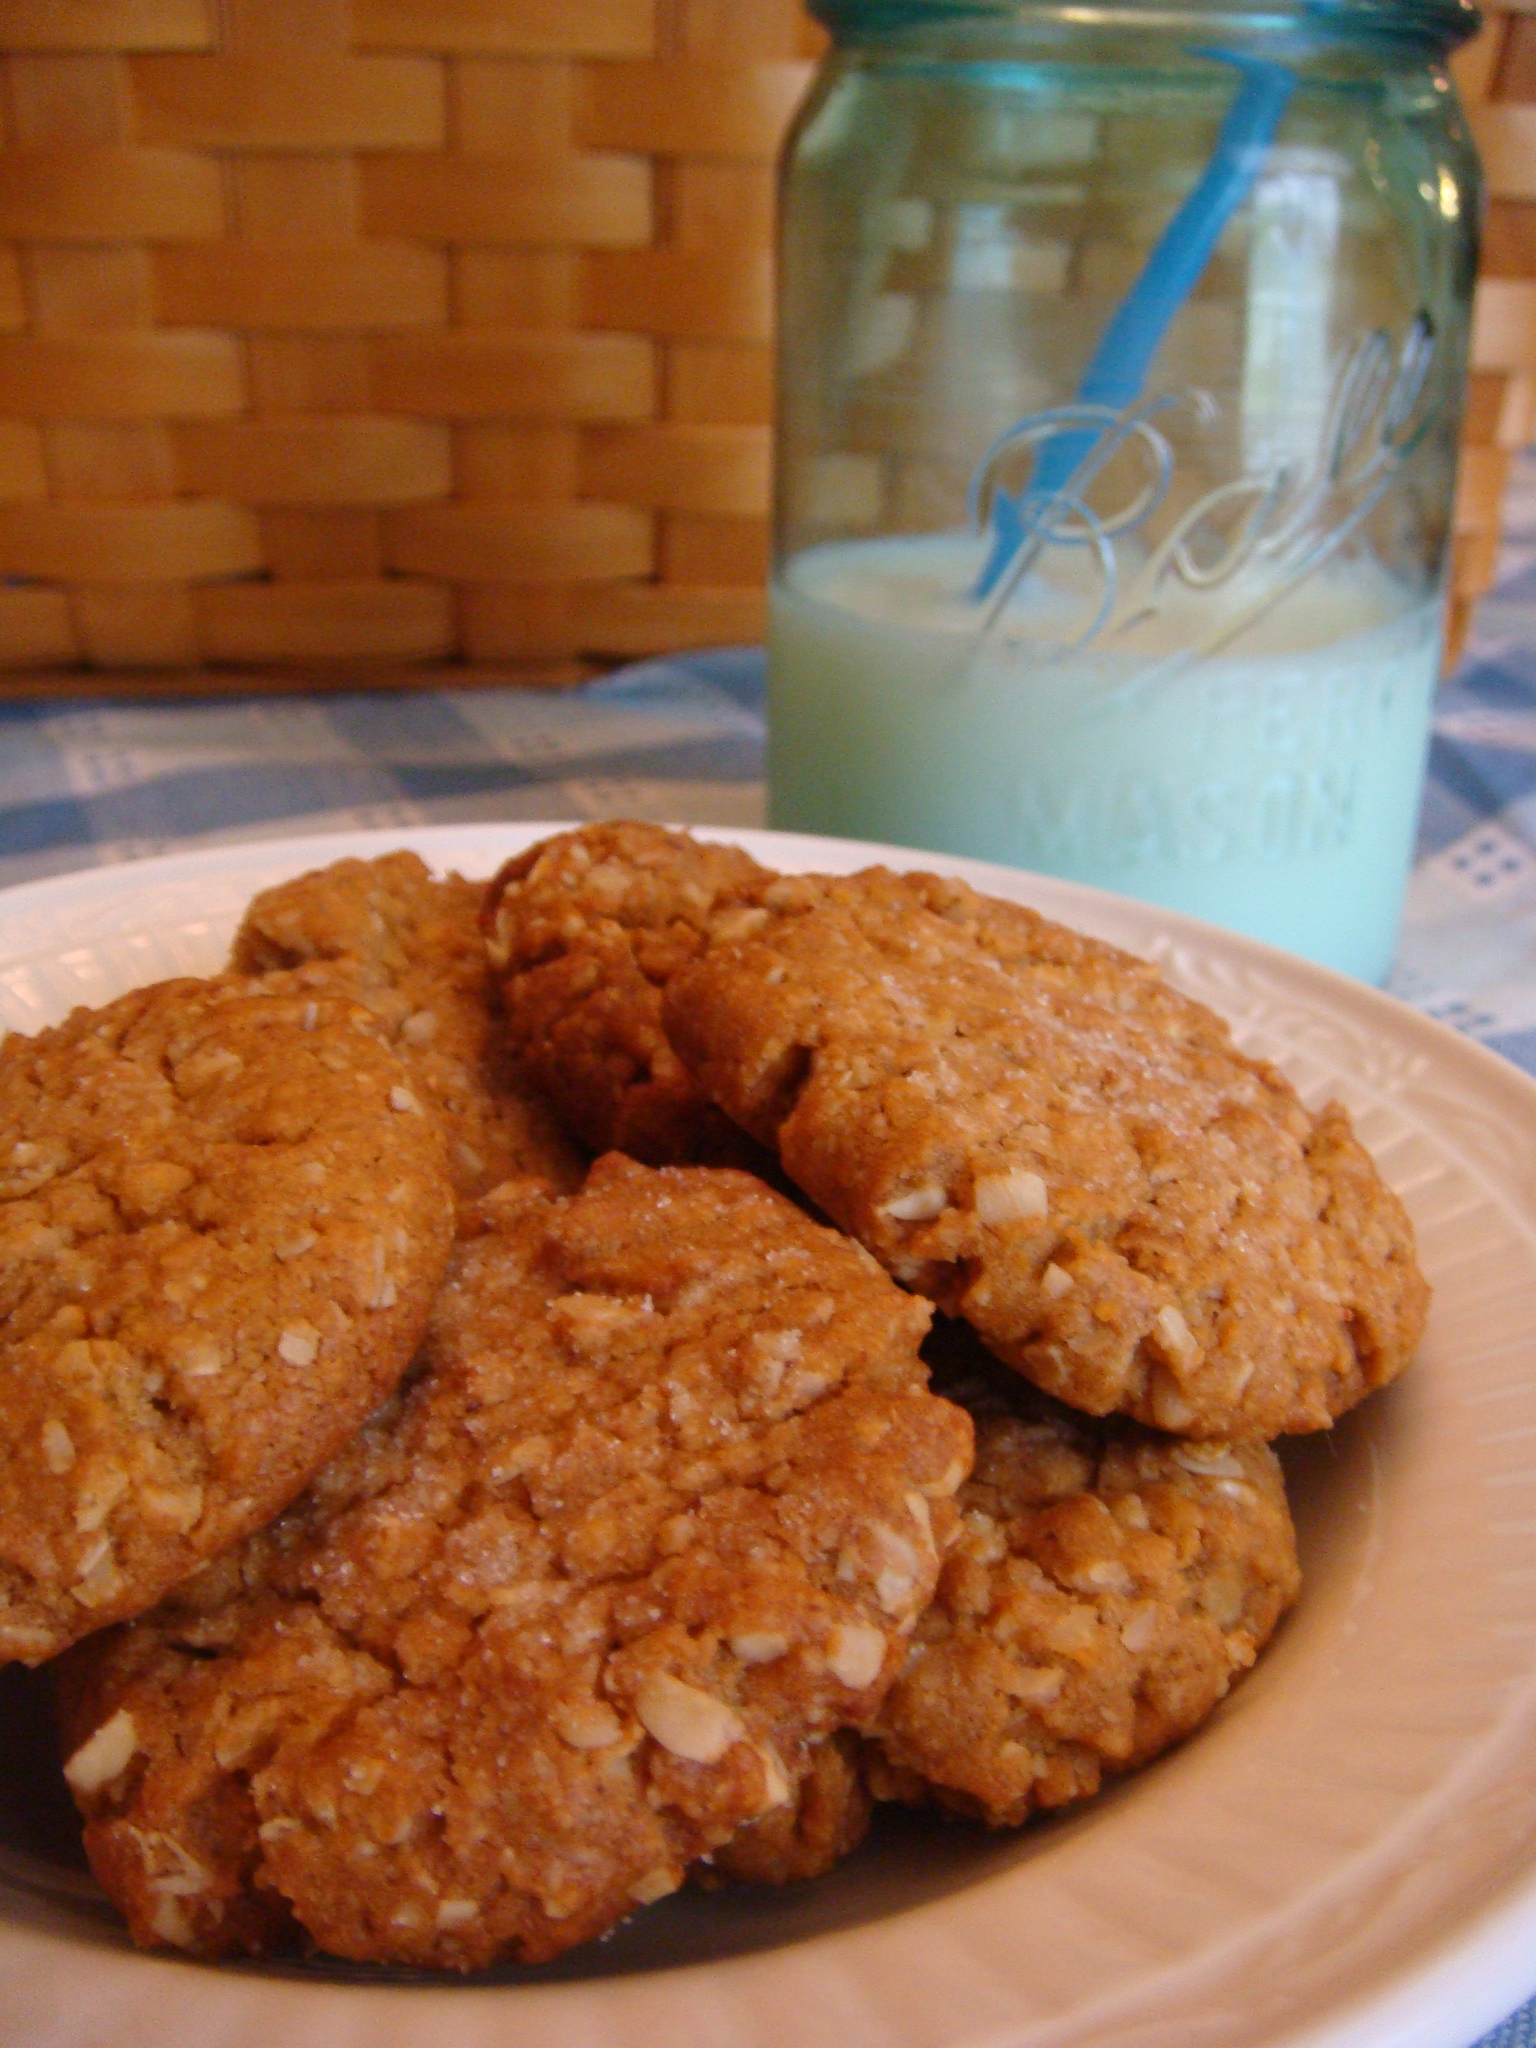
Apples, apples, apples…apple pound cake, anyone?

A great gluten-free blog that we follow is Gluten Free on a Shoestring. The author of this blog, Nicole, has written a few cookbooks, in addition to her blog. We have found them to be wonderful additions to our gluten-free library!

DSC04944


DSC04946

These apple pound cakes are her recipe. She calls them Starbucks-Style Gluten Free Apple Pound Cakes. The batter is delightful….with the addition of the cinnamon, it took everything in me not to just eat it! Oh my goodness…these little cakes came out great!

DSC04955


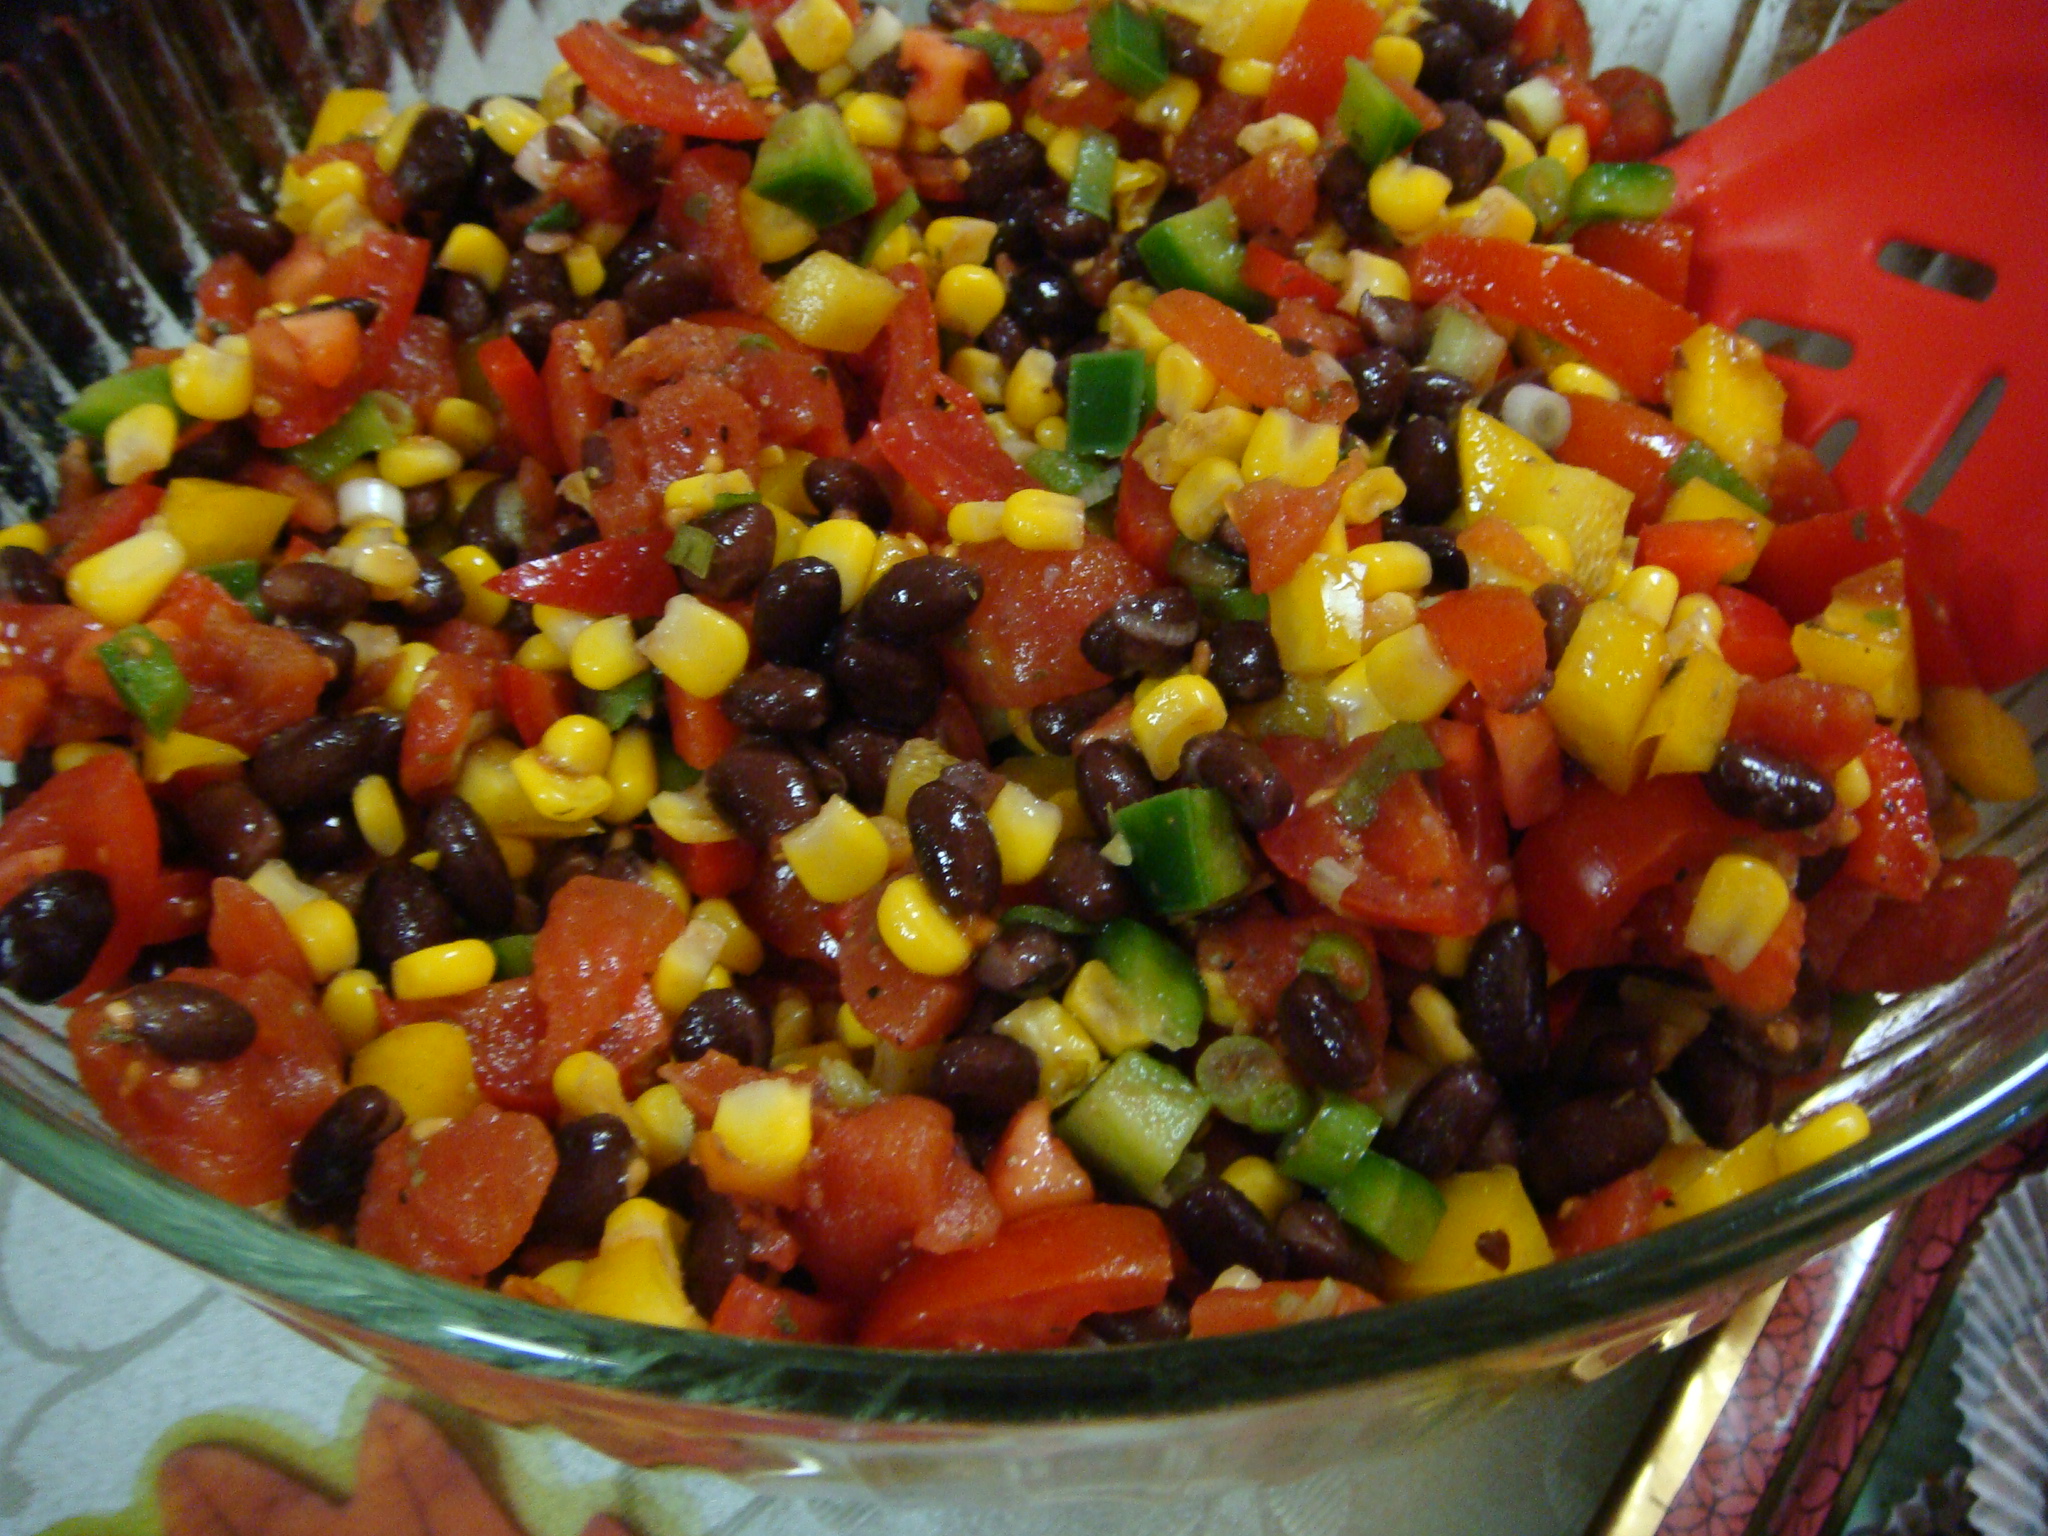
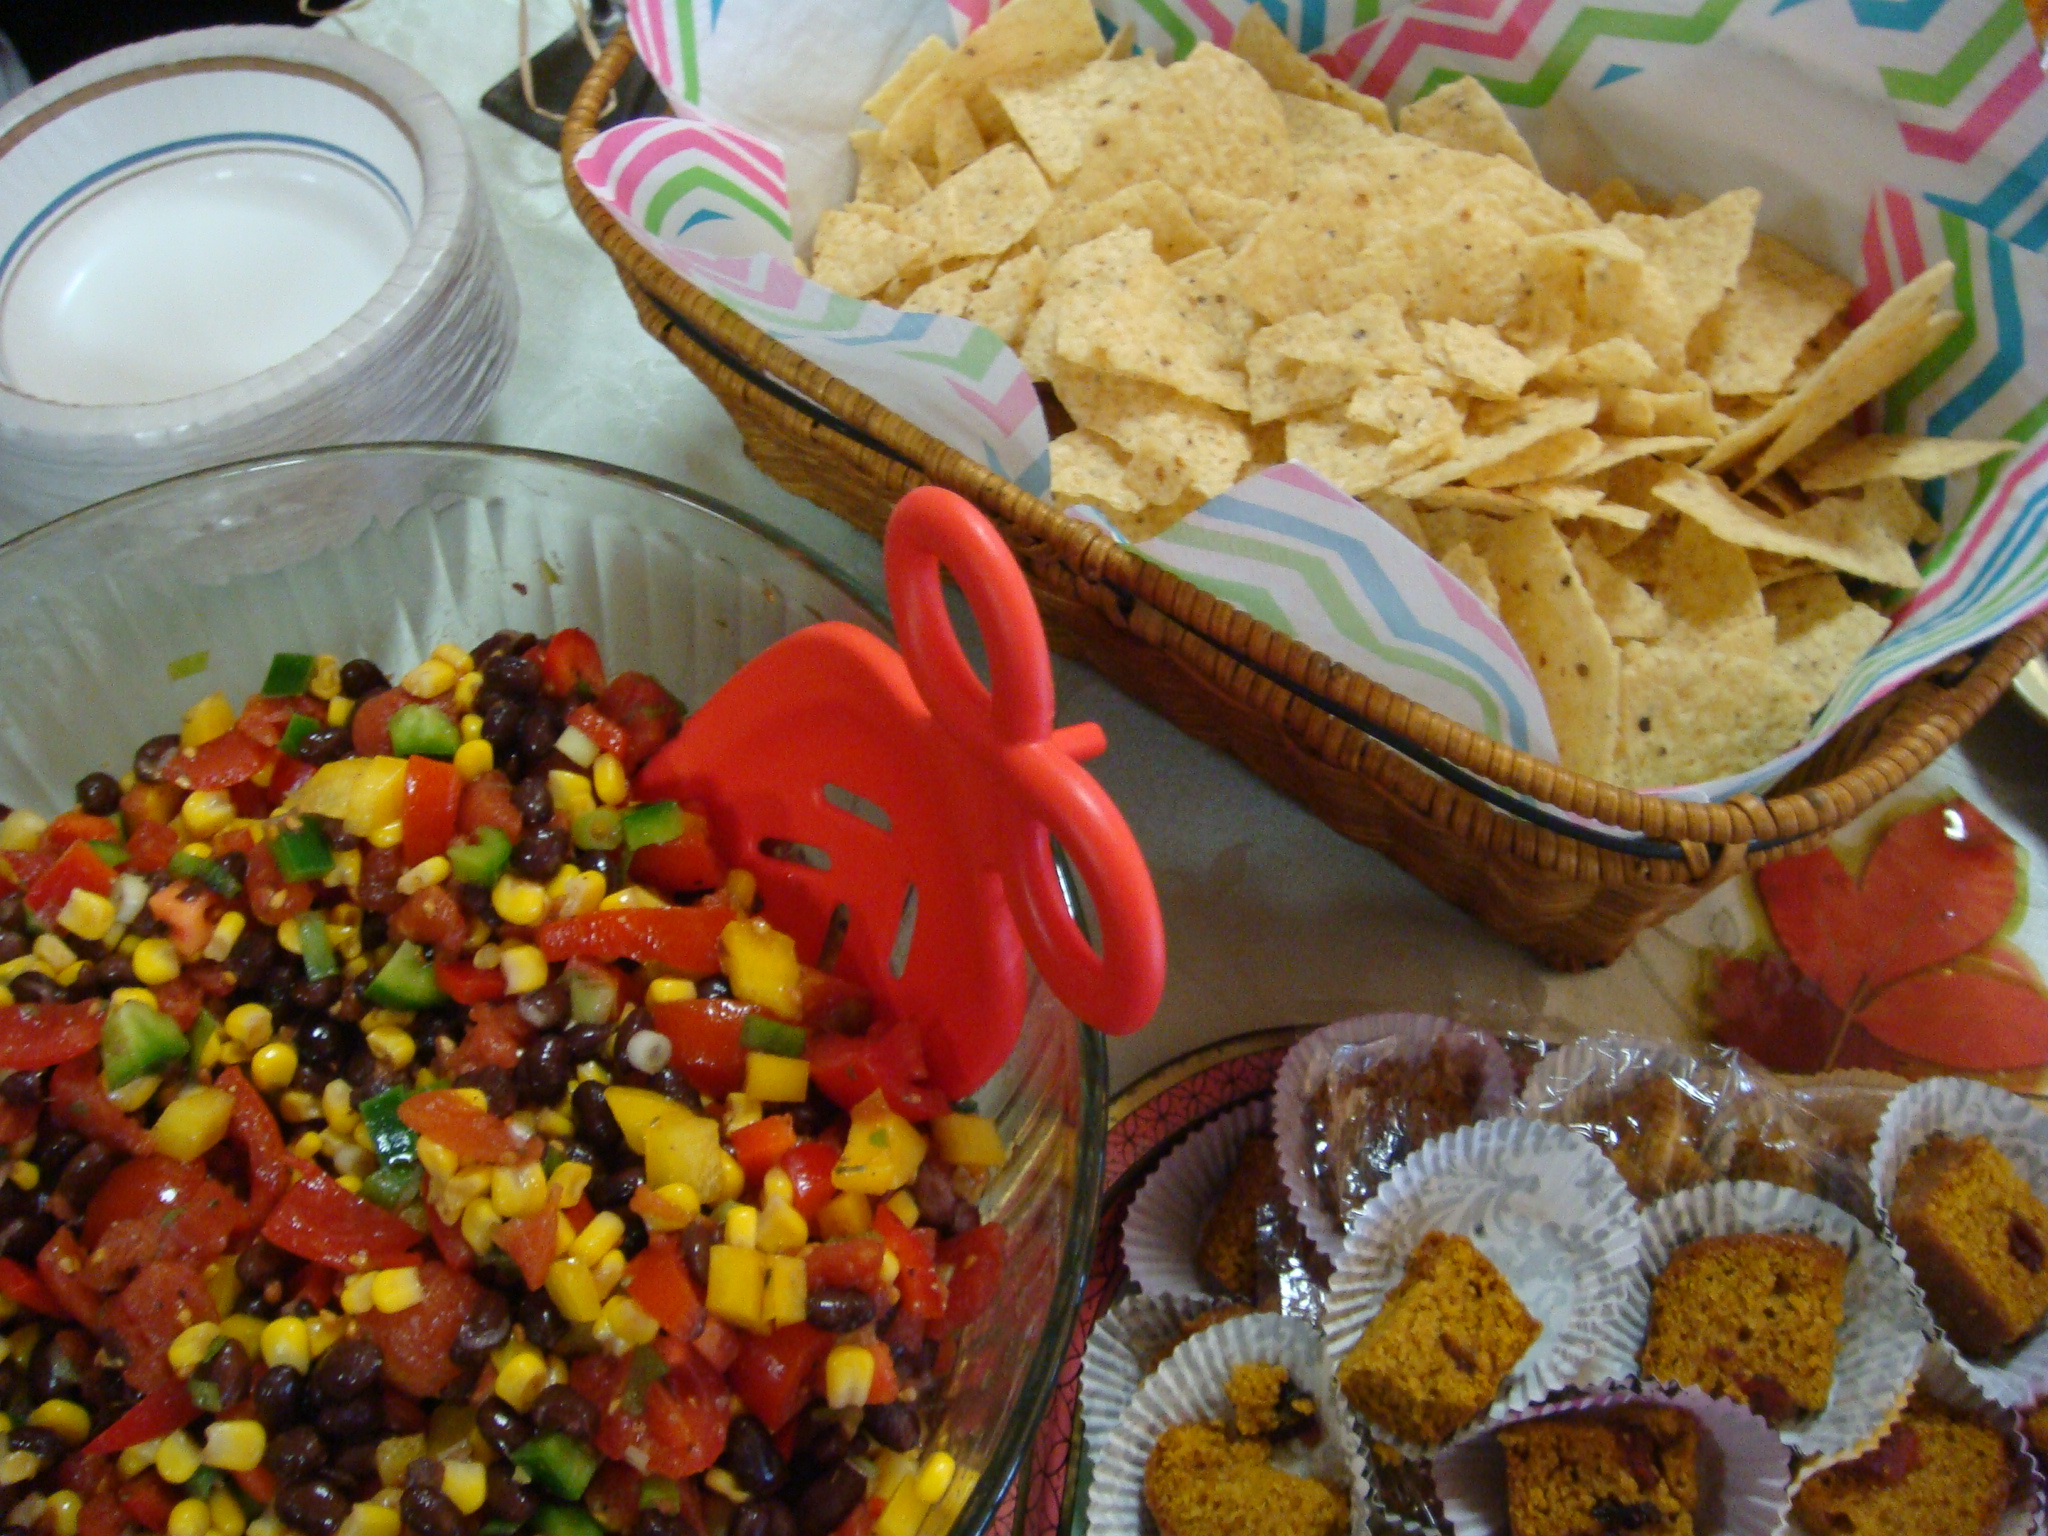
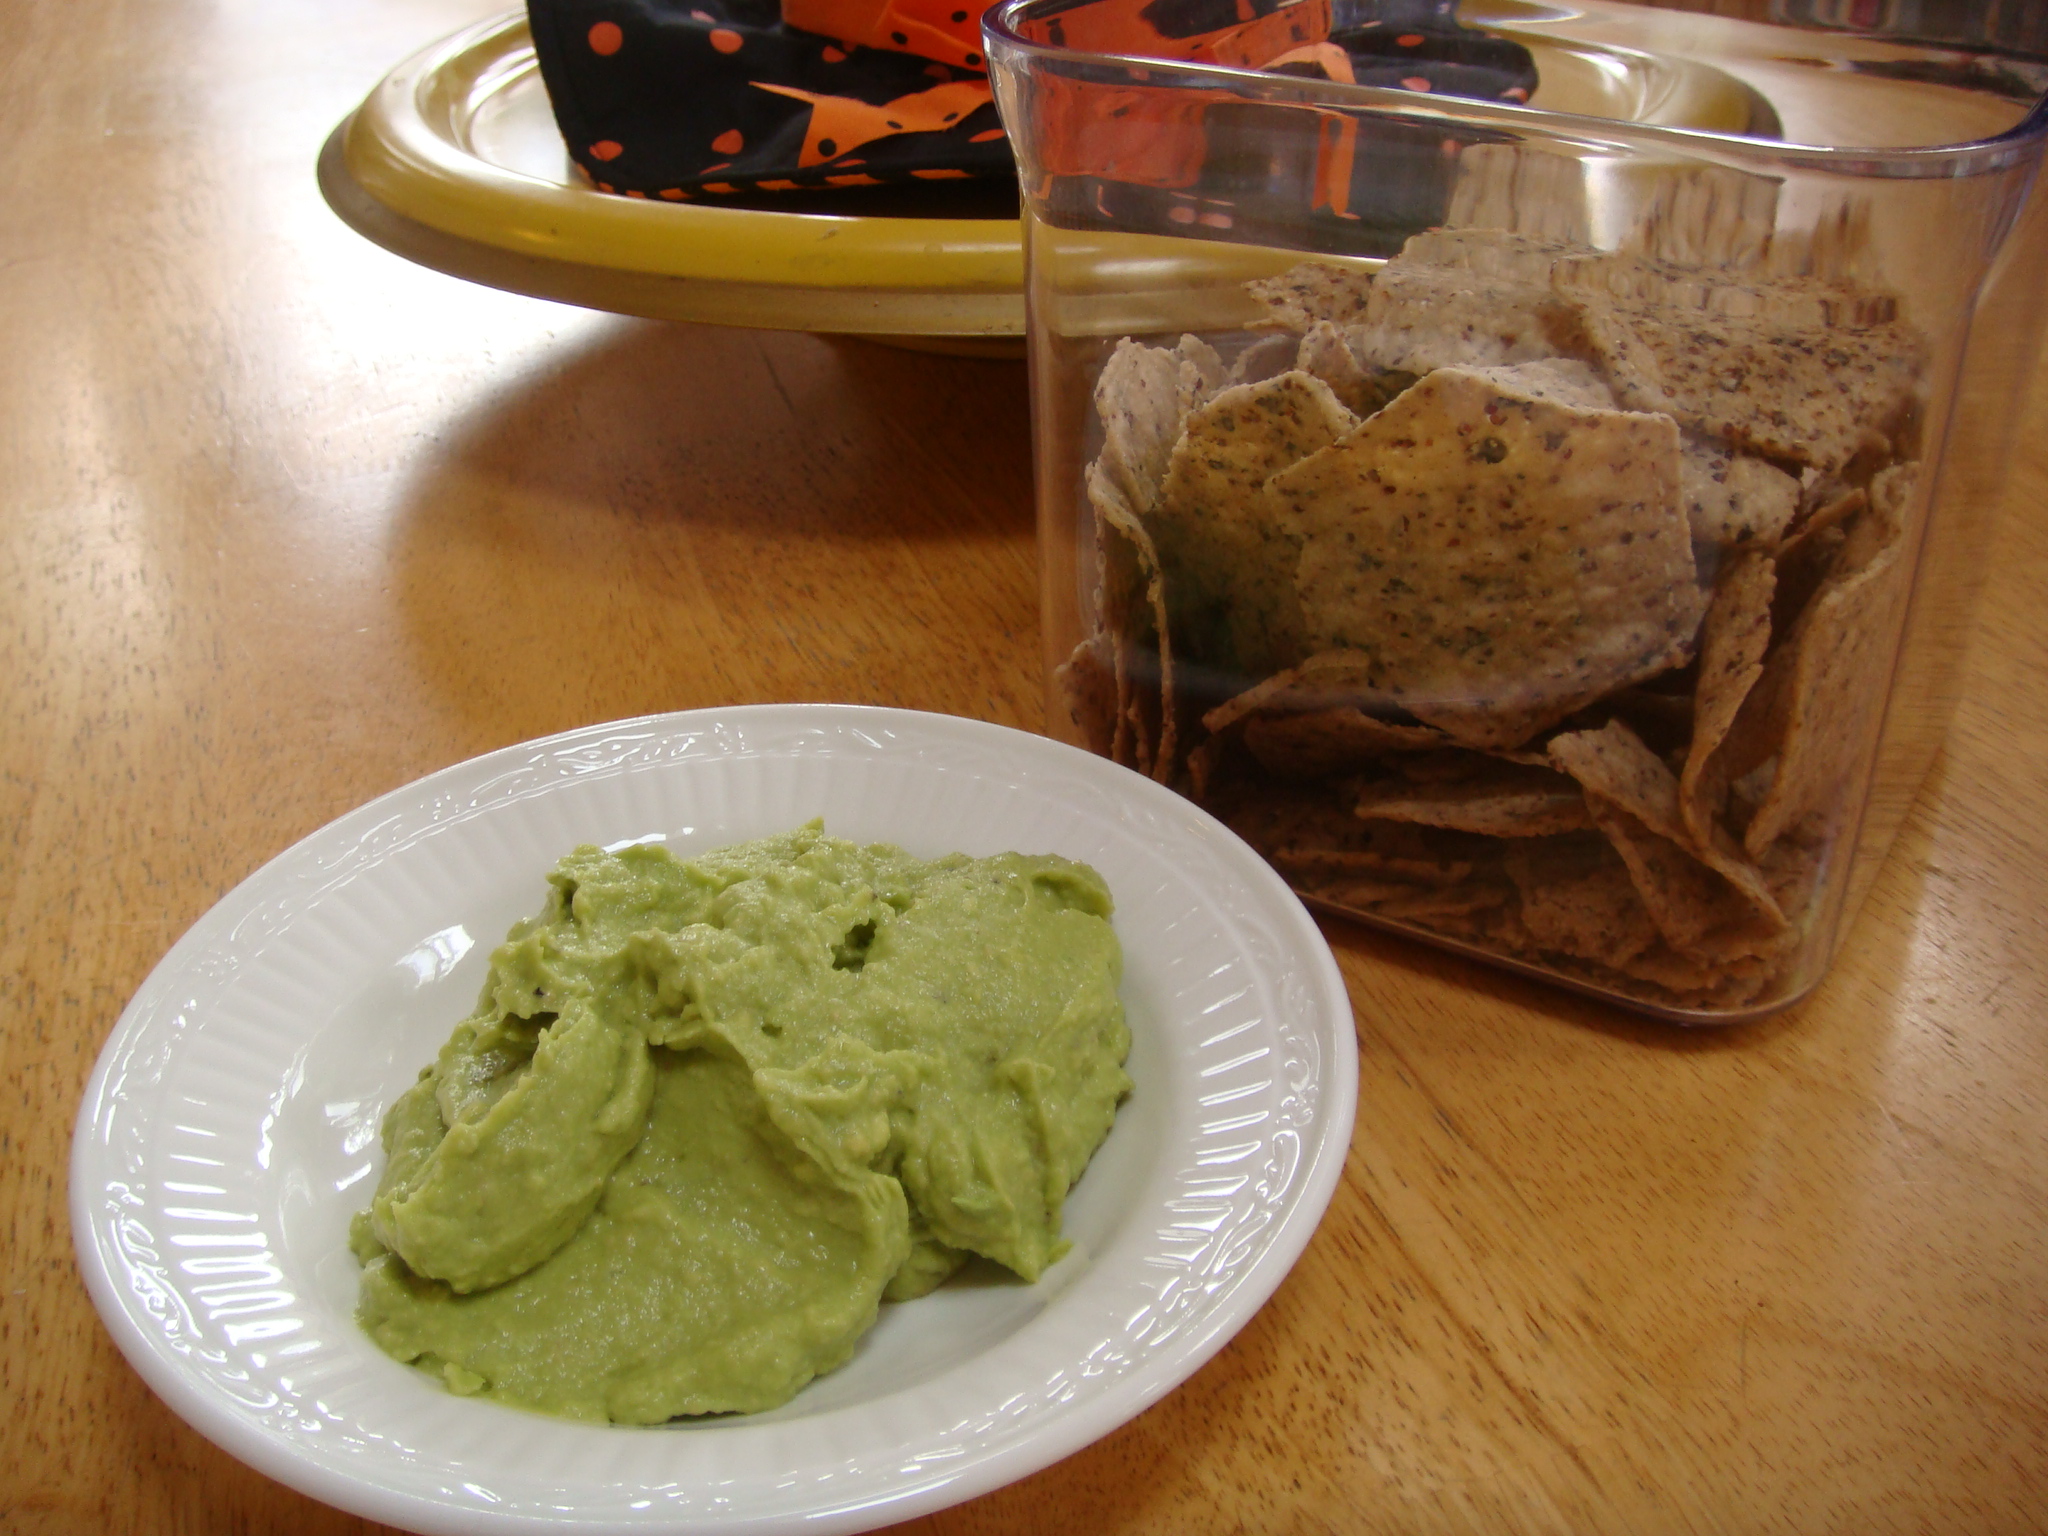
Last but not least, I wanted to have a vegetable dish for our gluten-free celebration and decided on a Black Bean Salsa. It’s easy and has a great flavor profile!

DSC04958

Black Bean Salsa

2 cans black beans, washed and drained

I bag frozen sweet white corn, thawed

1 large can diced tomatoes, drained

3 green onions (scallions), diced (also dice the stems)

½ green pepper, seeded and diced

½ red pepper, seeded and diced

½ yellow pepper, seeded and diced

2 cups fresh, chopped tomatoes

Red wine vinegar to taste (about ¼ to ½ cup)

1 fresh lemon, juiced

Dried cilantro (1-2 tsp)

Garlic powder to taste

Cayenne pepper to taste

Dash of cumin


Combine all ingredients in a large bowl. Season the black bean salsa to your taste. Serve with gluten-free corn chips or any of your choice! I served Garden of Eatin’ Organic Tortilla Chips.

DSC04959

© 2014, Monica of glutenfreedoubletalk

All in all, we had a great little spread of gluten-free goodies for our guests! Yes?

DSC04960

I can’t tell you how excited I was to meet so many people last evening who are fellow celiac disease sufferers. Many told me of their struggles and triumphs with this autoimmune disease while others who were just diagnosed, were looking for some guidance.

While I had my blog up and running during the open house, I also prepared some handouts and had many posters scattered throughout the store, regarding celiac disease and gluten sensitivity.

DSC04954


DSC04953


DSC04952

If anyone would like any of the information I shared, just email me @ glutenfreedoubletalk@gmail.com, or comment here; I would be happy to share!

Thanks to The Shop 2 for helping to spread celiac awareness! You two are the best!

DSC04951

Hoping everyone got something out of the experience! I know I came home happy!

DSC04962

© 2014, Monica of glutenfreedoubletalk


A yummy snack in a flash!

Monica and Daria say:

If you’re like us, we love to snack.

And finding a decent snack, when you’re really hungry can sometimes be a problem…you want to make a good choice, but oh, those cookies look good, don’t they?

Well, the key is to keep your refrigerator and pantry stocked with healthy items (so those cookies don’t call your name!). Fresh veggies, fruits, nuts, healthy crackers, etc. are all good choices.

So, having two avocados on hand and some great healthy chips to boot, we were on our way!

We always have garlic on hand (fresh and the squeezable type) as well as fresh limes (and the squeezable type)….and of course, olive oil, too!

Time to make guacamole!

You simply pull out your Cuisinart blender or food processor (or use a fork) and pulse the avocadoes. After a few seconds, add 1 clove of fresh minced garlic (½ tsp of the squeezable), juice from ½ of a fresh lime (or a few squirts of the squeezable lime), some salt and pepper, and then a swirl of olive oil. If you need a little more oil, stop the processor and add a little more.  Again, if you need more salt and pepper, add it or if you want a little more lime, add that!

DSC04916

It’s your guacamole….make your taste buds happy!

We like our guacamole simple, so that the avocado is the star! No need to add extra ingredients….this is a no-fuss, no-muss recipe!

And the best part is that this recipe took less than 5 minutes!

DSC04917

Trader Joe’s is a great place to shop and we have been so fortunate to have a member of our family who travels the state of Pennsylvania and never forgets about our gluten-free lifestyle! He is our husband and father, Lewie….great guy, always on the lookout for things we can eat!  When you enter their store, you can ask an associate for a gluten-free listing of foods available. Here is a link to it if you want to look it over!

Quinoa & Black Bean Infused Tortilla Chips are a favorite item that we have tried at Trader Joe’s and everyone who eats them….well, let’s just say these chips disappear quickly!

DSC04919

This guacamole goes well with healthy chips, carrots, celery, cucumber spears, or any other veggie you can dip with!

So stock up your fridge with healthy food, and healthy snacks will be ready when you are!

P.S. Next morning breakfast with leftover guacamole (wrap dish in plastic or place in sealed container)….fried egg with avocado on gluten-free toast!

DSC04921

DSC04923

Yummy!

© 2014, Monica & Daria of glutenfreedoubletalk

My favorite fruit has its own holiday!

Monica (mom) says:

I can hardly contain myself!

It’s National Blueberry Muffin Day!

Oh blueberries….my favorite little fruit.

DSC04262

I eat some every morning on my cereal or just a bowl full. Any way I can get them, I do. Full of antioxidants and just pure joy!

Do you think I love blueberries?

Researchers say that fresh blueberries are an excellent source of fiber, provide vitamin C and iron, as well as have antioxidant power. Findings show that these little powerhouses can protect against certain types of cancer and help with memory. Blueberries may also protect against urinary tract infections and intestinal upsets….just like their cousin the cranberry!

My favorite way to eat them is, of course, raw, but who can pass up a great blueberry muffin?

DSC04271

After trying many, many recipes for blueberry muffins, we tweaked combinations of ingredients and this is what we came up with!

A lovely little muffin that gets its sweetness from the fresh blueberries! Yum!


DSC04274


Blueberry Muffins

Dry Ingredients

1 cup brown rice flour

½ cup sweet rice flour

¼ almond meal

1 T baking powder

½ tsp salt


Wet Ingredients

1/4 cup butter (½ stick), softened

½ cup granulated sugar

1 large egg

¾ cup milk (we use Lactaid milk)


1 ¾ cups of fresh blueberries

1 T brown rice flour


Muffin Making Directions:

Preheat oven to 350˚. Place muffin (cupcake) papers into 12-cup muffin tin.

Whisk together the dry ingredients and set aside.

Cream the butter and sugar in a large bowl.  If using an electric mixer, this should take about 1 minute.

Add your egg and combine until smooth and thoroughly incorporated. About 1 minute, too!

Next add ½ of your dry ingredients and blend.

Add your milk and incorporate. Finally, add the last of the dry ingredients and blend again. You should have a yummy fluffy dough.

Take your fresh blueberries and coat them with the 1 T of brown rice flour in a small bowl.

Now add the berries to the dough mixture and fold them in. Be careful not to break too many of them!

Using an ice cream scooper, fill each muffin cup with dough about ¾ full.

Bake for 15-20 minutes until your muffins are golden brown and spring to the touch!

Once the muffins are baked to your liking, remove from oven and let cool on a wire rack for several minutes. Then remove from pan and let cool completely.

DSC04263


DSC04266

Try not to eat all of them at once!!

DSC04268


DSC04276


DSC04280

Yield 1 dozen delightful gluten-free blueberry muffins!

Happy Baking! And eating, of course!

© 2014, Monica & Daria of glutenfreedoubletalk whisks

Happy National Peanut Butter Cookie Day!

Monica and Daria say:

Would you believe that 90% of all American households have a jar of peanut butter on their pantry shelf most of the time?

If you live in our homes, we usually have at least two….we just LOVE peanut butter!

Peanut butter cookies have been around since the 1910s with the first recipe appearing in a cookbook of George Washington Carver’s. Now if you remember your history, Carver was a botanist and inventor who devised many uses of the peanut. His cookies called for chunks of peanut to be placed in cookie dough. Peanut butter cookies, those made with peanut butter, made their appearance in households in the 1930s and have been a favorite ever since!

DSC04118 DSC04123

Why do peanut butter cookies have the famous criss-cross marks?

DSC04112

It could be one of several reasons.

It might be that a tradition was established in 1936 when a recipe from a Pillsbury cookbook had the criss-cross marks in the instructions….or it might be that placing the marks allows for uniform baking of the cookie….or it might be that the marks originated to warn people who were allergic to peanuts, not to eat these cookies!

No one knows for sure, but the criss-cross marks make the peanut butter cookie unique!

Wanting to use natural peanut butter and use less sugar than most peanut butter cookie recipes have, we came up with this recipe! Enjoy!

Gluten Free Peanut Butter Yummies

DSC04122


Dry Ingredients

1 ½ cups oat flour*

½ tsp baking powder

½ tsp baking soda

½ cup chopped peanuts

Wet Ingredients

1/3 cup shortening

½ cup creamy Natural Peanut Butter

¾ cup dark brown sugar, packed

1 large egg (should be @ room temp)

1 tsp pure vanilla

1/8 cup granulated sugar for making criss-cross marks

*Oat flour can be made by placing 1 ½ of gluten free oats in a food processor – yield 1 cup of flour

Cookie Making Directions:

Preheat oven to 350˚. Cover two baking pans with parchment paper.

Whisk together the dry ingredients and set aside.

Cream the shortening, natural peanut butter, and brown sugar in a large bowl.

Add your egg and vanilla and mix until smooth and thoroughly incorporated.

Next add your dry ingredients and blend until a dough forms.

DSC_0611

Roll dough into balls of about 1 tablespoon each.

Place dough balls on baking sheet at least one and a half inches apart.

DSC_0612

Dip a fork into a bowl with granulated sugar and make a criss-cross on each cookie with the fork tines, as you flatten it.

DSC04111

You can sprinkle a small amount of sugar on each cookie to top it off!

Bake for 10-12 minutes or until golden brown.

DSC04113

Cool on wire racks for at least 3-5 minutes.

Yield almost 3 dozen delightful cookies!

DSC04127

DSC04129

Happy Baking! And eating, of course!

whisks

© 2014, Monica & Daria of glutenfreedoubletalk

The juicy taste of summer!

Monica (mom) says:

How happy was I when I spotted this lovely little fruit at the farmers’ market the other day?

It’s the pluot….a plum/apricot hybrid with a huge flavor!

DSC04038

Developed by Floyd Zaiger, who crossed plums and apricots, the flavor palette of this juicy wonder is mostly plum, with the feel of an apricot in your mouth! He also came up with and trademarked the name “pluot.”

Once these little treasures are picked from the tree, they continue to ripen. So if you turn them upside down on your kitchen counter, somewhere out of direct sunlight, let the magic happen. Once they are as ripe as you want them to be, store them unwrapped in your refrigerator for up to three days.

Most people claim that the pluot should be eaten at room temperature, but I prefer mine cold. If you are going to use them in a recipe, however, it is best to have them at room temperature because the skin can taste bitter.

DSC04035DSC04037

I remember climbing and eating plums from our trees as a little girl….the pluot is the next best thing to that memory!

© 2014, Monica of glutenfreedoubletalk

We gained a pound or two!

Monica (mom) says:

Why are cookies so addictive and celery sticks aren’t? It’s just not fair!

DSC03994

Even though I don’t bake anywhere near as much as I used to, I can’t tell you how many different gluten-free chocolate chip cookie recipes I have collected over these 12 years of living gluten-free. I guess you can almost call me “recipe crazy” because I am always on the lookout for a good recipe!

Since many of the gluten-free cookie recipes call for what we considered “strange” flours in the early days, I can now say that I am well versed in the alternative flours and understand when and why to use most of them. And if I get stuck, I just ask my resident pastry girl, Daria!

But I still seem to have my “go-to flours” that I know won’t let me down.  Among my favorites are brown rice flour, sweet rice flour, arrowroot starch, and sorghum. Don’t worry…if you’re new to gluten-free living, you will learn about these!

The biggest difference in learning to bake something that’s gluten-free is that you need to combine several different flours to get the desired taste (if the recipe is from scratch.) When we were first diagnosed back in 2002, we made a mix of several flours almost every week to use in my everyday baking! Thank goodness for the author, Bette Hagman, and her gluten-free cookbooks.

Bette’s original formula to make 3 cups of all-purpose baking mix was to mix 2 cups of rice flour, 2/3 cup of potato starch, and 1/3 cup of tapioca starch/flour. These flours were only available at the health food store and it seemed that we were always making the trip there. Once we started making 9 or 12 cup batches it got much easier….thanks to my hubby (the official GF flour mixer)!

Now there are many GF all-purpose mixes available in the grocery store, so you don’t have to do the work….so lucky!

In addition to collecting recipes that I store in a recipe file online, and the ones I’ve cut out of the doctor’s office magazines (with permission, of course!) and the countless gluten-free cookbooks that Daria and I own and share, I have three favorite recipes for chocolate chip cookies. I call them my “ultimate three!” And since I really don’t need to bake three batches of cookies on any given day, I have taken those three recipes and come up with one that I would like to share (as promised).

The cookies come out so lovely….I use dark chocolate chips (yes, Hershey’s has a “special dark”). And I love to make them big and chewy! Daria taught me to use an ice cream scoop to keep the size uniform, too! Just love that girl!

DSC03990

So, as promised, here is my official chocolate chip cookie recipe!

DSC03991


Gluten-free Chocolate Chip Cookies to Die For

DRY INGREDIENTS

1 ¼ cups brown rice flour

½ cup sweet rice flour

¼ cup arrowroot starch flour

1 tsp baking soda

½ tsp salt


WET INGREDIENTS

¾ cup (1 ½ sticks) butter, softened

¼ cup granulated sugar

¾ cup dark brown sugar

2 large eggs

2 tsp vanilla extract

1 bag of dark chocolate chips (12 oz.)

¾ cup of chopped walnuts


Preheat oven to 350ºF. Line two cookie sheets with parchment paper.

Whisk all dry ingredients together in large bowl.

In another large bowl, cream together butter, granulated sugar, and brown sugar until well combined. If you are using an electric mixer, use medium speed for about one minute.

Next, add eggs one at a time, making sure that the mixture is well combined between each one.

Now add in dry ingredients and vanilla. Mix until a nice dough forms. Then add in your dark chocolate chips and chopped walnuts.

Using an ice cream scoop, place rounded mounds of dough onto your parchment paper making sure to leave at least a 2” space between cookies, since they will spread during baking!

DSC03989

Bake for 10 to 12 minutes or until you see that the cookies are golden. Ovens vary so keep an eye on them!

Remove cookies from oven and place baking sheet on a wire rack to cool for at least 5 minutes. Transfer cookies to wire rack to cool completely….or eat them slightly warm!

Makes about 2 dozen large cookies, if you use an ice cream scoop. Store in an airtight container.

 DSC03996DSC03997

Baking Note:

I use brown rice flour because it has a slight nutty flavor but you can use white rice flour instead. The sweet rice flour can be found in Asian markets or online and is sometimes labeled “glutinous” rice flour. Don’t be scared! That’s what you want!

Happy Baking!

© 2014, Monica of glutenfreedoubletalk  whisks


Now go and enjoy some cookies and milk (Lactaid, for us, of course!) And forget the scale!

DSC03999

I just can’t wait for summer!

Monica (mom) says:

Happy Cinco de Mayo!

This national holiday in Mexico officially commemorates the anniversary of an early victory by Mexican forces over French forces in the Battle of Puebla on May 5, 1862. It is a day of great celebration there!

Mexico enjoys a sunny climate and we are dying for great weather here in the Northeast, so today I am celebrating with a mid-morning snack of fresh fruit.

Since I only have one arm to work with since my surgery was one week ago, my “honey” (hubby) cut up all of the fruit before he left for his business trip this week. He is a dear!

The STARS of this fruit cup are:

  • juicy red watermelon which has excellent levels of vitamins A and C and a good level of B6
  • gorgeous green honeydew melon sporting vitamin C and the B vitamins, potassium, calcium, phosphorus, zinc, iron, copper and folate
  • yummy yellow pineapple, a fruit that contains a proteolytic enzyme bromelain that digests food by breaking down protein as well as an excellent source of vitamin C, small amount of vitamin A and rich in B-complex vitamins
  • beautiful black and blue berries which contain the absolute BEST source of powerful antioxidants including anthocyanins, quercetin, and vitamin C which improve your health, protect your skin and hair, and prevent certain diseases

DSC03944

Wow! Isn’t this a great snack?

And did I mention I placed all of my delicious fruit in a footed sherbert (sherbet) dessert bowl from the Jeanette Glass Company? It is the “Cubist” design circa 1929-1933 that I purchased from a yard sale! I just love Depression glass and am on the lookout for it all the time!

Have a great day! And eat some power-packed fruit!


© 2014, Monica of glutenfreedoubletalk