Get your apple pie on!

Monica says:

Nothing tops off a meal like a piece of pie.

Truth be told, I prefer pie to any other dessert…I just love the crust and fillings and the fact that pie can be served à la mode ….it doesn’t get better!

DSC05703

So when I looked in my refrigerator’s fruit bin and realized that I had way too many Granny Smith apples, I decided to take care of the problem.

My solution?

Bake an easy apple pie!

This recipe calls for a bottom crust only so you can make your pie crust from scratch or buy a ready-made one! Your choice!

We previously posted a recipe for a gluten-free pie crust so if you want the recipe go to our post on this blog, “It’s National Quiche Lorraine Day!” which includes “Mom’s Water Whip Pie Crust”   

And now time to make your tummy happy!

DSC05694

Open-faced Apple Pie

Preheat oven to 375˚ and prepare a gluten-free pie crust for the bottom of your pie.

Ingredients:

6 large Granny Smith apples, cut into 1/8” slices

¼ cup light brown sugar

2 T granulated sugar

sprinkle of Turbinado sugar

2 T Arrowroot starch

1 fresh lemon, zested

1 T fresh lemon juice

2 T orange juice

1 tsp cinnamon

¼ tsp nutmeg

2 T melted butter

1 pie crust (bottom only)

Directions:

Once you’ve made your pie crust and placed it in the pie plate, cut your apples and set aside.

Next, combine the light brown sugar, granulated sugar, Turbinado sugar, Arrowroot starch, zest of one lemon, lemon juice, orange juice, cinnamon and nutmeg in a large bowl. Mix well. Add apples to coat and let rest for 10-20 minutes, stirring at least 2 times.

Once the apples have become coated, place the mixture into the crust. Pour the melted butter evenly over the top.

Place the pie pan on a rimmed baking sheet.

Bake 20 minutes @ 375˚ and then reduce the temperature to 350˚. Continue baking until apples are tender, about 45-50 minutes or so.

Cool on a wire rack.

DSC05695

Serve with whipped cream or ice cream….whatever your little heart desires!

DSC05704

Just enjoy!

© 2015, Monica of glutenfreedoubletalk   whisks


Too cute to eat….but you must!

Monica says:

This post is in honor of my two precious girls….Claudia and Daria!

When they were little we had yet another Easter tradition of baking Easter bunny cookies….a great sugar cookie that melted in your mouth.

DSC06401

The original recipe came from a cookbook that my Mom had given Lewie and me for our bridal shower. A wonderful cookbook, Better Home and Gardens All Time Favorite Recipes, copyrighted in 1979, (we were married in 1981), that we’ve used countless times over the years. It is so worn and somewhat falling apart, but very loved and still relevant!

I distinctly remember making these cookies from that cookbook for the first time.

Filling in at our local library for the children’s librarian that was out on pregnancy leave, I was celebrating Easter storytime with the littlest library patrons and wanted to make cookies for our session. So my Mom and I decided to try this recipe, and it became a classic.

Did I mention that while filling in for that librarian, I became pregnant, too?

Yes, it was with Daria!

Years later, when Daria and I changed our diet, we needed to find a recipe to replace our delicious bunny cookies. After many recipes and taste-testings, we are happy with this one!

This recipe is adapted from Easy Gluten-Free Baking by Elizabeth Barbone, which we highly recommend for your cookbook library. In her book it’s called “Jam Sandwich Cookies” and I have made these in rounds and hearts with strawberry jam and sprinkled with powdered sugar, but these bunny heads are just the cookies…no fuss, no muss!

I also use brown rice flour for mine, not the combination of flours that she suggests.

So, see what you think!

Easter Bunny Sugar Cookies

Yield: about 3 dozen

Dry ingredients:

3 ¼ cups brown rice flour

2/3 cup granulated sugar

Wet ingredients:

2 sticks cold butter, cut into bite-sized chunks

1 large egg

3 T milk

2 tsp vanilla

Easter colored M & Ms

Directions:

Place dry ingredients into a food processor and pulse a few times until ingredients are mixed.

Next add butter into the mixture and pulse until butter is cut into small pieces and you see pea-like texture. Then add milk, egg and vanilla.

Process until a dough forms (it will be somewhat crumbly).

Once you see the dough coming together, remove from processor and divide it in half. Place each part in wax paper and wrap. Place the two wrapped pieces in a plastic zip-lock bag and refrigerate for at least 4 hours or overnight.

Preheat your oven to 350˚ and place parchment on two baking sheets.

Unwrap your dough and let it sit on your counter for at least 5 minutes before attempting to roll out.

Lightly flour your counter with rice flour and cut a small piece of dough from the half. It may be very crumbly at first, but the warmth of your hands will help keep it together. Work the dough until it is able to be rolled out. Roll dough to about an 1/8 of an inch thick and cut out bunny heads with cutter. Place 3 M & Ms on each face for eyes and nose.

DSC06398

DSC06397

Place on baking sheets and bake for approximately 10 minutes. I always turn my baking sheet after 5 minutes to ensure even baking.

Remove from oven and let cool at least 5 minutes before placing on wire racks to cool completely!

DSC06400

I will caution you, however….these cookies are EXTREMELY fragile and I must confess that nearly one third of my 39 cookies lost “their ears” this year! Yes, they broke off during my transferring them from the baking pan to the wire rack to cool….NOT happy!

DSC06402

But the taste is delightful, so whatever!

DSC06403

When the girls were little, we meticulously wrapped one ear per bunny with narrow ribbon to make them look oh so cute!

I miss those days….too bad children have to grow up!

This year I only wrapped one for this picture….the old arthritis took enough beating in the rolling today!

DSC06404

Wishing all of you a very happy Easter and a delicious one, too!

DSC06406

Enjoy!

© 2015, Monica of glutenfreedoubletalk


The tradition continues!

Monica says:

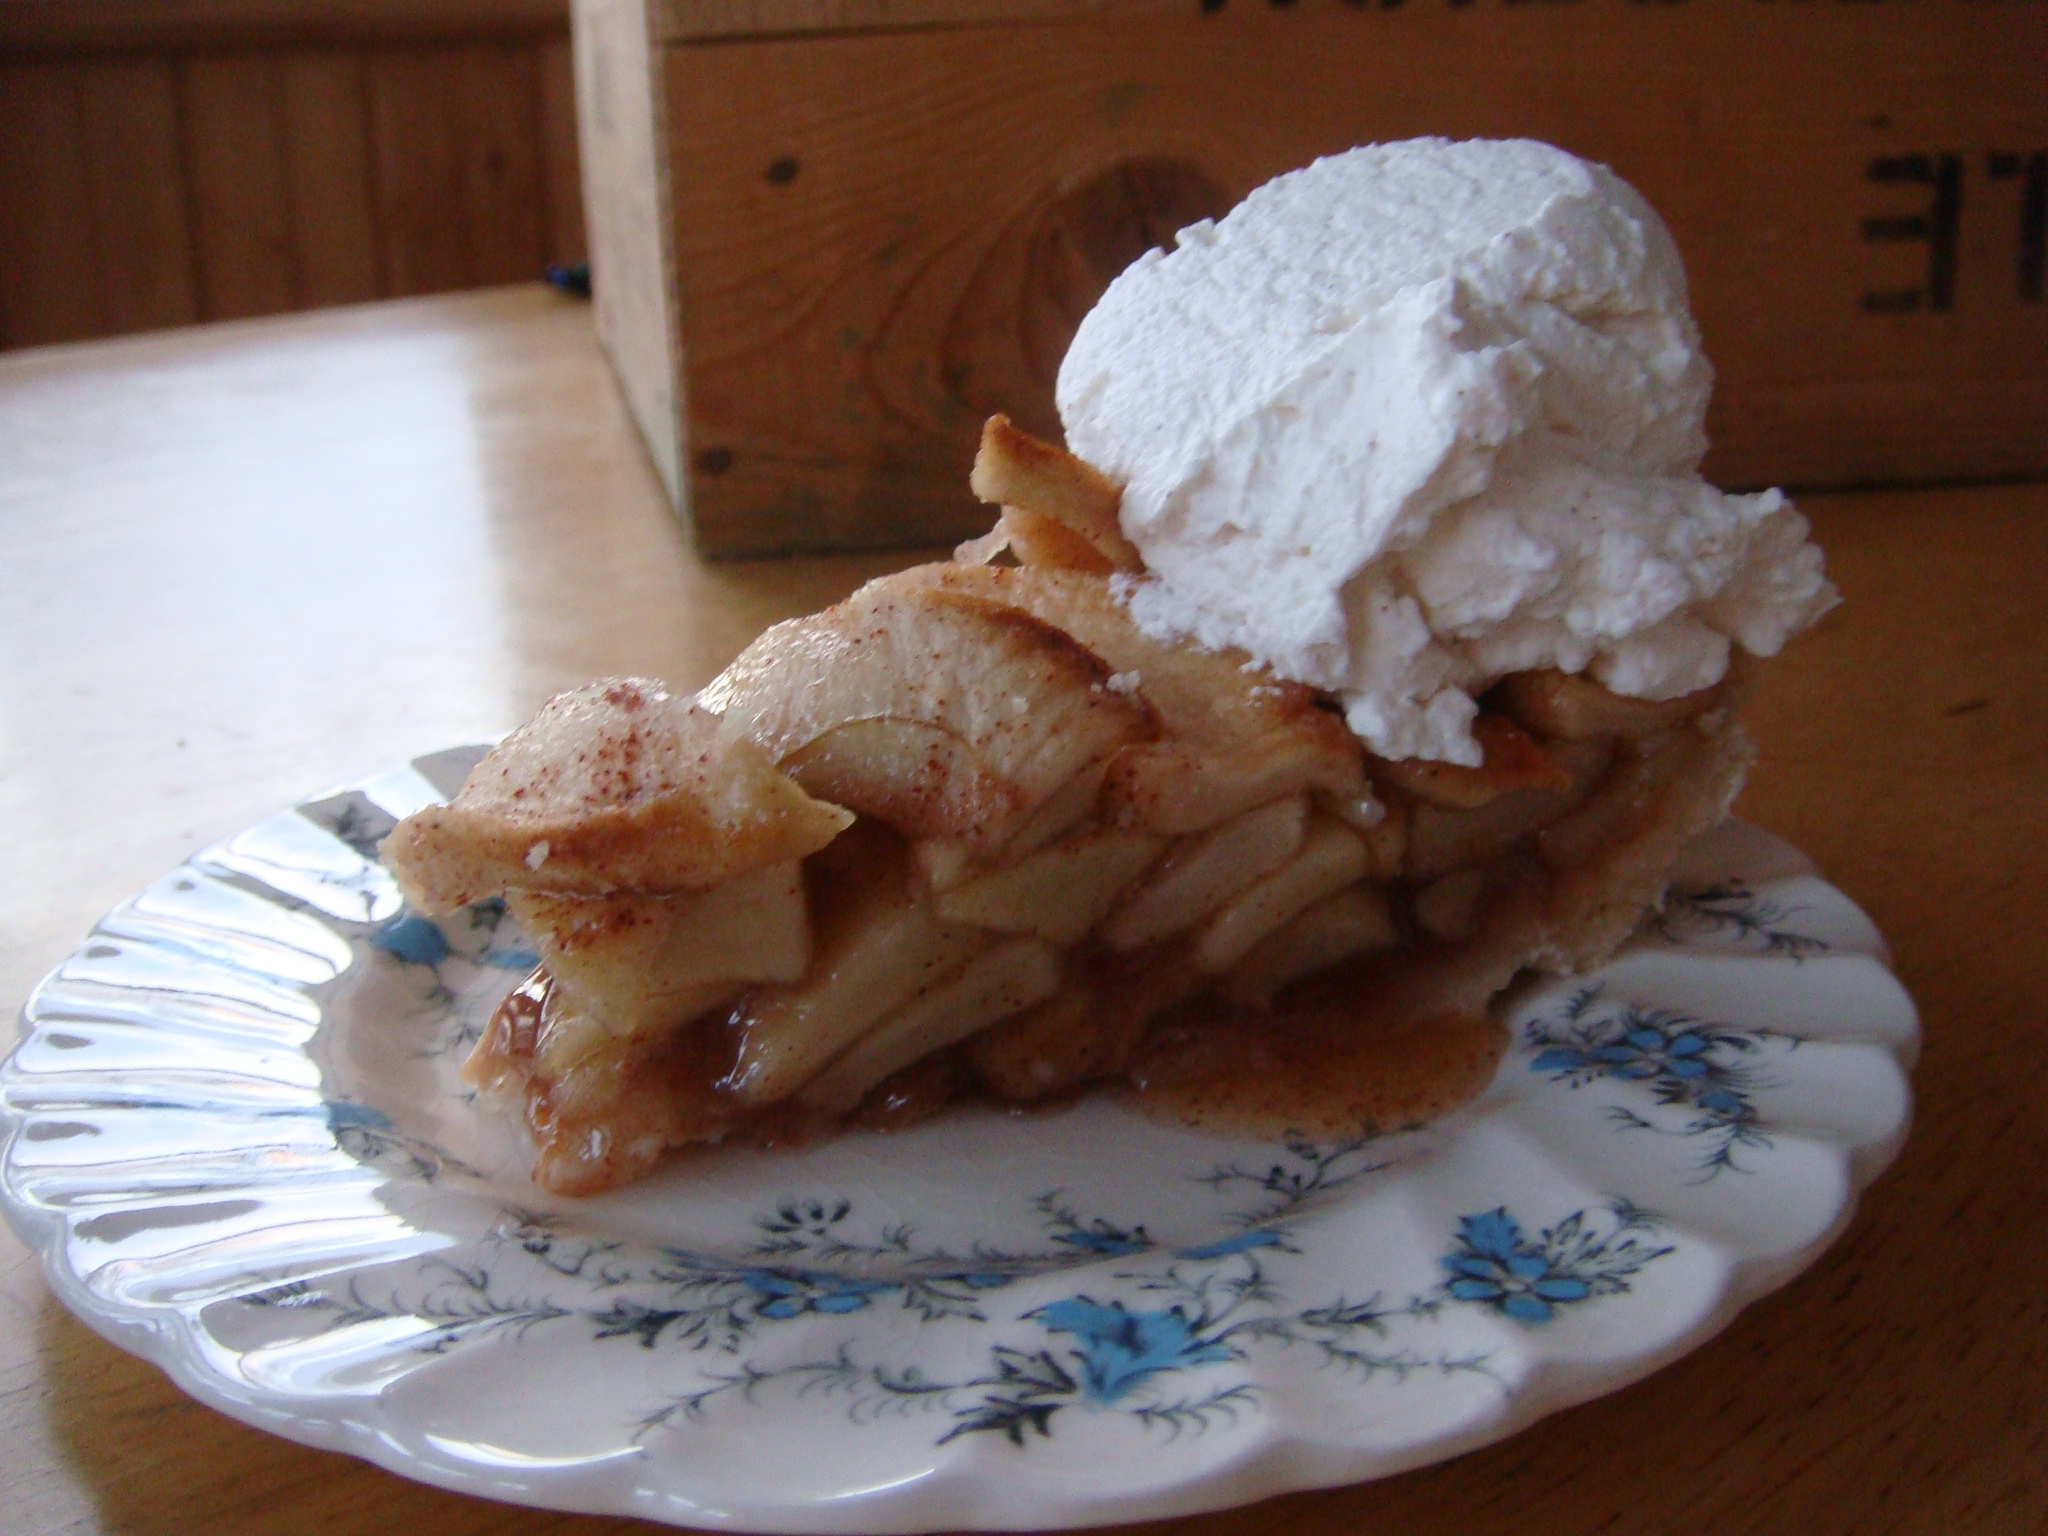
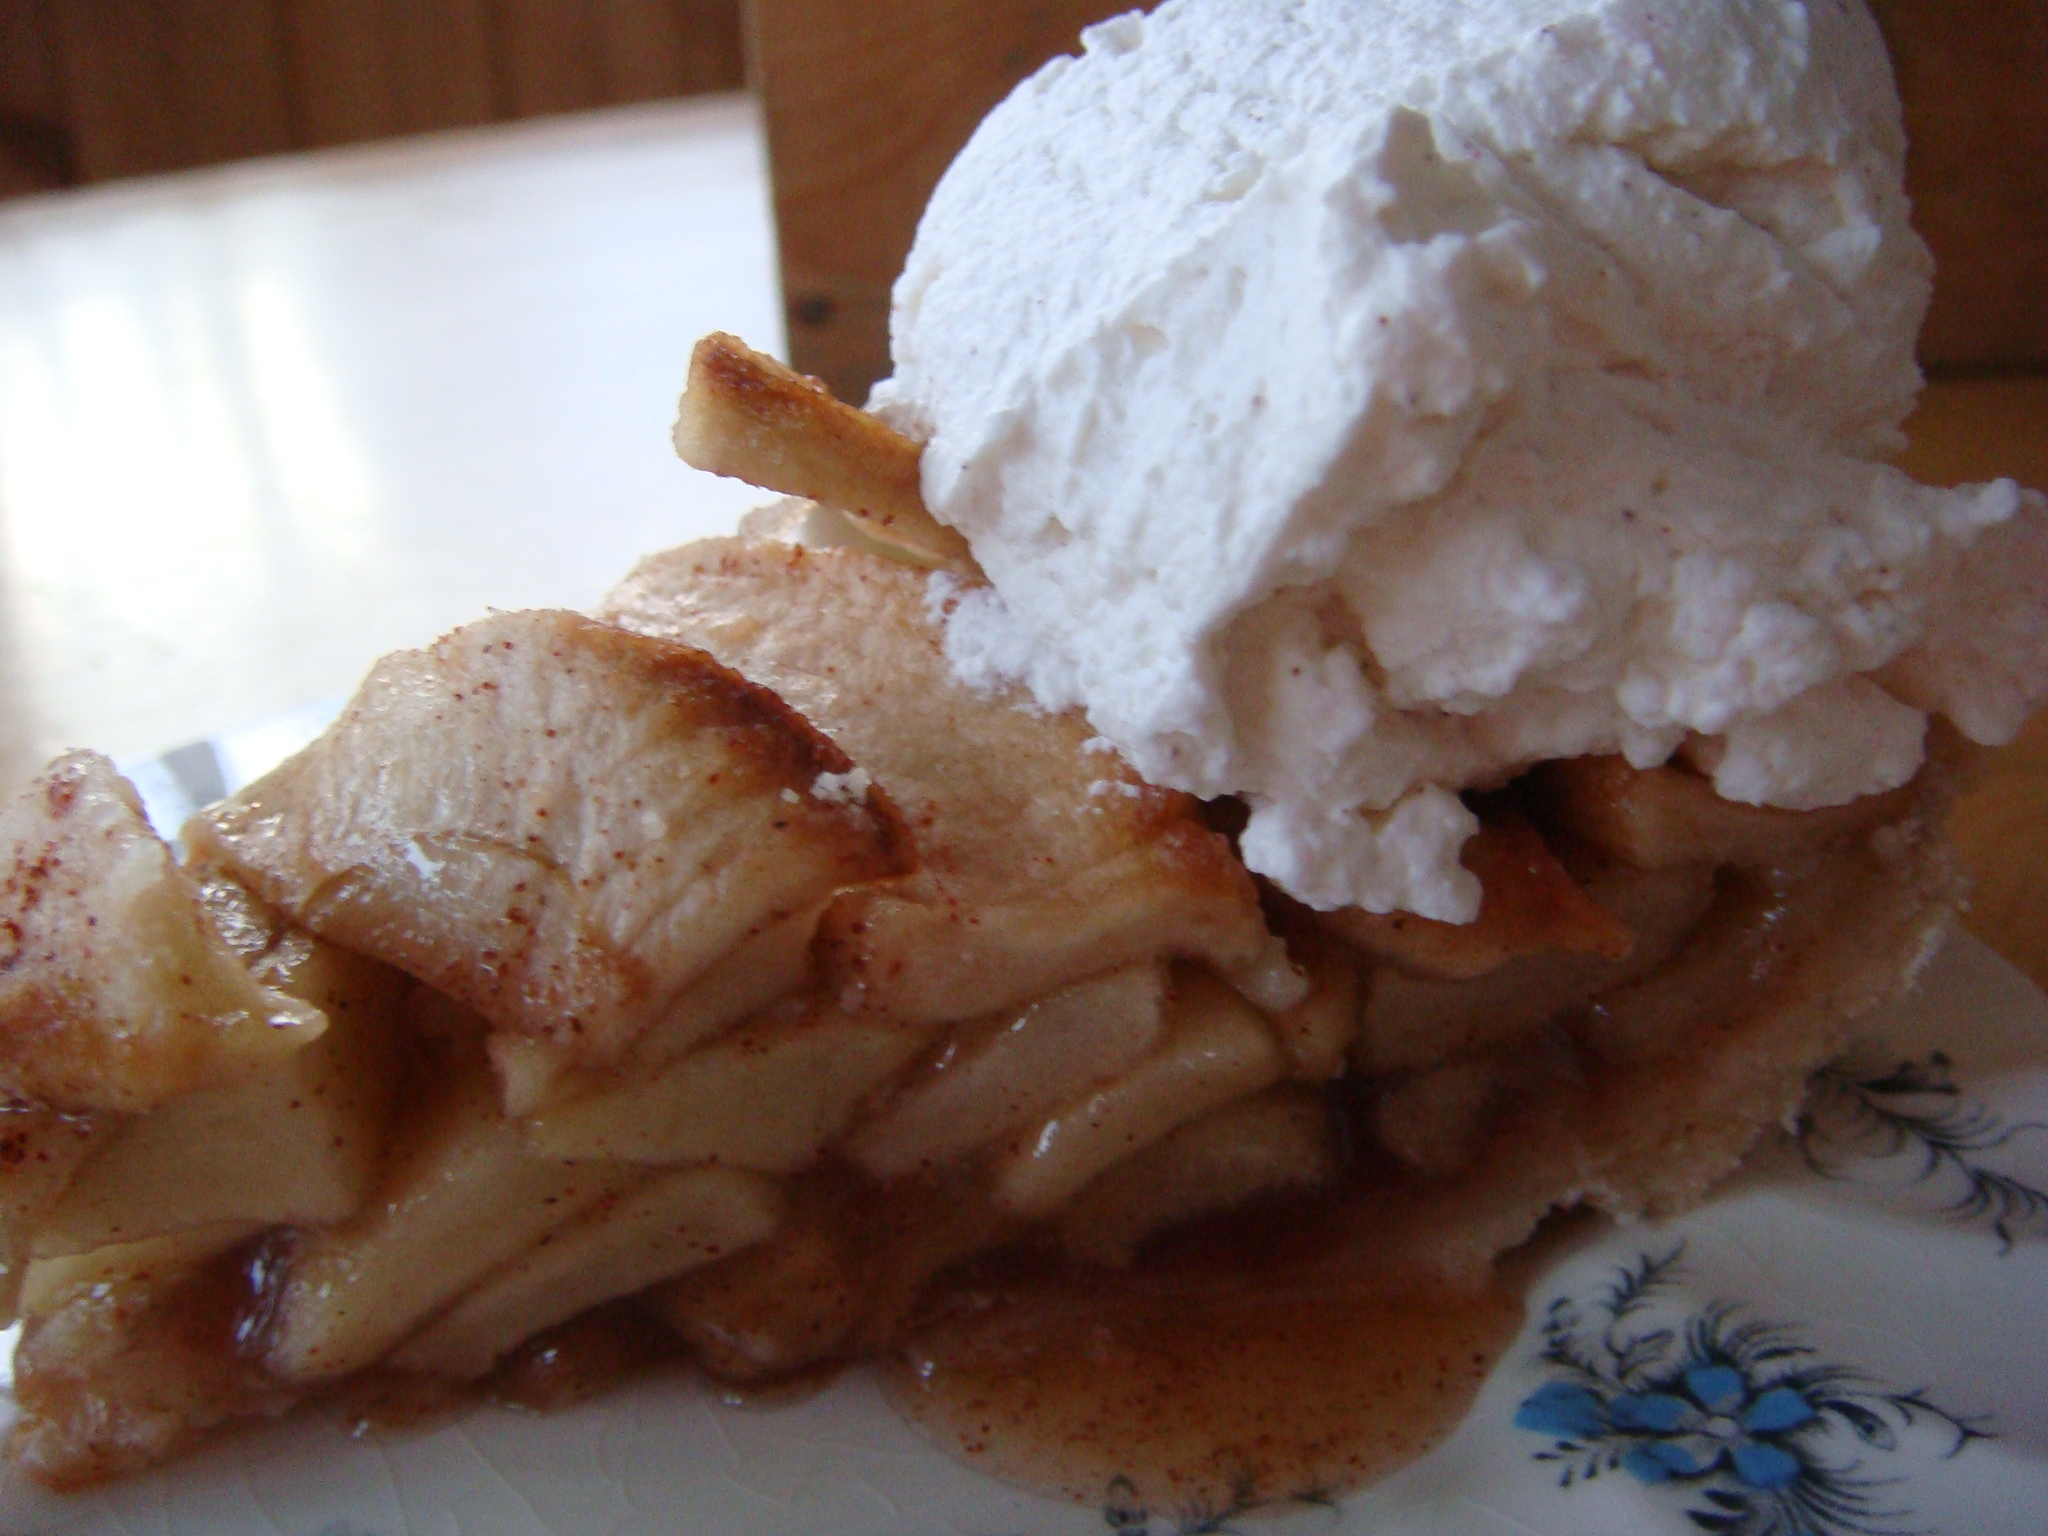
It just isn’t Easter in our household unless I make Easter pie!

You may or may not be familiar with this Italian pie that is a savory, quiche-like wonder that evokes strong memories for me!

DSC06370

When I was a little girl, my sisters and I would walk down the street to see our beloved Aunt Kate, my Daddy’s older sister, who was the “Queen of Easter Pie!”

Since my Dad lost his Mom at six weeks of age, my Aunt Kate became his surrogate mother and we, in turn, developed a strong bond with her, our “grandmother” figure … she was the best!

She LOVED opera and almost every Saturday we would go to visit and sip soda (we never had it at home!) while we listened to Aida and other operas on the radio, while Aunt Kate sipped her beer. Aunt Kate was 100% Italian and made the best food…we are lucky to have some of her finest recipes!

The tradition in my family, as a child, was to eat your last piece of Easter pie right before midnight on Holy Thursday. Since we didn’t eat meat during Lent on Fridays, and of course, the next day was Good Friday, you certainly couldn’t have any Easter pie then!

So you filled your tummy and then waited….until you could savor the next piece! Torture!

Needless to say, Aunt Kate’s Easter pie was legendary in the family. She taught our Croatian mother to make it and since my Mom was a great baker, she really did quite well.

So, again, it’s really not Easter, unless there is Easter pie in the house!

I’ve continued the tradition with my girls and they enjoyed this delight their whole lives.

A few years ago when our Claudia was vegan, she asked me if I could possibly figure out a way to make a vegan Easter pie! And while I made everything vegan for most holidays if she was coming home…Easter pie with all of its meats and cheeses just wasn’t going to happen!

I have been able to make Aunt Kate’s recipe gluten-free since I don’t make a crust. The original recipe calls for a very lovely egg crust (top and bottom), but I simply found it easier to omit it all together, and make mine like a quiche.

So far, no complaints….just so long as the Easter pie appears ready to be eaten in our refrigerator!

DSC06381

The post is in honor of my Daddy, who would have been 92 today! We lost him to cancer at age 57, and he never got to see me marry my Lewie, or meet my precious girls, and three more of his wonderful grandchildren.

There isn’t an Easter that goes by, that I don’t recall all of the great memories of food and fun as a little girl with my family.

Thanks, Daddy and Mommy, and special thanks to Aunt Kate for this amazing recipe!

DSC06371

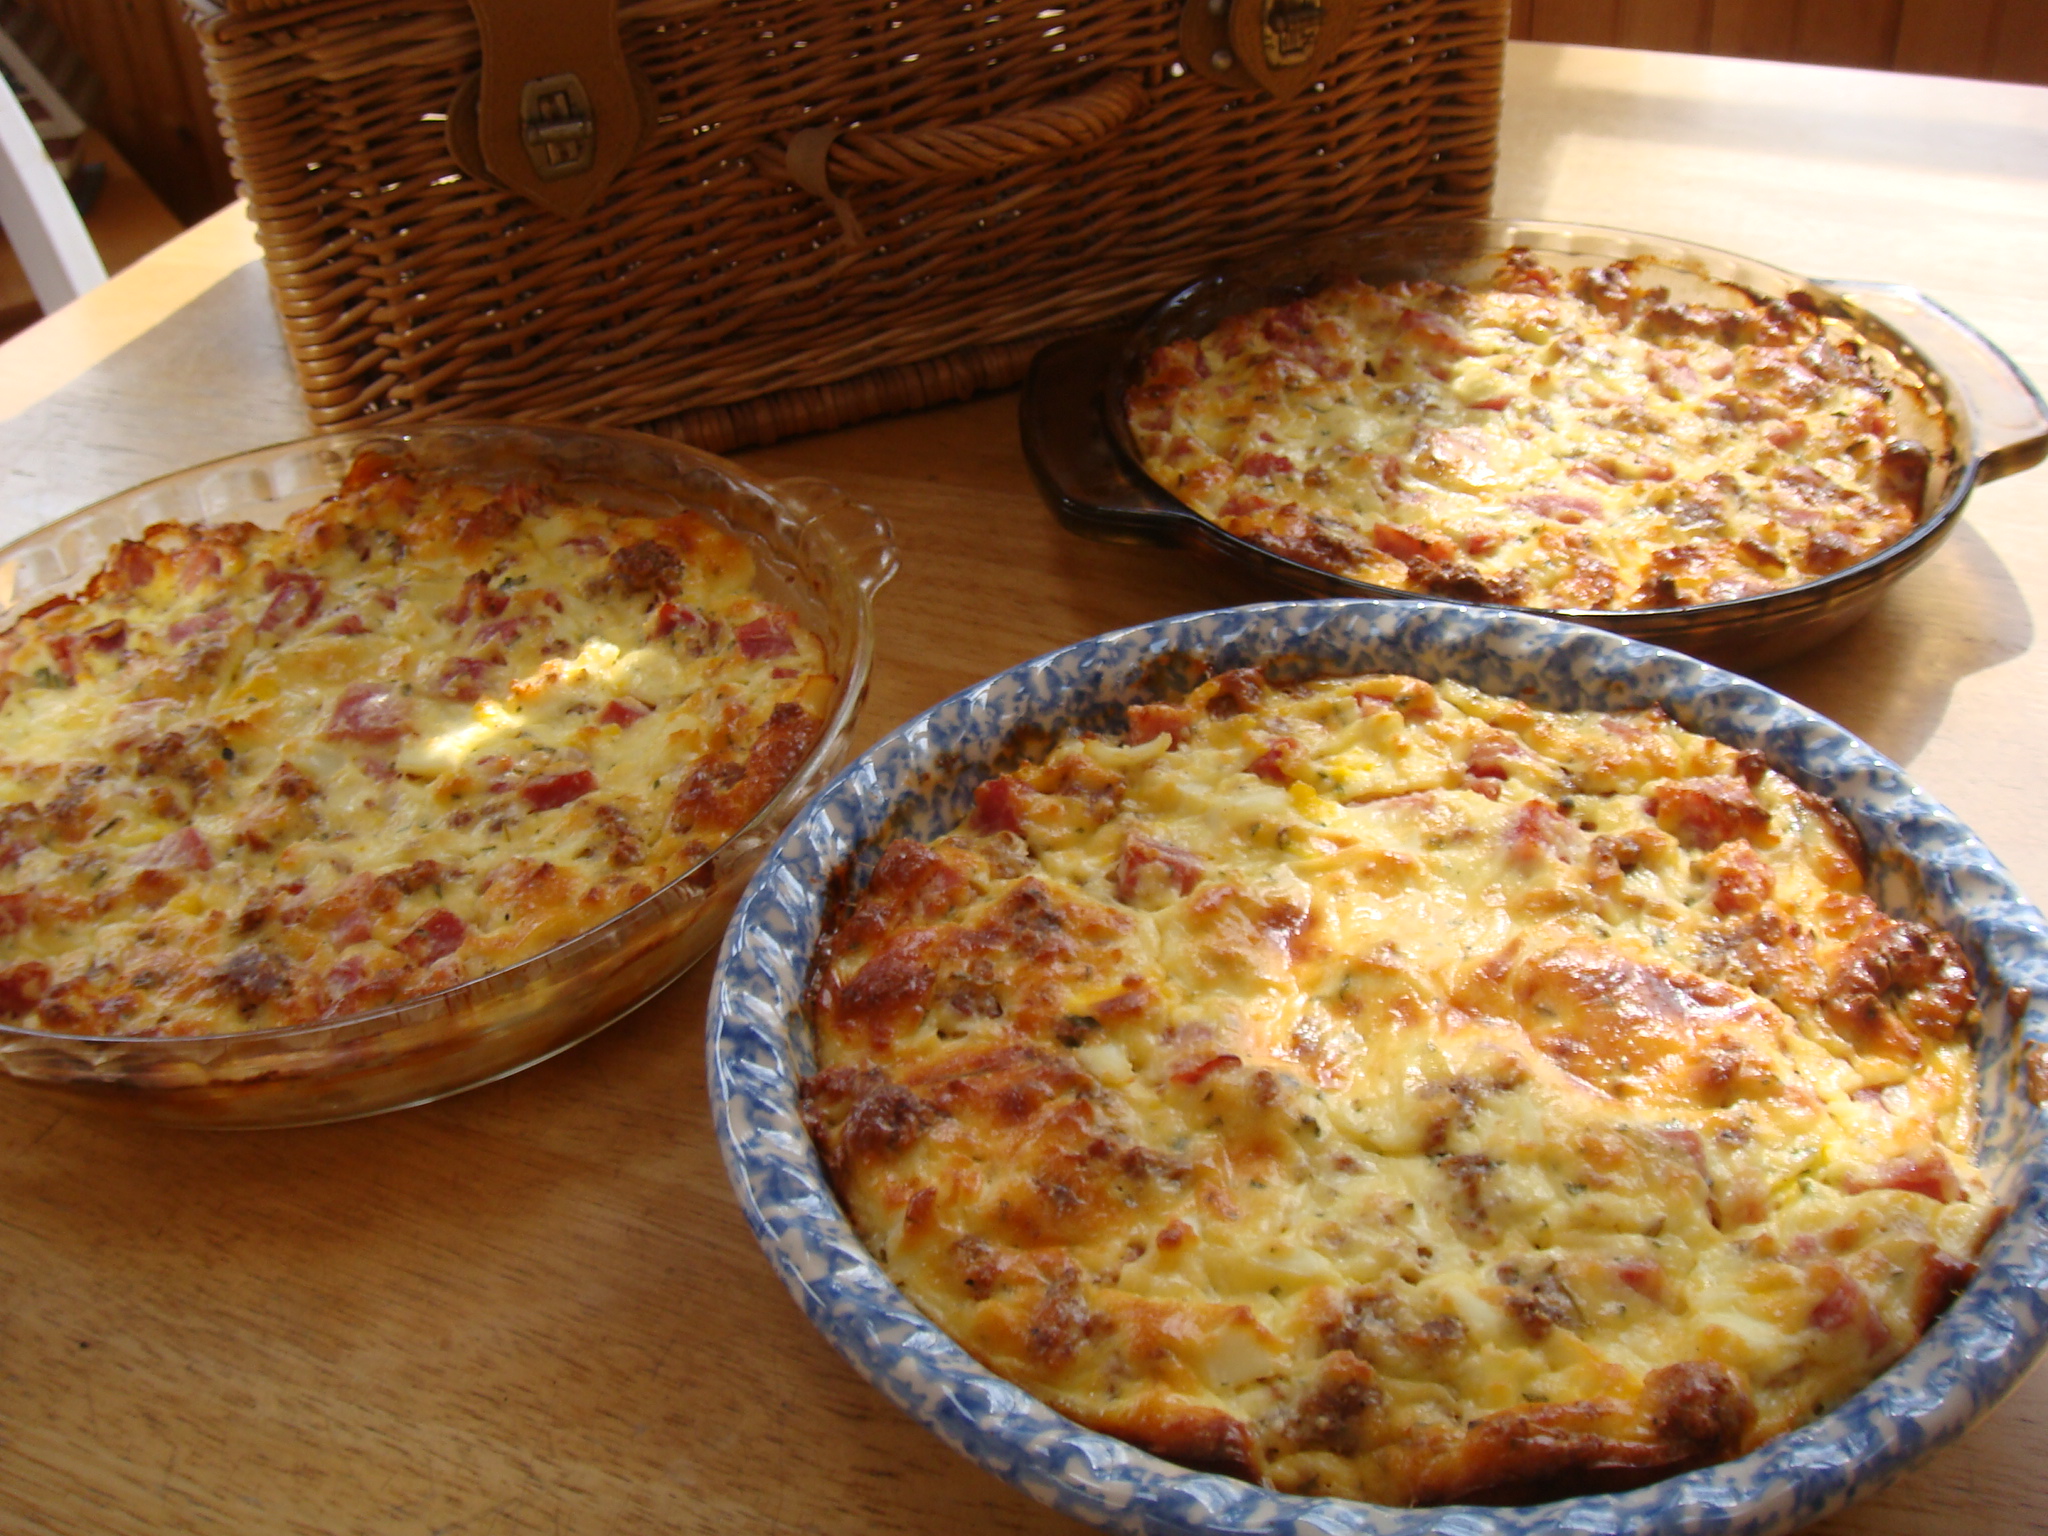
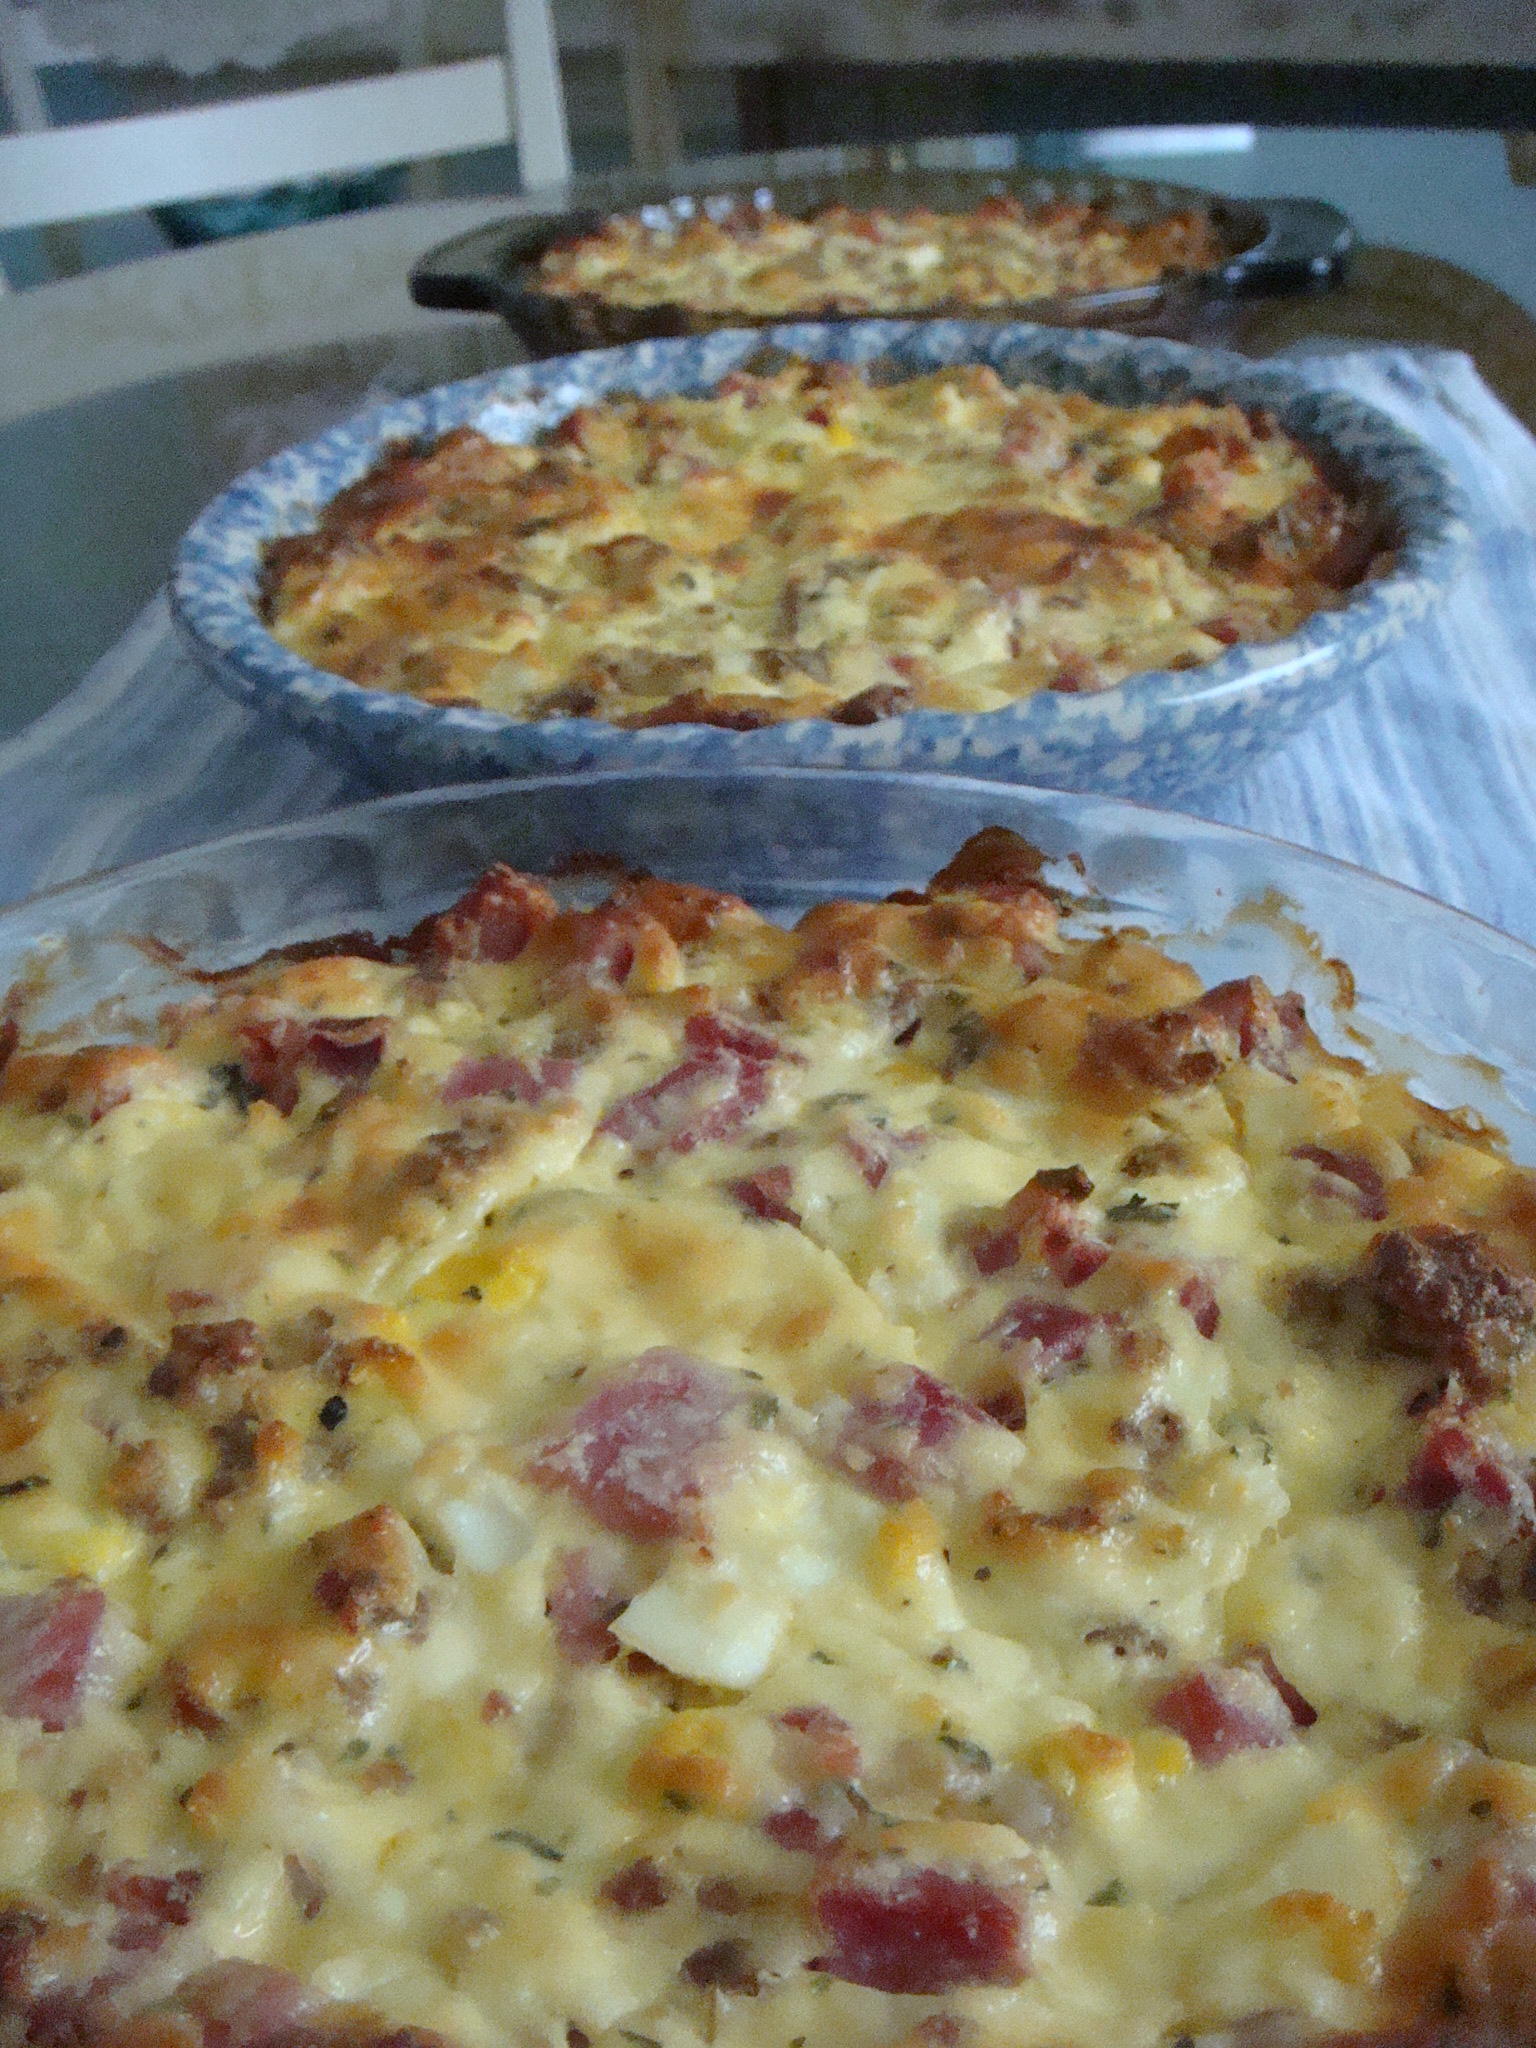
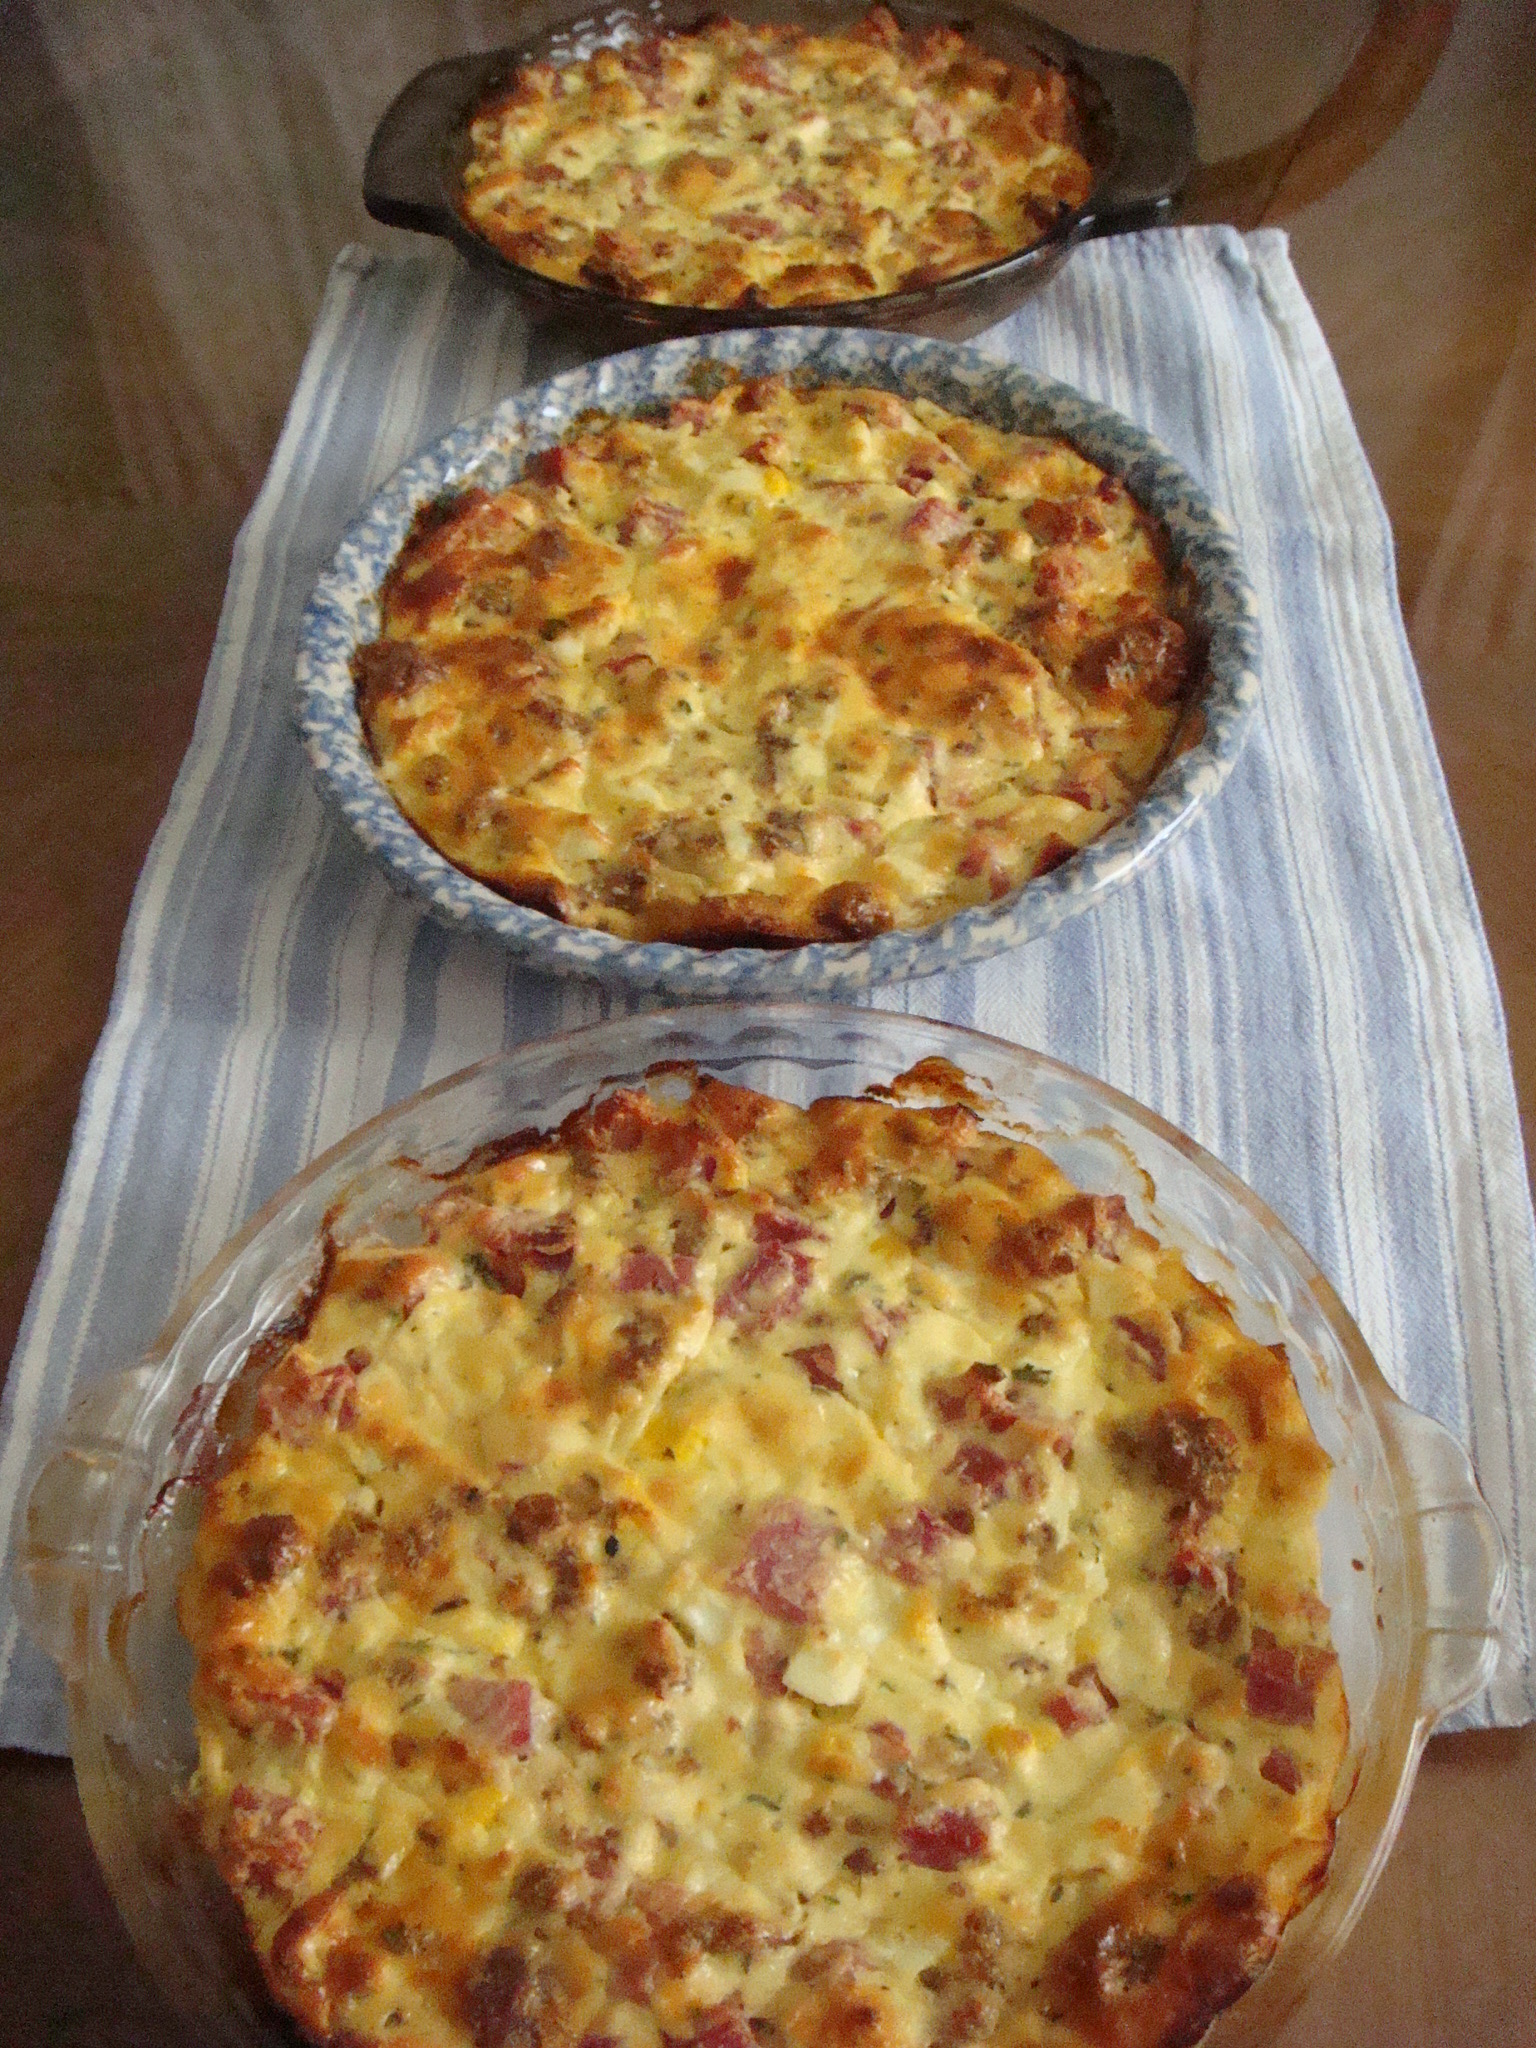
Aunt Kate’s Easter Pie

Ingredients:

1 ½ lb of ham

1 ½ lb of hot or mild Italian sausage (out of the casing)

3 lb fresh ricotta cheese

¼ cup Italian Romano Pecorino cheese (grated)

3 whole eggs

3 egg whites

Handful of fresh parsley or 2-3 tsp dried parsley

Dash of pepper

3 hard-boiled eggs, chopped

Directions:

First, you must cook 1 ½ lb of ham and when cool, cube it into bite-sized chunks. Next, brown 1 ½ lb of hot or mild Italian sausage out of the casing. Cool on a paper towel-lined dish.

Meanwhile in a very LARGE bowl, mix the ricotta cheese, Romano Pecorino cheese, 3 whole eggs, 3 egg whites, parsley, pepper and 3 hard-boiled eggs.

When the mixture has been thoroughly combined, add the ham and sausage, along with the hard-boiled eggs.

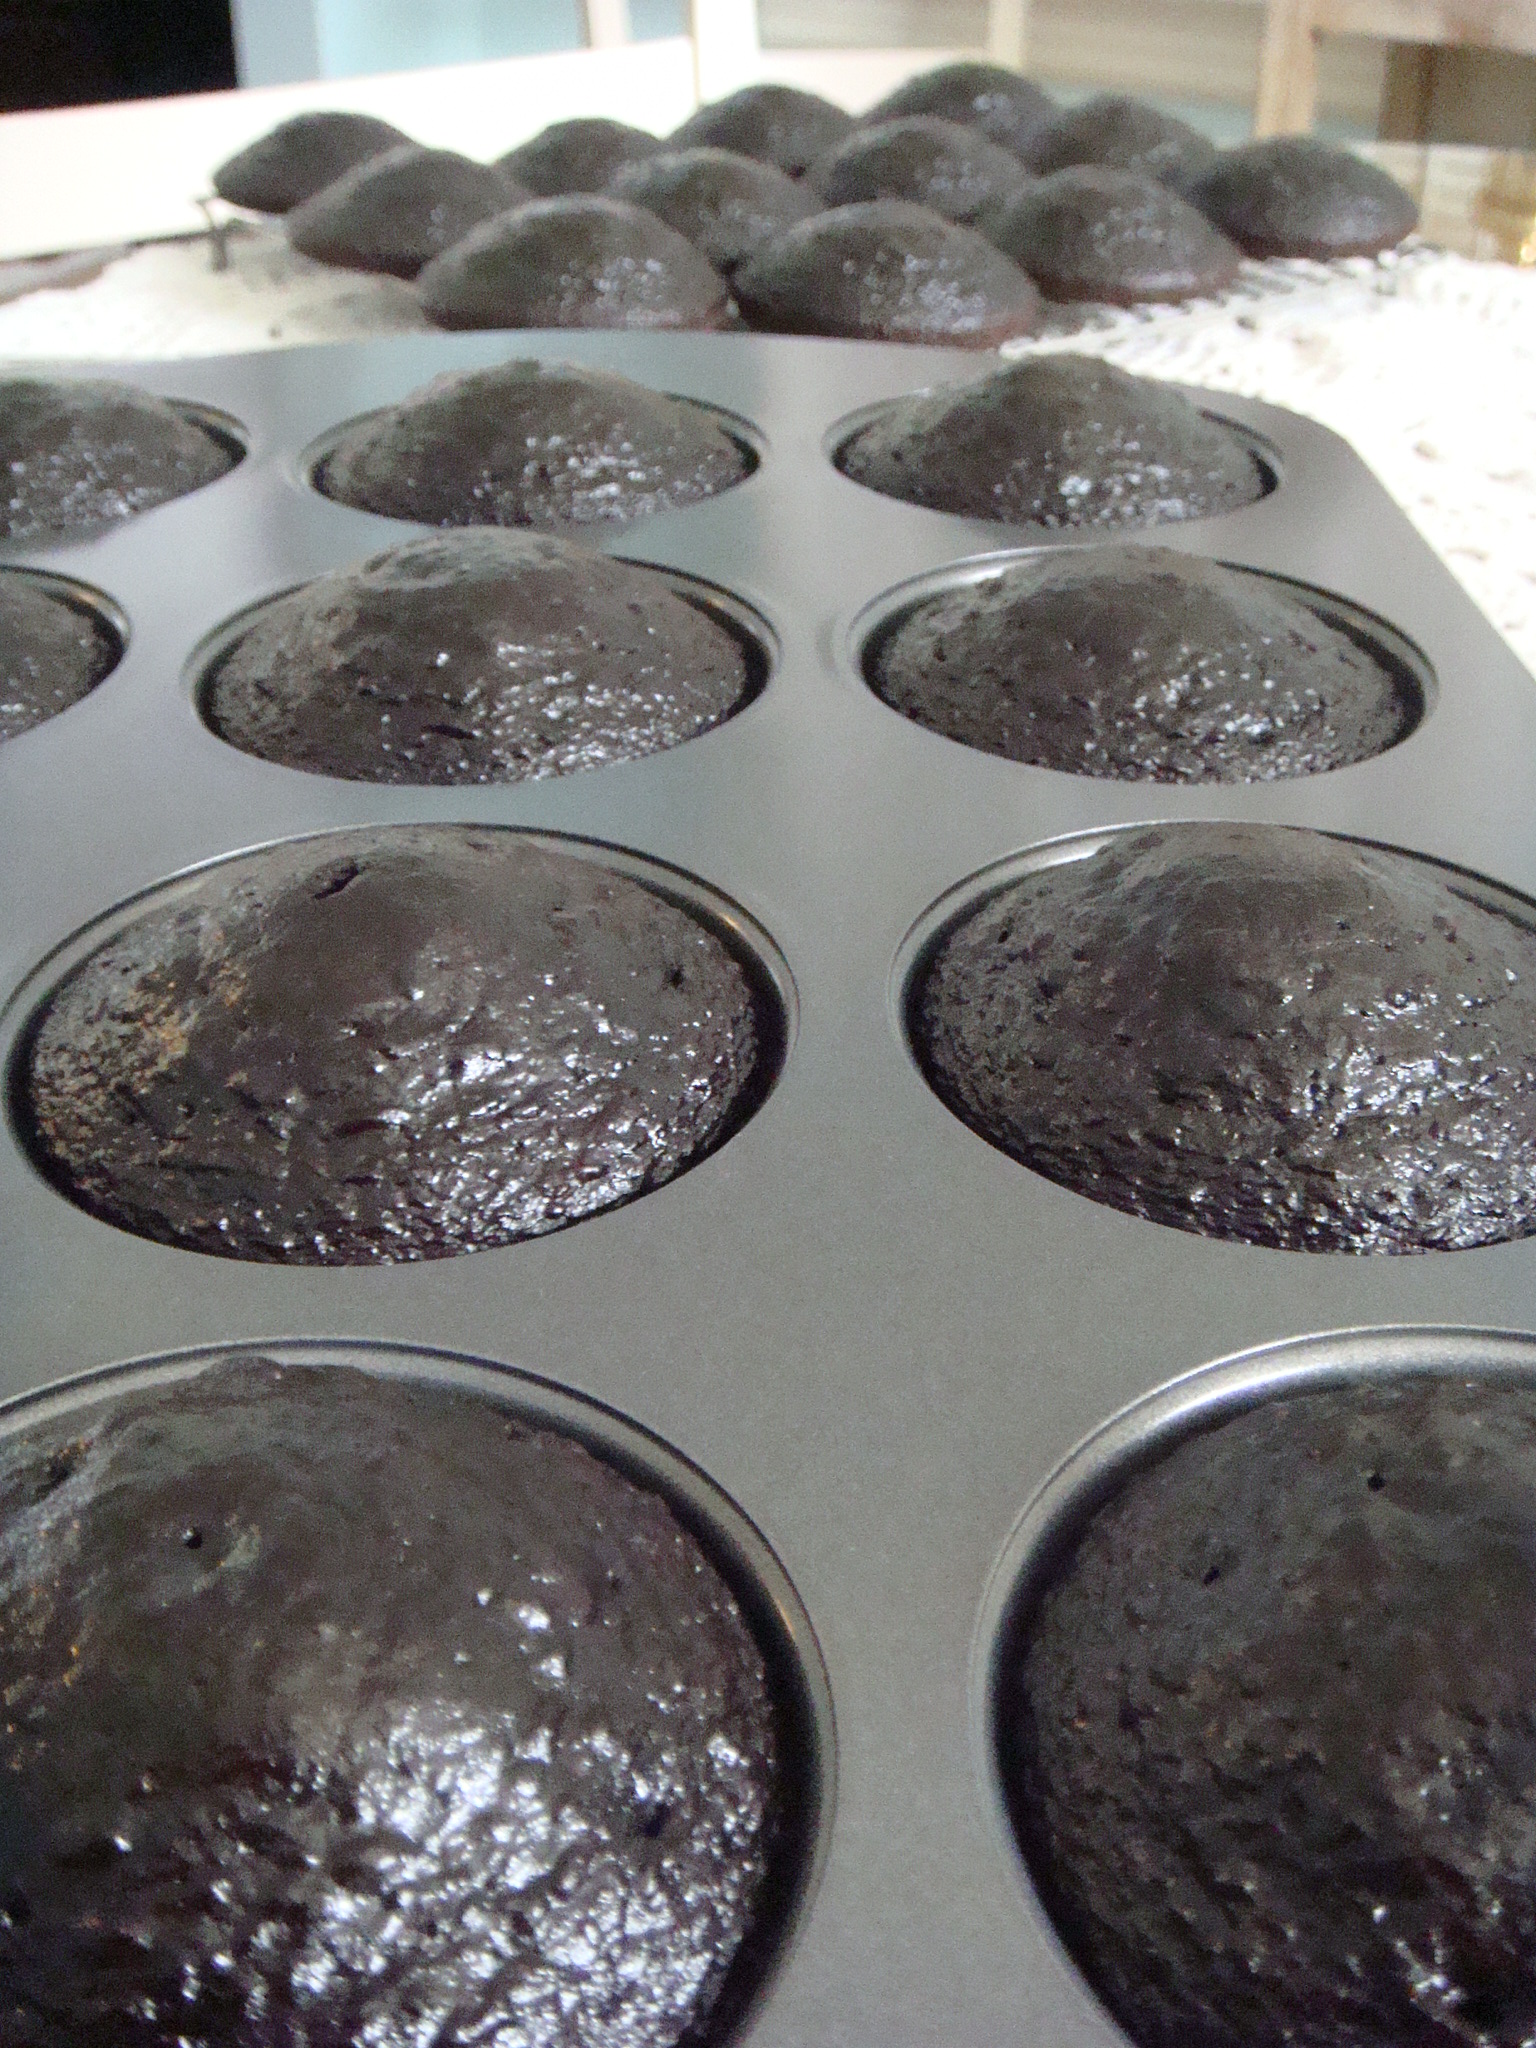
Divide the combined mixture into 3 pie plates.

Bake @ 350˚ for 45 minutes to one hour. Remove from oven and cool on wire racks.

DSC06382

Note:

Since the original Easter Pie recipe has a crust, I thought I would share it with you here, even though it is NOT gluten-free!

6 cups flour

1 cup Crisco

4 eggs

Lukewarm water (you have to add a little at a time)

Blend all of the above and roll into 6 round pieces….each pie gets a bottom and a top. My Aunt Kate used to save the egg yolks (from the whites that were used for the inside of the pie) to brush the pie crust tops.

She also added ¼ lb of tuma cheese, thinly sliced, which holds the crust to the inside of the pie…you layer this cheese on top of the cheese and meat mixture.

Maybe some Easter if I am especially ambitious I will try to adapt the crust recipe to be gluten-free, but to be honest, it is great without it!

DSC06379

DSC06376

I hope you enjoy your Easter….

I will be eating a piece today wishing my Daddy a happy birthday in heaven!

© 2015, Monica of glutenfreedoubletalk


Nothing beats a Pennsylvania Whoopie Pie!

Monica says:

Spring has sprung and it’s my sister Dina’s birthday!

Time to party!

Since we all have grown children, my sisters and I have time now to get together and celebrate each other’s big day. It has really become a great bonding experience for us, not to mention the great food that accompanies the celebration!

This year all I can think of is chocolate!

So I was reminded of a segment on our local television station many years ago, where a talented local chef was featured baking a gluten-free cake.

I sat there riveted with pen and paper in hand, writing down her recipe to try and replicate it someday.

Well, this talented young woman, Jen Yemola, went on to become one of the final three contestants in the 2007 Hell’s Kitchen competition with Chef Ramsey!

Here is a link to an interview that I found online regarding her experiences on the show…

http://www.fansofrealitytv.com/forums/official-articles/66324-hells-kitchen-3-interview-jen-i-wasn-t-going-anybody-s-doormat.html

I’ve made this cake several times over the years, and one time in particular stands out….this creation was brought to school with me for a birthday celebration and one of my carpool buddies, upon tasting it said, “Is it bad manners to want to lick the plate after eating this?”

For Dina’s birthday, I decided to make whoopie pies (since I bought the pans a while ago) and I wanted to make a peanut butter filling for them….we all LOVE the combination of chocolate and peanut butter in our family!

DSC06356

DSC06358

So without further ado….here is the recipe I transcribed!

Thank you, Jen!

Gluten Free Chocolate Whoopie Pies or Cake

Dry Ingredients

1 ½ cups sorghum flour

1 ½ cups tapioca flour

1 cup Dutch cocoa (I used Hershey’s Special Dark Cocoa)

2 tsp baking soda

1 tsp xanthan gum

1 ½ tsp salt

2 cups brown sugar

Wet Ingredients

2 large eggs

1 cup 1% milk (I used Silk Light Vanilla Soy Milk)

2 tsp vanilla

2/3 cup veggie oil

1 ½ cups HOT coffee (I used instant dark roast)

Directions

Thoroughly mix all dry ingredients together. (If using a stand mixer, mix with paddle attachment at speed 2).

Now whisk together the eggs and milk in a separate bowl. Add in vanilla and veggie oil and whisk again.

Slowly add the wet mixture into the dry.

Let the mix get a little tough and then SLOWLY add in the 1 ½ cups of HOT coffee until well combined.

Using whoopie pie pans, fill each one 2/3 of the way (mine are Wilton and didn’t need to be sprayed with Pam!).

Bake @ 325˚ for 10 minutes, turning the pans around after 5 minutes.

Cool on wire rack and remove from pans after 5 minutes.

DSC06350

DSC06351

Yield: 14 whoopie pies or 28 individual cakes; can be made in a 9” x 13” pan as well (use parchment paper sprayed with non-stick spray).

© Recipe by Jen Yemola of Jentastic Sweets

We were pleasantly surprised this year by the addition of our sweet Ava (granddaughter of my sister Lucia) and her hubby, Neil, who joined in the celebration!

DSC06361

DSC06365

And did I mention that Dina received a whoopie cushion to keep with the theme of the party?

Yes, we love to have fun!!

Hope you try this moist, rich, decadent recipe…it’s a keeper!!

© 2015, Monica of glutenfreedoubletalk

Everyone is Irish on St. Patrick’s Day!

Monica says:

When Daria was a little girl, she always wanted to BE Irish!

It was so hard to explain to her that this was not something that was going to ever happen…

We always celebrated St. Patrick’s Day and one year, two of my students (sisters) introduced her to Irish step dancing and a star was born! We quickly became involved in the world of competition and traveled to places that we had not seen. It was fun and certainly great exercise for her!

Daria says:

Even though I always loved my heritage (Croatian, Polish, Italian) there was just something always intriguing about being Irish! Not necessarily the beer or the food, but the green eyes, red hair, and intricate Celtic designs

I loved watching Lord of the Dance and was determined to try it out someday. Then I met the Brown sisters – Breighann and Mallory….next thing I know I am going to lessons every Sunday night and LOVING it!

We performed and competed and I LOVED every minute of it!

The little CroPoTalian jigged her way to the top and beat all of the little Irish girls….14 first places and one silver!

I still have my ghillies!

20150317_191019

Monica and Daria say:

The one thing that we baked every St. Patrick’s Day was Irish Soda Bread. And yes, it was full of gluten and made us feel ill (like everything else did).

So here is a gluten-free version of a great soda bread…hope you try it and enjoy!

DSC06339


Gluten-free Irish Soda Bread

Preheat oven to 350˚ and spray a 9-inch springform pan with Pam (non-stick cooking spray).

Cut a piece of parchment into a round to cover bottom of pan. Spray parchment on it, too!

Dry Ingredients

3 ½ cups of brown rice flour

¼ cup Arrowroot Starch

5 tsp baking powder

1 ½ tsp salt

1 tsp baking soda

½ tsp xanthan gum

Wet Ingredients

2 sticks (1 cup) of softened butter

2 large organic eggs

1 cup granulated sugar

2 cups of buttermilk (you can use unsweetened Almond Vanilla Milk OR Silk Light Vanilla Soy Milk with 2 tsp lemon juice added to either; your choice!)

Splash of pure vanilla extract

1 ½ cups raisins

Directions

Whisk all dry ingredients and set aside.

Cream butter, eggs and sugar for a minute or so until fluffy (if using a stand mixer, on medium; if using a handheld mixer, on high).

Place one-half of the dry mixture into the mixer and combine on low speed.

Next, add the buttermilk mixture and vanilla and stir until well combined.

Now add the remaining dry mixture. Stir to combine.

Add raisins. Stir to combine.

Pour the batter into the pan and spread evenly.

Bake for 1 ½ hours or until a knife inserted into the center of the bread, comes out clean (ours took 1 hour and 20 minutes and started to get very brown on top so we placed aluminum foil on top at about 1 hour baking time).

When bread is done and ever so sweet-smelling, remove from oven and cool on a wire rack. Remove from the pan after about 5 minutes and let cool completely on rack.


DSC06342

DSC06344

Serve with butter or your favorite topping or jelly!

Yum!

     whisks    © 2015, Monica & Daria of glutenfreedoubletalk

It’s National Crab Day!

Monica and Daria say:

We just love when Lewie (hubby and daddy) cooks!

He is great in the kitchen…will try any recipe that looks intriguing and his food is always delightful!

We are very luck women!

In honor of crab day and since we posted our crab cakes in an earlier post, we wanted to share a crab soup or bisque that Lewie whipped up for a cold winter evening.

DSC05741

This soup uses FRESH lump crab meat…that really makes the difference! The crab is so sweet and tender; it literally melts in your mouth!

So without further ado…

Crab Bisque

Preparation time:  20 minutes

Cook time:  45 minutes

Servings:  6

INGREDIENTS

1 cup onion, minced

1 cup carrot, minced

21 ounces of chicken broth (we like College Inn low sodium in the box)

4 tablespoons GF arrowroot starch

6 tablespoons butter

1 cup heavy cream

1⁄2 cup cooking sherry

1 tablespoon lemon juice

1 teaspoon Worcestershire sauce

1⁄2 teaspoon cayenne pepper (or less if you don’t like spicy!)

Fresh chives, minced (optional)

Pinch of kosher salt

1⁄2 pound fresh lump crabmeat


DIRECTIONS

Sauté onion and carrot in 2 tablespoons butter until soft. Set aside.

In a 4-quart saucepan, melt 4 tablespoons butter and add arrowroot starch, whisking constantly over medium heat until roux becomes light brown (about 5 minutes). Make sure it doesn’t burn!

Slowly add chicken broth, whisking constantly to ensure mixture stays smooth.

Add onions and carrots, cover, and simmer for 1/2 hour.

Add cream, sherry, lemon juice, Worcestershire sauce, cayenne pepper, salt, and crab and simmer an additional 5 to 10 minutes.

Garnish with fresh minced chives if desired.

Note:  Adapted from a recipe on http://www.food.com

DSC05743

Enjoy!

© 2015, Monica & Daria of glutenfreedoubletalk


“Buh-bye” February!

Monica says:

As I begin writing this post, we are in the midst of yet another snow storm to be followed by ice…March is certainly carrying the bad weather forward!

I had a very busy end to February and luckily, it included some sun and a lot of fun!

Yes, my sister and I went to “The Sunshine State” of Florida to visit some wonderful friends and get some much needed rest and relaxation.

And even though Florida was experiencing some very cold weather, the last few days of our trip were in the 70s while our northern families and friends were in a deep freeze. So let’s just say we felt very blessed!

While visiting the Seminole/St. Petersburg area, I was able to find some gluten-free goodies! Here are a few of my finds!

Double Tree @ North Redington Beach had a gluten-free menu!

Turkey Reuben with roasted turkey breast, Swiss cheese, Thousand Island dressing and sauerkraut on toasted GF caraway seed bread! Accompanied with Strawberry Lemonade with beach umbrella….mandatory!

DSC06305

DSC06302

Horiatiki Salad @ Hellas in Tarpon Springs….garden fresh tomato wedges, cucumbers, onions, green peppers, Greek olives, and feta cheese. I had mine with oil and vinegar to be safe.

DSC06130

The “best Gyro in town” without the pita @ Hellas! A blend of lamb and beef, broiled….melted in my mouth with tzatziki sauce! Delightful!

DSC06132

We had to go to Florida to find a Pizza Hut that carried gluten-free pizza….was a treat but didn’t have the taste I remember! I guess I was really missing that gluten-filled crust….oh well!

DSC06113

DSC06117

A visit to the Mazzaro’s Italian Market in St. Pete was the best place yet! We could have wandered in this place all day! Everyone was hustling and bustling about….great fun!

Of course, I had to have dark chocolate gelato and look at these Italian salamis and pepperonis!

DSC06171

DSC06174

February ended on a very high note when Lewie and I attended the wedding of our dear friends’ son, Ian who married his high school sweetheart, Sarah. Lewie and I (also high school sweethearts) celebrated our own wedding anniversary just a week prior and were so happy to be invited to this celebration! And the weather cooperated!

Ian’s mom, Dori, and I first met when I was hired as an elementary librarian at a school district in the Poconos where her children attended school. She was hired as my library assistant and our friendship was cemented right off the bat! We had so much in common and have been close ever since….19 years and counting!

Later, when I transferred to the high school, I was again connected with Dori’s children….just loved having them!

Luckily our husbands are good friends too….Mike and Lewie have a lot in common as well….both LOVE food and are great cooks! Lucky us….although we aren’t too bad in the kitchen, either!

Anyway, Ian and Sarah chose what proved to be the absolute best place to have their wedding reception….The Brownstone in Paterson, New Jersey.  It was stunning in every way!

The food was phenomenal….by far, the best wedding reception food we’ve ever eaten! It truly did not taste like mass-produced food at all….it was fine dining!

And even if I couldn’t eat some of it…I admired the smells and beautiful presentation of the appetizers, the drinks, the salads, the entrées, etc.

To say that we were “stuffed” is an understatement! You just couldn’t help yourself….so much to eat and so little time!

Thank goodness for the wonderful DJ and dancing!

The evening began with appetizers too numerous to recount but here are a few of my gluten-free favorites!

food 2

food 3

food 4

food 6

Our dinner was a Mediterranean dream….the wait staff asked you to choose your salad, pasta, and entrée.  I did not choose pasta for obvious reasons, but here are my other choices.

securedownload (20)

securedownload (21)

And c’mon…..how about this dessert table?

Italian zeppole (doughnuts), wedding cake that tasted like strawberry shortcake (or so I was told by Lewie), Italian cookies, fruit, and coffee (with your choice of liquor) that was so pretty, you just didn’t want to drink it…but I was told it was incredible! Even though I could only choose fruit, it was delicious and satisfying!

securedownload (24)

securedownload (16)

securedownload (25)

securedownload (17)

securedownload (23)

Let’s face it…there’s nothing like an Italian wedding! If you’ve never been to one….I hope you get invited to one of these amazing celebrations!

Just love this picture of Mike, Sarah, Ian, and Dori!

10364155_10203664060468203_3643483048941370046_n

Much happiness for Ian and Sarah!

Thank you for letting us share this glorious day with you!

© 2015, Monica of glutenfreedoubletalk


February Foods We LOVE! Quinoa!

Monica says:

Several years ago if you would have asked me what quinoa was, I would have had the “deer in headlights” look on my face!

Quinoa (pronounced keen-wa) is probably the most perfect plant protein that can be found!

Naturally gluten-free and wheat-free, this is THE perfect food for those of us who suffer from celiac disease or have gluten-sensitivity.

Nutrient-rich, quinoa has anti-inflammatory properties, contains all of the essential amino acids, and is a great source of manganese (migraine sufferers often are lacking this)!

Fast forward to now…

I am comfortable cooking quinoa and anyone who knows me, will tell you that I LOVE to collect recipes and will try any recipe at least once. That being said, I discovered this amazing breakfast quinoa.

Being a “Martha Stewart Wanna-be” (as far as crafts and recipes go), I learned that she has a video series called Eat Clean with Shira Bocar, the Martha Stewart Living food editor.

The recipes in this series are simple and nutritious.

Here is a link to my new favorite quinoa recipe, called Quinoa Porridge!

http://www.marthastewart.com/1072187/eat-clean#1100582

I wrote down the recipe as Shira spoke on the video, so here it is!

Quinoa Porridge

First:

½ cup rinsed quinoa (rinse through 3 changes of water)

¾ cup almond milk (I used Silk Vanilla Almond Milk)

½ cup water

½ tsp vanilla

¼ tsp cardamom

¼ tsp sea salt

Swirl ingredients and then bring to a boil. Reduce to simmer and cover for 16 minutes.

When done, fluff with fork and set aside.

Now:

Chop half of a pear into bite-size chunks. Grab a handful of toasted sliced almonds.

(I toasted sliced almonds on parchment paper in a 350˚ oven for about 5 minutes….as soon as they are fragrant, remove from oven)

Assemble the porridge by placing quinoa in the bottom of a bowl. Add some almond milk, place chopped pear on top and garnish with toasted almonds.

©marthastewart.com/eatclean

So let’s recap….

Quinoa can be eaten for breakfast!

DSC06036

Quinoa is a seed, not a grain!

DSC06040

Quinoa will keep your tummy happy!

DSC06038

Let’s dig in…

Enjoy!

© 2015, Monica of glutenfreedoubletalk

February Foods We LOVE! Ice Cream!

Monica and Daria say:

Ice cream is a food that we can eat anytime, any season, right?

Well today is “Eat Ice Cream for Breakfast Day” so who’s ready to celebrate?

WE ARE!

Oh so many flavors, so little time to eat them all….we decided on a pistachio almond that is so smooth but has the great crunch that we are craving!

And of course, since it’s breakfast, we decided to combine the ice cream with gluten-free waffles to ramp it up a bit! We used Pamela’s Baking Mix!

DSC06015

DSC06016

So delightful!

When Daria was little, she and her sister along with all of the neighborhood kids and parents, used to descend upon our house on the 4th of July. Why? Because we lived near a hill which overlooked our local high school football stadium and that’s where the city would have the fireworks show!

After the wonderful display, everyone would walk back down to our house and we would make waffles and ice cream for everyone! It became a tradition!

Then when we were diagnosed with celiac disease, our celebration changed. We continued to make waffles and ice cream for everyone, but for the first year or two, we only indulged in the ice cream. Once we learned how to mix the flours, we searched for waffle recipes. In those days, there were no mixes!

Bottom line, we survived it and it’s the memory of the fun times we had all those years that’s important!

DSC06017

We’ve since moved away from that wonderful neighborhood but still stay close to the best neighbors anyone could have!

If you want to make some great memories, fire up the waffle maker, get out the ice cream and invite your neighbors, friends, and family over!

You won’t be sorry!

Enjoy!

© 2015, Monica & Daria of glutenfreedoubletalk