
Monica says:
This post is in honor of my two precious girls….Claudia and Daria!
When they were little we had yet another Easter tradition of baking Easter bunny cookies….a great sugar cookie that melted in your mouth.

The original recipe came from a cookbook that my Mom had given Lewie and me for our bridal shower. A wonderful cookbook, Better Home and Gardens All Time Favorite Recipes, copyrighted in 1979, (we were married in 1981), that we’ve used countless times over the years. It is so worn and somewhat falling apart, but very loved and still relevant!
I distinctly remember making these cookies from that cookbook for the first time.
Filling in at our local library for the children’s librarian that was out on pregnancy leave, I was celebrating Easter storytime with the littlest library patrons and wanted to make cookies for our session. So my Mom and I decided to try this recipe, and it became a classic.
Did I mention that while filling in for that librarian, I became pregnant, too?
Yes, it was with Daria!
Years later, when Daria and I changed our diet, we needed to find a recipe to replace our delicious bunny cookies. After many recipes and taste-testings, we are happy with this one!
This recipe is adapted from Easy Gluten-Free Baking by Elizabeth Barbone, which we highly recommend for your cookbook library. In her book it’s called “Jam Sandwich Cookies” and I have made these in rounds and hearts with strawberry jam and sprinkled with powdered sugar, but these bunny heads are just the cookies…no fuss, no muss!
I also use brown rice flour for mine, not the combination of flours that she suggests.
So, see what you think!
Easter Bunny Sugar Cookies
Yield: about 3 dozen
Dry ingredients:
3 ¼ cups brown rice flour
2/3 cup granulated sugar
Wet ingredients:
2 sticks cold butter, cut into bite-sized chunks
1 large egg
3 T milk
2 tsp vanilla
Easter colored M & Ms
Directions:
Place dry ingredients into a food processor and pulse a few times until ingredients are mixed.
Next add butter into the mixture and pulse until butter is cut into small pieces and you see pea-like texture. Then add milk, egg and vanilla.
Process until a dough forms (it will be somewhat crumbly).
Once you see the dough coming together, remove from processor and divide it in half. Place each part in wax paper and wrap. Place the two wrapped pieces in a plastic zip-lock bag and refrigerate for at least 4 hours or overnight.
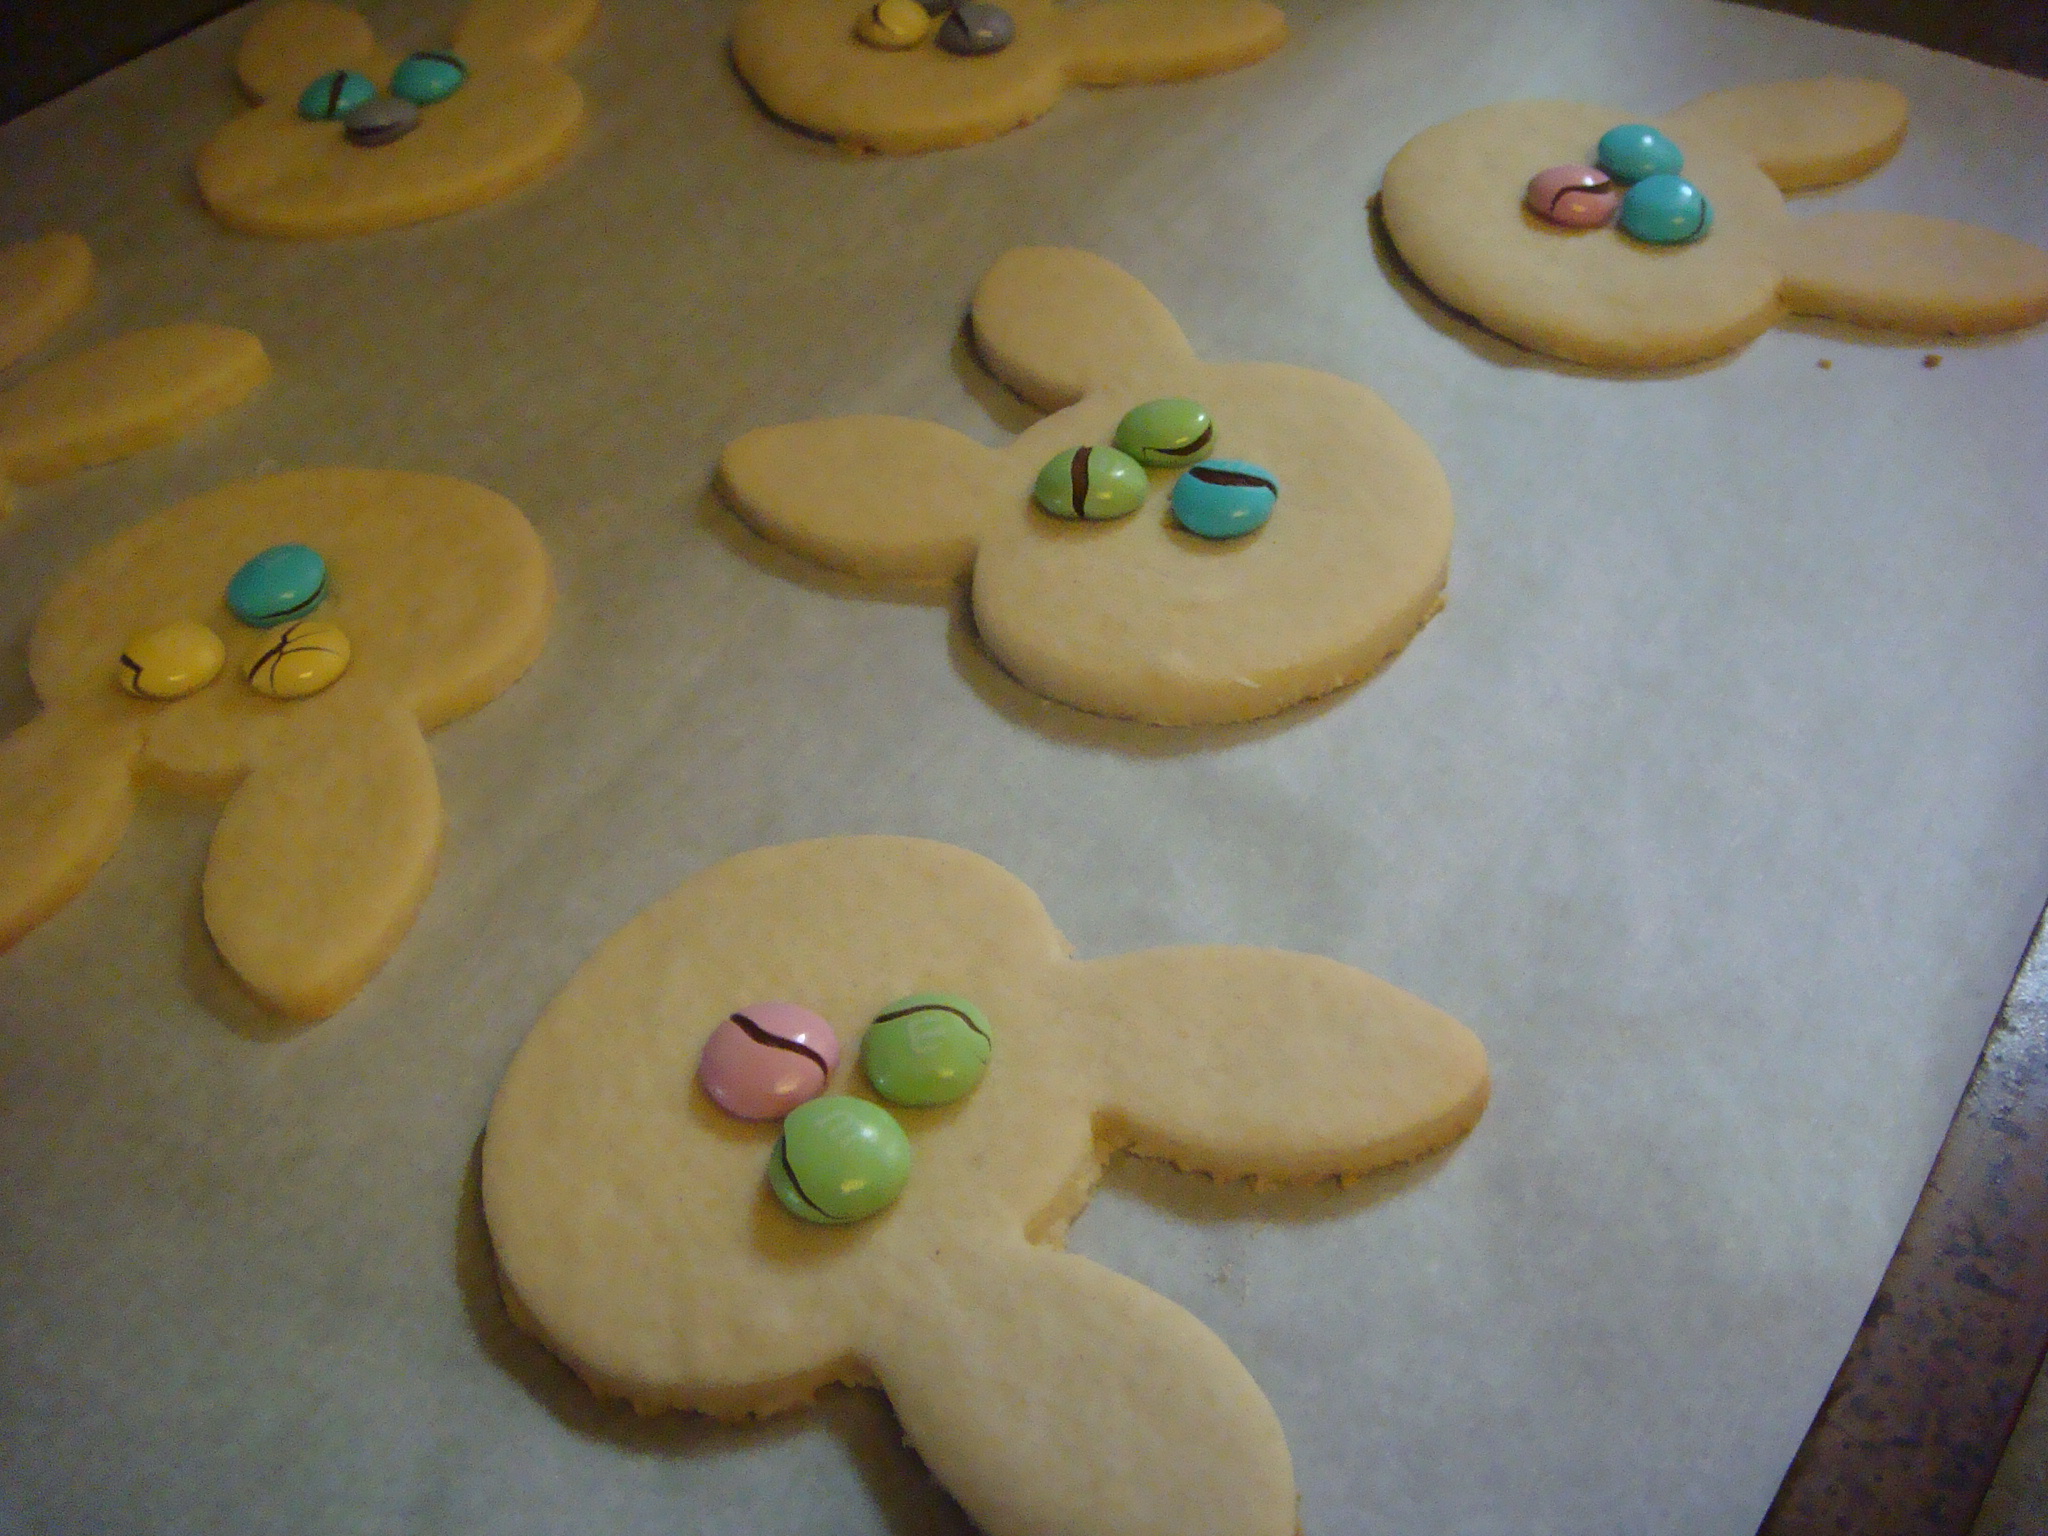
Preheat your oven to 350˚ and place parchment on two baking sheets.
Unwrap your dough and let it sit on your counter for at least 5 minutes before attempting to roll out.
Lightly flour your counter with rice flour and cut a small piece of dough from the half. It may be very crumbly at first, but the warmth of your hands will help keep it together. Work the dough until it is able to be rolled out. Roll dough to about an 1/8 of an inch thick and cut out bunny heads with cutter. Place 3 M & Ms on each face for eyes and nose.


Place on baking sheets and bake for approximately 10 minutes. I always turn my baking sheet after 5 minutes to ensure even baking.
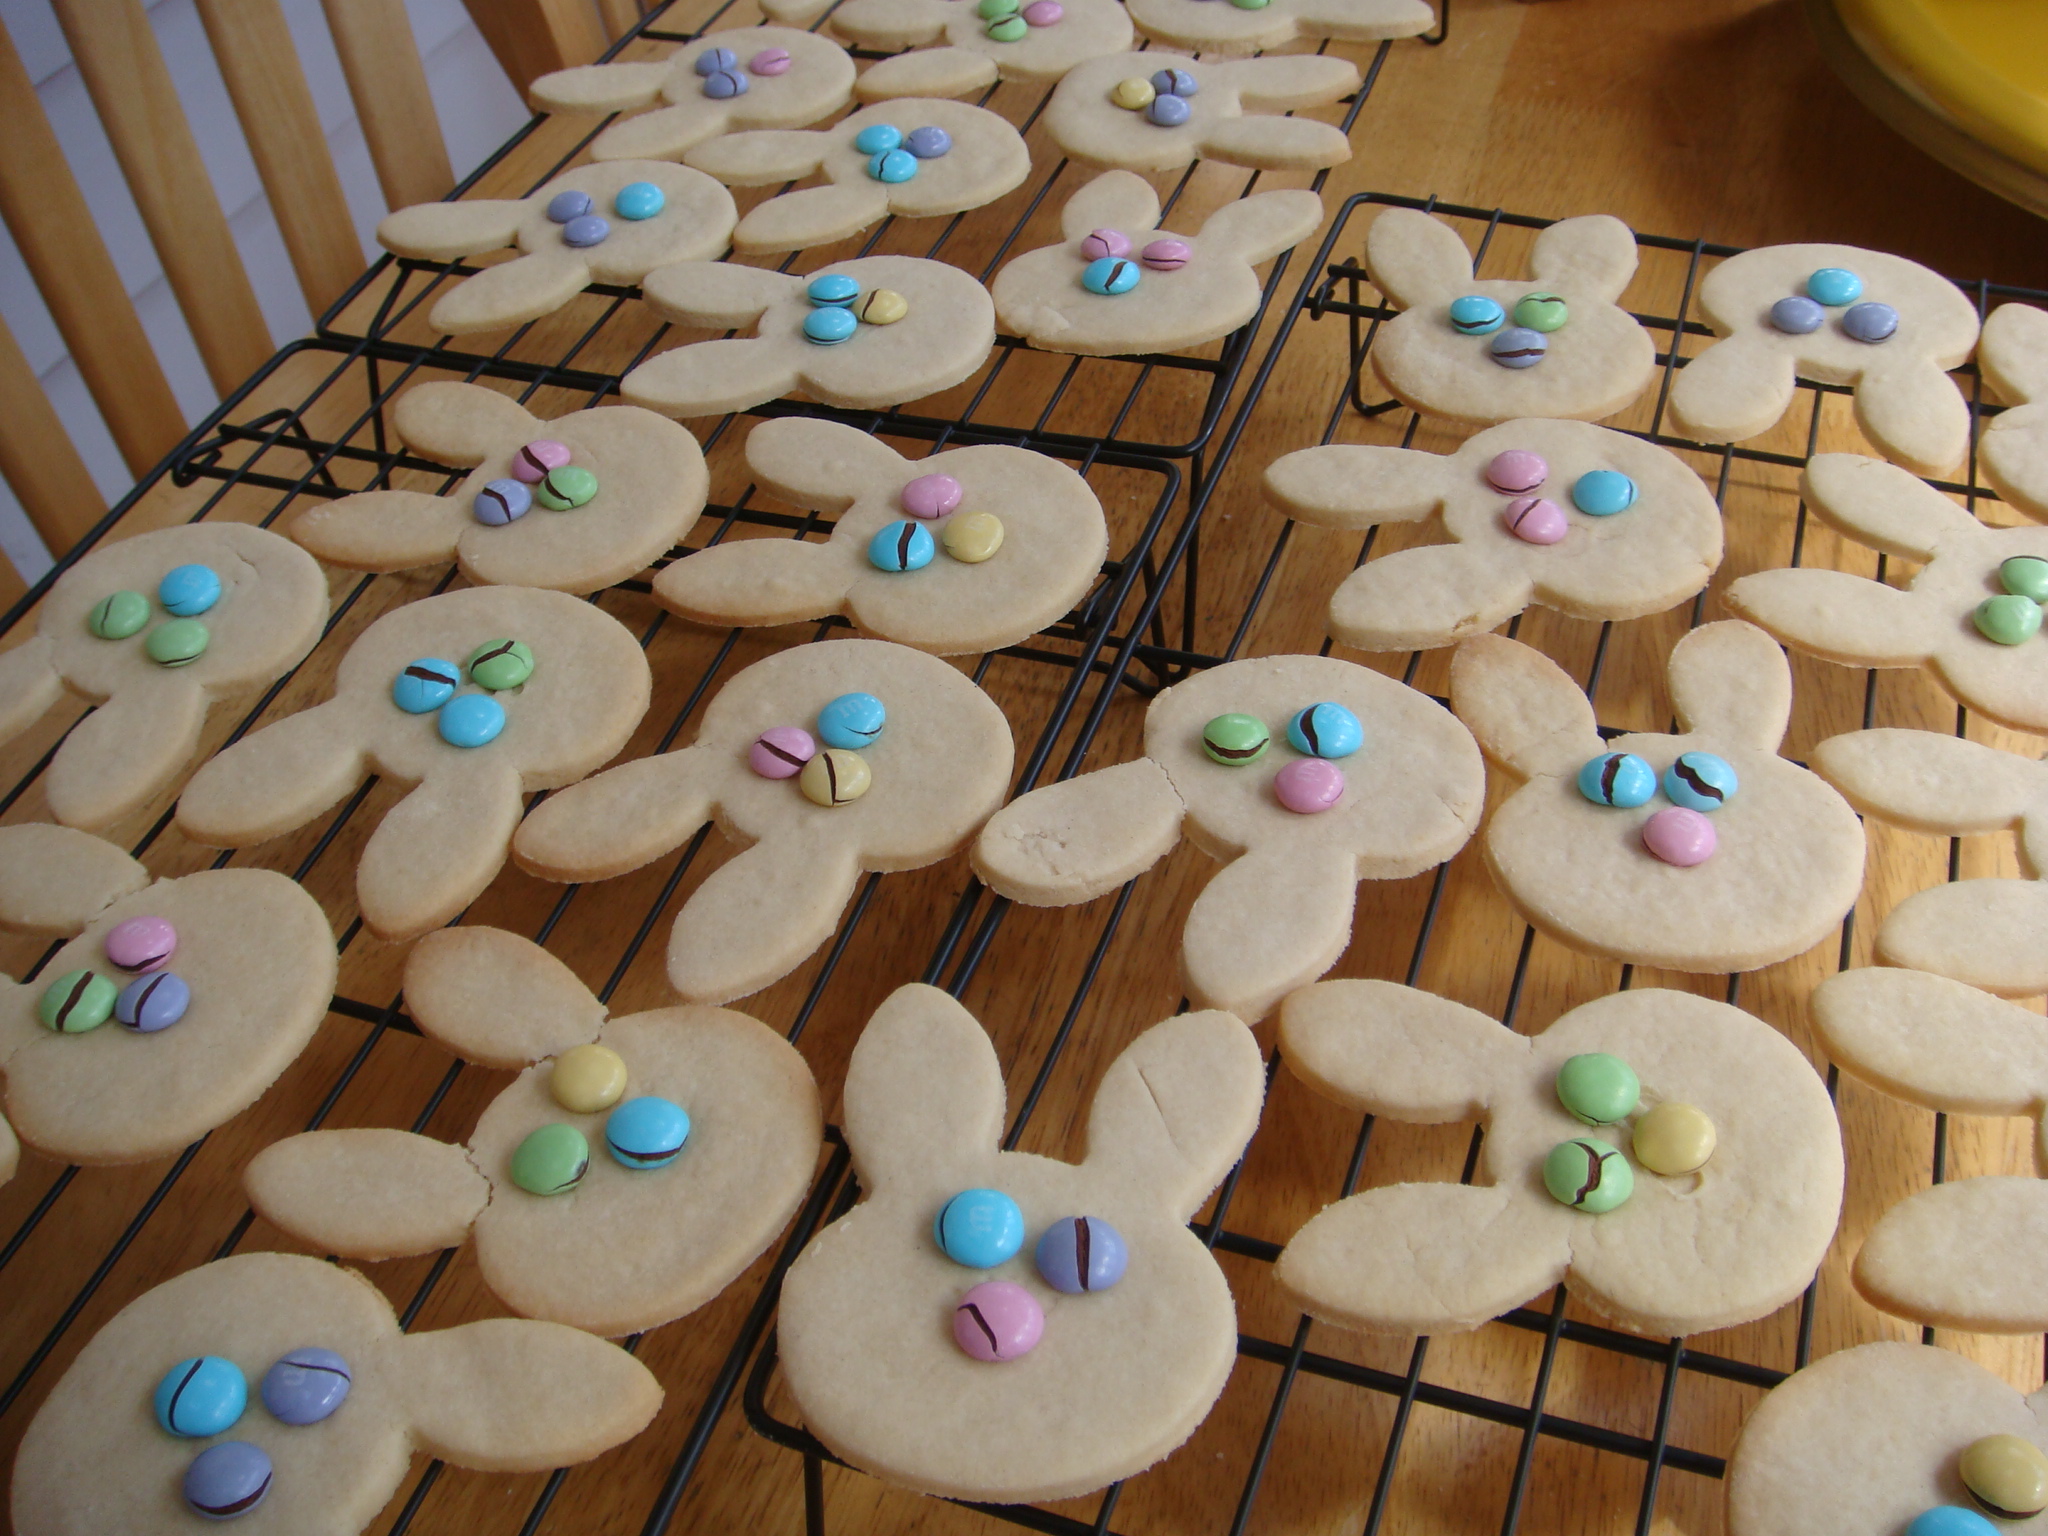
Remove from oven and let cool at least 5 minutes before placing on wire racks to cool completely!
I will caution you, however….these cookies are EXTREMELY fragile and I must confess that nearly one third of my 39 cookies lost “their ears” this year! Yes, they broke off during my transferring them from the baking pan to the wire rack to cool….NOT happy!
But the taste is delightful, so whatever!

When the girls were little, we meticulously wrapped one ear per bunny with narrow ribbon to make them look oh so cute!
I miss those days….too bad children have to grow up!
This year I only wrapped one for this picture….the old arthritis took enough beating in the rolling today!

Wishing all of you a very happy Easter and a delicious one, too!

Enjoy!
© 2015, Monica of glutenfreedoubletalk

